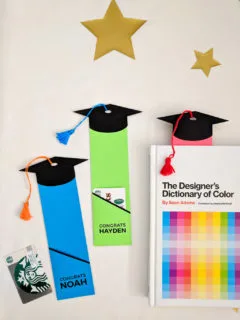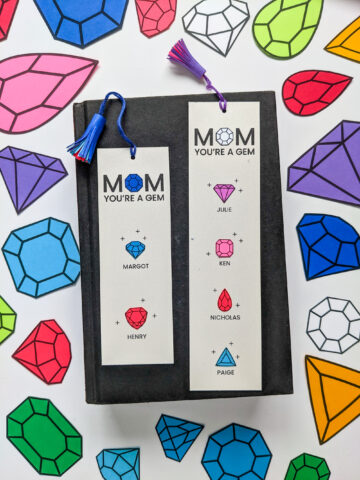
Mother’s Day bookmarks make a creative DIY gift idea for Moms who love reading. See how to craft my personalized Birthstone Bookmarks for Mom that are like birthstone jewelry for books.

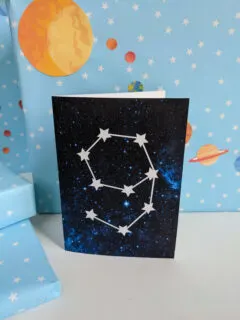
Blast off with my stellar outer space birthday card! My printable PDF features a blue galaxy background and a starry constellation with your custom birthday age. Perfect for all ages from first birthdays to teens and older, my simple outer space birthday card is out of this world.