

Make your own oven mitt in less than one hour with my free oven mitt sewing pattern. These DIY oven gloves are just the right size — not too big and floppy — and you can choose to quilt the outside of the oven mitt or leave it nice and smooth. I’ve made them both ways, so I’ll show you both methods below. Grab some cotton fabric and let’s sew some handmade oven mitts!
An easy DIY oven mitt free sewing pattern
This DIY oven mitt free sewing pattern was inspired by our new KitchenAid range. Bye bye cheap-o Frigidaire …momma’s got a double oven now with a griddle on top. And it was just begging for some nice new oven mitts, or pot holders, or oven gloves, whatever you want to call them. I made my free oven mitts sewing pattern shape by eyeballing oven gloves for sale online and then drawing around my hand. I love the oven mitt shape overall, and if you want more room just increase the size a bit on a copier.


To quilt or not quilt the oven mitts outside fabric? You choose!
For my striped fabric oven mitts: I didn’t want the quilting to show on the outside of the striped fabric oven mitts – I wanted the smoother fabric look on the outside so it wouldn’t be too busy- so I quilted the inside first and then added the outside fabric.
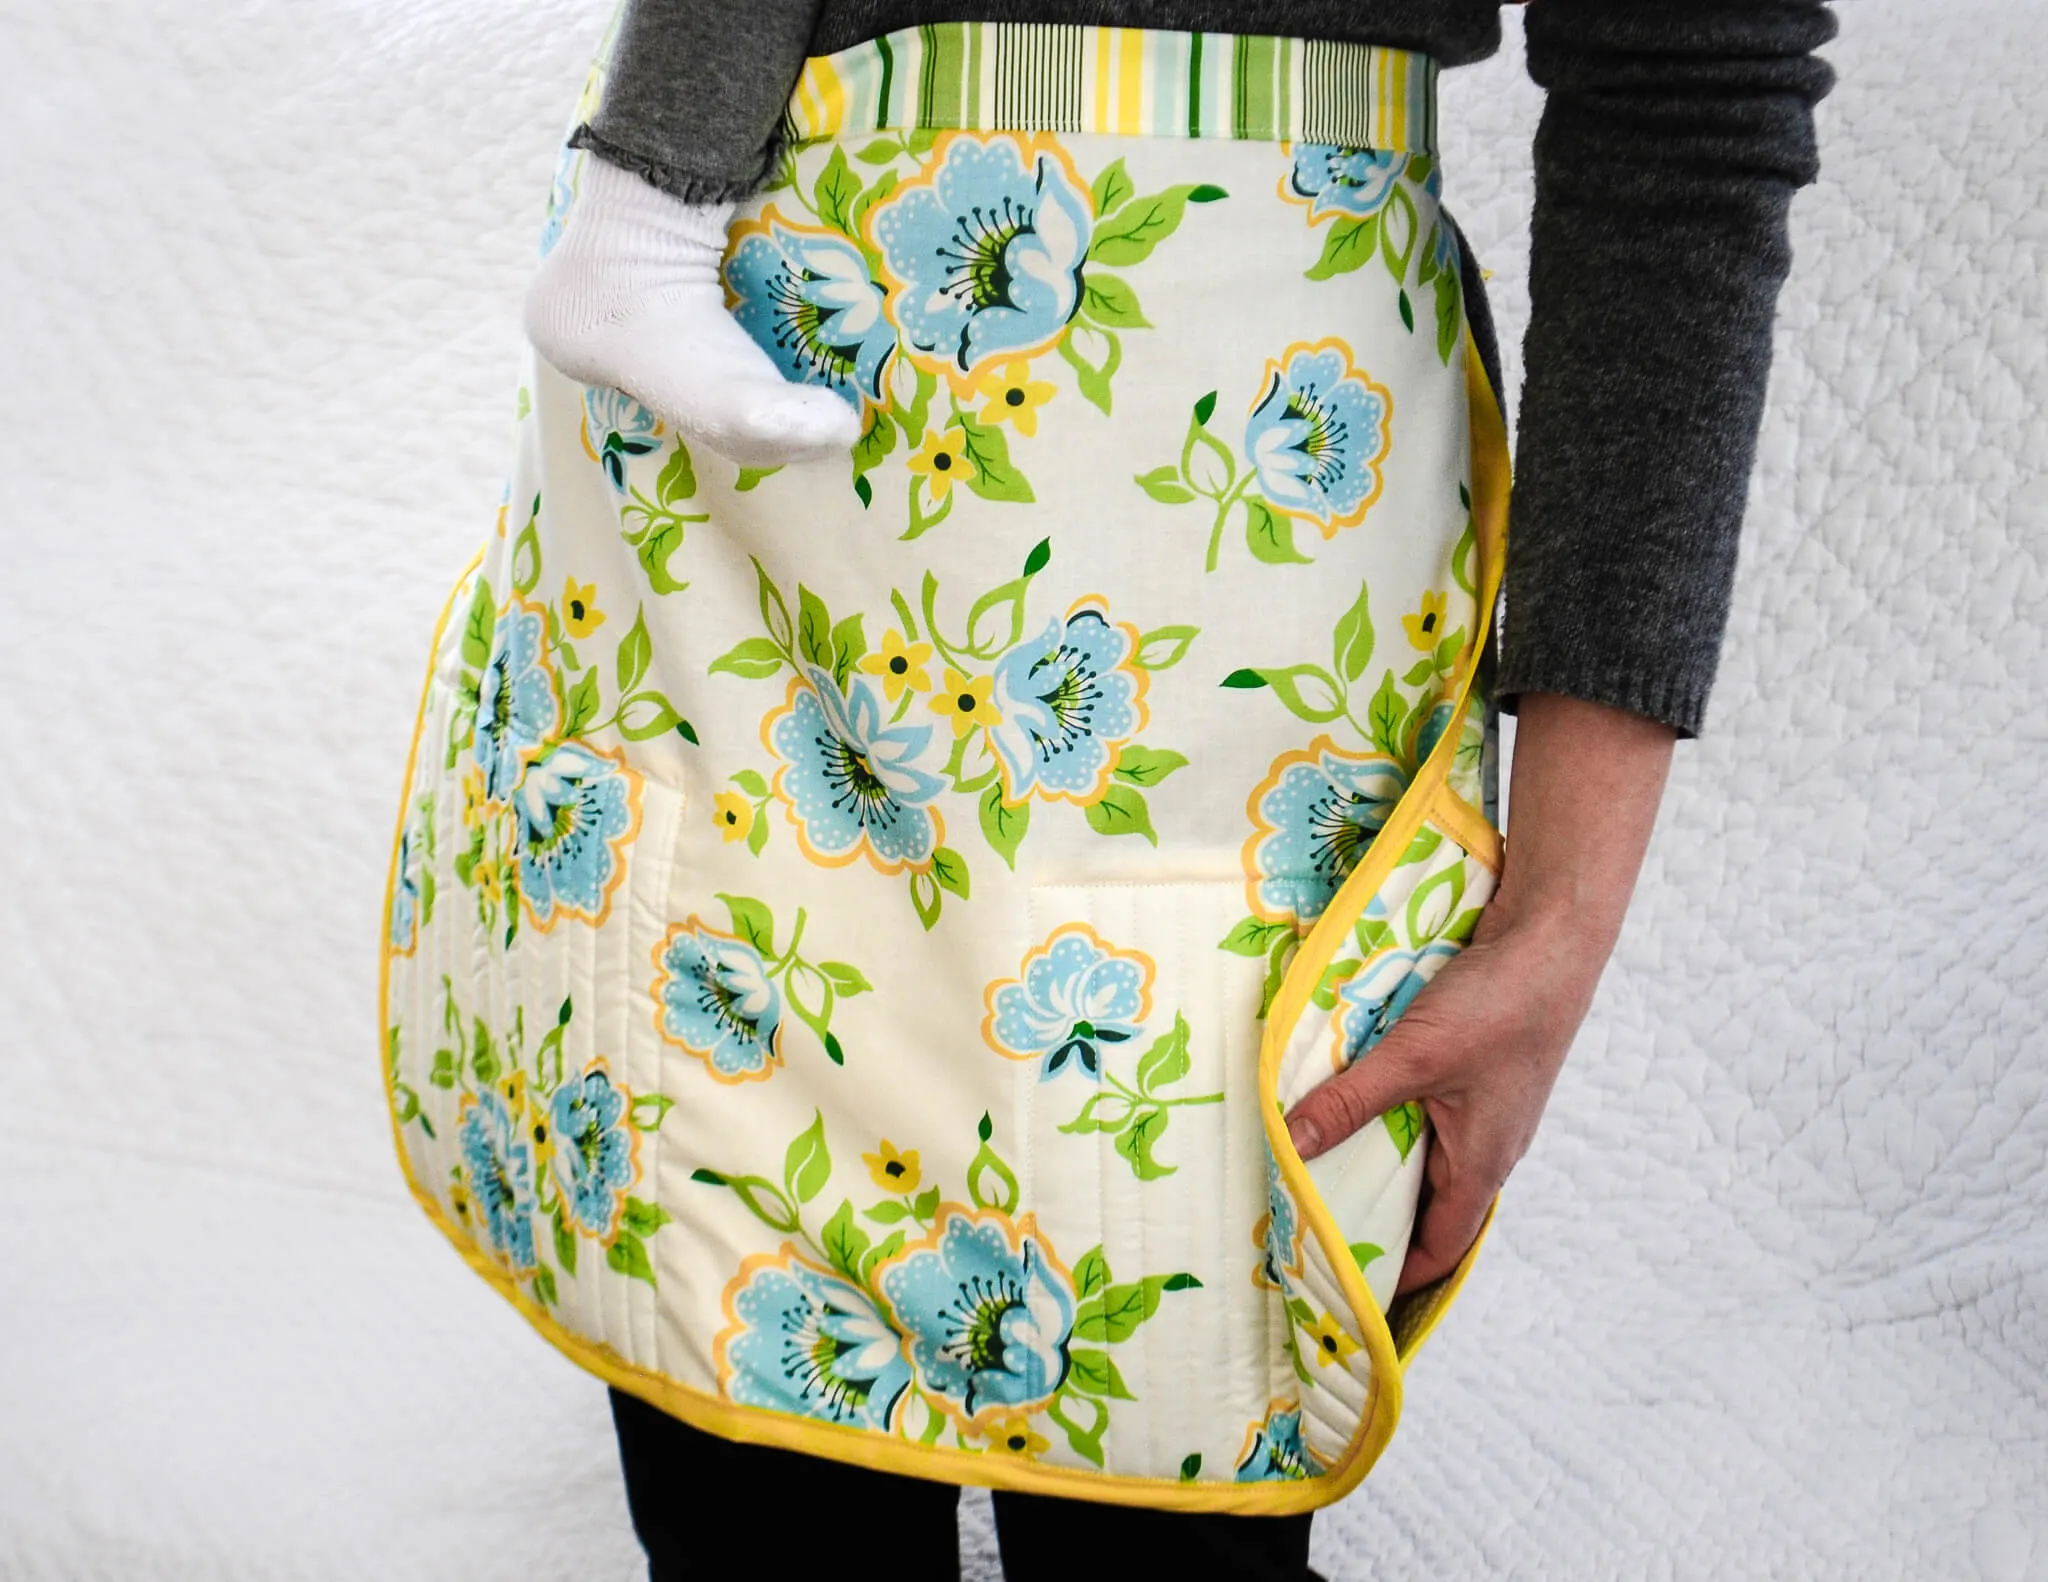
See also: ‘Apron free pattern with built-in potholders and secret iPhone pocket’ »
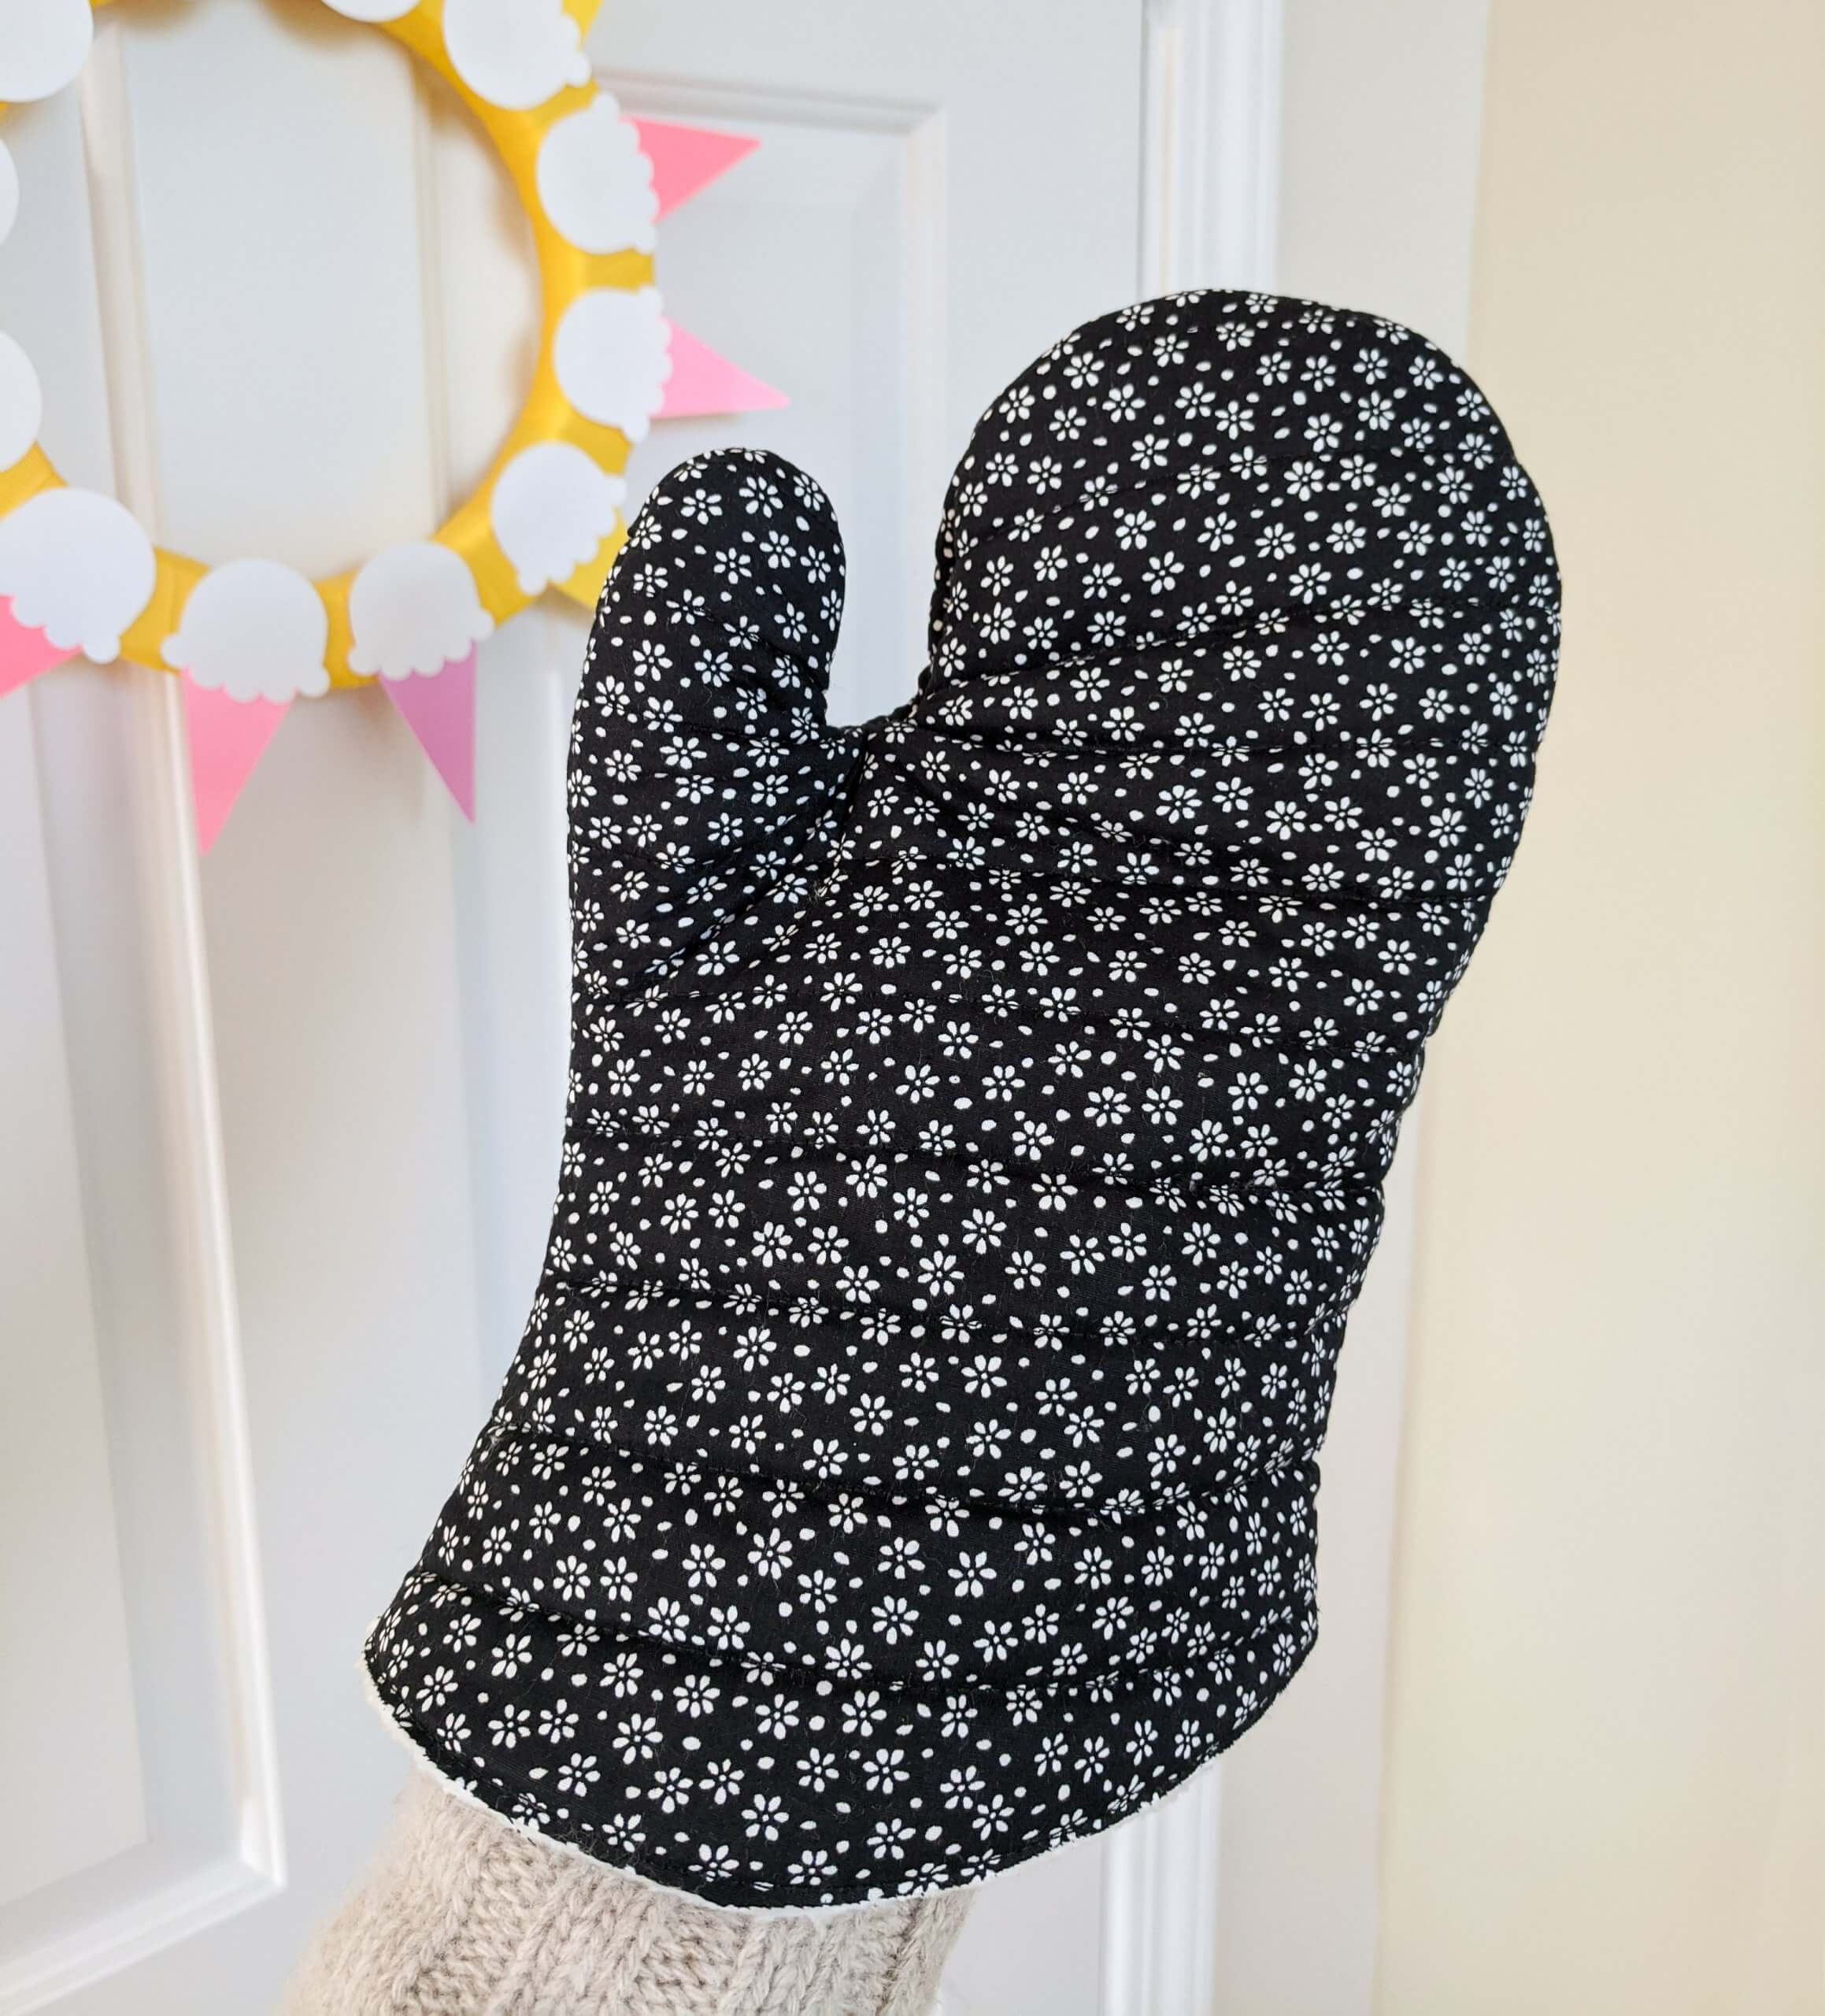
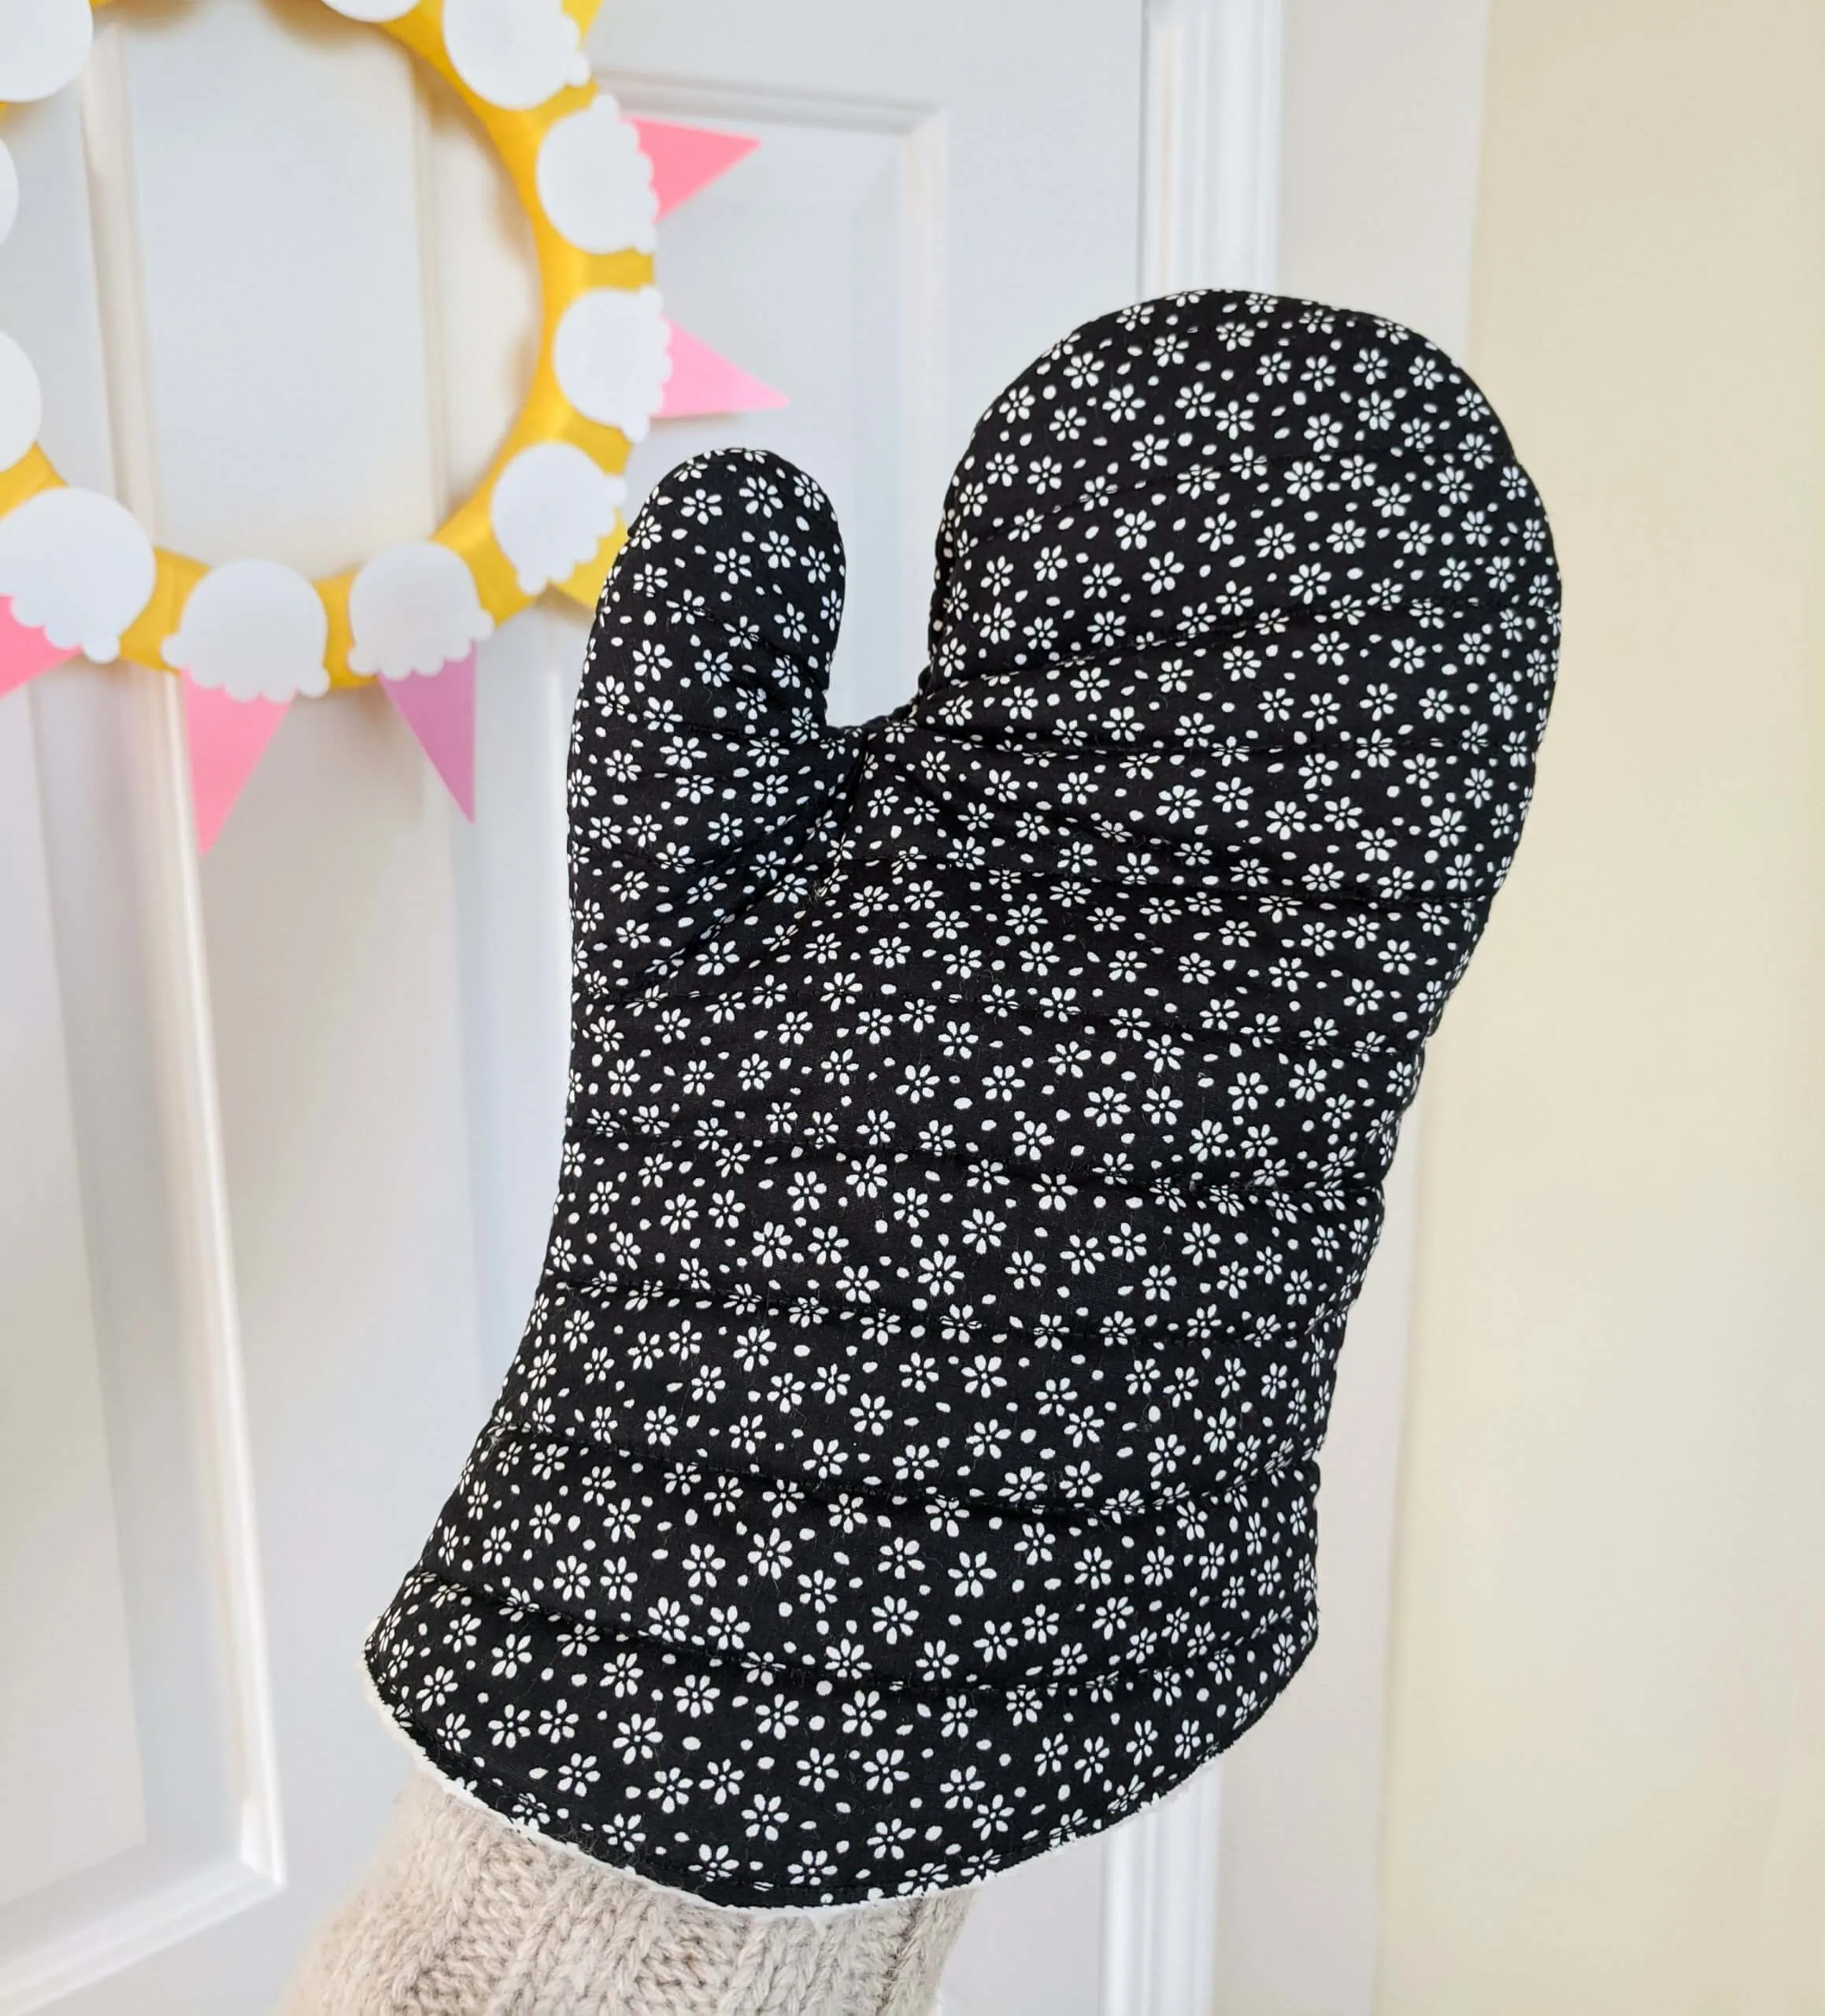
But for my black flowers oven mitts I decided instead to quilt the outside of the mitts — I’ll show you how to do it below.


And I’ll show you how to perfectly pattern match the stripes on the side seams of the oven mitts like so…


Sewing your own oven mitts is easy. My new striped oven mitts pairs well with my apron with built-in potholders and secret iPhone pocket free pattern. Now what to bake first?? Shane is voting for this.
This post contain affiliate links which means that products I recommend may give me a nominal commission at no extra cost to you. Thanks – your clicks help me make more free DIYs!
++++++
Supplies for making DIY oven gloves using my oven mitt free sewing pattern
- Kathy’s free oven mitt sewing pattern template (PDF – for personal use only. It’s bigger than letter paper size so print both pages and assemble. Contact me for any commercial use; this includes Etsy sellers. Enjoy!)
- 1/2 yard 100% cotton fabric – do not use synthetic on the outside or else it will melt (I used Heather Bailey Slim Dandy in Blue)
- 1/2 yard Insul-Bright Insulated Batting
- 1/2 yard Warm & Natural Cotton Batting OR 1/2 yard of fleece fabric
(I used yellow)
- 1/2″ Double Fold Bias Tape (or make your own with a Simplicity Bias Tape Maker)
- Air Soluble Marking Pen
- Good fabric scissors
- Good iron (like Rowenta) and ironing board
- Sewing machine
- Glass head pins
- Thread
—
How to sew DIY oven gloves using my oven mitt free sewing pattern
Step 1: Print my oven mitt pattern + cut fabric and insulation pieces
You can either download and print my oven mitt free sewing pattern or just eyeball some oven mitts for sale online and trace about 2-3 inches around your own hand like I did to make my oven gloves pattern. Cut out and tape the pattern together — it was too big to fit onto one letter-sized sheet.


Cut out your pattern pieces for your oven mitts. If you’re using a patterned fabric like I did, here’s an easy way to pattern match the stripes. Place one cut piece face down onto your fabric, right sides together. Trace around that and the stripes should line up when you sew the seams. Easy peasy, yes?


For each oven mitt cut out these pieces:
- Two (2) pieces of outside fabric using my oven mitt pattern (be sure to cut one with the thumb facing right and one with the thumb facing left)
- Two (2) rectangles of Insul-Bright Insulated Batting
- Four (4) rectangles of Warm & Natural Cotton Batting OR fleece
- Two (2) rectangles of inside lining fabric
Do I really need to use two types of batting to insulate my oven mitts?
Short answer, yes, you should really use both. While some other hot pad patterns will tell you that it’s OK to only use the Insul-Bright Insulated Batting, I wouldn’t recommend it. I tested mine at 400F degrees with and without and got best results from sandwiching Insul-Bright Insulated Batting between two layers of Warm & Natural Cotton Batting to protect hands from steam. It’s just making it extra heatproof and that’s the point of oven mitts, isn’t it?
Why am I cutting the insulation layers and lining fabric into rectangles instead of actual oven mitt shapes?
Because it makes the quilting process easier. Quilting shrinks up the batting a little bit so it’s easier to quilt the insulating layers of the oven gloves as rectangles. You’ll cut it all out later.
Step 2: Quilt the oven mitt lining, batting (and optionally, the outside fabric)
Make a quilt stack in this order:
- Lining fabric, wrong side up
- One (1) layer of Warm & Natural Cotton Batting
- One (1) layer of Insul-Bright Insulated Batting
- One (1) layer of Warm & Natural Cotton Batting
- Outside fabric, right side up
Optional Variation: If you would like the outside of your oven mitts to look smooth like my striped oven mitts, then you should only sandwich layers 1-4 (leave off the outside fabric for now). Then you will chose to only quilt the inside of the gloves. It’s up to you.


Pin your stack together. Then quilt as you please. I stitched lines across the stack, turning when I reached the sides and sewing about 10-15 stitches close to the edge, then turning the oven mitt and sewing back the other direction. You can either eyeball the quilting lines or use your measuring tape to check.


Then cut out your oven gloves through all of the insulating layers using good fabric scissors. Repeat for the other glove.


NOTE: If you are sewing a smooth outside: now place one (1) piece of outside fabric on top of the batting/fleece quilted inside. Sew the bottom edge of the mitt together and STOP. Just the bottom edge. It will help hold things together for the next step.


Step 3: Sew oven mitt front to oven mitt back
Stack the two sets together, right-sides together. Your bottoms will already be sewn and the sides will be completely open. Pin it and sew around the mitt – remembering not to sew the bottom shut. Now if you want to finish the edges you could do a tight zigzag here or fight with your serger to get around the perimeter. I decided to just trim up the seams and go with it as is – it isn’t going to ravel.


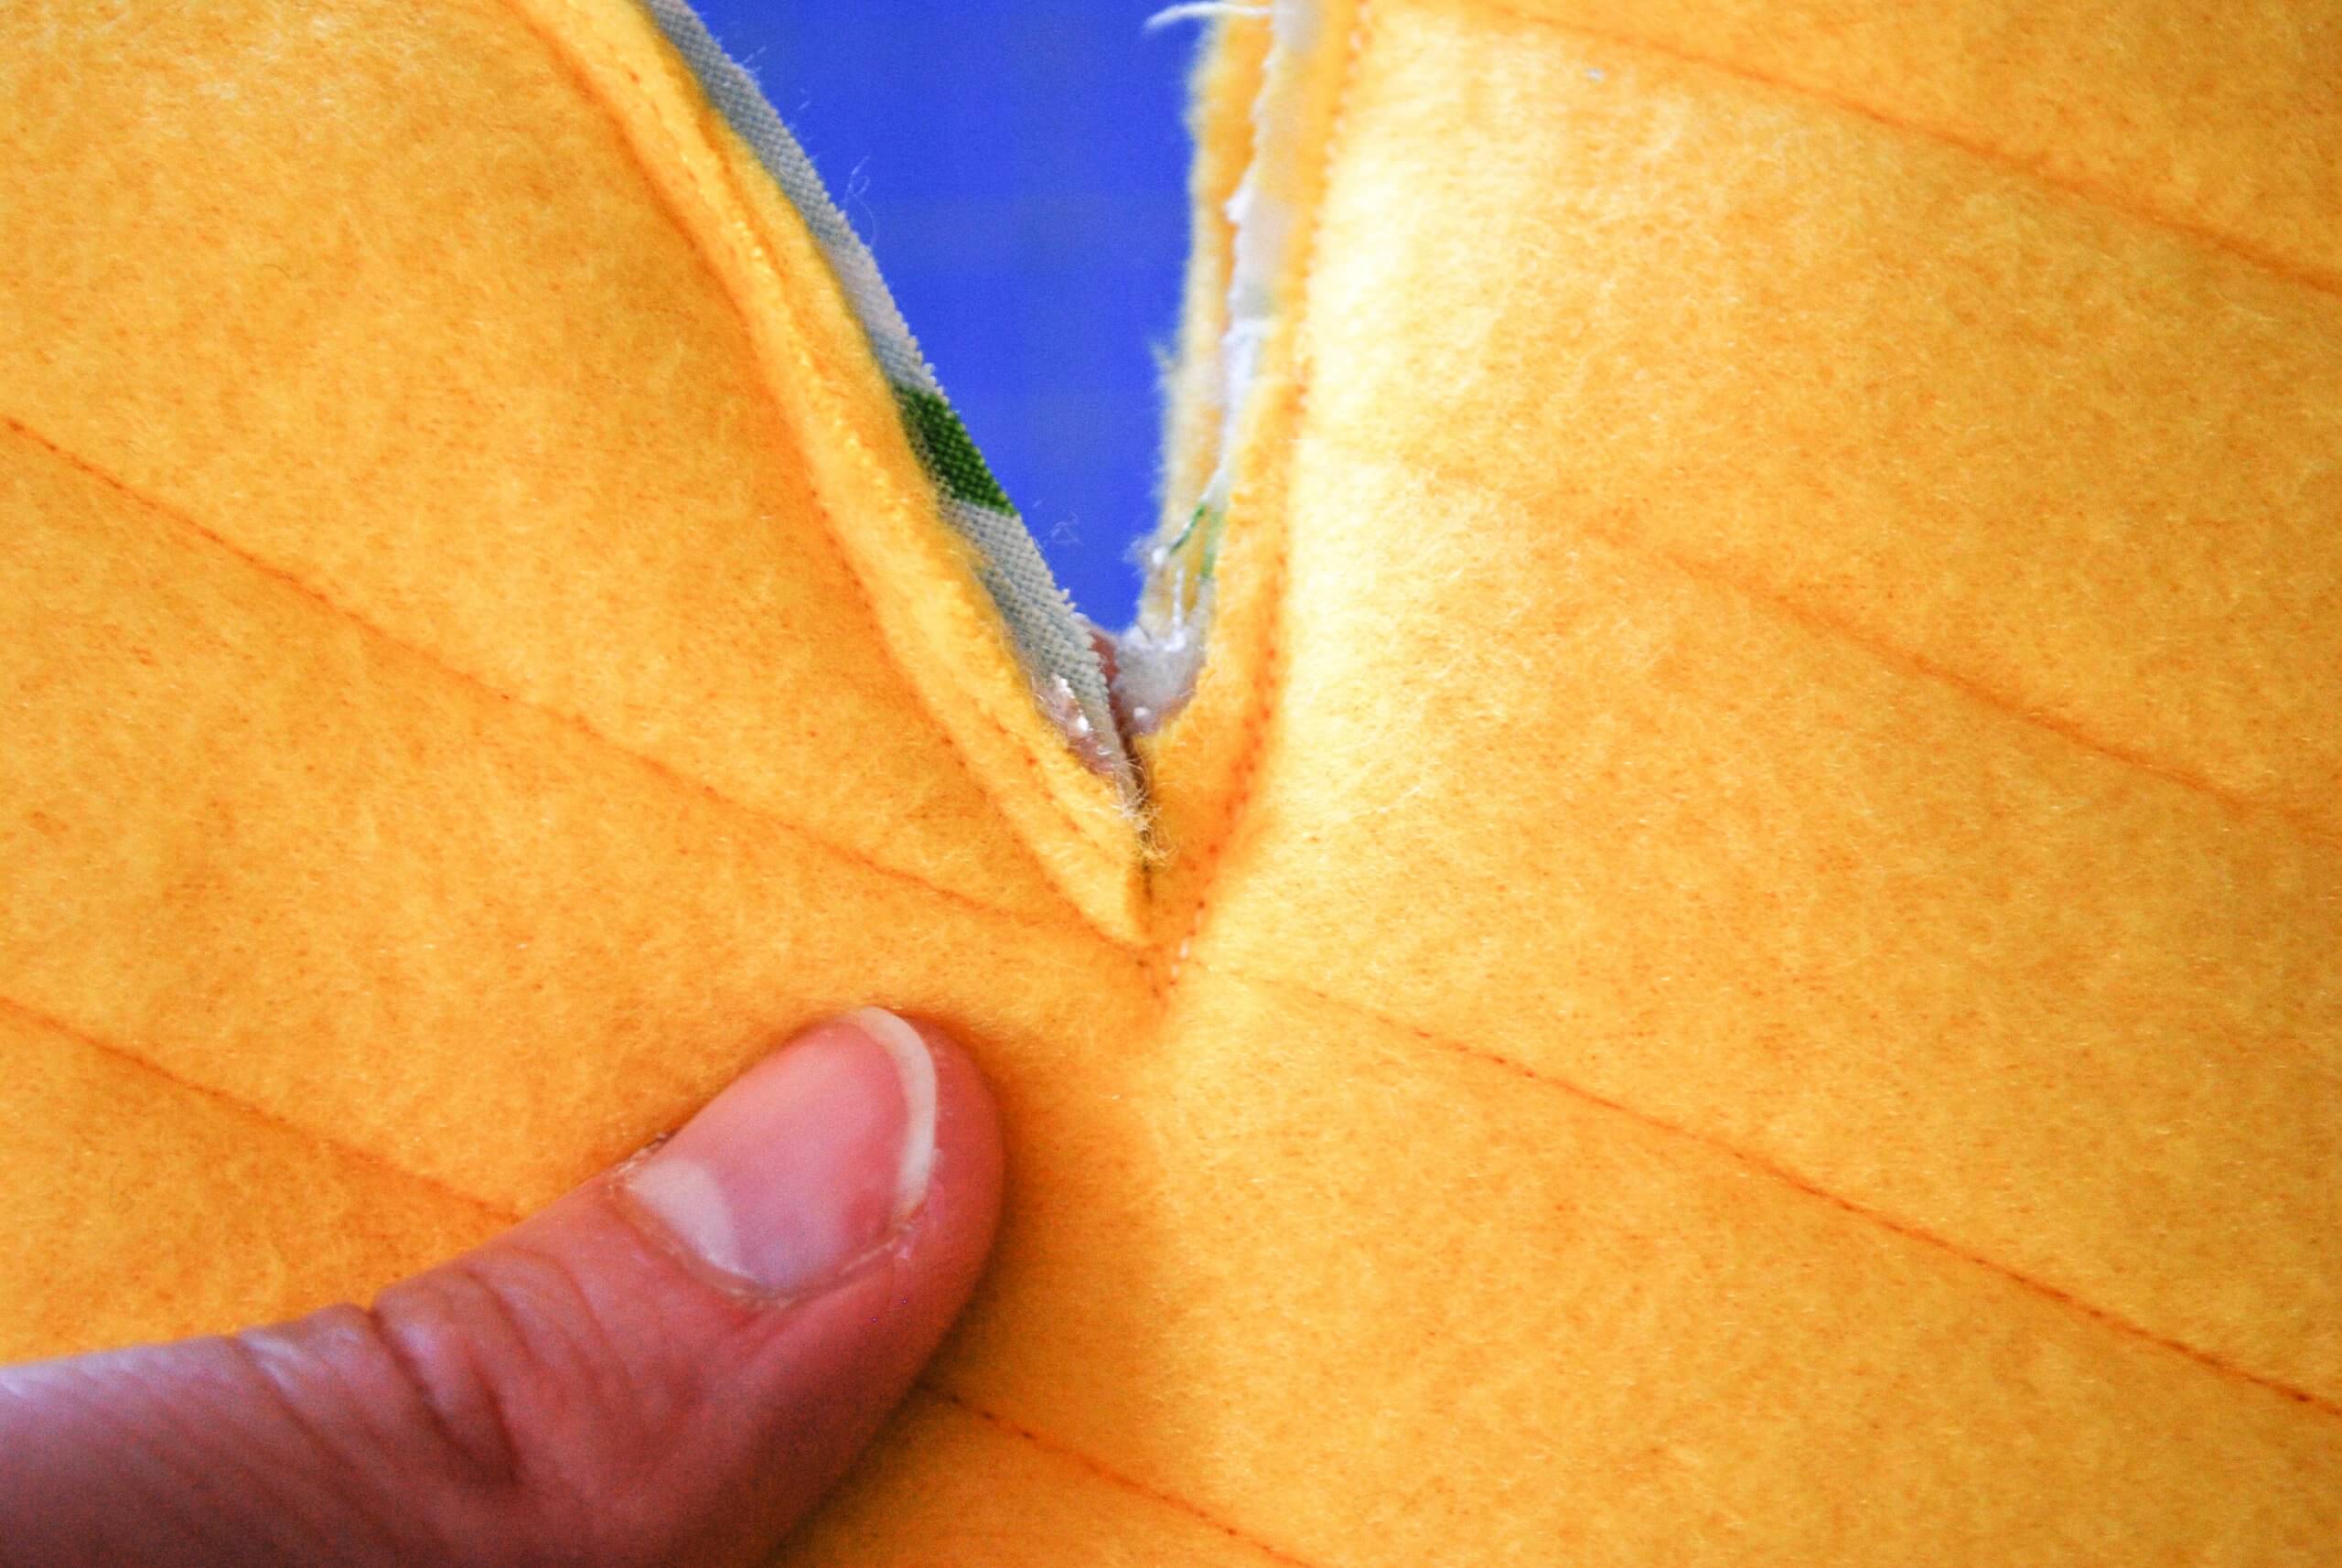
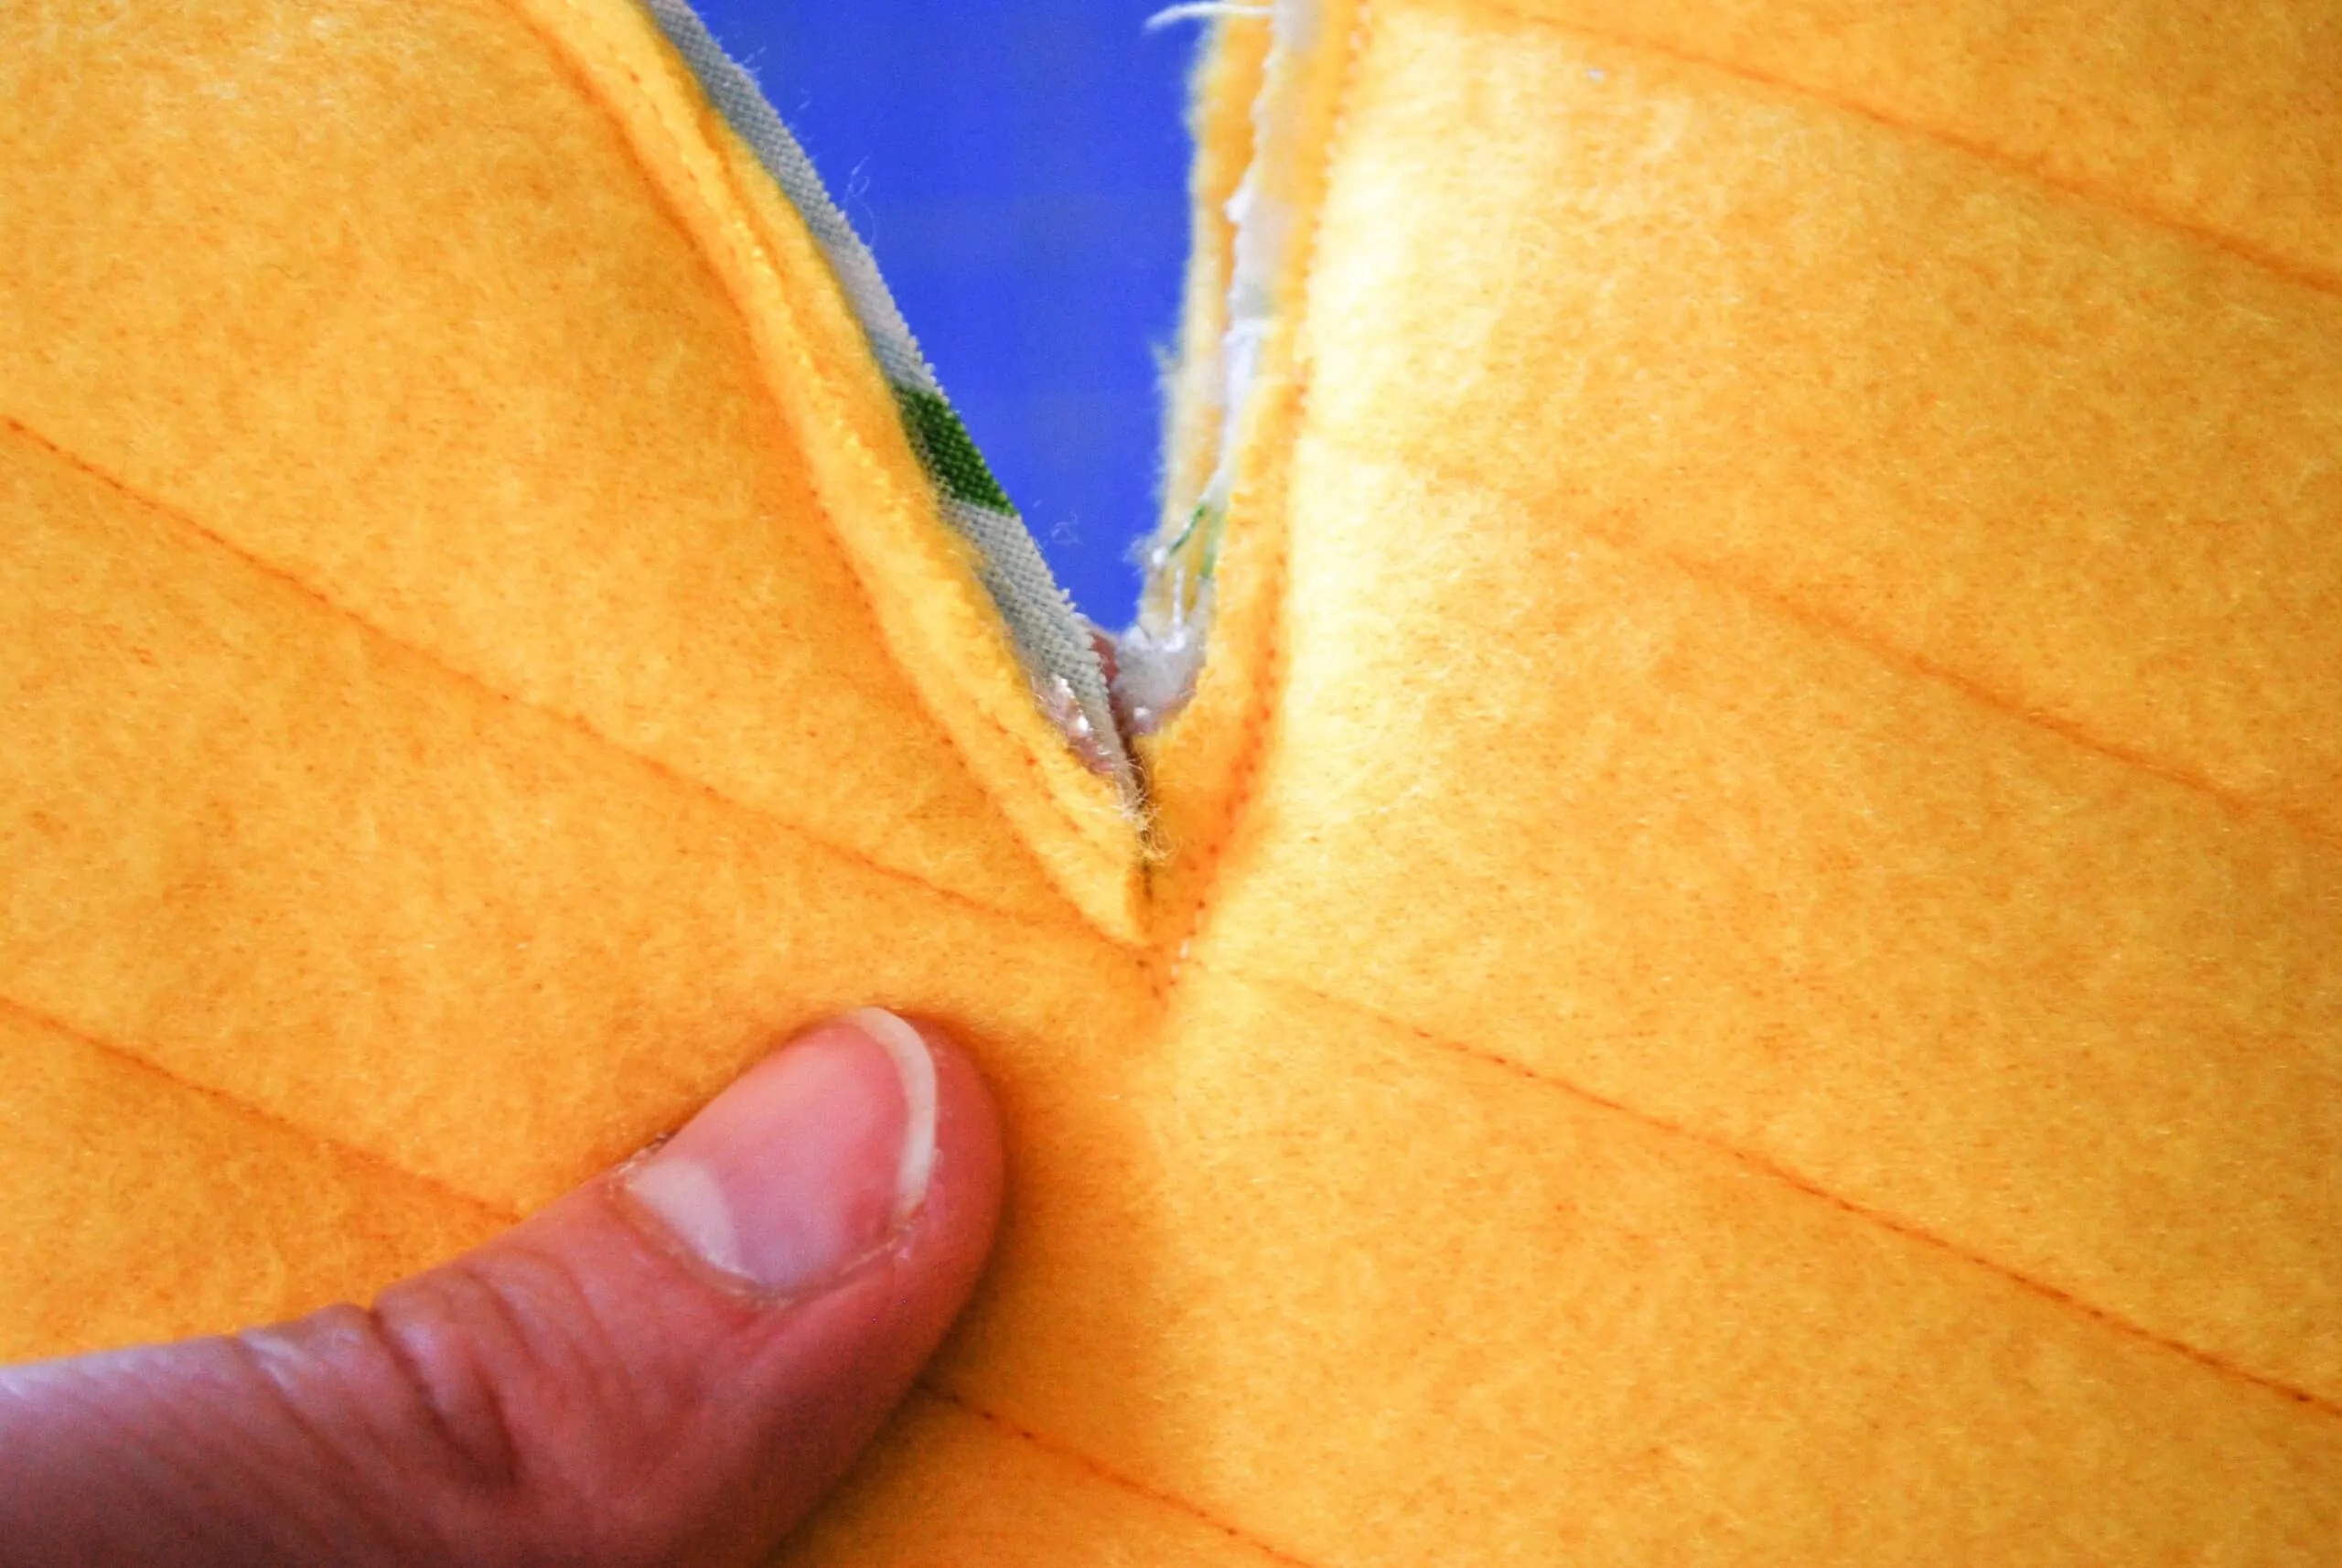
Stitch a line of reinforcement in the thumb dip area of the oven mitt. Snip the fabric down to the threads without clipping through the stitches. Clipping corners like this will make it easier to turn right side out.
Turn the oven mitt inside out and give yourself a little preview.


Step 4: Sew bias tape to the bottom of the oven glove
I have a really good bias tape tutorial that includes a clear YouTube video. Go watch that out first, and then come back to sew bias tape onto your oven gloves. Open up your bias tape, sew the binding tape.


Then turn your binding tape to the outside of the oven mitt and pin.


Now I used pretty thin bias tape especially on my striped oven mitts – you could probably use wider and this whole step will be a little easier.
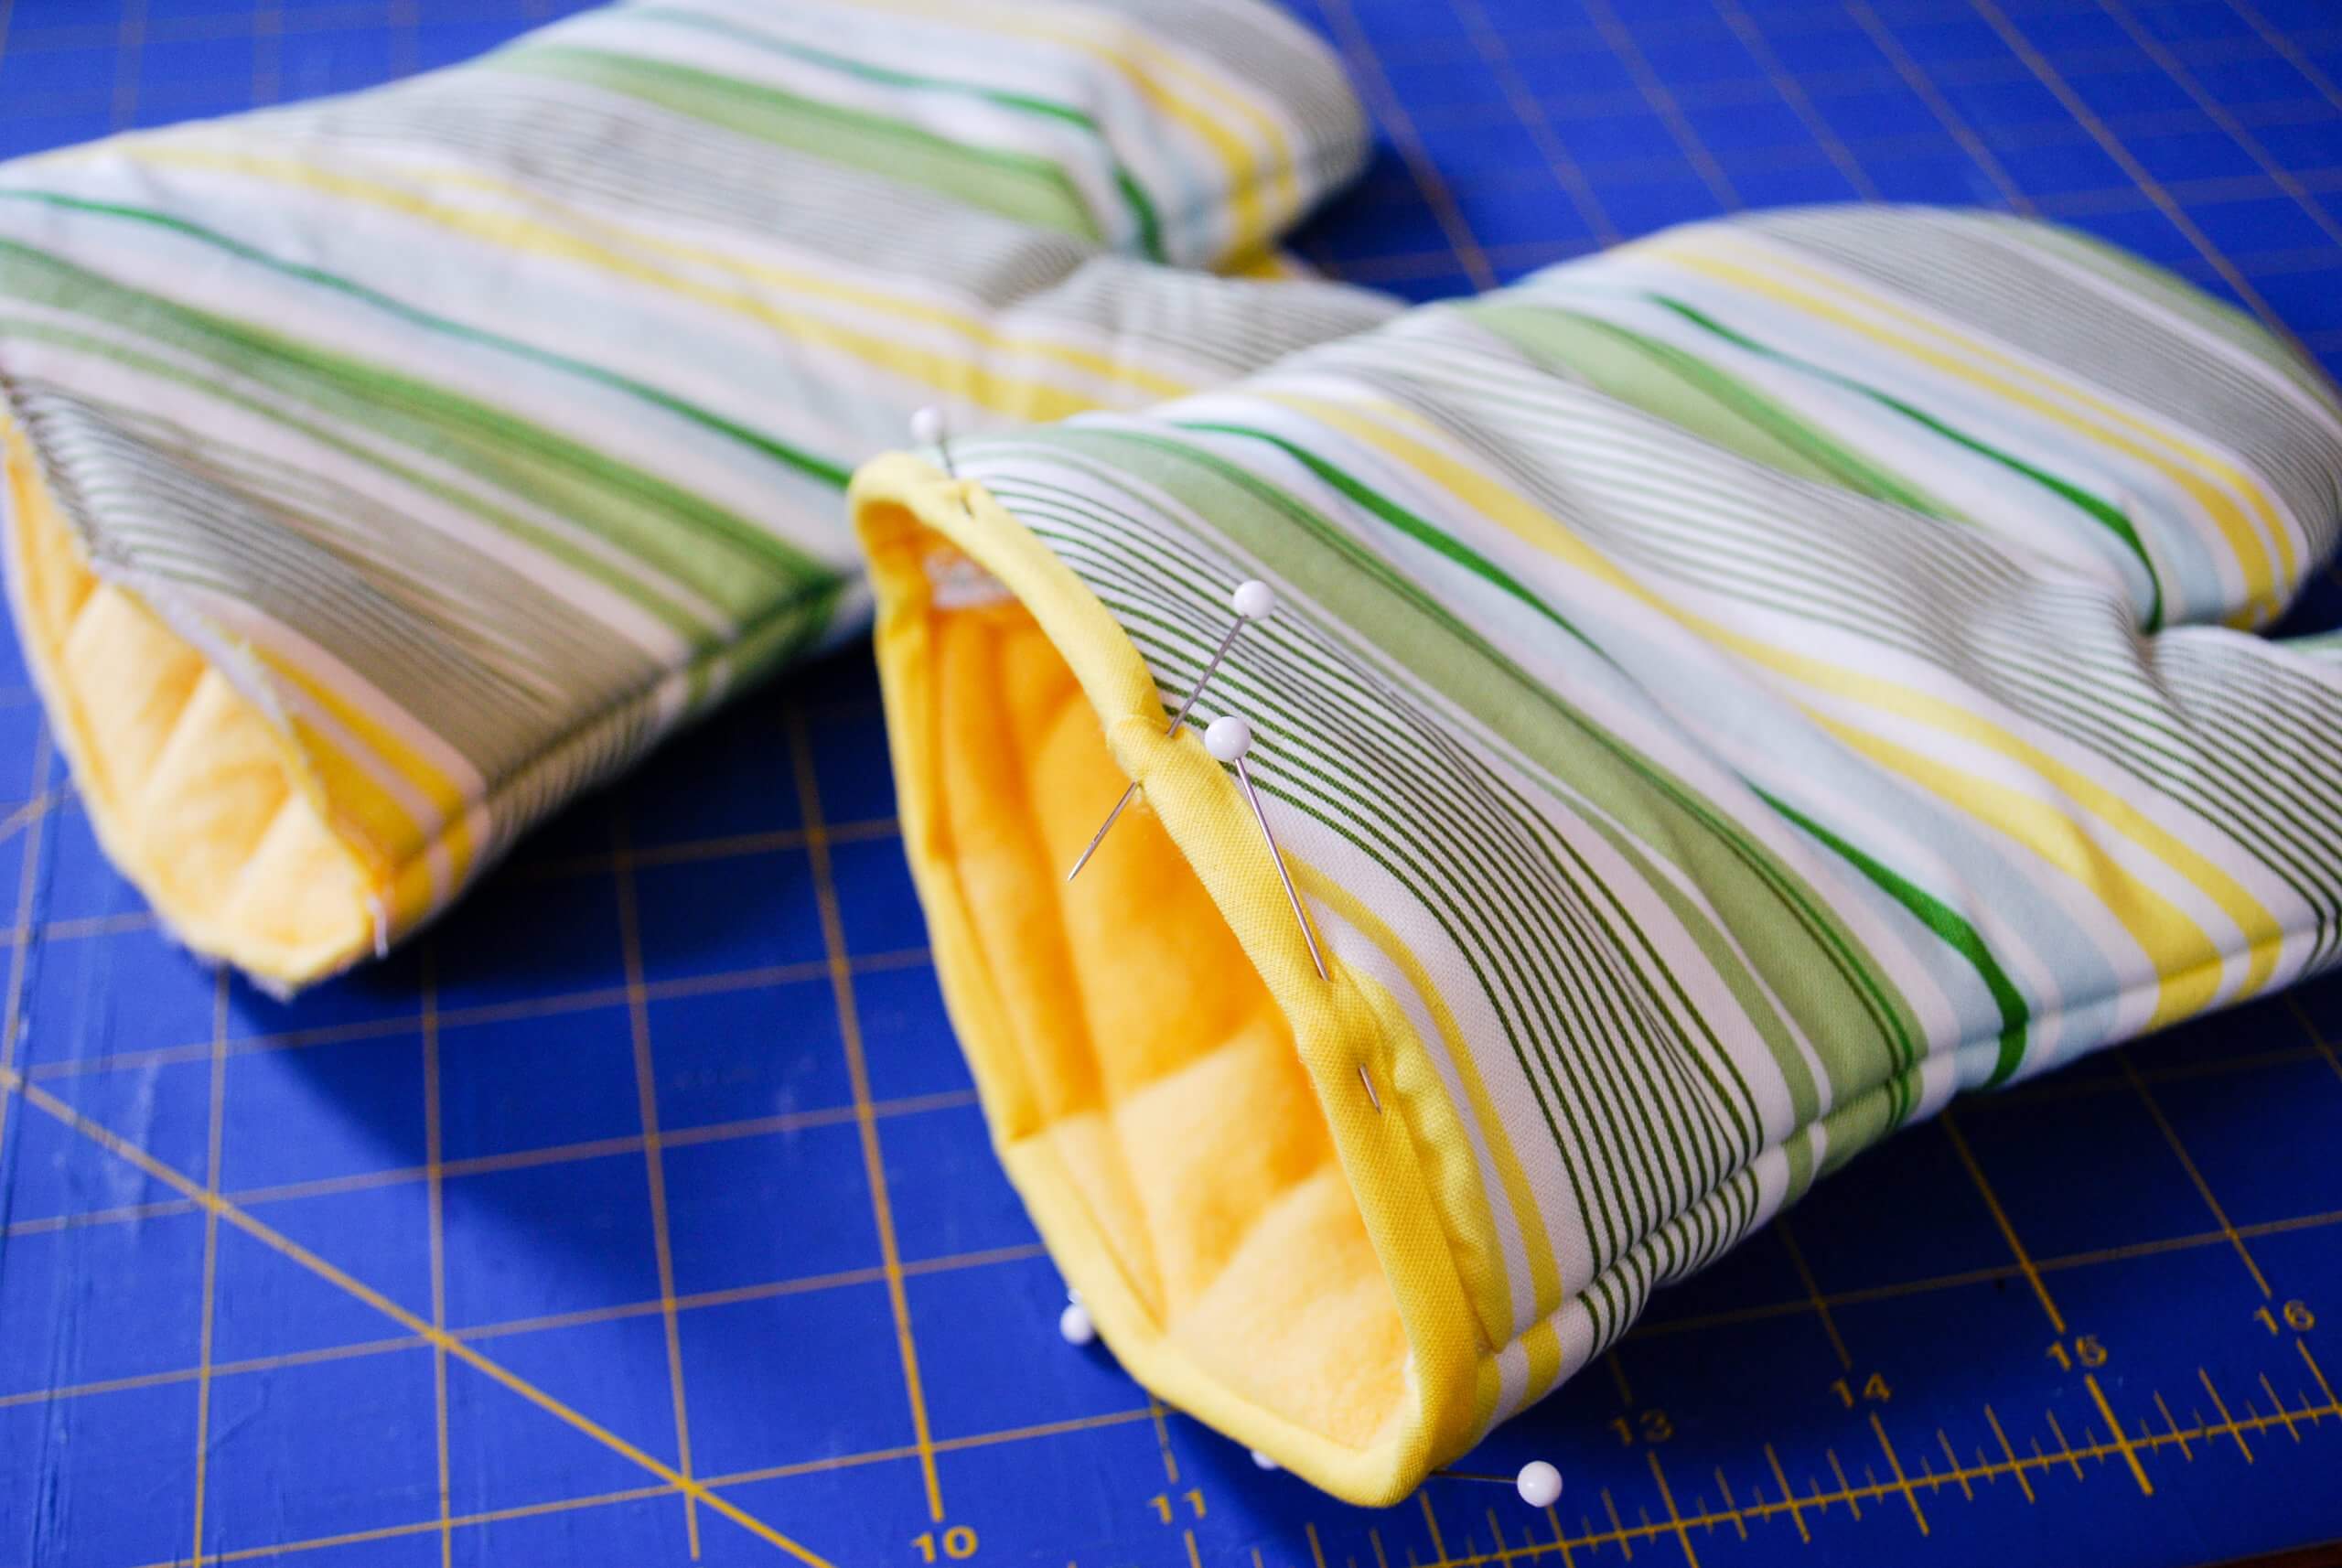

Stitch down your biding tape close to the edge of the bottom of the oven mitt, removing pins as you go.


Your oven mitt is done! Now get started on your other one 🙂


Here’s the inside, soft, cozy and ready for cooking.


++++++
Be sure to pin my DIY oven mitt free sewing pattern


++++++
And see more of my free sewing patterns like these reader favorites…


—
Like it? Share it!
The nicest way to say you like it is to pin it on Pinterest, post a comment, follow Merriment Design on Facebook, Pinterest, Instagram or sign up for monthly emails. Enjoy! 🙂
Copyright stuff: You’re more than welcome to use this free project and tutorial for personal use. Contact me for commercial use and Etsy sales.
Lili
Friday 24th of July 2015
Congrats! i love your tutorials, thanks Felicidades!
Dominique
Monday 23rd of December 2013
What kind of fleece did you use? Was it thick or thin? Was is made of polyester?
janey
Monday 7th of May 2012
Hi Kathy, I can't get anything from your site to print. I really love the mitts and would love to make a pair but i don't trust myself without your pictures.. can you help ?? janey
Kathy Beymer
Monday 7th of May 2012
Hi Janey, are you having trouble downloading it or printing it? I can email you the pattern if you need download help. For printing, just make sure that the "print to fit" box is unchecked ...or else the pattern may print too small. Just let me know what you need!
Kolo Mary Matthew Mrs.
Thursday 8th of December 2011
Thanks alot i used the step by step pattern and it was very helpful
Kathy Beymer
Thursday 8th of December 2011
Great! So glad it worked for you. Feel free to post any photos that you want to share on our gallery: http://www.flickr.com/groups/merrimentdesign/
Heather Crosby
Thursday 28th of April 2011
You are brilliant. I love these! Congrats in the new range, too.
Kathy Beymer
Thursday 28th of April 2011
Thanks. Our carbon monoxide detector went off and the four nice burly Chicago firemen who arrived were able to track it to our old oven. Wish it would have happened years ago! This thing is a dream.