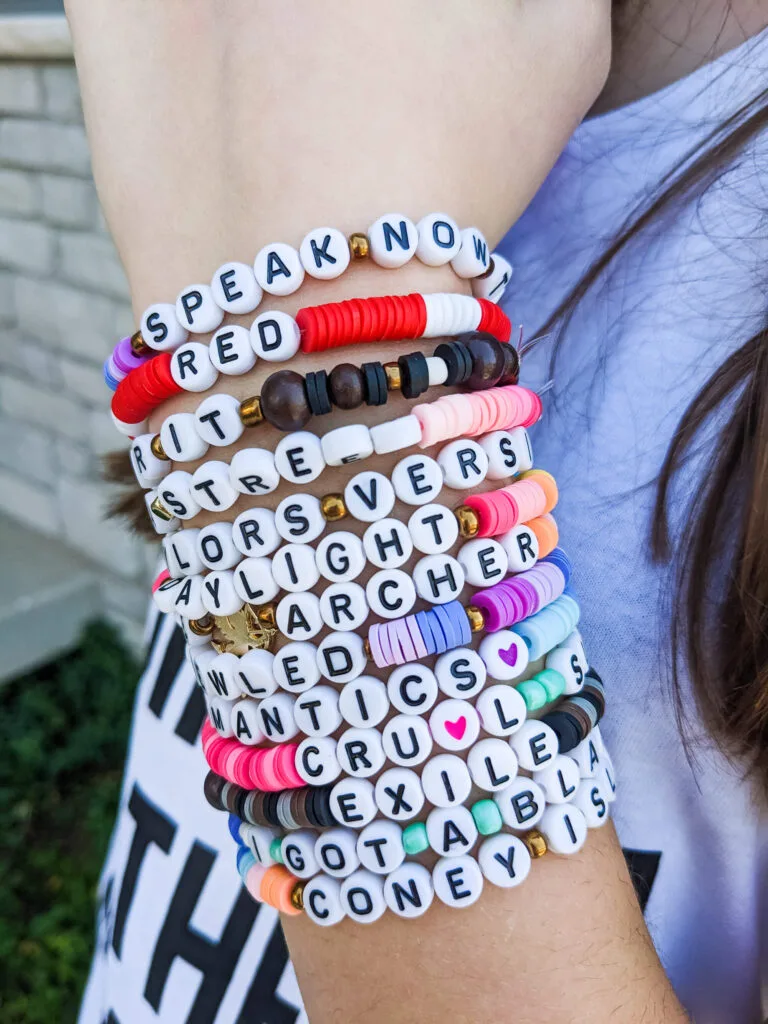
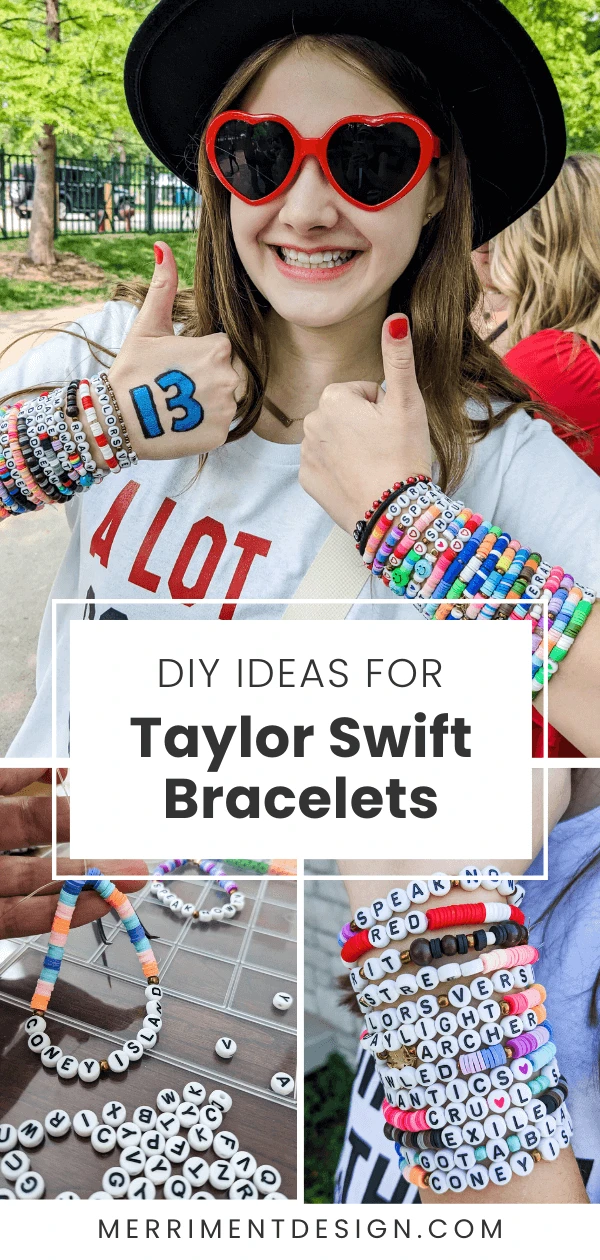
Going to the Taylor Swift Eras tour? You gotta make some DIY Taylor Swift bracelets to trade at the concert with fellow Swifties! Plus up your Eras concert outfit and connect with fellow fans by swapping these cute beaded friendship bracelets. I’ve got lots of ideas to share with you for words and lyrics to string onto your bead bracelets. Just follow my easy tutorial to make a bunch of DIY Taylor Swift friendship bracelets inspired by your favorite albums and songs.
See also: DIY jewelry holder for your wall >>
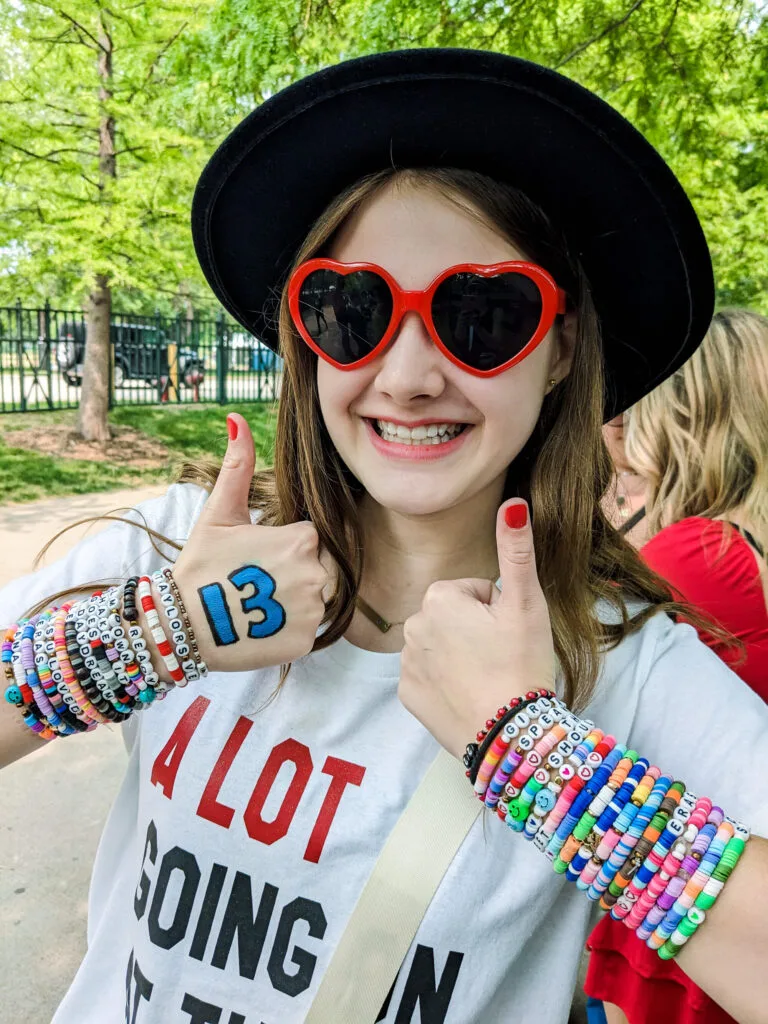
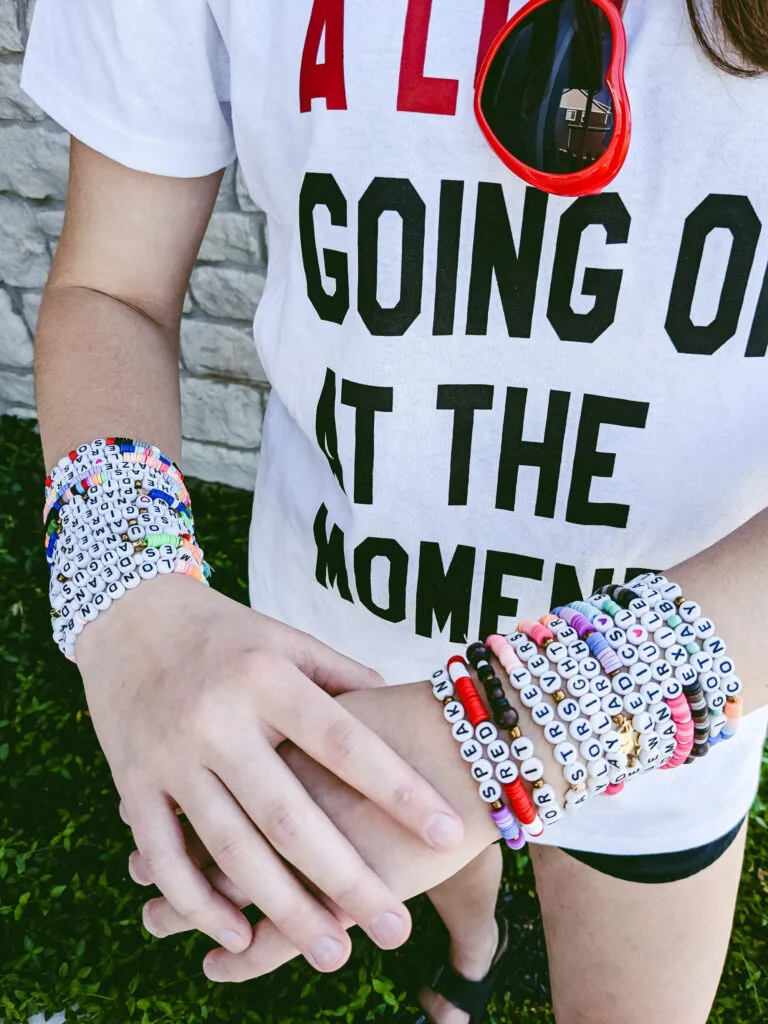
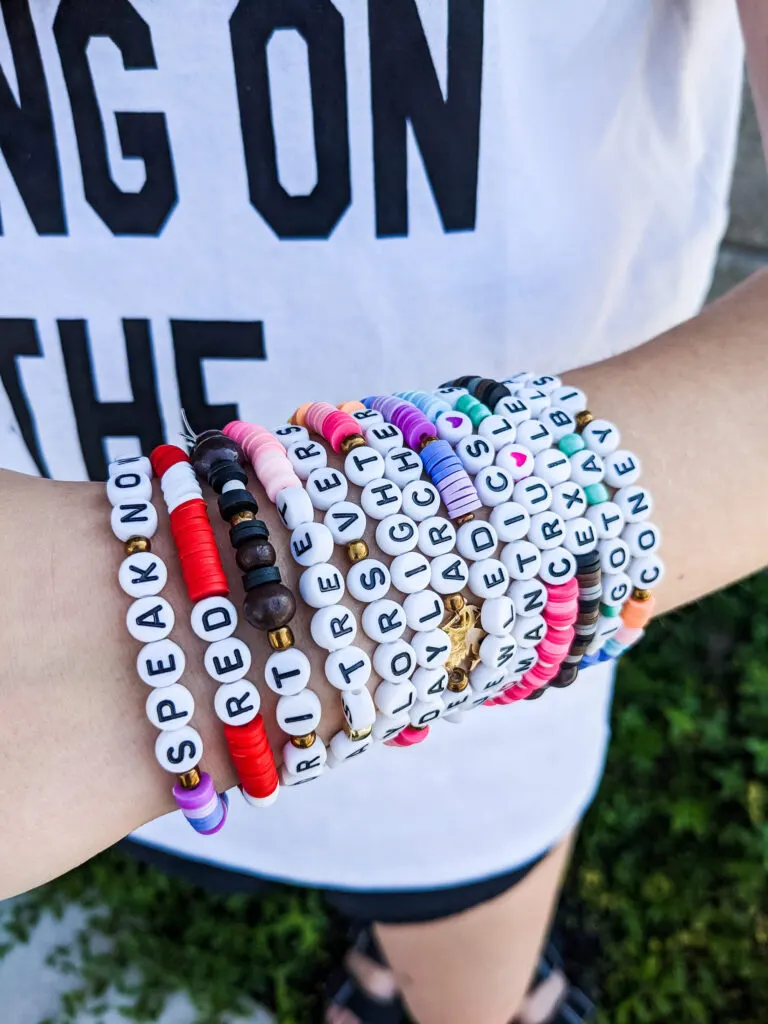
Taylor Swift bracelet ideas – words for albums, songs, and fun lyrics
You can really use any songs or lyrics off of your favorite albums. Here are some ideas for what to spell on bead bracelets for Taylor Swift tour trading. I’ve added a few additional ideas for The Tortured Poets Department. And if you’re looking for even more bracelet ideas, check out this massive spreadsheet!
- Eras Tour Chicago (substitute your own city)
- ♡ Eras ♡
- Taylor’s Version
- Ready For It
- Karma BF
- It’s Me ♡ Hi
- I’m The Problem
- August
- TTPD (The Tortured Poet’s Department)
- loml
- Fortnight
- Little Old Me
- I Can Do It
- Florida!!!
- Dazzling
- Clara Bow
- Begin Again
- Starbucks Lovers
- Swiftie
- Karma
- Enchanted
- Lavender Haze
- Love Spiral
- She Did It
- Girl at Home
- Meredith 😺
- Olivia 😺
- Benjamin 😺
- Trouble
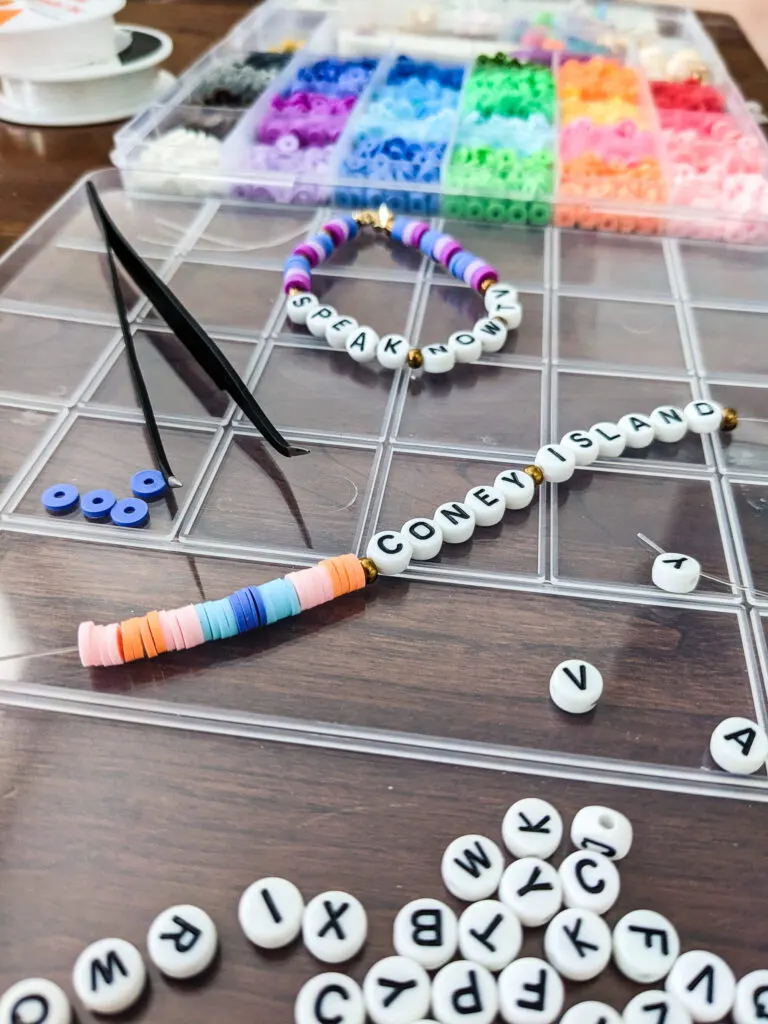
- Speak Now
- Archer
- 13
- Fearless
- Speak Now
- Red
- 1989
- Reputation
- Lover
- Folklore
- Midnights
- The Best Day
- It Was Rare
- All Too Well
- Welcome 2 NY
- Blank Space
- Style
- Haters Gonna Hate
- Players Gonna Play
- Shake It Off
- This Sick Beat
- What You Made Me Do
- Delicate
- So Gorgeous
- Cruel Summer
- It’s You
- Miss Americana
- Cornelia Street
- Cardigan
- Go Viral
- Everybody Agrees
- Daylight
- Bejeweled
- Exile
- Willow
- Anti ♡ Hero
- T ♡ T
- I ♡ Taylor (or I ♡ TS)
- My Concert Era
- Any of your own favorite songs or lyrics
- Many others in this massive spreadsheet!
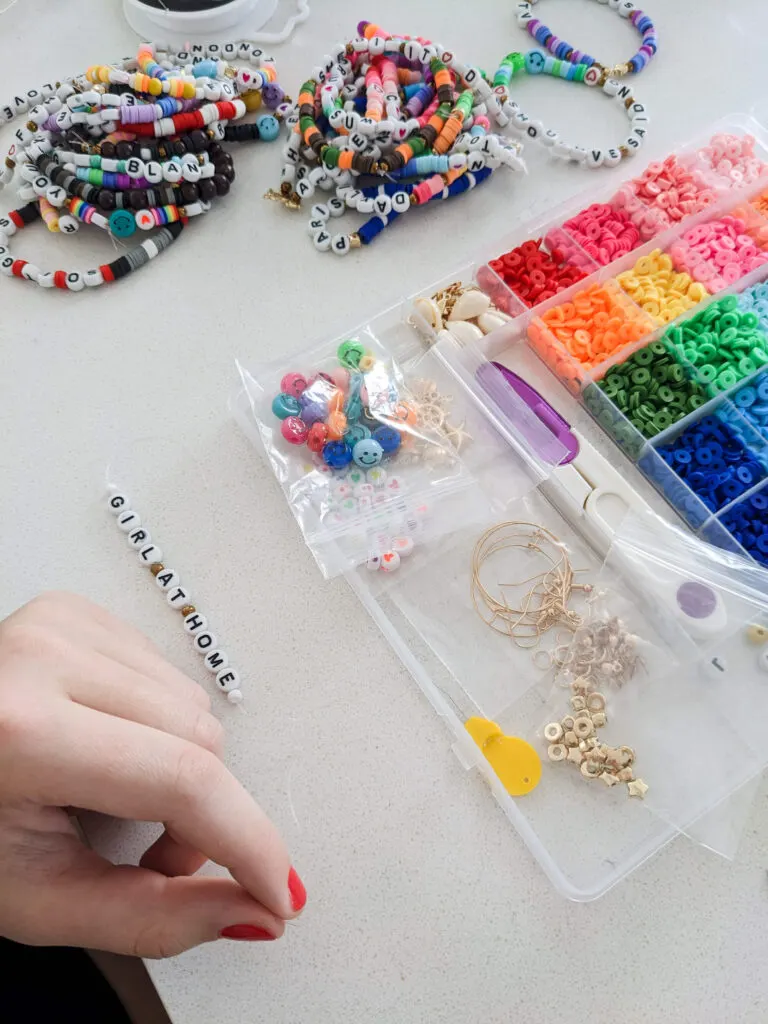
Cute DIY Taylor Swift bracelets to trade at the Eras concert
Making Taylor Swift Beaded word bracelets is fun and easy. This tradition started with Taylor’s song “You’re On Your Own, Kid,” on Midnights where Taylor says to “make the friendship bracelets.” Fans turned trading bead bracelets into a fun and popular pre-concert activity.

The best bead kit for making bracelets
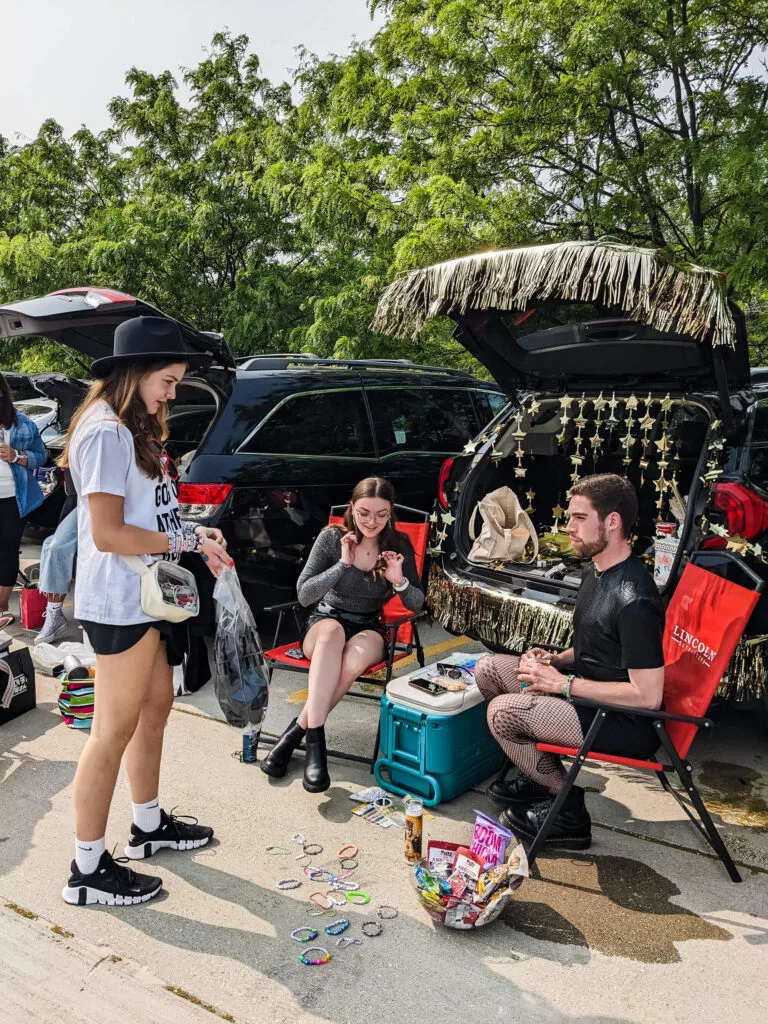
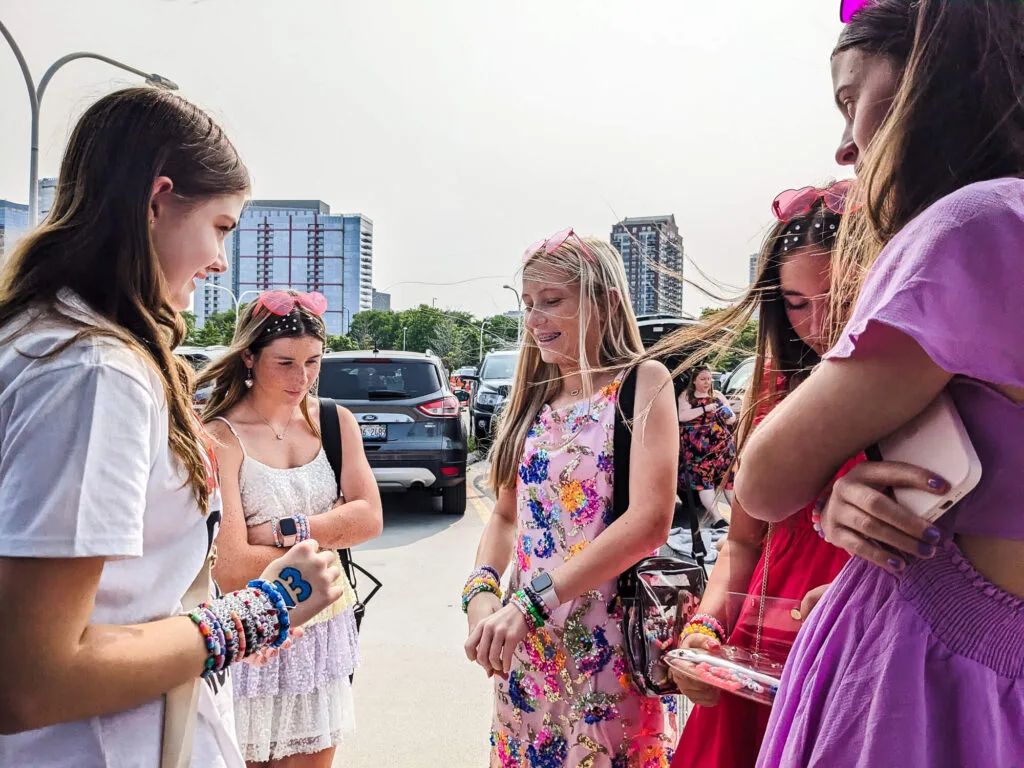
When Elise and I snagged two Eras tickets for the Chicago show at Soldier Field, we quickly ordered this cute and colorful bead kit as well as extra alphabet beads and elastic bracelet cord and started stringing! Taylor Swift bracelets are so addictive to make. We kept going and made a whole bunch, and we keep thinking of more and more Taylor Swift words and phrases to turn into bracelets. Making bead friendship bracelets was a fun craft to make together and a fun way to connect with fellow fans at the concert.

How to make Taylor Swift friendship bracelets
Step 1: Gather your bracelet-making craft supplies
- Bead kit with alphabet letters, hearts, and colorful beads
- Extra alphabet letter beads
- Extra 0.6 stretch string cord
Step 2: Cut a piece of 0.6 elastic jewelry string
Wrap elastic string around your wrist and add 2-4 inches (1-2 inches on each side) to give room for tying. We cut ours to be 7 inches long which was perfect for our wrists. Be sure to make some bracelets bigger and smaller than your own …Taylor Swift fans come in all sizes!
Step 3: String beads using your favorite Taylor Swift album, song, or fun lyric
Start stringing your alphabet letter beads in the middle of the elastic string and then add colorful beads around the word. Once we got started, we just kept thinking of fun lyrics and songs and albums to turn into bracelets – it’s addicting!
Step 4: Securely tie the bracelets – AKA, how to tie the best knot for elastic bracelets
Here’s how to securely tie your stretchy bracelets so they’ll stay put. You’re going to tie two different kinds of knots. We learned how to tie elastic bracelets by watching this quick and awesome “how to tie a bracelet knot” video.
First, tie a square knot by tying a knot right over left (like tying your shoe) and then tie a second knot left over right. Same thing, just opposite.
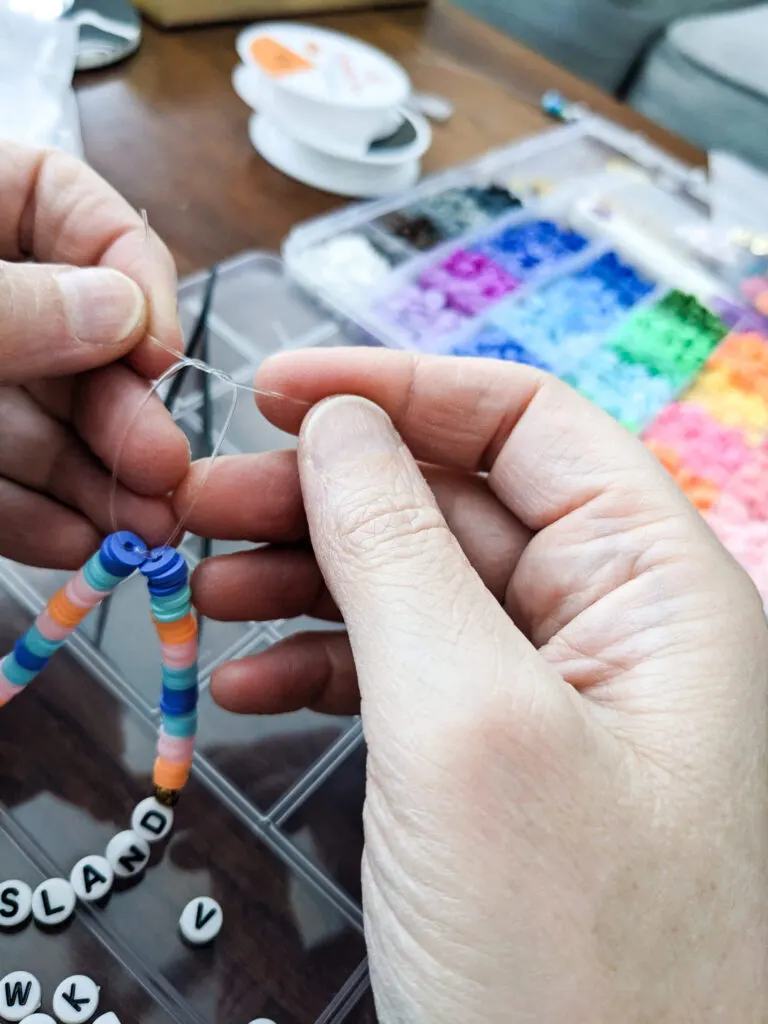
Gently pull and wiggle the individual loose end of the elastic to tighten the square knot.
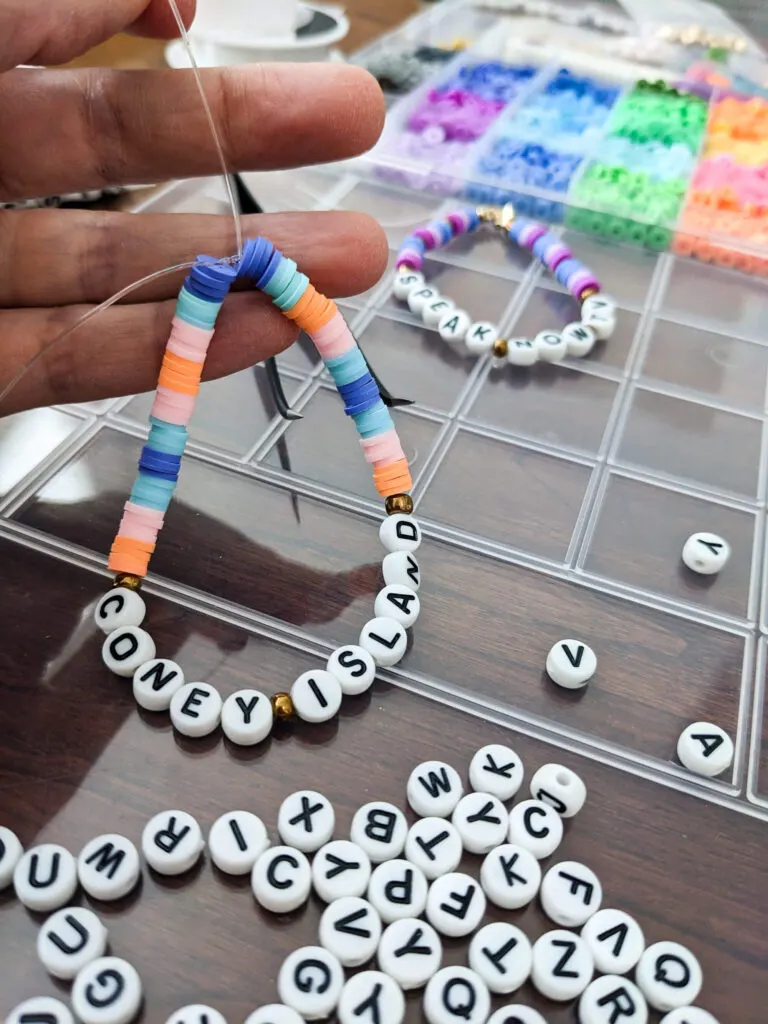
Next, you’ll tie an overhand knot which is your second knot. With both of your strands together, wrap both of them around just like you’re tying a balloon and pull so the knot sits right above your first square knot. With your thumbnail pulling down against the knot, gently stretch each strand individually and that’s it. You can cut the loose strands about 2mm from the knot using cutters or scissors.
You can optionally add a dab of glue to the knot to really secure it. We didn’t do this step and our bracelets stayed tied just fine without it.
Step 5: Trade your Taylor Swift bracelets at the Eras tour!
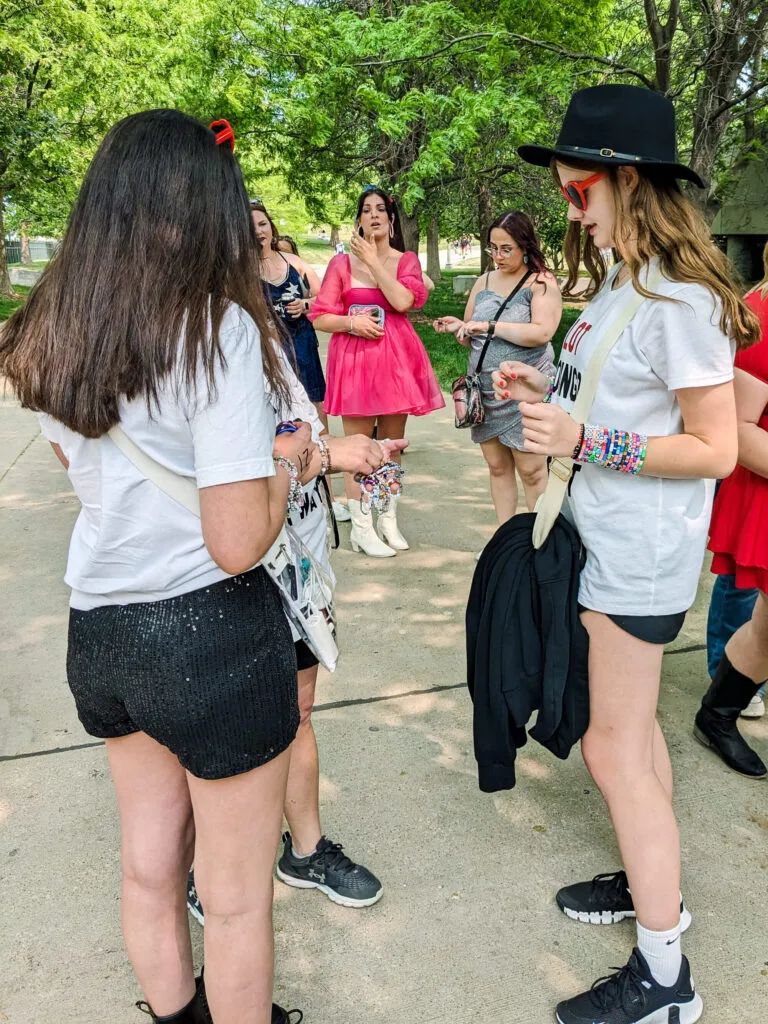
I’ll admit that at first it felt a little awkward to walk up to strangers to trade bracelets, but we quickly got the hang of it and had a lot of fun meeting fellow fans.
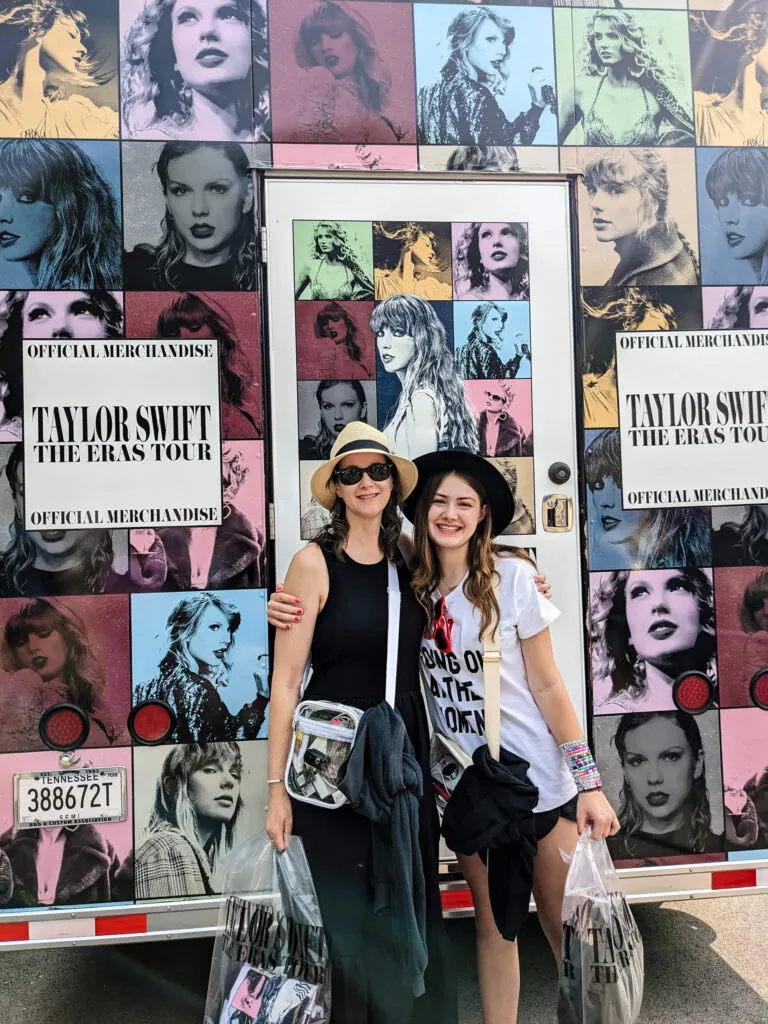
I highly recommend going to the Taylor Swift Eras Tour if you can get the tickets. It was such a positive and fun experience for both of us!

Be sure to pin how to make DIY Taylor Swift friendship bracelets
And check out my other DIY jewelry ideas like my Paper Bead DIY Jewelry, Felt Flower Bracelets, Easy DIY bracelets using VELCRO, DIY bracelets for Christmas, Frozen DIY bracelets for your little Elsa, Valentine’s Day bracelets, and Pumpkin and Skull bracelets for Halloween.
++++++
Like it? Share it!
The nicest way to say you like it is to pin it on Pinterest, post a comment, follow Merriment Design on Facebook, Pinterest, Instagram or sign up for monthly emails. Enjoy! 🙂
Copyright stuff: You’re more than welcome to use my free project, printable templates, and tutorials for personal use. Contact me for commercial use and Etsy sales. Momma’s gotta pay the bills.
