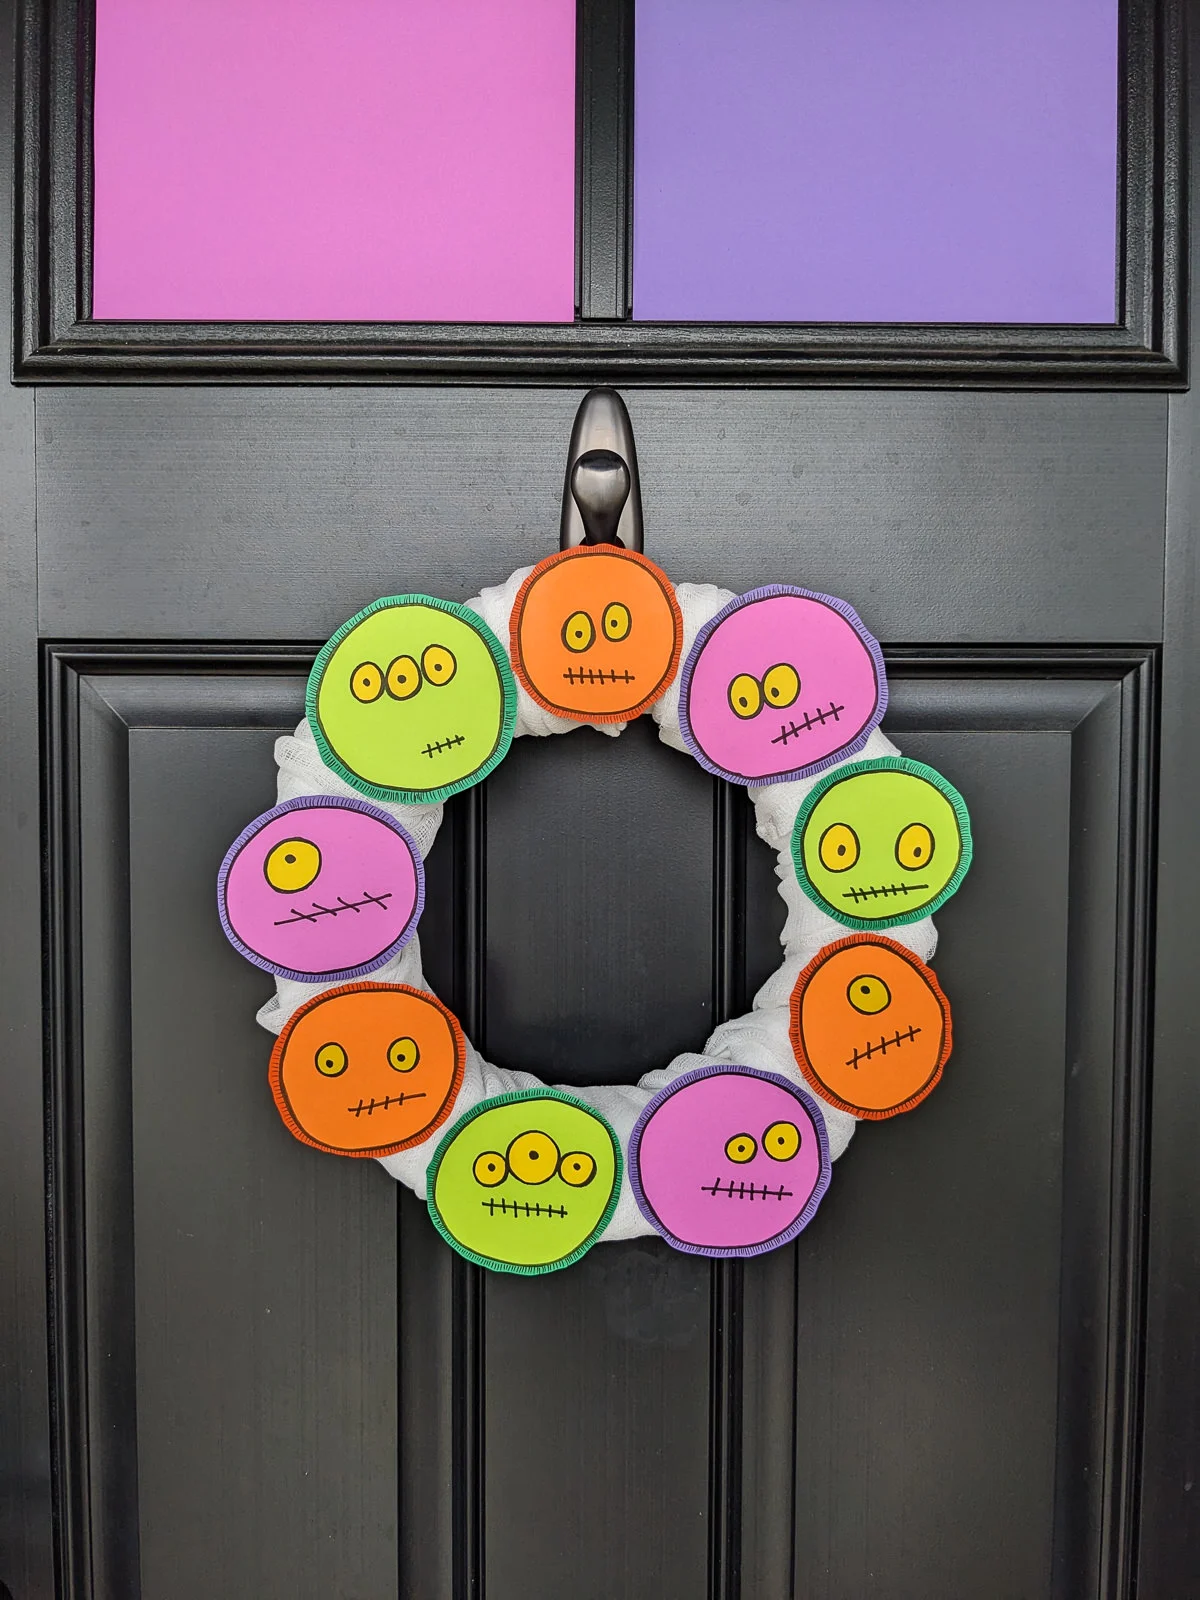
Make my monstrously cute DIY Halloween monster wreath! My family-friendly Halloween wreath idea is perfect for kids who prefer funny over frightening. You can hang your monster wreath in so many places such as a covered front porch door, classroom door for preschoolers or elementary kids, or indoor Halloween decorations for a Halloween party!
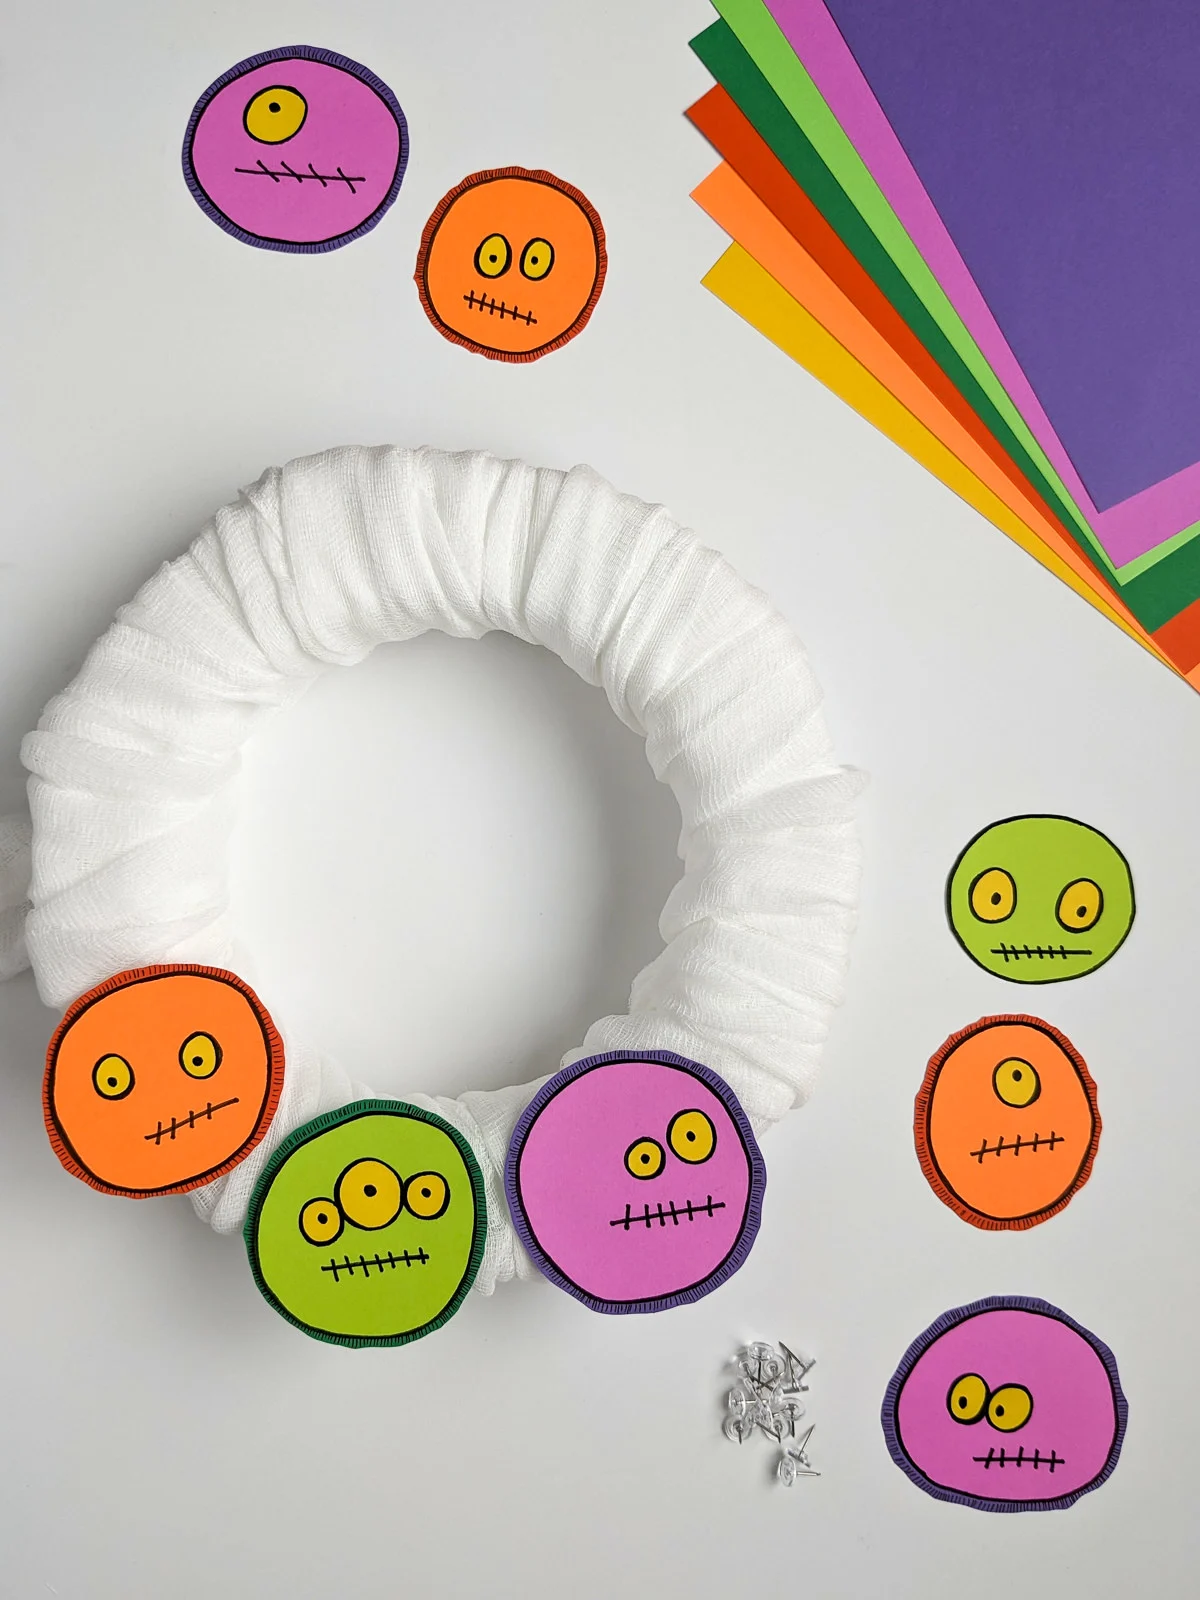
Cute Halloween monster wreath that’s not-so-scary
ASTROBRIGHTS® Papers asked me to design a colorful Halloween craft project. Thanks so much to ASTROBRIGHTS for sponsoring this simple Halloween craft idea!
Our neighborhood is filled with young children, so I wanted to create a monster front door that wouldn’t spook little trick-or-treaters. My eleven-year-old and I hand-drew all the cute monsters for maximum personality. You can print and cut our monsters or draw your own using my blank templates.
See also: Skeletons free printable Halloween party decorations >
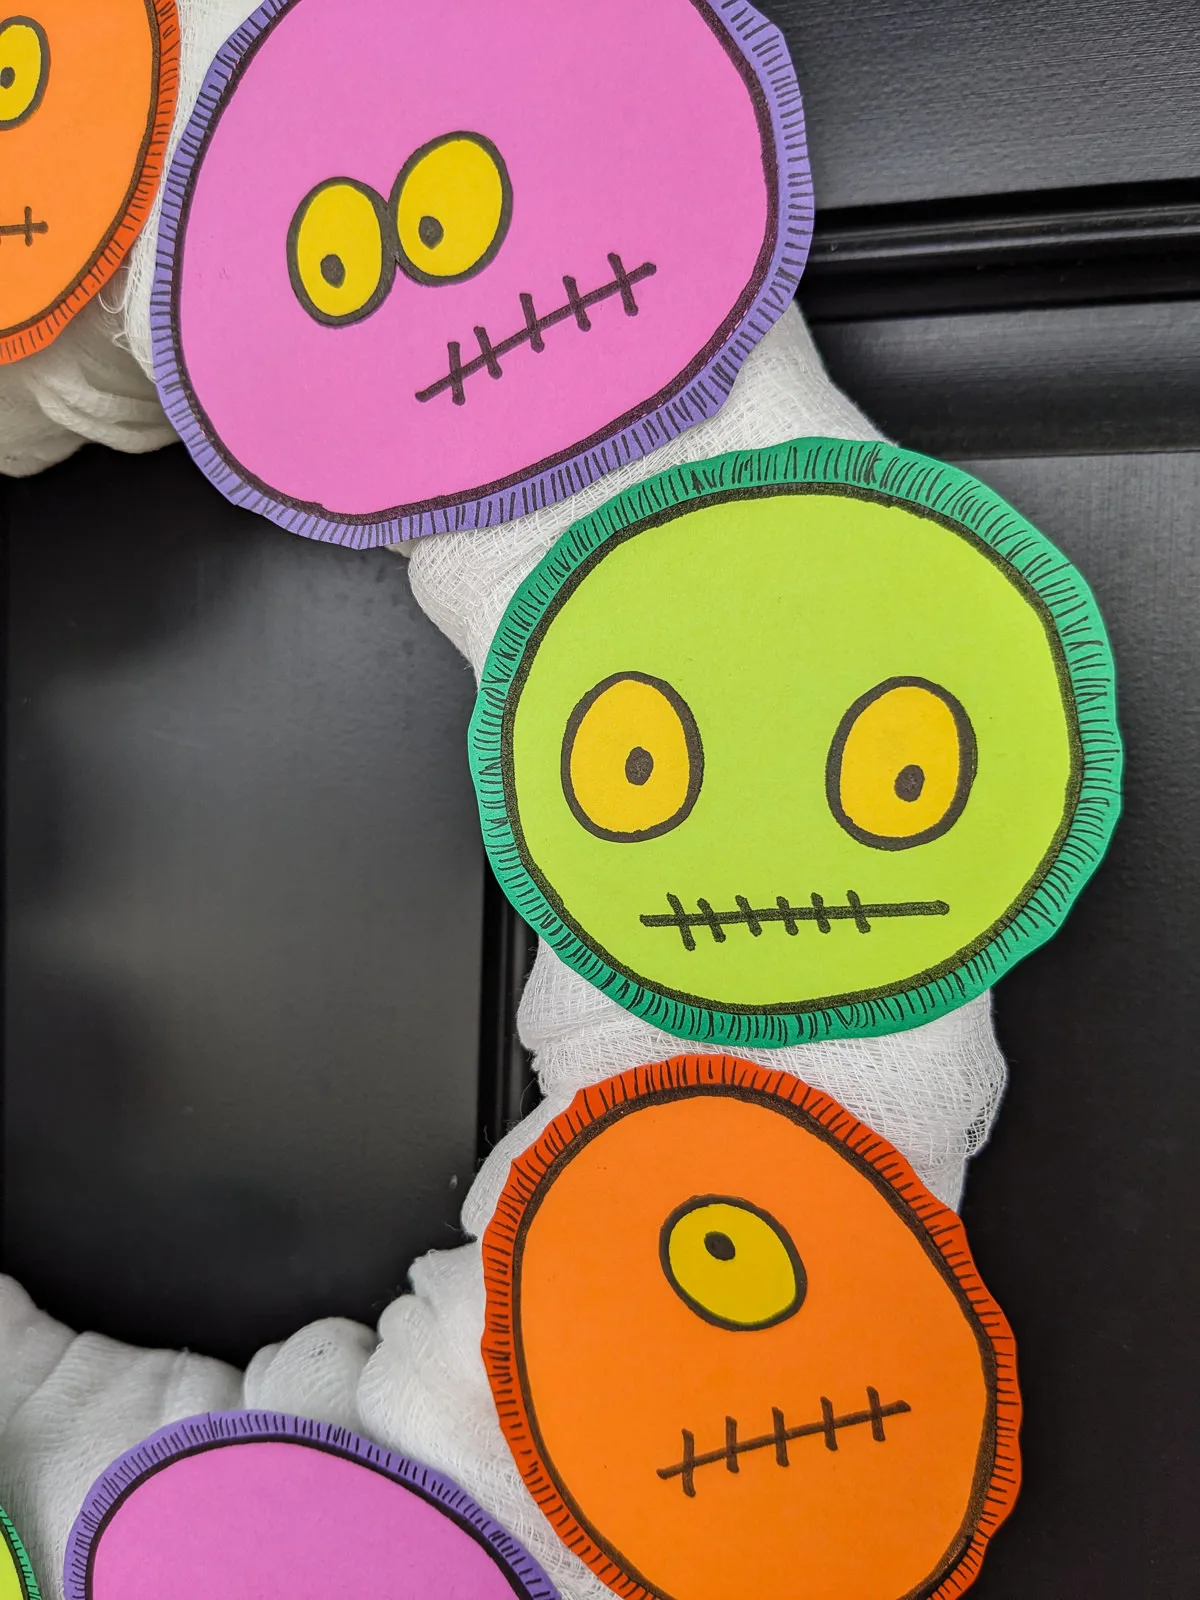
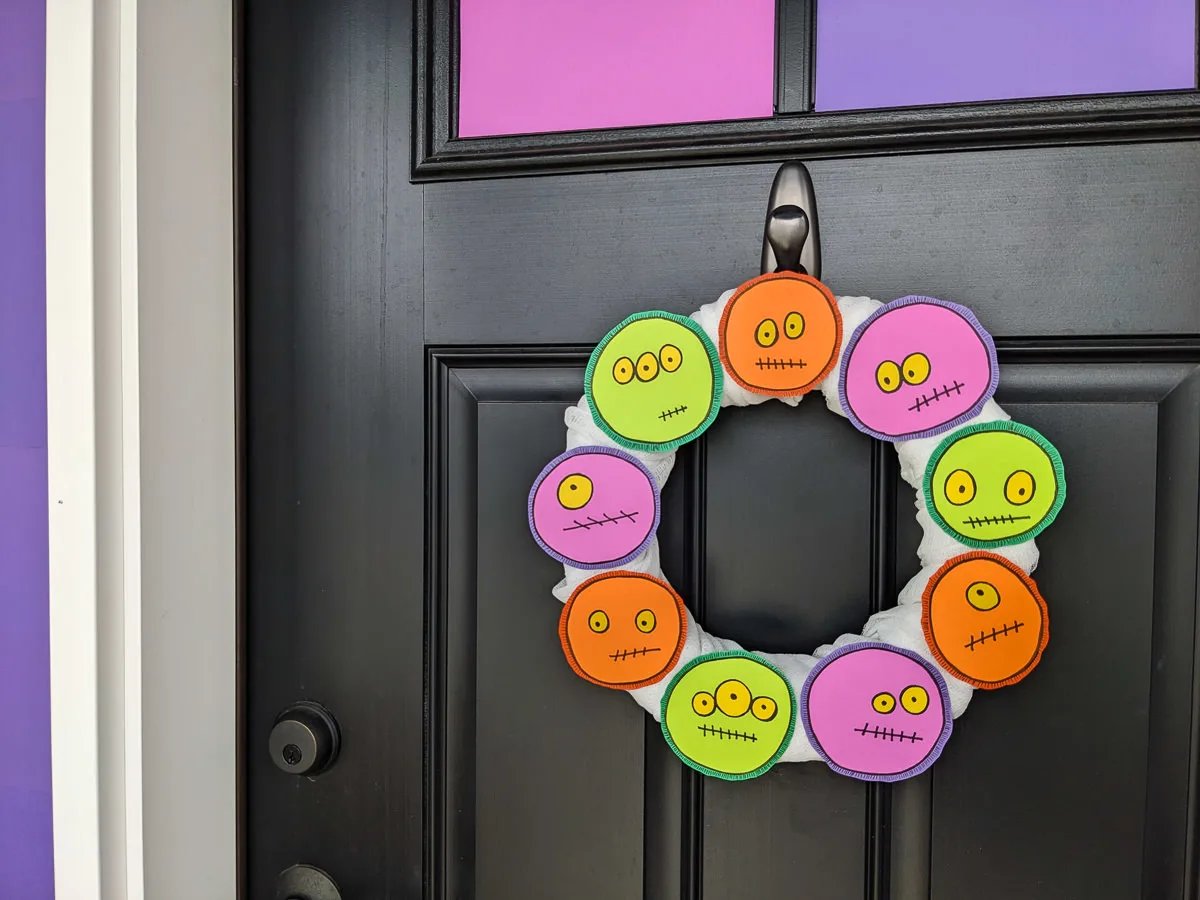
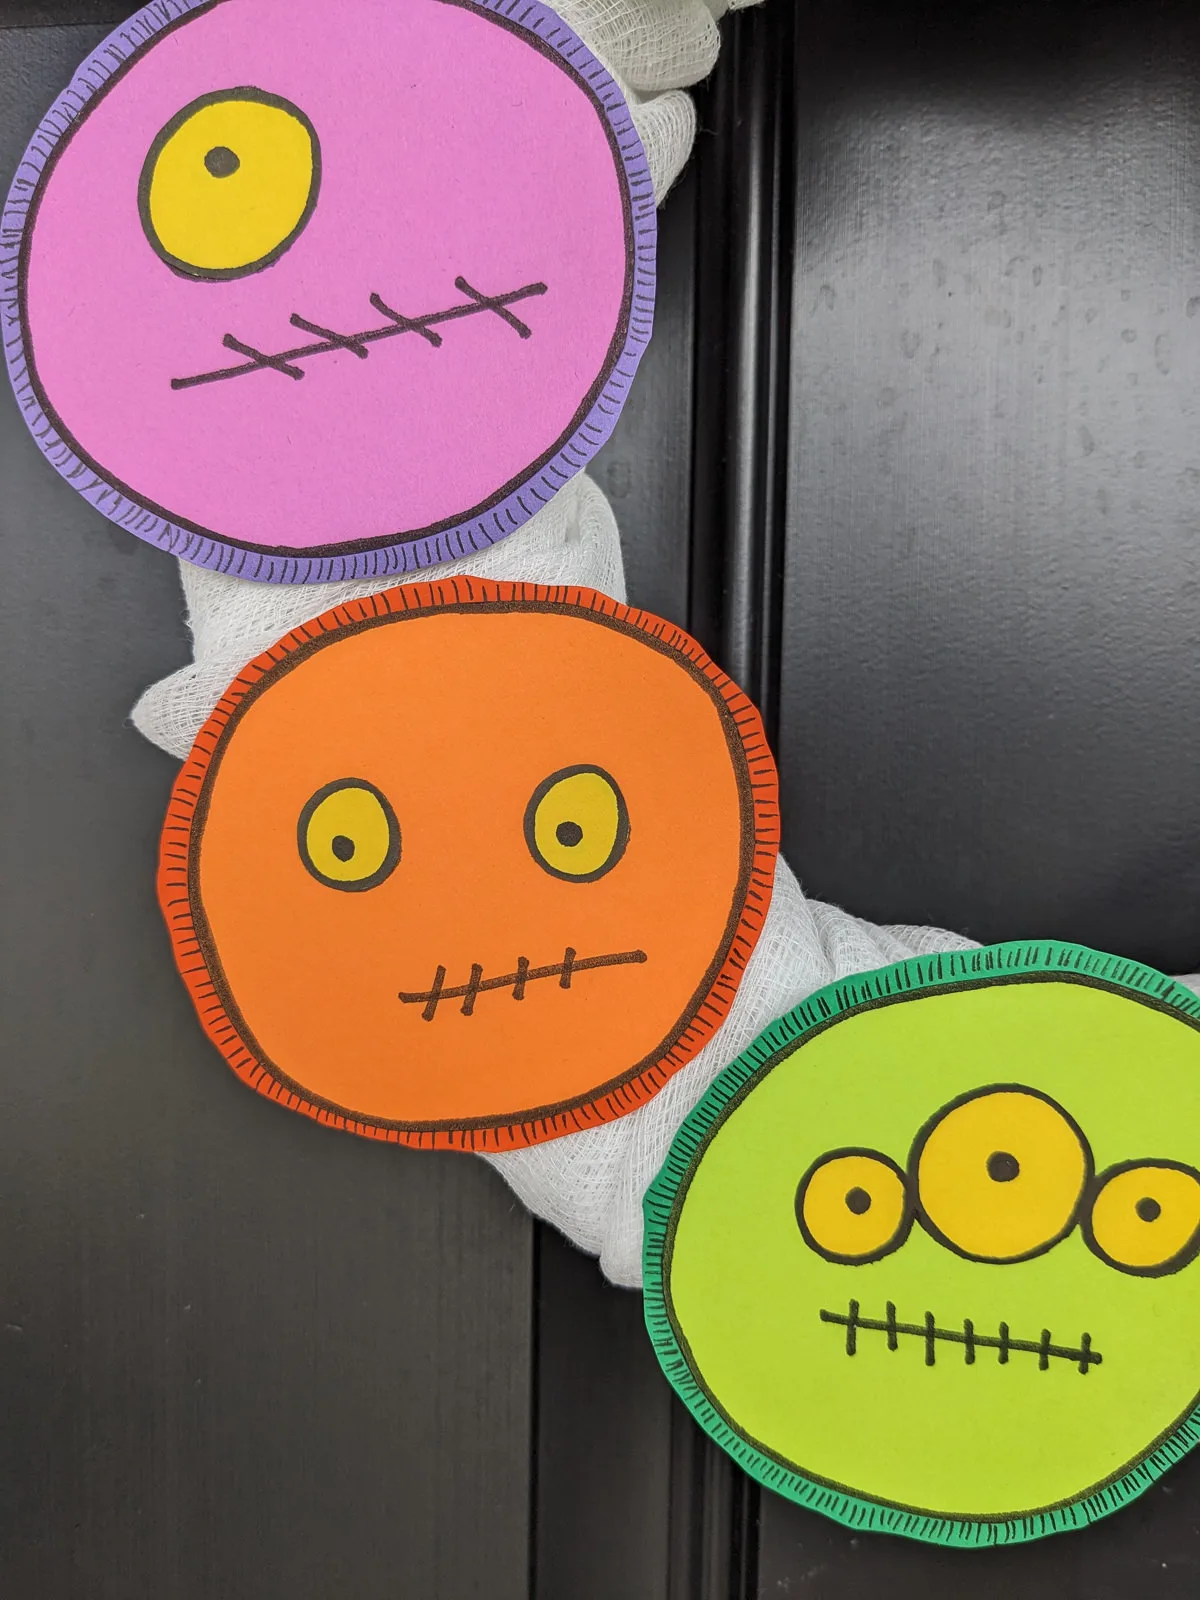
DIY Halloween wreath for an easy monster front door
Follow my paper color scheme or create your own Halloween palette. I chose the bold autumn colors in the ASTRODESIGNS Fall assortment pack and added Cosmic Orange™ and Solar Yellow™ from the ASTRODESIGNS Delightful assortment pack to add some more Halloween colors. Be sure to add paper onto your glass panels to add extra color to your monster front door!
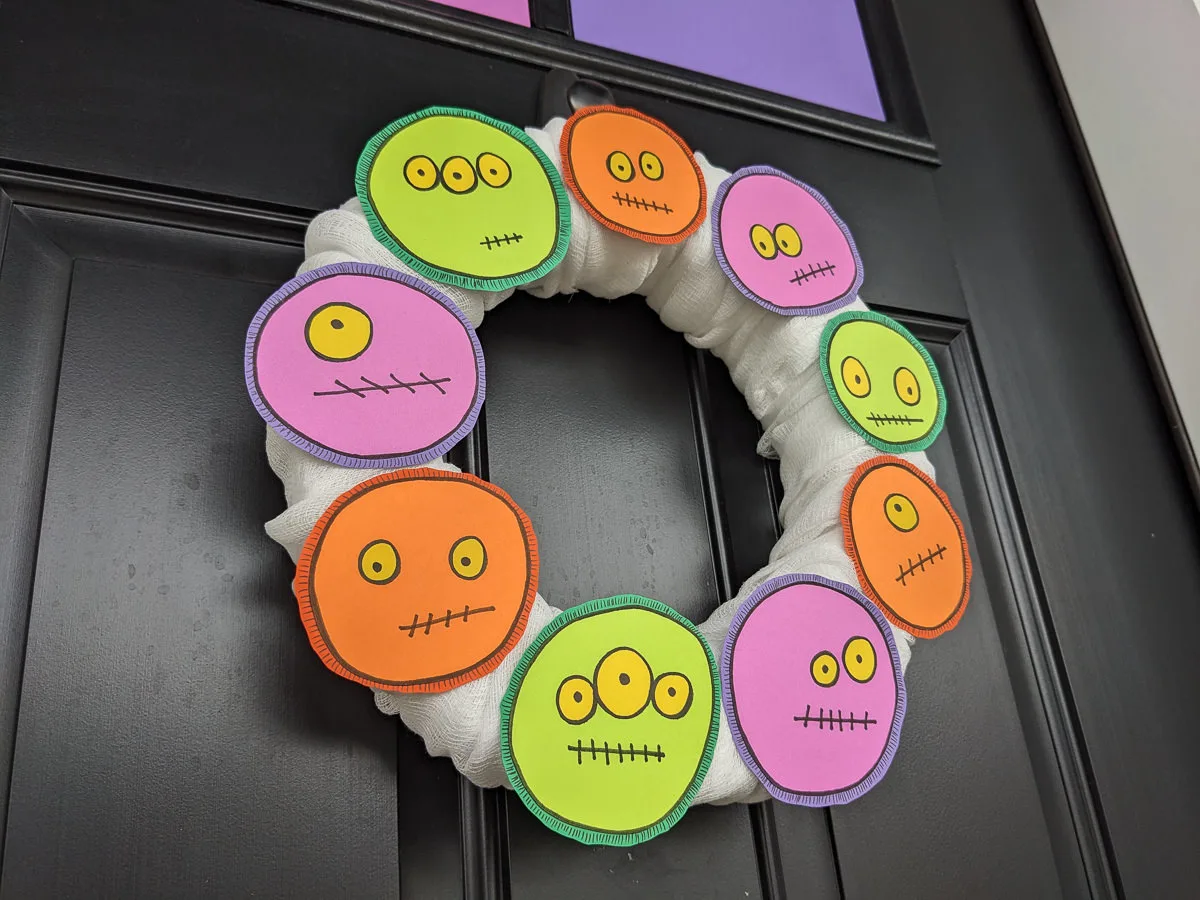
Fun Halloween craft idea for kids
Turn my monster wreath into a Halloween craft idea! Just print my blank templates at Astrobrights for kids to draw their own creatures for the wreath. Kids can be creative, learn valuable scissors cutting skills, and feel pride in helping decorate for Halloween.
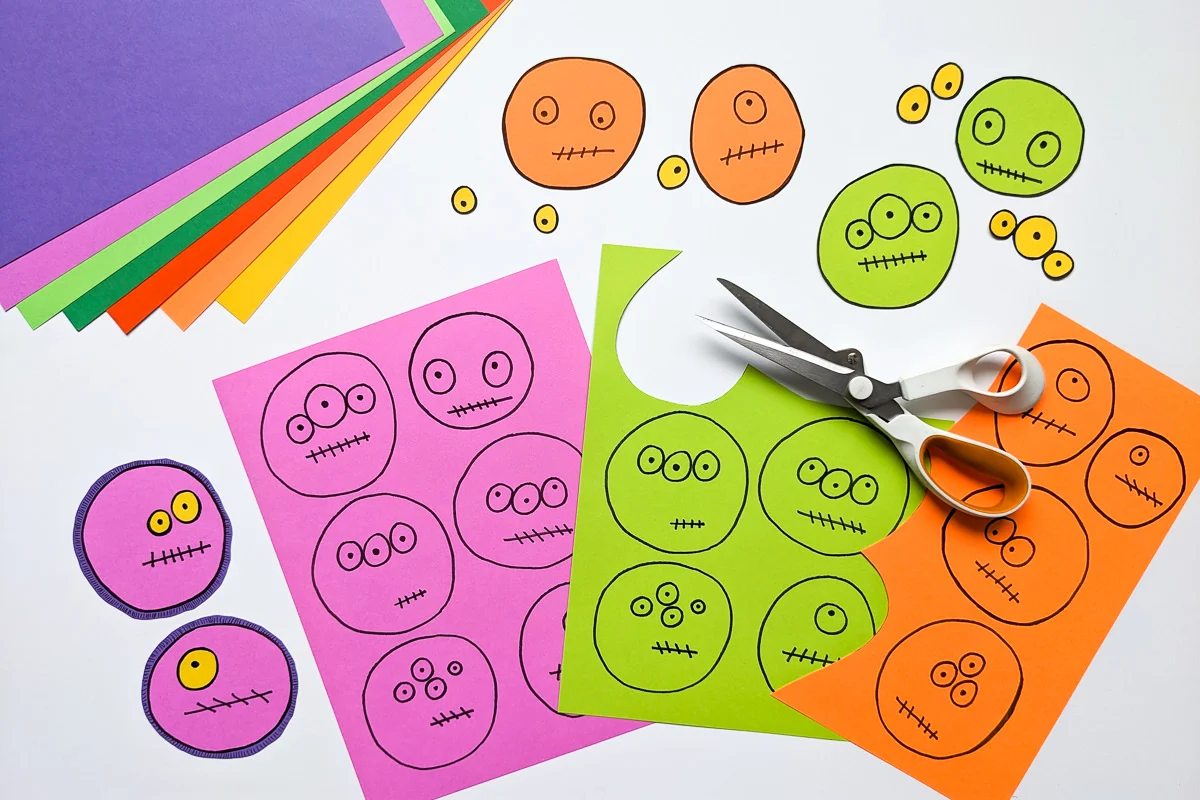
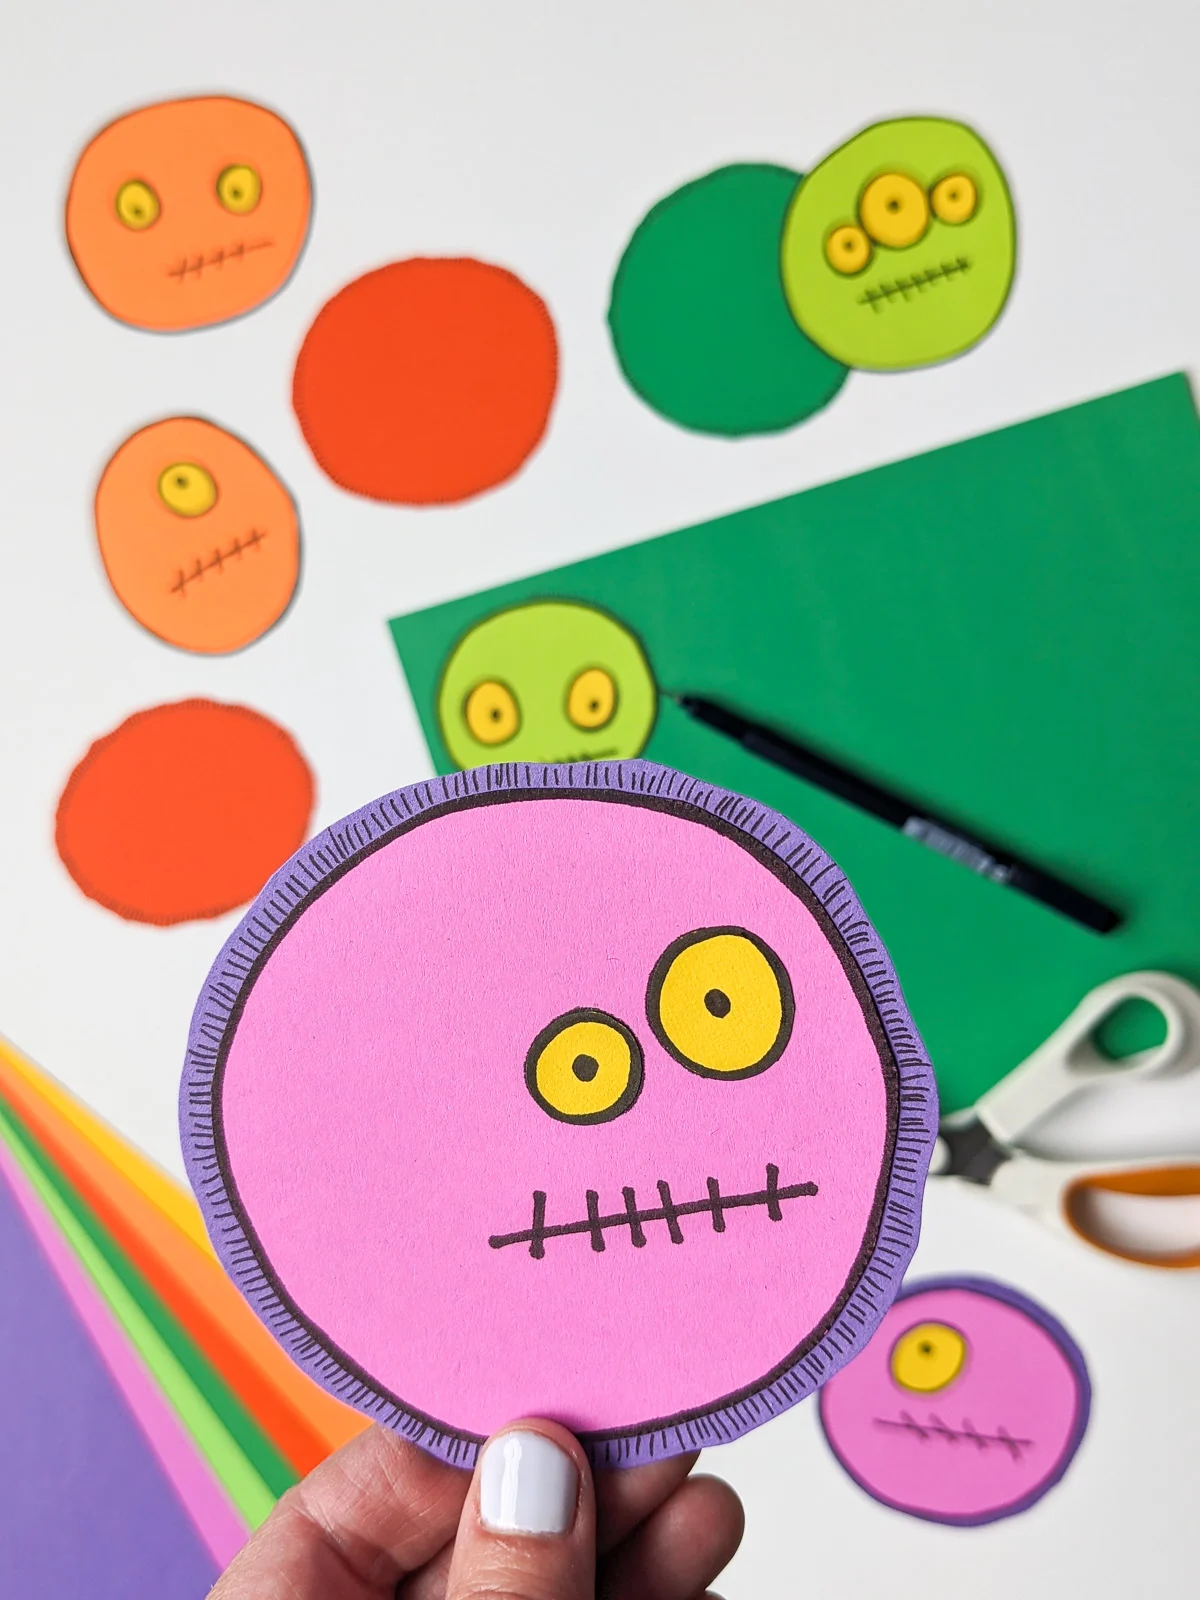
Paper — not pom-poms, pine cones, tulle
My Halloween monster wreath is easy to make with just paper! No need to buy pom poms, pine cones, or tulle to make this cute Halloween decoration.
Add my cheeky TRICKS banner, monster plant picks, and haunted candy bowl to complete the front porch mayhem. Eek!! The monsters are here!

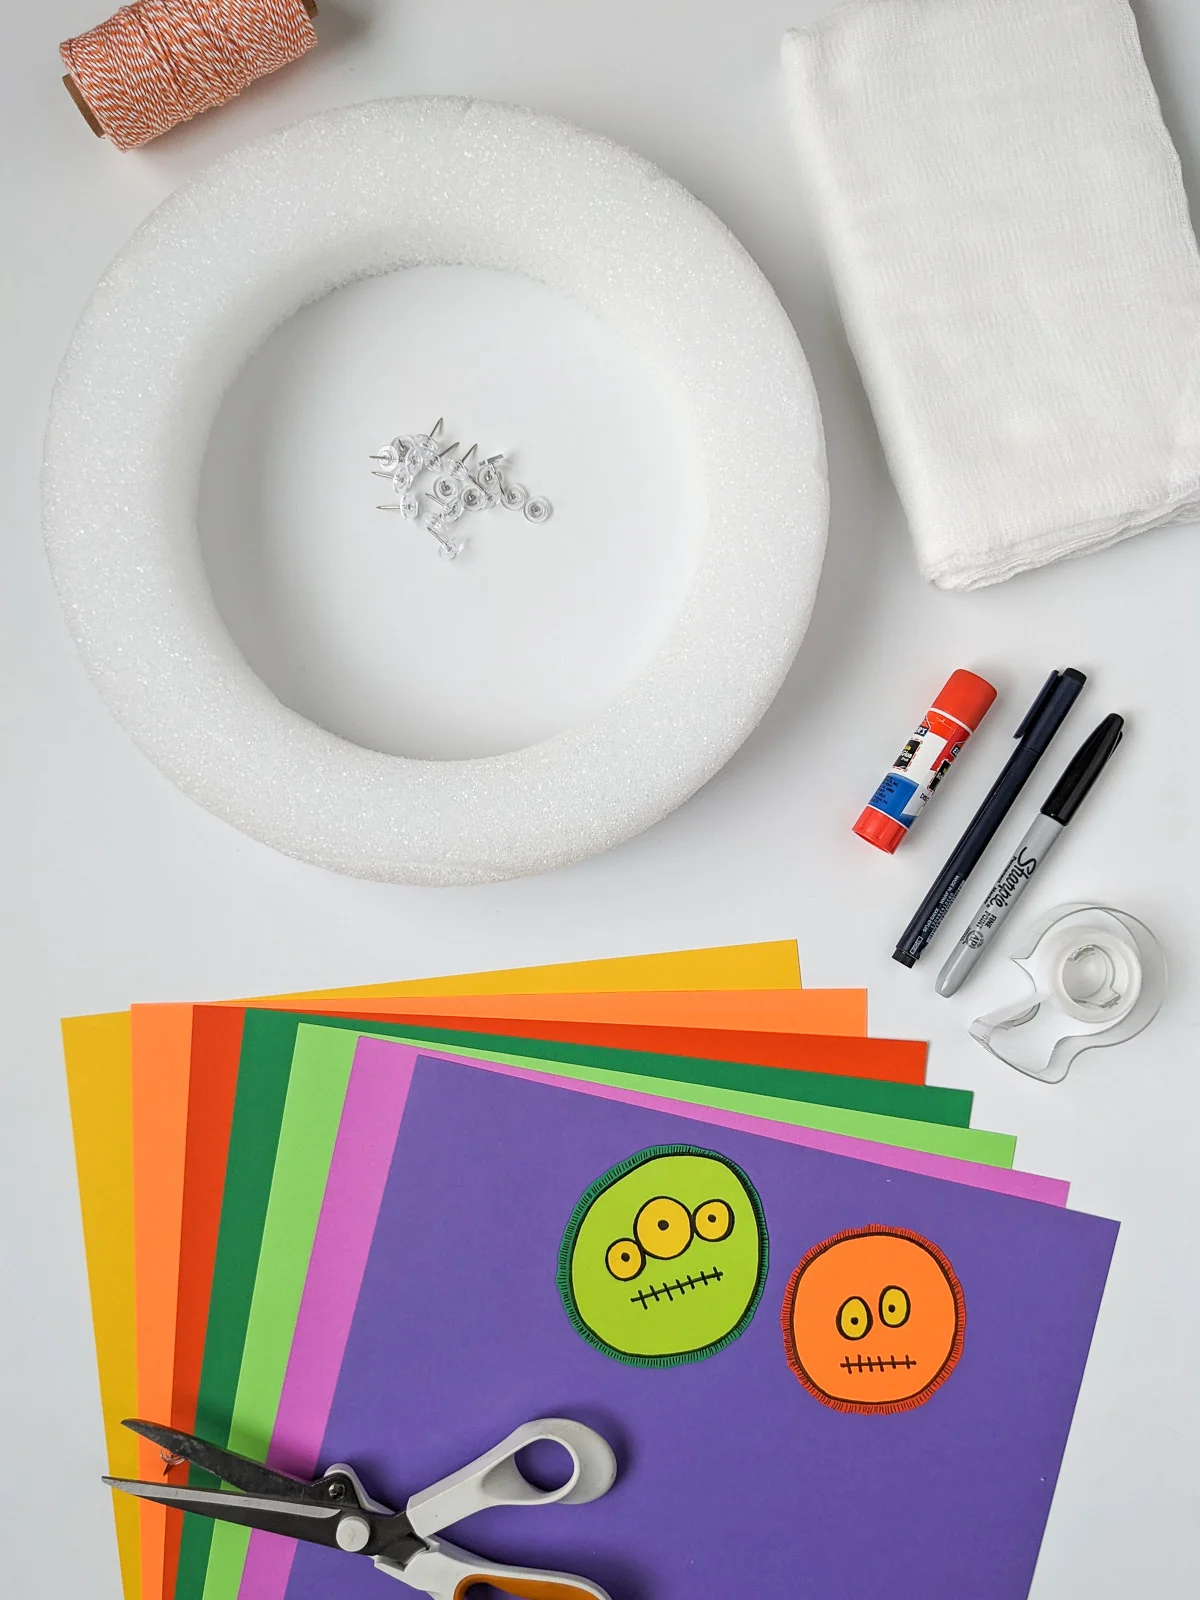
Supplies for making my Monsters DIY Halloween wreath:
- Kathy’s free printable monsters at Astrobrights.com
- ASTROBRIGHTS® card stock paper in Cosmic Orange™, Orbit Orange™, Outrageous Orchid™, Gravity Grape™, Terra Green™, Gamma Green™ and Solar Yellow™ — I used the ASTRODESIGNS Fall assortment pack and ASTRODESIGNS Delightful assortment pack
- 12″ wreath form (or feel free to choose a larger wreath form and just add more monsters)
- 1 package of cheesecloth (2 if you use a larger wreath form)
- Black markers – one thin black marker, one thick black marker
- Scissors
- Glue stick
- Small piece of grosgrain ribbon
- Long push pins or glue gun
How to make my DIY Halloween monster wreath
Step 1: Print and cut out paper monsters
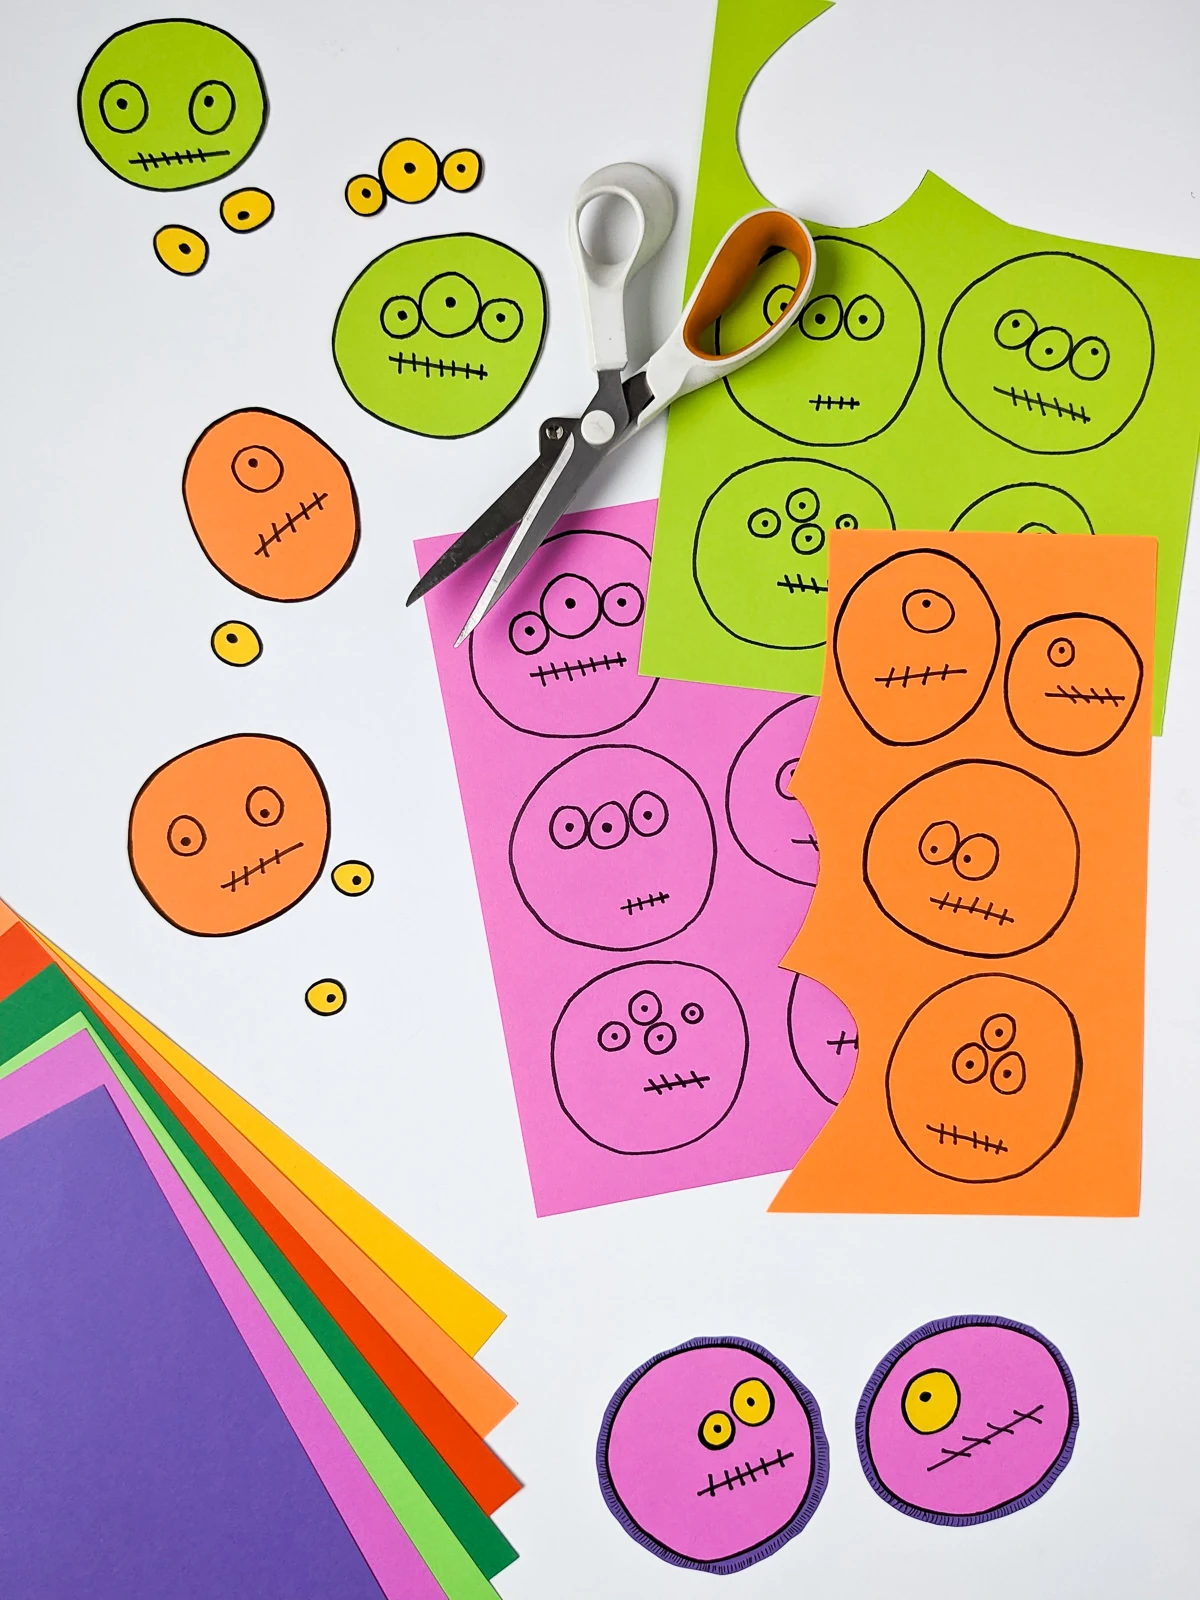
First, go to Astrobrights.com to download my free printable monsters. Print and cut my monsters faces from ASTROBRIGHTS® card stock paper in Cosmic Orange, Terra Green, and Outrageous Orchid. If you’d like to draw your own monsters, just print my blank template and draw faces with a thick black m.
Step 2: Add yellow eyes to your monsters
Print the same templates onto Solar Yellow paper. Cut out the eyes using good paper scissors and glue to the monsters using a glue stick. If you drew your own monsters, then simply draw your own eyes, too.
Step 3: Add fuzzy fur to your monsters
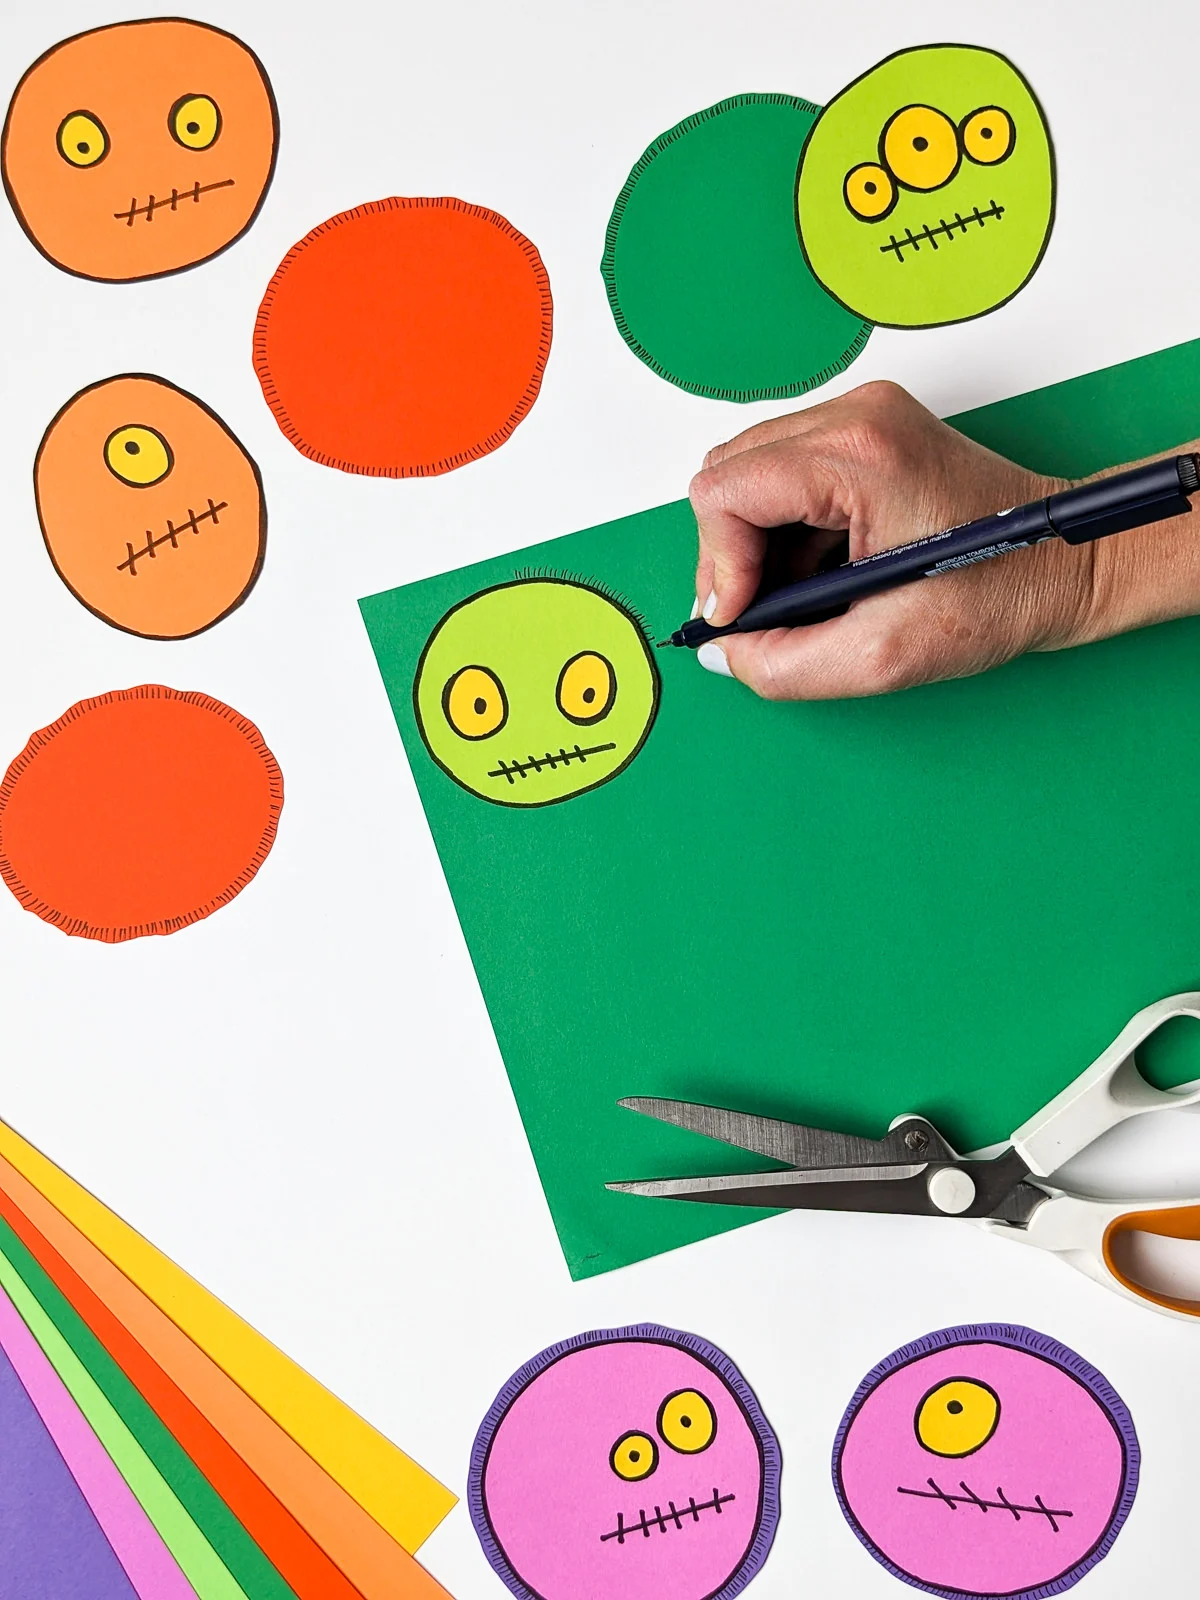
Make your monsters look fuzzy! Place monsters on top of Orbit Orange, Gravity Grape, and Terra Green cardstock paper and draw lots of furry lines with a thin black marker. Roughly cut out the fuzzy fur with good paper scissors and glue on the backs of the monsters using a glue stick.
Step 4: Wrap wreath form with strips of white cheesecloth
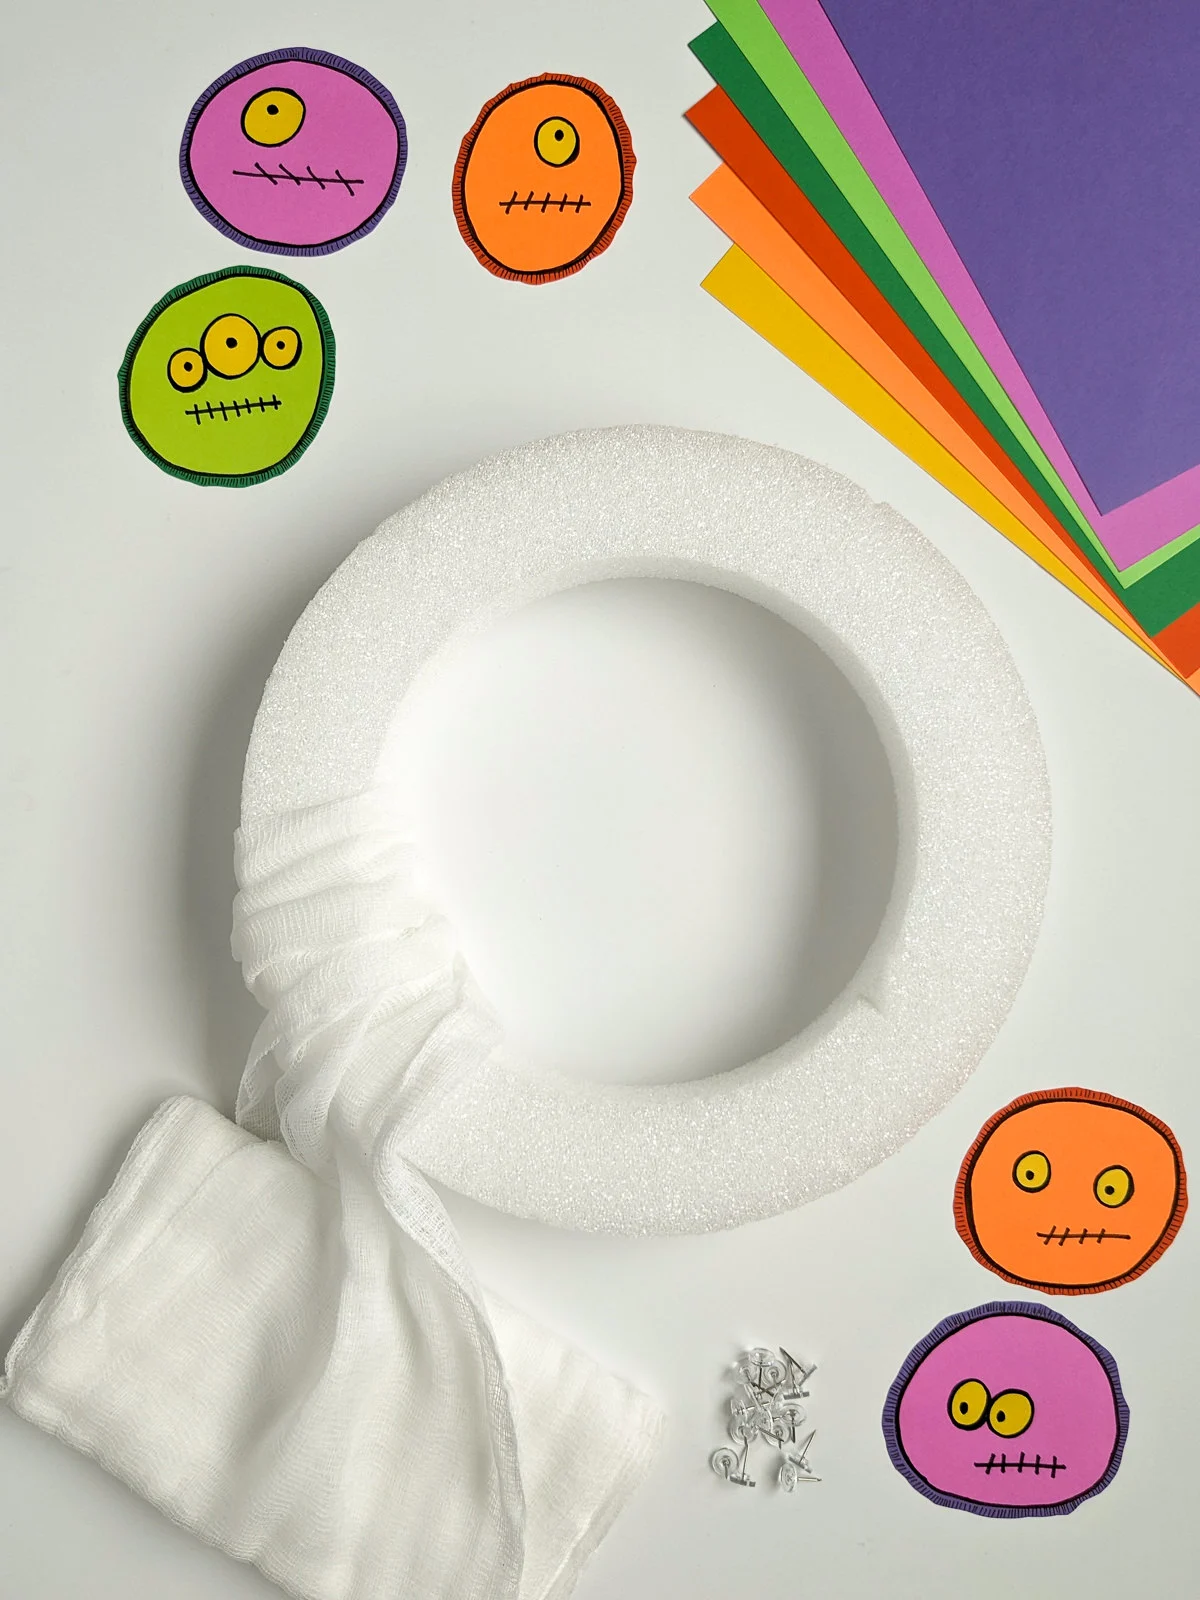
Wrap cheesecloth around your wreath form and secure with long push pins or straight pins. You should only need one package of cheesecloth for this Halloween craft unless you decide to use an extra-large wreath form for your front door.
Step 5: Add cute monsters to your wreath
You can add the cute monsters to your wreath in two different ways: I glued long push pins to the backs of my monsters using a glue stick so that I could move them around. Let the glue dry and push the pins into the wreath form. Or for a more permanent solution, use a glue gun to adhere the monsters to the wreath.
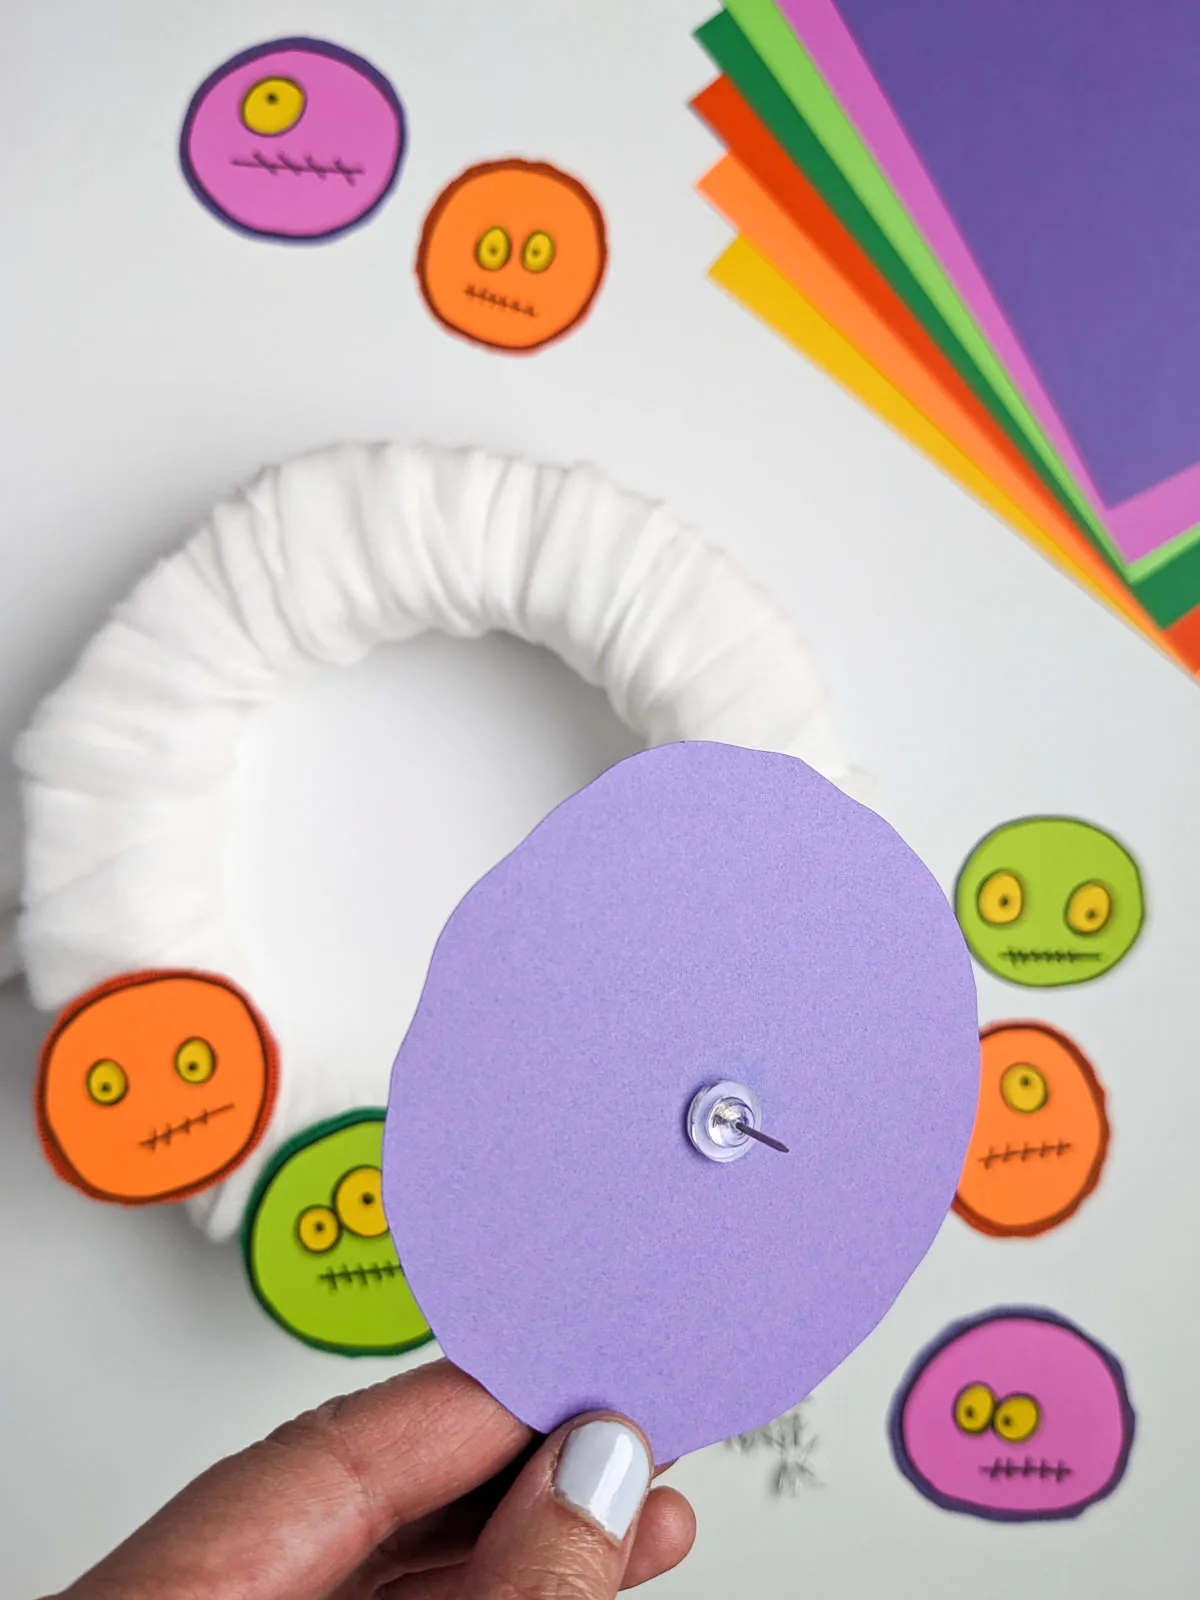
Step 6: Add a hanger and hang on your door
Cut a piece of grosgrain ribbon and fold it in half into a loop. Use long push pins or straight pins to attach the ribbon to the back of the wreath and hang. This wreath also looks great on a classroom door for preschoolers or elementary kids or as indoor Halloween party decorations. Happy Halloween!

Pin my simple DIY Halloween Monster Wreath for your classroom door or covered front porch
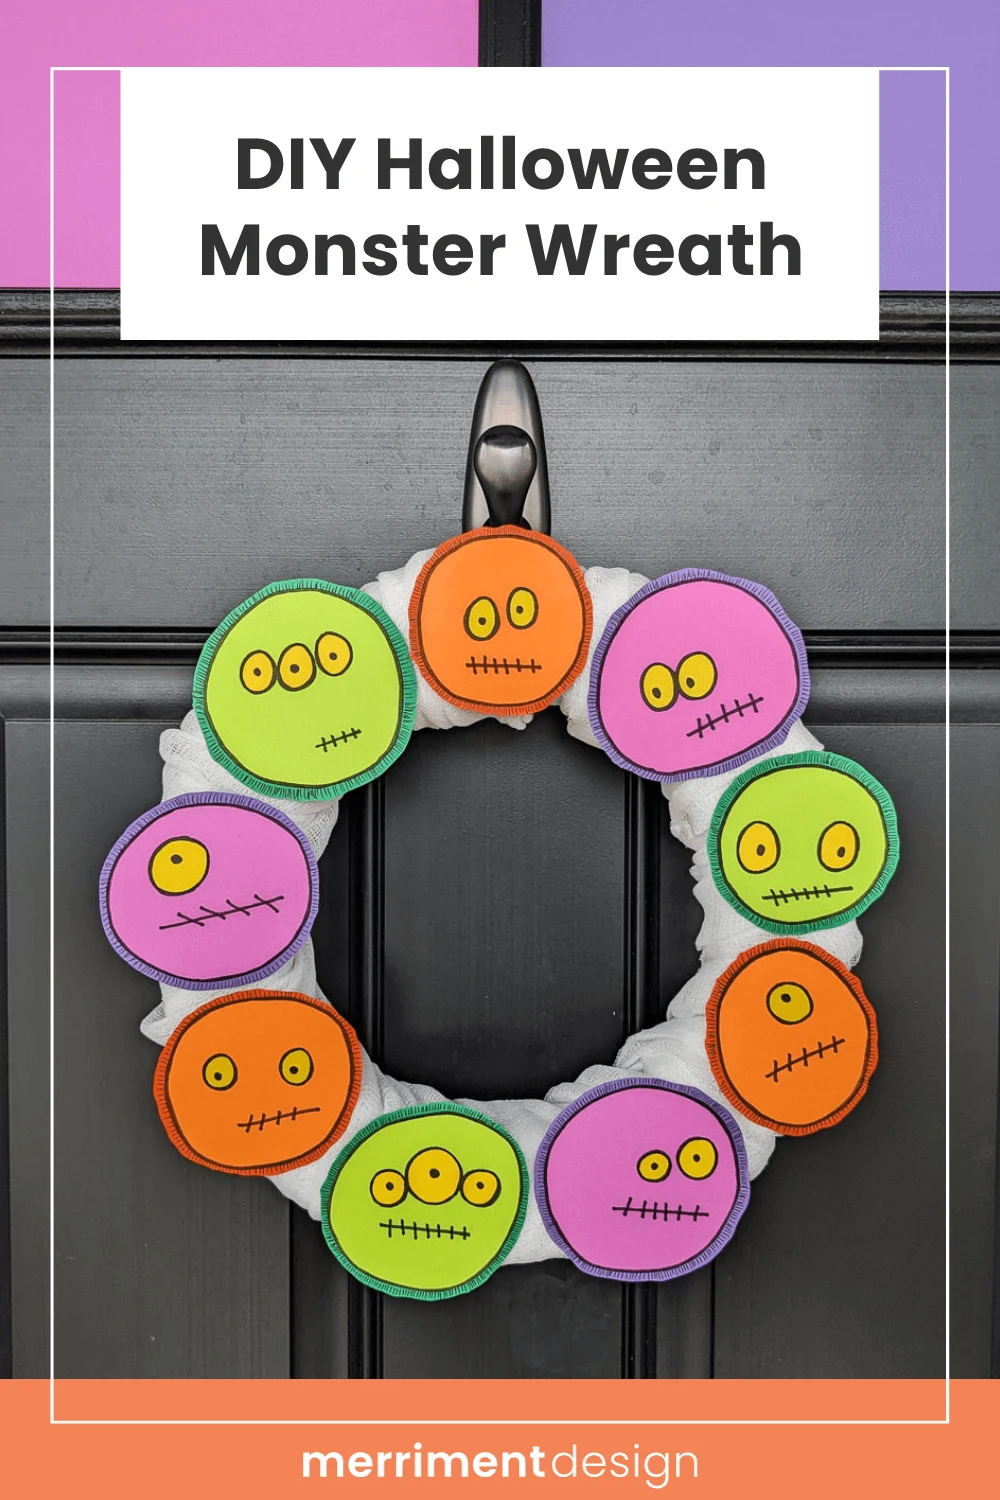
Check out my coordinating DIY Halloween monsters decorations:
- Monster plant picks for mums
- “Tricks” DIY Halloween banner
- Monster Eyes Halloween Candy Bowl
+++
Be sure to see my other paper crafts for Astrobrights including my Gingerbread Pals in Ugly Sweaters, Camping Playset, 3D Shells, Dinosaur Birthday Party, Smores Campfire Playset, Jokes Valentines, and many more. Happy Halloween!
++++++
Like it? Share it!
The nicest way to say you like it is to pin it on Pinterest, post a comment, follow Merriment Design on Facebook, Pinterest, Instagram or sign up for monthly emails. Enjoy! 🙂
Copyright stuff: You’re more than welcome to use my free project, printable templates, and tutorials for personal use. Contact me for commercial use and Etsy sales. Momma’s gotta pay the bills.
