
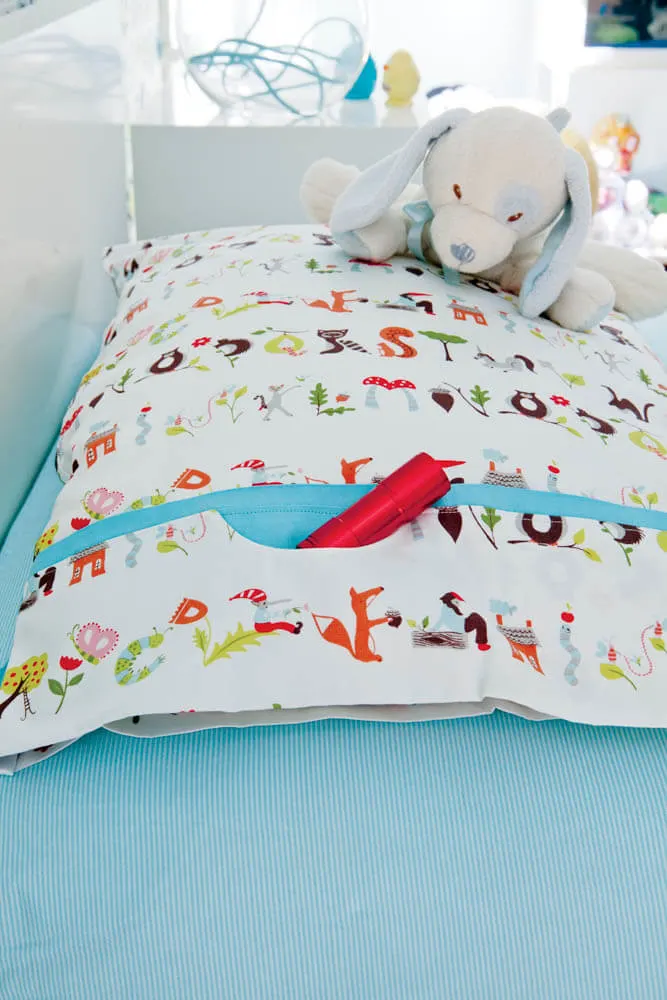
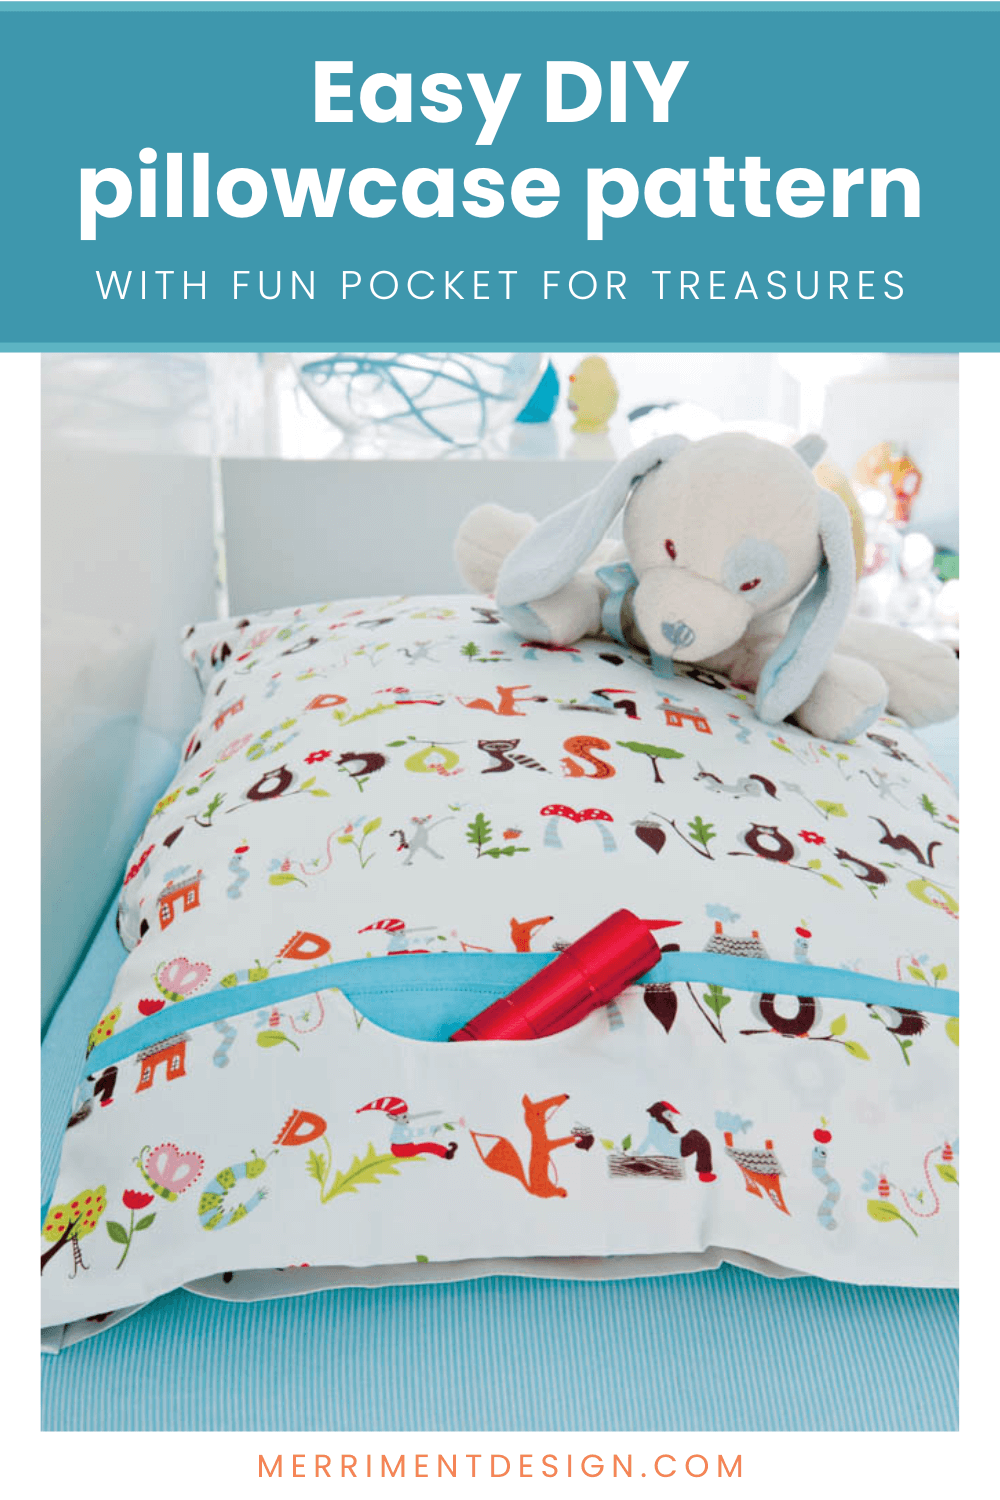
My free pillowcase pattern for kids features a super cute little pocket for tucking in nighttime treasures. Yep, a pillowcase with a pocket! How fun! How clever! Kids can use their pillowcase pocket to store flashlights and bedtime friends. Adults can tuck in tissues, earplugs, or a mobile phone alarm clock (although I recommend putting your phone on airplane mode and turning off the wireless first). I’m thrilled that my pillowcase pattern with secret pocket for treasures was featured in the popular One Yard Little Wonders book so be sure to check that out!


Free pillowcase pattern – with a fun secret pocket!
Elise graduated to a Big Girl Pillow so I have been wanting to make her a cute pillowcase pattern to coordinate with her room. Luckily I found some leftover fabric from her floral drapes and pink gathered bed skirt.
I showed the finished pillowcase to Elise in the morning when she woke up and she immediately started to stash her Toy Story friends and flashlight in the pillowcase pocket. Yay!


Start with the burrito pillowcase pattern method
I started with the basic “burrito” pillowcase pattern method that’s pretty much everywhere (including the ConKerr Cancer Society and the Million Pillowcase Challenge). I found this video to be particularly helpful. Then I fiddled around and figured out how to add a cute little inset pocket hidden inside the pillowcase hem itself with a semi-circle pocket opening.


Finish your pillowcase with fancy (and easy) French seams
This pillowcase pattern is super easy to make and I love how the pocket is inside the pillowcase hem. And French seams means no fraying in the washing machine. That’s sweet dreams for us both!


WANNA MAKE IT? Keep reading to see how to make my pillowcase with a secret pocket and French seams.


More easy sewing projects
If you love beginner sewing projects, try one of these patterns next:


Supplies for making a pillowcase with a secret pocket plus French seams (this pattern makes a standard-sized pillowcase):
- Kathy’s free pillowcase pocket pattern (PDF)
- 3/4 yards of fabric for pillowcase body
- 10″ x 42″ (just over 1/4 yard) of fabric for pillowcase hem
- 1/4 yards of fabric for pillowcase accent, pocket lining and facing
- Thread
- Disappearing fabric ink pen
- Rotary fabric cutter, clear ruler and self-healing mat
- Good fabric scissors
- Good iron and ironing board
- Sewing machine
—
How to make a pillowcase with a secret pocket plus French seams
Step 1: Cut your pillowcase pattern pieces.
This pattern makes a standard sized pillowcase but you can increase the sizes as needed for a king sized pillowcase.
- Pillowcase body: one piece 27″ x 42″ (3/4 yard)
- Pillowcase hem: one piece 10″ x 42″″
- Pillowcase accent piece: one piece 1-1/2″ x 42″
- Pocket facing: one 9″ x 5″ rectangle
- Pocket lining: one 9″ x 5″ piece with semicircle (see Kathy’s free pocket pattern for the semicircle opening)
Step 2: Line the pocket for the pillowcase.
Print my free printable pocket lining template. Now align it on the bottom left side of the hem (with the right side up) and trace the pocket’s semi-circle opening onto the right side of the hem.


Cut out the semi-circle from the left bottom side of the hem.


Step 3: Sew the pillowcase pocket.
You now have three pieces: the hem with cut semi-circle, the pocket lining with cut semi-circle, and the rectangle pocket facing.


With right sides together, place the pocket lining with the semi-circle onto the hem, lining up semi-circles.
Pin and sew a 1/4″ seam.


Flip the pocket lining to the wrong side of the pillowcase hem.
Iron it down. I didn’t have to clip my curve but if you want to clip it to make it lay more flat go for it.


Edgestitch the opening from the right side of the pillowcase pocket if you want to. I like how it looks stitched so I did it.


Step 4: Sew the pocket facing to the lining.
Next sew the pocket facing to the lining. With right sides together, pin the facing to the lining along the outer edge.


Notice that you’re not pinning or stitching onto the pillowcase hem at all – you’re just making a pocket so be sure to just pin the pocket, not the pillowcase hem.


Sew along the outer edge of the pillowcase pocket too using a straight stitch first.


Then zigzag over the long edge to finish the raw edges together as well as to reinforce the pocket – no need to sew the other pocket sides because they’ll be inside seams anyway.


And there’s your pocket! Well almost. Let’s keep sewing…


Step 5: Attach hem and accent piece.
Take accent piece, fold wrong sides together and press.


You’re going to need a wide table or floorspace for this step. Place pillowcase hem right side up on your table with the pocket on in the lower right – my photo below only shows the right side of the hem.


Layer the pillowcase accent piece next matching up raw edges on the bottom of the hem.
Step 6: Make a ‘burrito’ pillowcase.
Layer the body of the case on next wrong side up (right sides of hem and case will be together), matching up raw edges on the bottom. Fan fold or bunch the body of the case so it’s in the middle of the hem like so.


Make a burrito by pinning the hem around the body, making sure to catch all your pieces — the pocket, the accent piece, the hem and one side of the body. Make sure the fan fold of the body isn’t caught with the seam.


Sew 1/4″ seam.


Turn the burrito all right side out. You should now have a folded hem with a nice accent piece and your pocket should be fully functional, yay.


Iron the pillowcase all nice and crisp.


You can optionally add a decorative topstitch to the pillowcase hem like I did.
Step 7: Square off your pillowcase.
Square it all off by lining things up and making sure that you have a nice square from your hem all the way down your body.


Step 8: Sew it all together using French seams.
French seams give your sewing projects a professional finish that tucks away all fraying raw seam edges without needing a serger. So they’re perfect for this pillowcase pattern because it will hold up a lot better in the washing machine. See my post about how to sew French seams for a whole lot more.
Put wrong sides together – that means your pocket will be on top facing you. Pin.


Sew it straight down 1/4″ all around the edge.


Now there’s going to be a little bit of bulk in the seam where the pocket meets the pillowcase hem. Trim out a little of the bulk in the seam using embroidery scissors.


Turn the pillowcase inside out and iron.


Then stitch 3/8″ down the pillowcase bottom and side around again. You’ve now made a French seam by enclosing the raw edges inside the seam. Neat trick, yes? No fraying in the washing machine.


Turn the pillowcase right side out and put your pillow inside.


Be sure to pin my DIY pillowcase pattern for later:

And be sure to see more of my free sewing projects. Enjoy!
++++++
Like it? Share it!
The nicest way to say you like it is to pin it on Pinterest, post a comment, follow Merriment Design on Facebook, Pinterest, Instagram or sign up for monthly emails. Enjoy! 🙂
Copyright stuff: You’re more than welcome to use my free project, printable templates, and tutorials for personal use. Contact me for commercial use and Etsy sales. Momma’s gotta pay the bills.
Kimberly
Monday 27th of February 2017
I use this all the time for gifts! I've made a dozen so far for my nieces and nephews for gifts. Thank you!
Carrie
Monday 13th of April 2015
Just made some pillowcases for my boys using your pattern. So neat! My boys will love them while we travel and camp this summer. I wrote a post about them in my blog and linked up to your blog. Thanks for sharing the pattern! http://www.sixontheroad.com/crafts/have-pocketed-pillowcase-will-travel/
Kathy Beymer
Sunday 19th of April 2015
Carrie, this is awesome! I love seeing these photos, and fun that you were able to personalize the fabric so much. Thanks so much for commenting. How did the boys like using them? Any feedback to share for any pattern updates, just let me know. Happy camping!
allyn
Saturday 6th of December 2014
Hi, I wanted to make each size of the pillow case a different print. How do I go about that with measurements? Thanks
Liz
Thursday 21st of November 2013
All done! Beautiful, thanks again for the tutorial & for your help. I used white/pink polka dots on white/white polka dots on pink. Made 2 of them with different combos of those fabrics, for 56cm x 56cm French pillows. And I left out the pocket part, even though it's an amazing idea, I wanted something more simple. I don't have any tweeter/fb/flickr account though, lol.
Kathy Beymer
Friday 22nd of November 2013
Hey Liz, I'm so happy that it worked out! I like the color combo you picked. Am a sucker for pink so I bet it looks awesome :D
Liz
Saturday 16th of November 2013
Thanks so much Kathy, it totally makes sense now. I will keep you posted!
Kathy Beymer
Tuesday 19th of November 2013
I'm so glad! Can't wait to see it.