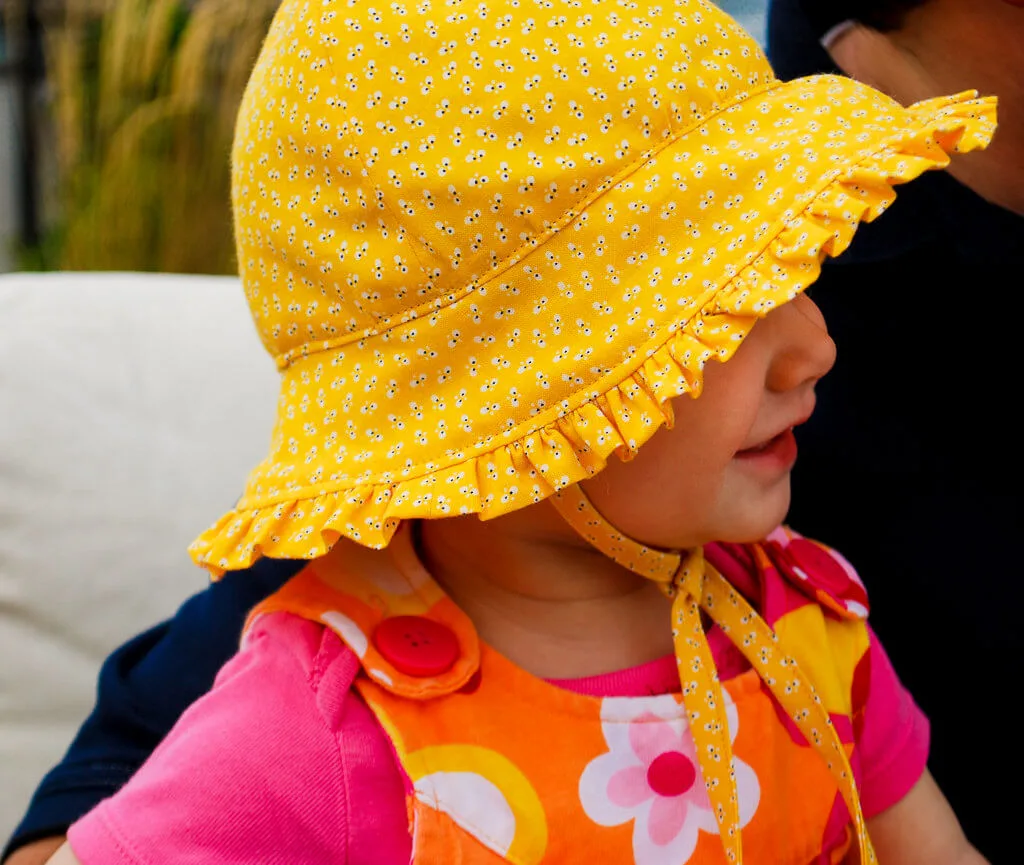
Here’s a free baby bonnet pattern just in time for summer. It’s a really nice baby sun hat free pattern that you can make with our without the ruffle. My super cute baby hat free sewing pattern is below!
Elise looks adorable in hats. I just can’t get enough of them. So I decided to make a free baby bonnet pattern. This baby sun hat sewing pattern with ruffles adds some summer fun to Elise’s fashion options.
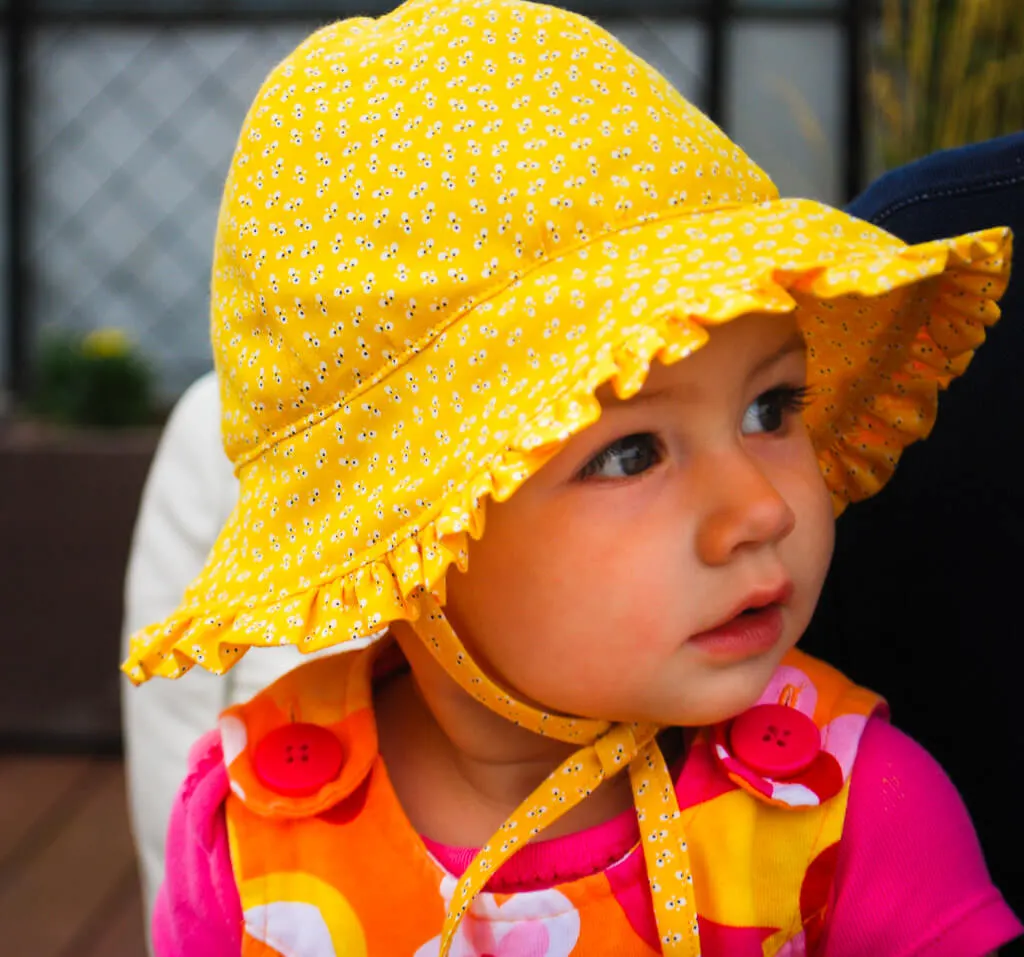
I freehand drew this baby bonnet pattern hat by looking at a couple of Elise’s best fitting baby hats and then added a ruffle to make it extra cute. Of course you could leave the ruffle off of the baby bonnet pattern if you wanted.
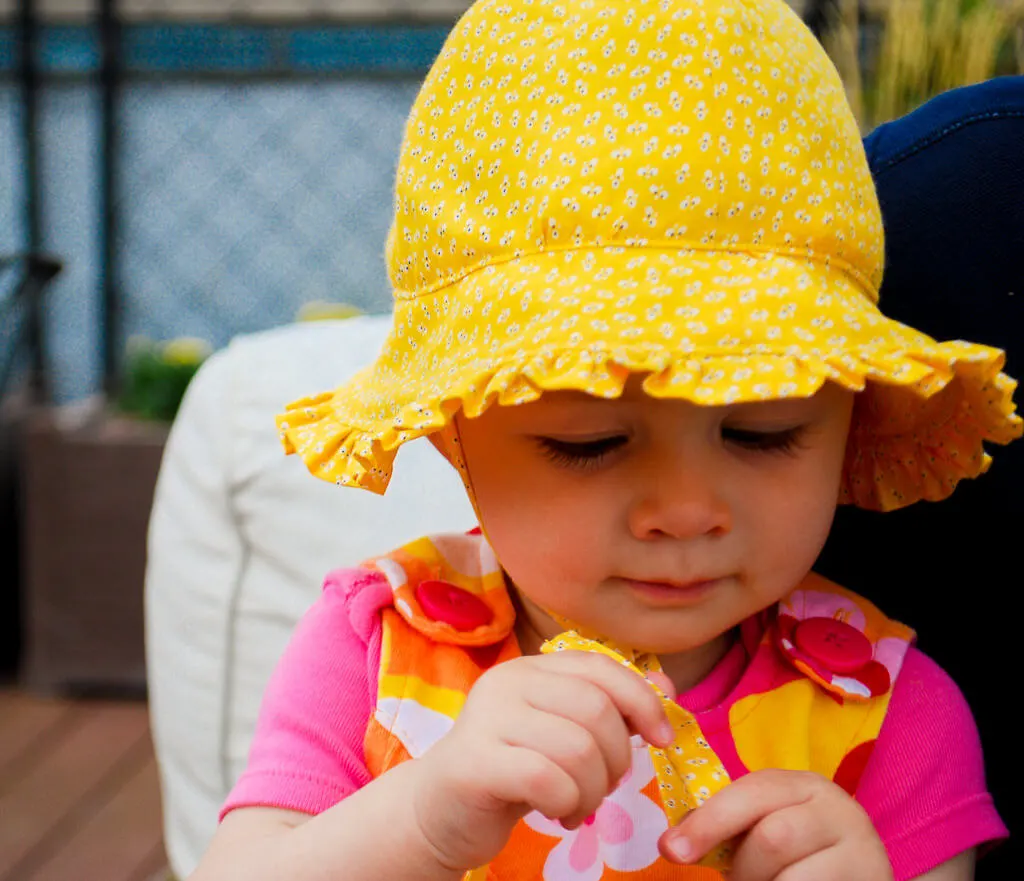
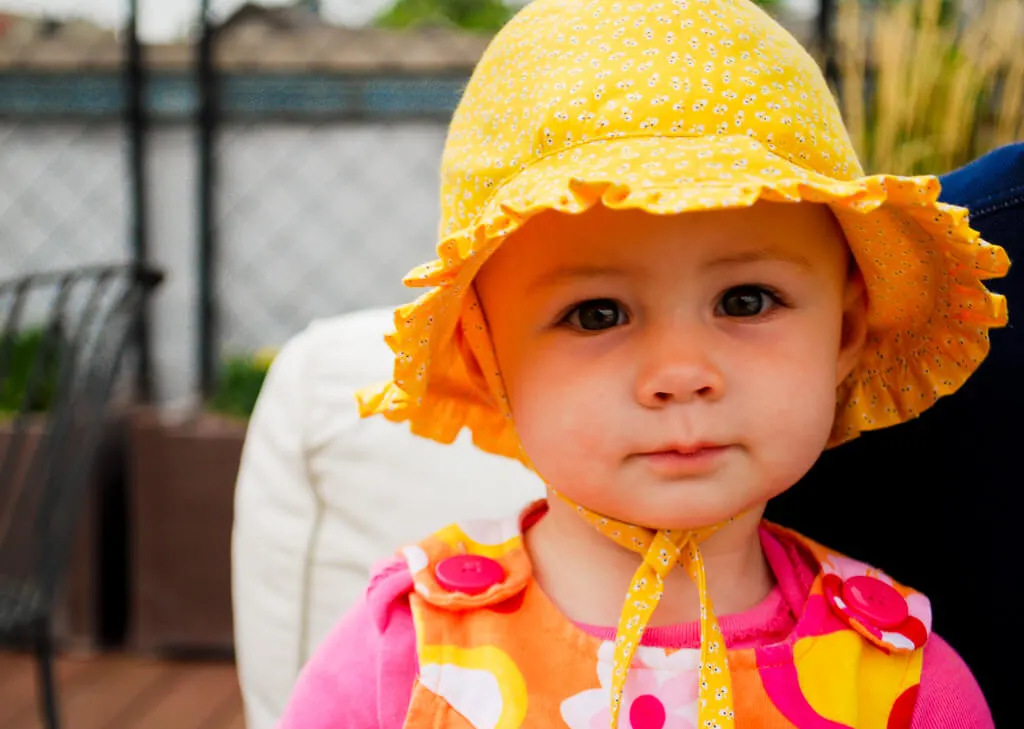
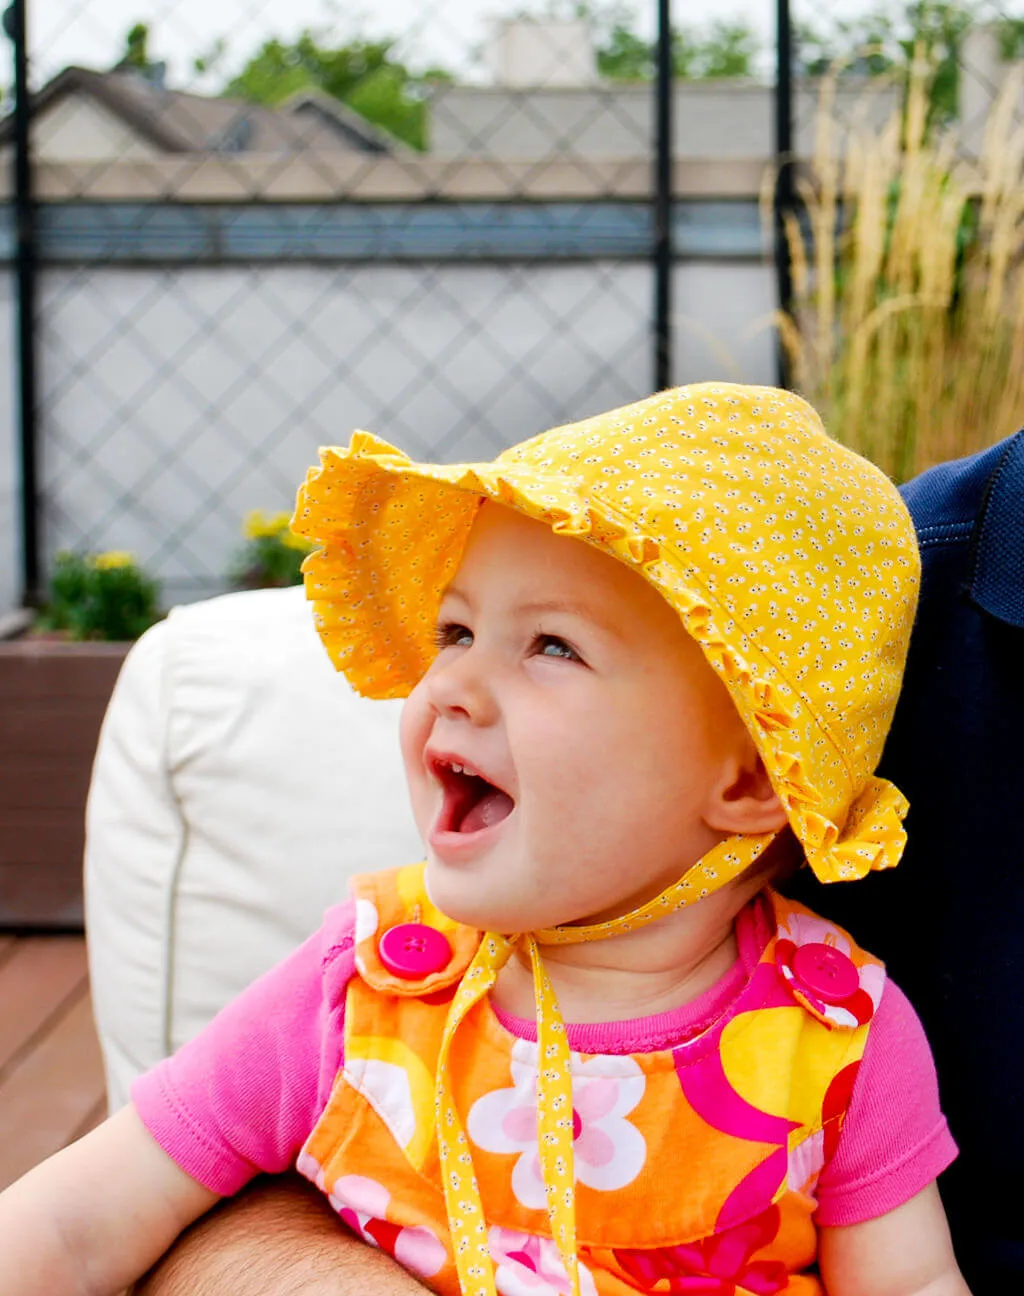
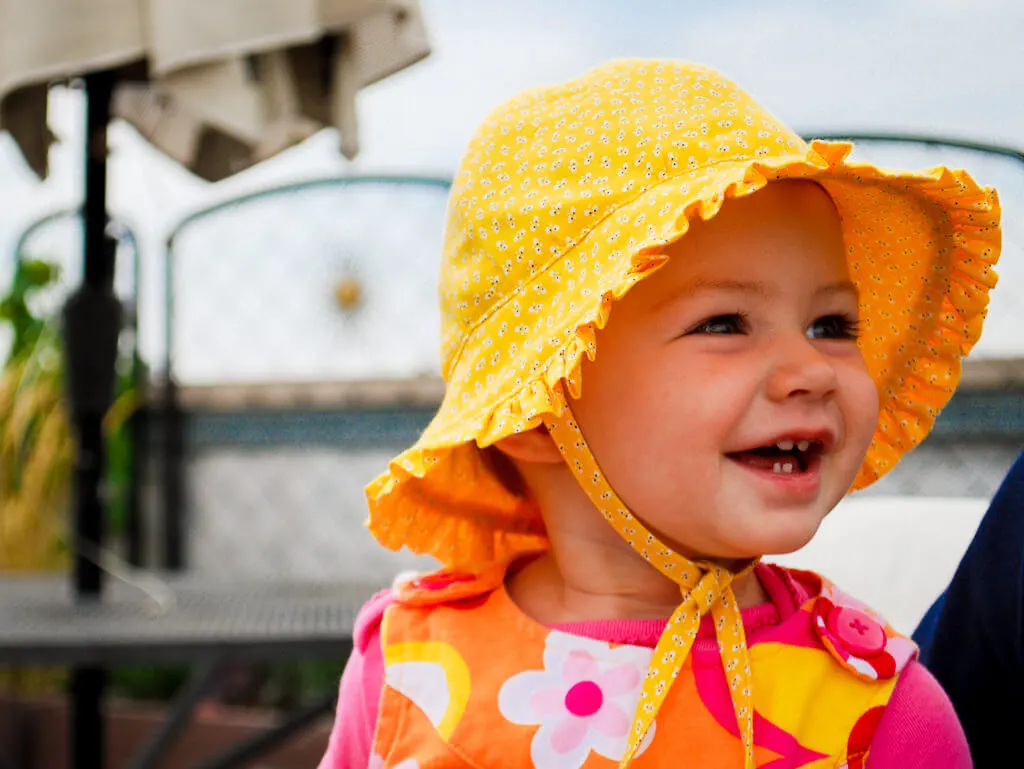
This free baby bonnet pattern is a baby sun hat pattern that should fit a 6-12 month old; Elise is 10 months old in these photos and it’s super cute on her petite-ish noggin. My free baby bonnet pattern for my baby sun hat sewing pattern and step-by-step instructions are below. Bring on the sunshine!
This post contain affiliate links which means that products I recommend may give me a nominal commission at no extra cost to you. Thanks – your clicks help me make more free DIYs!
++++++
Supplies for how to make a baby sun hat using my free baby bonnet sewing pattern:
- Kathy’s free pattern for a baby bonnet sun hat with ruffles and ties (PDF – sized for 6-12 months)
- 1/2 yard of fabric
- Rotary fabric cutter, self-healing cutting mat and clear acrylic ruler
- Good fabric scissors
- Good iron (like Rowenta)
- Thread
- Pins (I prefer glass head pins)
- Sewing machine
—
I’ve added a video to this tutorial so you can watch that or scroll down for step-by-step description with images.
Step 1. Cut your free baby hat sewing pattern pieces
Full disclosure: this pattern is not perfect. You are likely going to need to take a few tucks here and there, but it will still turn out super cute. Are you OK with that? If so, then please print my free baby bonnet pattern – baby sun hat sewing pattern. It’s sized for 6-12 months. You can use one fabric print or two.
Cut 4 triangles for outside crown
Cut 4 triangles for inside crown lining
Cut 4 brims (2 top, 2 lining) – cut 2 brims right side up, then flip the pattern so that you’re cutting 2 brims wrong side up
Cut 2 strips 16″ x 1″ for the ties
Cut 2 strips 25″ x 2″ for ruffle
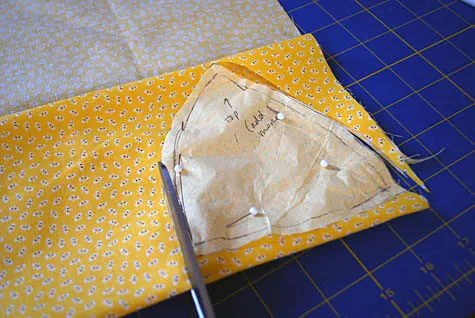
For this tutorial you’re going to sew everything at 3/8″ seams. I usually do 1/2″ seams for my tutorials but wanted them to be a bit smaller for Elise’s baby head.
Step 2. Create the outside crown and crown lining
Take four of your crown pieces. Line up two pieces, right sides together, and sew along the side. Repeat with the other two pieces. Remember to use that 3/8″ seam allowance – if you make a larger seam then the brim is not going to fit in the next step.
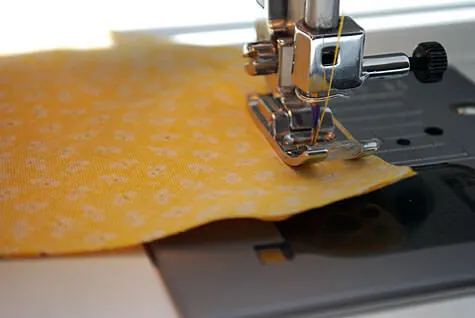
Press seams open; they will be slightly curved.
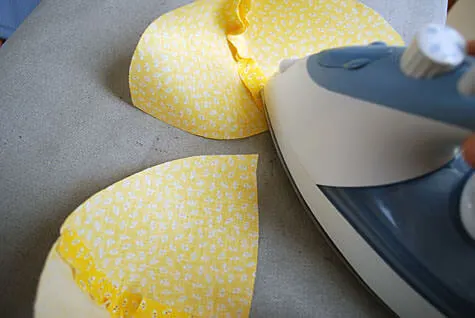
Pin the two pieces together, right sides together.
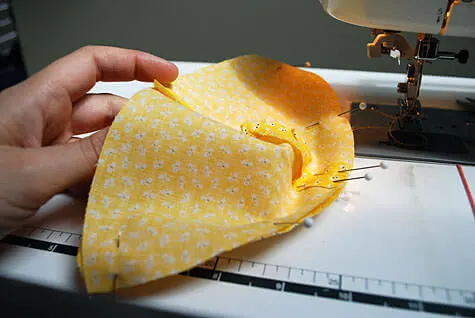
Sew. You’ll now have one sewn crown piece. Press the seam open.
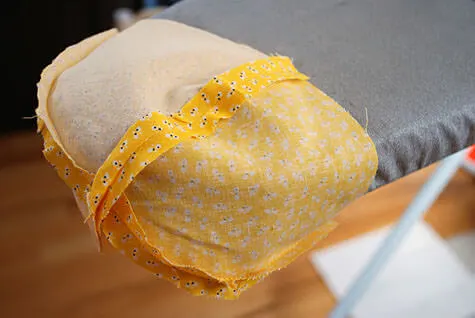
Repeat to make the lining crown.
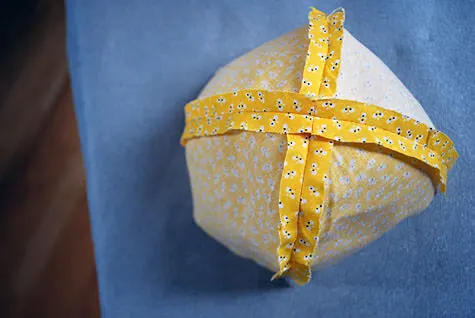
Step 3. Create the brim
Grab your four cut pieces for your brim. Now because it’s a bit of an asymmetrical brim, be sure to match pieces together so the brim top will match your brim bottom.
Sew two pieces of the brim together to make the outside brim. Press the seams open. Repeat to create inside lining brim. Again, remember to use that 3/8″ seam allowance – if you make a larger seam then the brim is not going to fit the crown and you’ll have to cheat it a bit by taking a few tucks when you sew them together.
Step 4. Create the ruffle (optional)
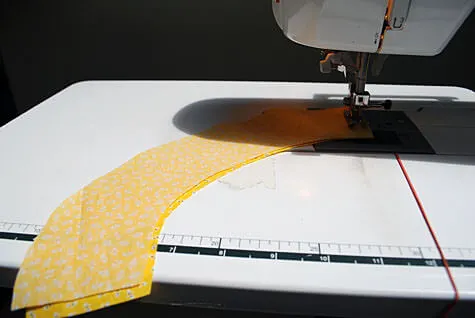
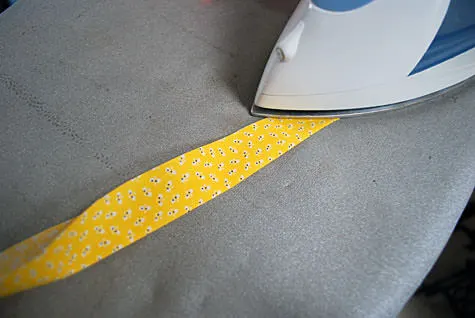
Sew pieces together on the short ends, pressing seams flat. It should look like a large circle. Iron the circle in half lengthwise, wrong sides together (see below). The right side of the fabric will be on top and bottom now, and there’s now a finished edge and a raw edge.
Using a basting stitch, sew two rows of stitching around the raw edge of the circle. I stop at the seams and then start again because I find it’s easier to gather (in the next step).
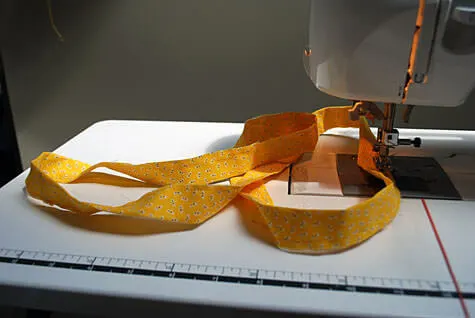
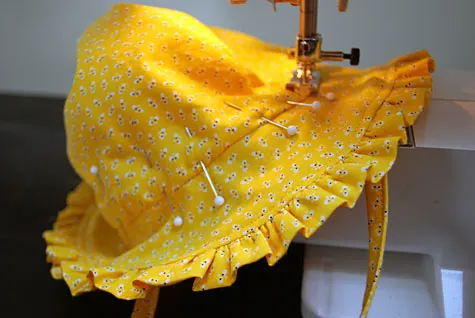
Match the seams of the ruffle to the seams of the brim. Pin. Pull the gathering threads gently to gather the fabric into ruffles.
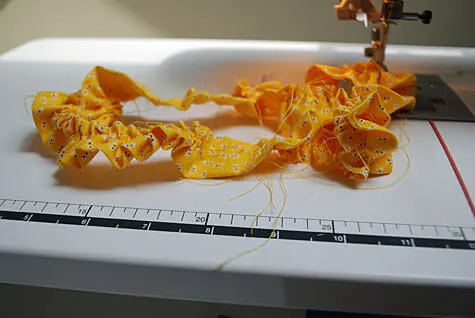
Pull it until it’s the same size as the outside of the brim. Pin the ruffle onto the edge of the brim, raw edges together.
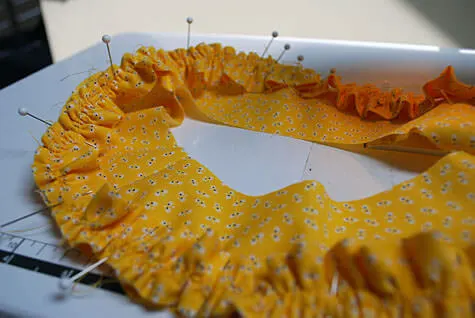
Sew the ruffle onto the brim.
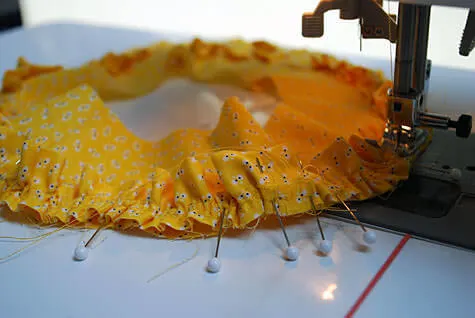
Place the other brim piece on top of the ruffle piece you just sewed, basically making a ruffle sandwich with the two right sides together. Pin and sew.
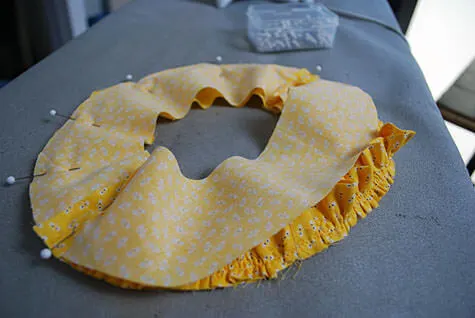
Turn right side out and iron. Finished brim is 18 inches circumference.
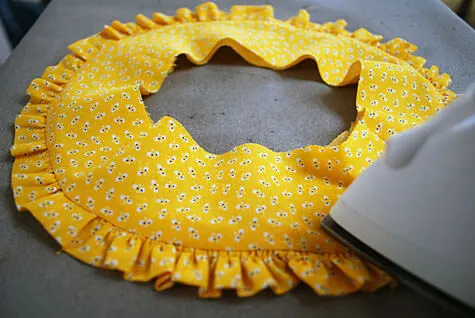
Topstitch the brim near the ruffle edge.
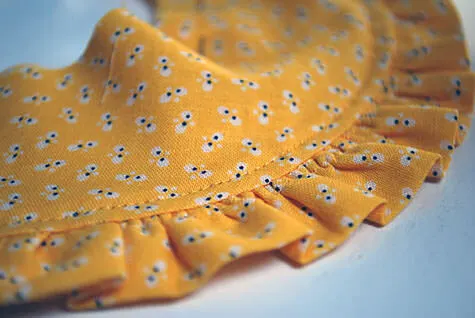
Sew the brim shut by sewing close to the inside circle edge.
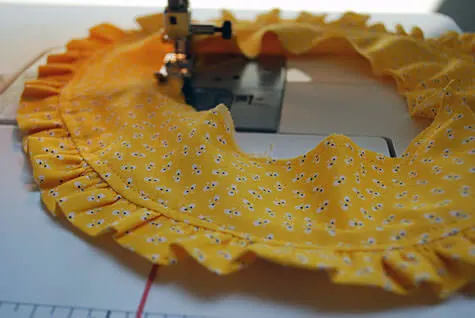
Take out any basting stitches that show (yikes, I had a lot on this one …that’s what I get for sewing fast during naps).
Step 5. Attach sun hat crown to the brim
Pin the crown onto the brim, right sides together matching seams. Sew around the crown to attach it to the brim.
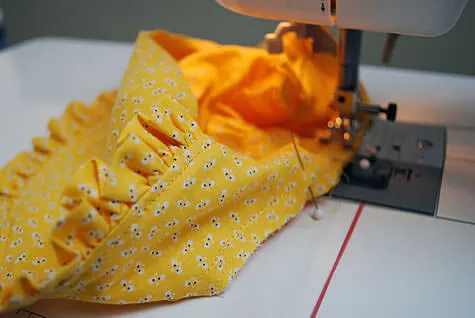
On the right side of the hat, iron the seam open so the raw edges are up inside the crown. It’s starting to look like a hat now, yes?
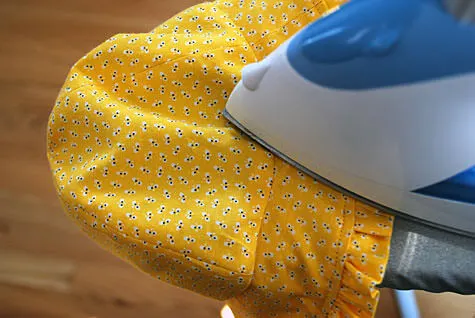
Step 6. Make and attach ties
Fold ties in half and iron. Fold raw edges into that center crease. Iron again.
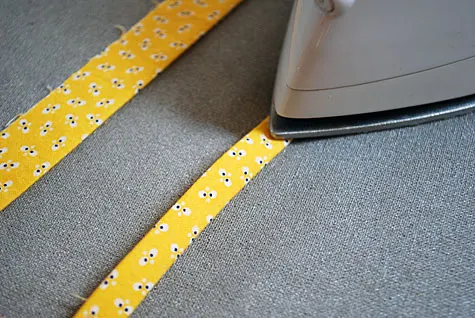
On one end, make a triangle with the ends and fold in.
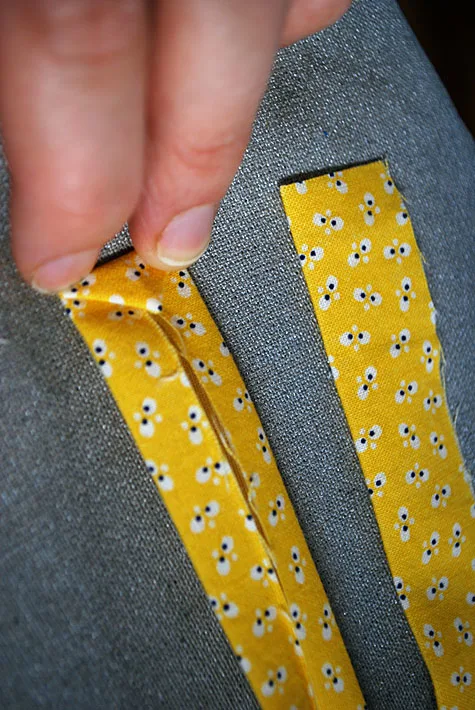
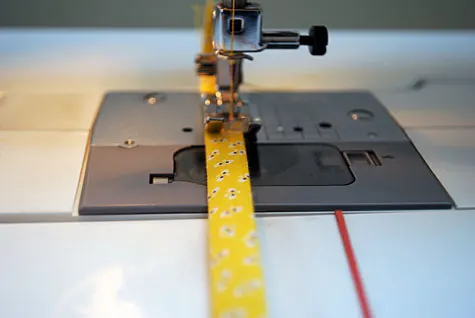
Sew along the open edge of the tie to sew it shut. Repeat for the second tie.
Now you’re going to attach the ties to the hat. Find the two sides of the hat. Pin the raw edge of the tie to the raw edge of the crown at the side seams.
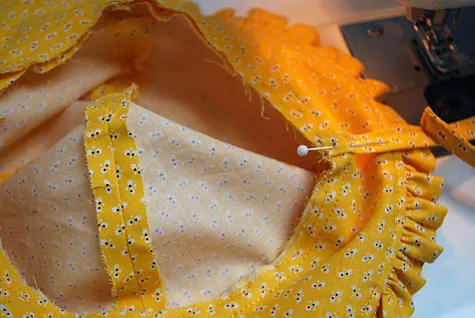
Sew back and forth a bunch of times so it’s secure. Repeat on the other side.
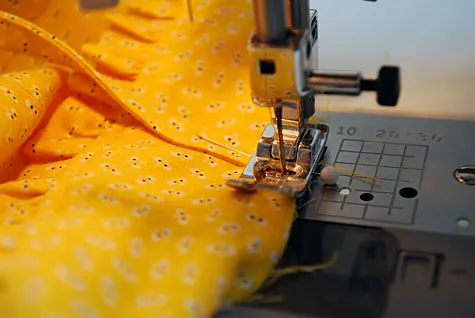
Step 7. Attach lining to the sun hat
Turn lining under 1/2″ along the raw edge and iron.
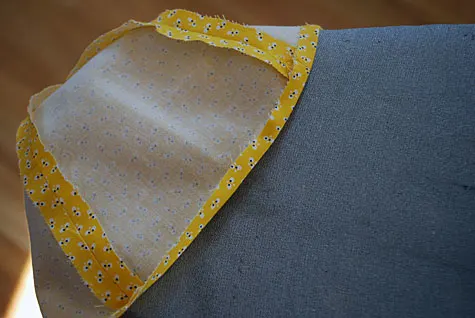
Turn the lining so the wrong side is on the outside. Pin the lining inside the hat, matching seams. Put your pins on the outside of the hat because you’ll be sewing from that side to make sure it looks nice on the outside.
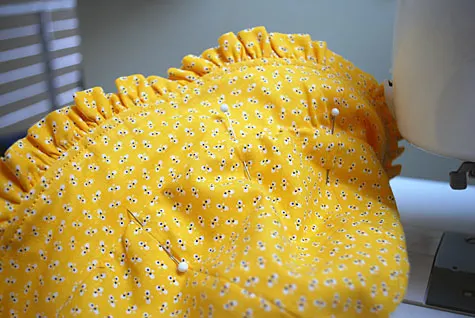
And here’s what it looks like inside…
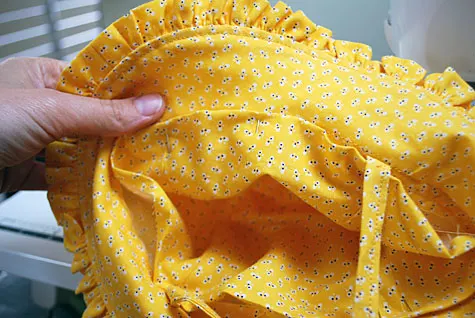
Sew it all together, stitching close to the brim, catching the lining underneath as you go. I’m not a huge fan of blind stitching like this but it’s the way I figured out how to do it, so there you go. Suggestions welcome.
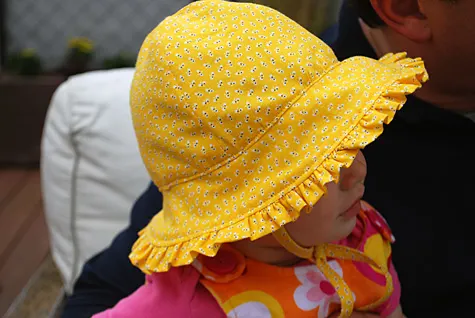
Tie that hat on and go outside!
++++++
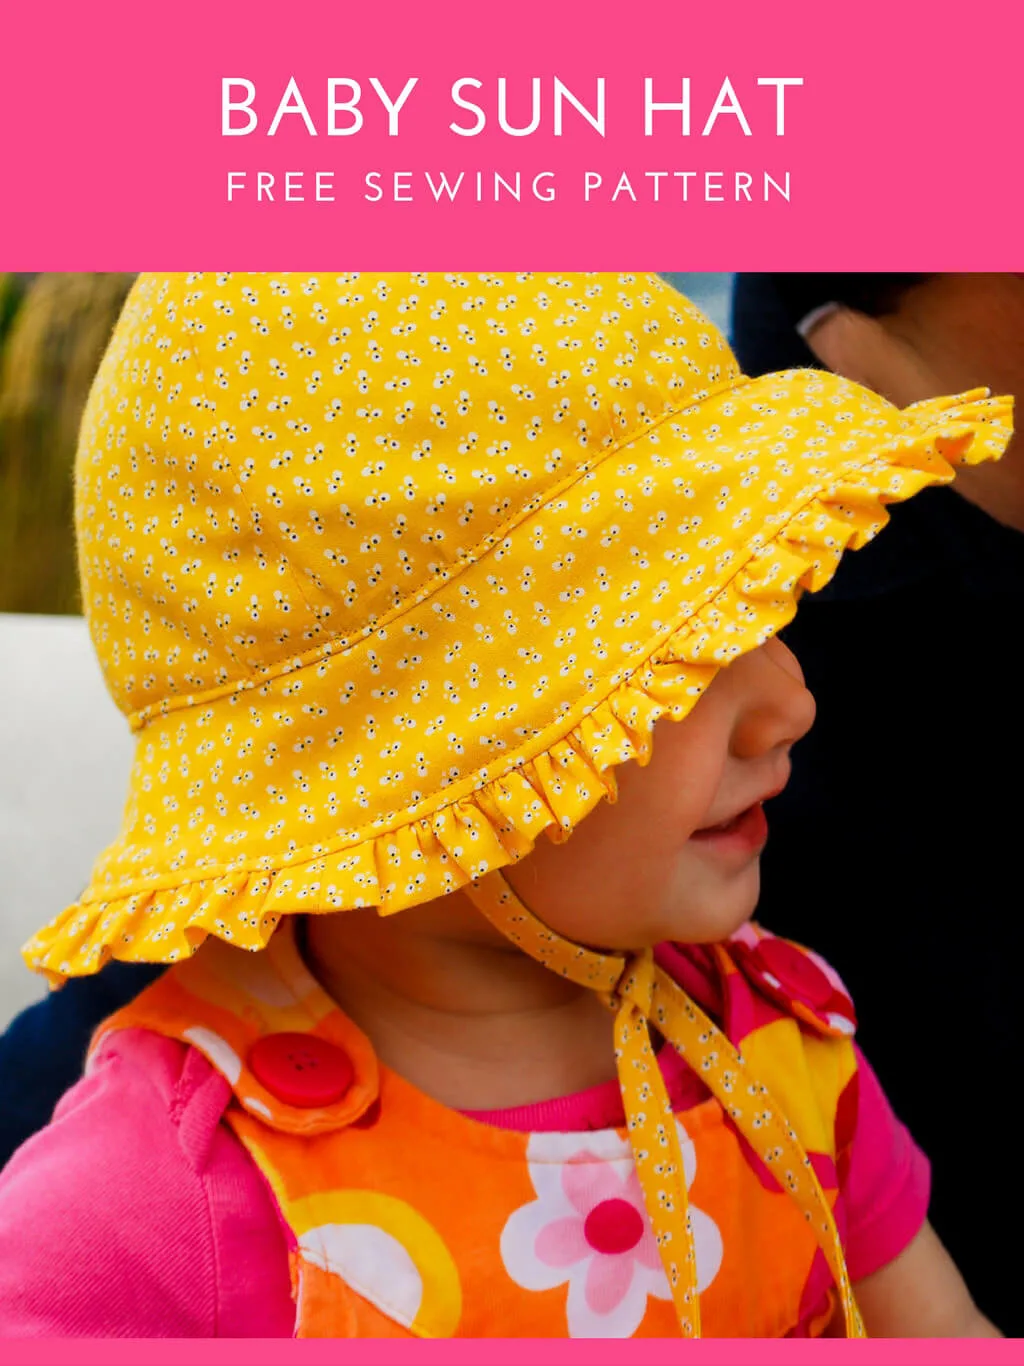
Be sure to pin my baby sun hat free sewing pattern for later:
And see more top free sewing projects for baby and toddlers:
—
Like it? Share it!
The nicest way to say you like it is to pin it on Pinterest, post a comment, follow Merriment Design on Facebook, Pinterest, Instagram or sign up for monthly emails. Enjoy! 🙂
Copyright stuff: You’re more than welcome to use this free project and tutorial for personal use. Contact me for commercial use and Etsy sales.





Lee
Wednesday 7th of May 2025
Thank you for sharing this pattern! I'm excited to make it!
Kathy
Friday 9th of May 2025
Glad to hear it! Let me know if you have any suggestions for improving it. Happy sewing!
Jeannee Stevens
Monday 2nd of May 2016
Thank you for the pattern and instructions. I plan to make a couple of hats and matching sundresses for my granddaughter. She is 11 months old and just underwent a successful heart transplant. She needs protection from the sun due to the meds she is on. This darling hat will be perfect!
Kathy Beymer
Monday 2nd of May 2016
Hi Jeannee, sending much love to your granddaughter! So glad to hear that her surgery was successful! These hats will be super cute on her. Note the seam allowances, and you may have to take a tuck or two to get the lining to fit the crown as my pattern isn't totally perfected but the hats turn out adorable. I'd love to see her in them! Post a pic at facebook.com/merrimentdesign
Melissa
Monday 20th of July 2015
Hi! Thanks so much for this pattern! We are going to Disney Land and wanted to make my baby girl a cute Minnie Mouse themed sun hat but didn't want to take the time to draft a pattern and fix imperfections and such! It's printing now! Can't wait to make it! Thanks again!
Linda Boothman
Tuesday 23rd of June 2015
I just made 2 of these for my Great-Granddaughter's 1st Birthday.....I made this size and hope for the best.....I started out adding a little to the seams but that made it look huge so went with the pattern. Instead of folding the 1/2 inch and topstitching the lining in, I left an opening in one of the crown seams and turned the whole hat through that opening and then nachine stitched it closed.....Sew CUTE!!! Thanks so much for the pattern. I will go find your FB page and post them there!
Inez Britz
Friday 15th of May 2015
Where of where is the pattern, please???????
Kathy Beymer
Saturday 16th of May 2015
Hi Inez! Here you go :) https://www.merrimentdesign.com/images/baby-sunhat-free-pattern.pdf Be sure to follow the instructions for seam allowance so that the brim and crown fit together. Happy sewing!