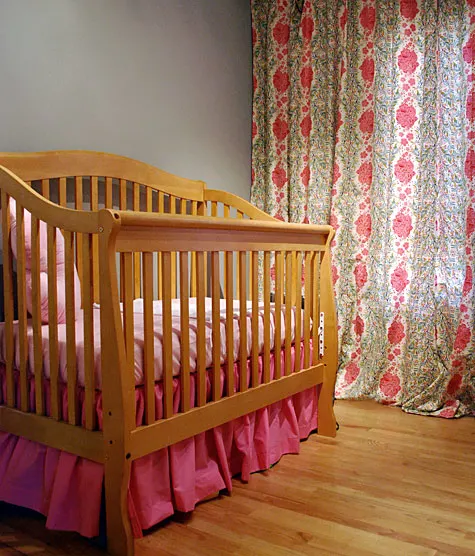
Today I’ll show you how to make a DIY crib bed skirt with a gathered dust ruffle. We’re in the middle of converting our den into a baby’s room. We’re keeping it simple — borrowed our niece Madison’s crib, kept the room painted light gray — and have begun accenting with oodles of girly fabric.
This project focuses on how to make a dust ruffle bed skirt for a crib or toddler bed. Below is what the crib looked like before without the crib skirt…
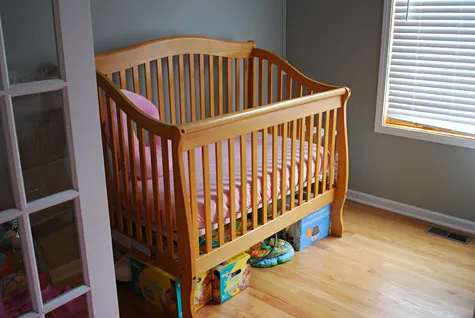
Voila! All the extra diapers, humidifier, and accessories are now hidden under a wall of pink below…
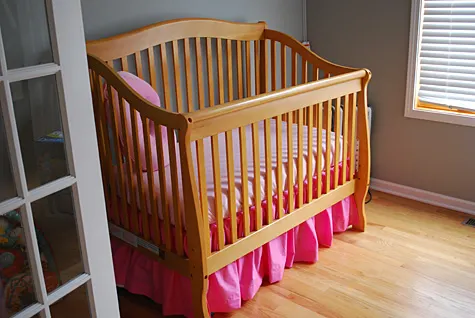
The biggest challenge making this dust ruffle project is dealing with the volumes of fabric. But overall, it’s basically easy straight stitching to get a custom bedskirt in your fabric of choice at the right crib height.
++++++
Supplies for how to make a DIY crib bed skirt with gathered dust ruffle:
- 6 yards pink fabric, 44 inches wide (NOTE: This is based on my crib’s measurements which I’m guessing is pretty standard but please refer to my step-by-step instructions below to measure your own crib or bed before buying your fabric)
- Pink thread
- Straight pins
- Self-healing mat, clear plastic ruler, rotary cutter
- Good iron and Ironing board
- Sewing machine
—
How to make a DIY gathered dust ruffle bed skirt:
Step 1: Cut your base piece of your bedskirt
Your base piece is the fabric that will go under your mattress; eventually, you’ll be attaching your ruffles to all four sides of this piece. Usually, store-bought brands use a thin white material for the base piece but I used pink to avoid instances where the white creeps out on the edges …I think that’s sloppy-looking and it bugs me so I say make a colored base piece.
For size, measure the metal crib base underneath the mattress and add 2” to each. For instance, our crib base was 50.5” x 26.5”, so I cut a base piece that was 52.5” x 28.5”.
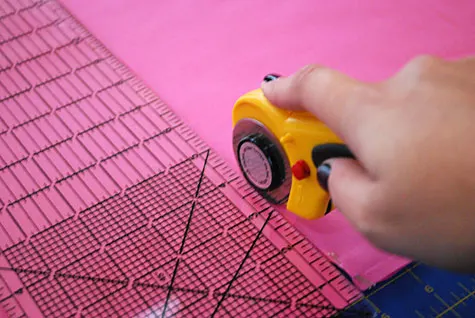
Step 2: Cut your ruffle pieces
Cut two side ruffle pieces and two front/back pieces. Again, you’ll be dealing with a lot of fabric here so I recommend measuring twice and cutting once.
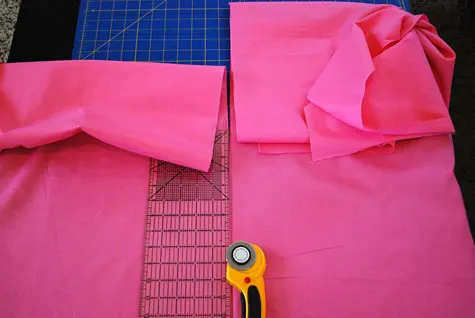
For the two left/right side pieces: Measure the width of the metal crib base underneath the mattress, multiply by 2x and add 2 inches. Measure the height of the metal crib base to the floor and add 4”. For instance, our crib width was 26.5” and 18” to the floor, so I cut two 55” x 22” pieces.
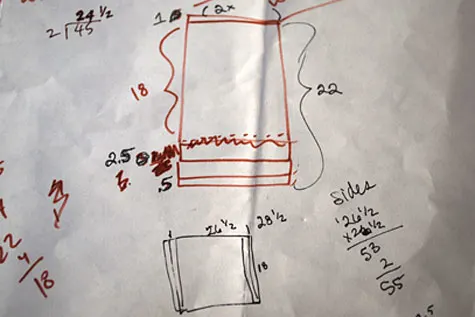
For the two front/back pieces: Measure the length of the metal crib base underneath the mattress multiply by 2x and add 2 inches. Measure the height of the metal crib base to the floor and add 4”. For instance, our crib length was 50.5” and 18” to the floor, so I cut two 103” x 22” pieces.
Because I bought 44″ wide fabric and was making an 18″ high bed skirt, I was able to just slice the fabric down the middle to make the two ruffles (they are both 22″ high).
Step 3: Make side seams on ruffle pieces
Take one of your ruffle pieces and put one of the left/right short ends wrong side up on your ironing board. Turn the short end under 0.5 inch and press. Turn it again 0.5 inch and press; notice that your raw edge is now hidden within the ironed seam. Sew a straight stitch close to the edge to create a side seam. Repeat on the other short end of your ruffle piece.
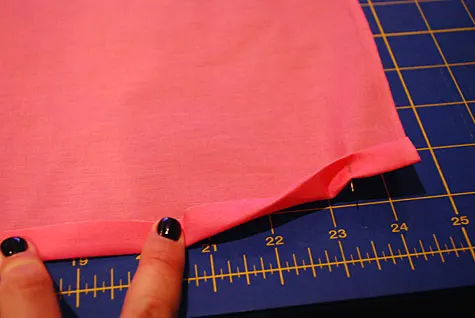
Repeat this step for the other three ruffle pieces.
Step 4: Make hems on bottom sides of on ruffle pieces
Place one of your seamed ruffle pieces wrong side up on your ironing board. Turn up one of the long edges .5 inches and press. You’ll be dealing with a lot of fabric here so just roll it over your board and iron as you go.
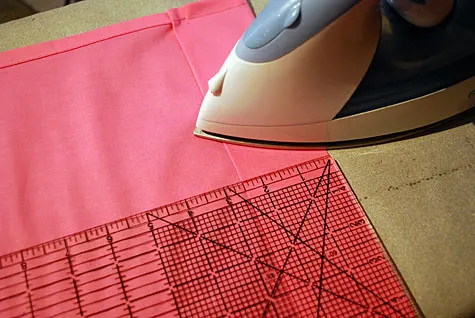
Now turn up the same long side 2.5 inches and press; notice that your bottom raw edge is now hidden within the hem.
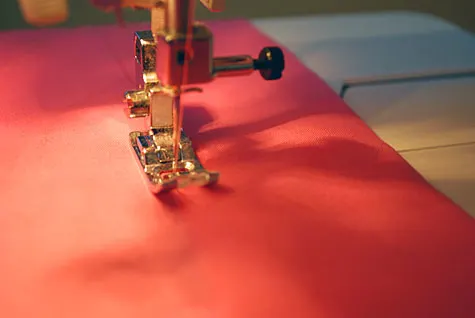
Sew a straight stitch close to the edge to create a hem. Note that your top edge (the one opposite of the sewn hem) will still be raw. Repeat this step for the other three ruffle pieces.
Step 5: Baste and gather your ruffle
Change your sewing machine stitch to a long stitch. Sew basting stitches along the raw top edge about 0.5 inch down. Remember *not* to backstitch – you want to be able to pull the threads later to make your gathers. Sew a second row of basting stitches about 0.75 inches down from your first stitch. (Now yes, you can gather with only doing one stitch but I think it’s easier to make the gathers with two, and it protects you if one of the thread breaks as you’re pulling it).
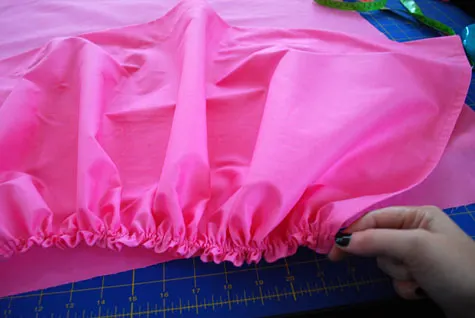
Take the two top threads on one side and pull. Your fabric will start to gather. Push the gathers towards the middle, working from each side to evenly distribute the gathers. You’ll want to gather the fabric until it’s 1 inch shorter than your base fabric on both sides. In other words, take the width of your base piece, subtract 2”, and gather your ruffles to that measurement.
Repeat this step for the other three ruffle pieces.
Step 6: Attach your ruffles to the base piece of the bedskirt
Here is the method that I worked out so I could finish the seams while avoiding getting out my serger ☺
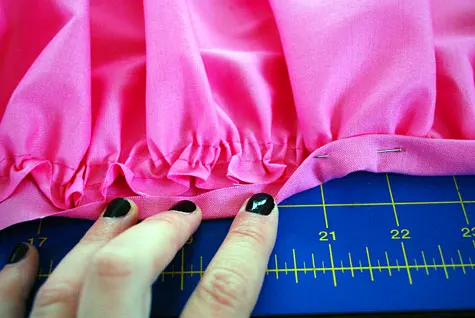
Line up the gathered end of one ruffle onto the base piece, right sides together. Place the ruffle’s raw gathered edge 0.5” from the raw *long* edge of the base piece. You’ll have 1” of exposed base piece on the left and right side of the ruffle. Turn the base piece’s raw edge under 0.5” and then again 0.5” to hide the ruffle. Your raw edges should now be sealed. Pin.
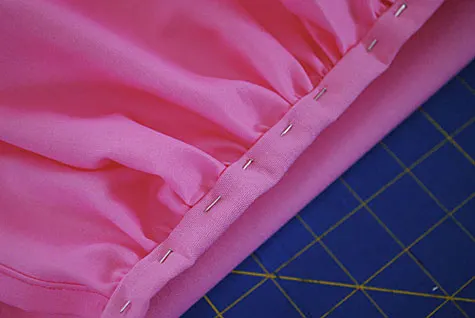
Continue along the entire long edge of your ruffle piece.
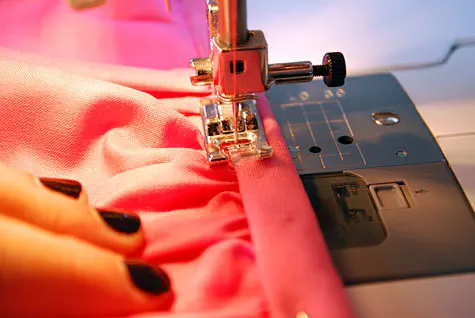
Sew close to the edge. Repeat this step for the other three ruffles. When you get to a corner, turn the sewn edge down on itself like in the photo below.
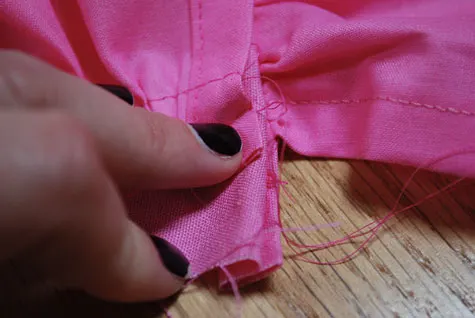
Fold your raw edge up 0.5″ and then another 0.5″ to hide edges inside the hem.
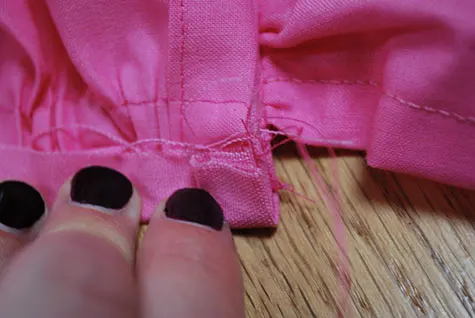
Pin and sew close to the edge as above.
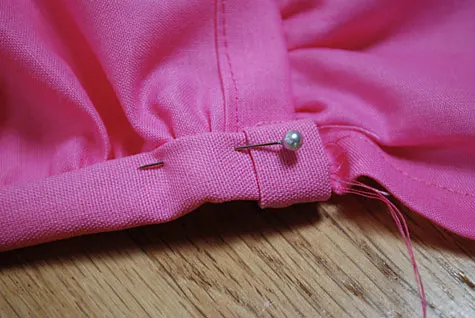
Step 7: Adjust hem as your child grows
As you adjust the bed lower and lower, your bedskirt will need to be re-hemmed so that it continues to brush the floor rather than puddle onto it. Just measure the new height, turn up all four sides to that height, and sew.
—
Like it? Share it!
The nicest way to say you like it is to pin it on Pinterest, post a comment, follow Merriment Design on Facebook, Pinterest, Instagram, or sign up for monthly emails. Enjoy! 🙂
Copyright stuff: You’re more than welcome to use this free project and tutorial for personal use. Contact me for commercial use and Etsy sales.

Rachel R Sanders
Thursday 23rd of February 2017
I'm fairly new to sewing but this tutorial looks like something (surely) I can follow! I appreciate the pictures. Was wondering, is there a reason for doing all four sides of the crib if it is up against the wall? I was just thinking of the skirt on my own bed and how it only has three sides, so maybe I could do the same for this and save one step, or do you think it would look unfinished/hide any imperfections if I'm off any ways on the sides
Kathy
Friday 24th of February 2017
Hi Rachel! I think you could get away with doing 3 sides. I'd love to see a photo when you're done! I'm at facebook.com/merrimentdesign Happy sewing!
Maria
Monday 2nd of May 2016
What is the name make/model of this crib? I have the same one and it was given to me as a gift. My sister wanted one and I have no clue! Will def be making this for us
Kathy Beymer
Monday 2nd of May 2016
Ooh, Maria I wish I knew the make/model of the crib! My mother-in-law gave it to us and put it together, and we've since passed it on. I'd love to see a photo of your bed skirt! Share it at facebook.com/merrimentdesign
sharron lindenstruth
Saturday 19th of September 2015
I love this pattern and am trying it out now. Thanks
Kathy Beymer
Monday 21st of September 2015
Hi Sharron, let me know how it goes! Thanks so much for stopping by :)
Amber
Wednesday 24th of June 2015
I am going to use your tutorial to try to duplicate this skirt (it has two layers-NOT tiered): https://www.etsy.com/listing/220030951/pink-and-ivory-lace-gathered-pink-ruffle?ref=favs_view_11 I am a novice sewer. Do you think I should ruffle each layer separately, and then sew them on to my base piece? Or should I ruffle the two layers together?
Sara
Tuesday 28th of January 2014
I have the Madison crib but cannot recall the name of the manufacturer and now I need the conversion kit. I don't suppose you have any insight on that?
Please LMK. svanscherpe@gmail.com
Kathy Beymer
Thursday 30th of January 2014
Hi Sara, sorry, I am not sure where to get the conversion kit. I hope you have some luck finding it! It's a cute crib for sure.