

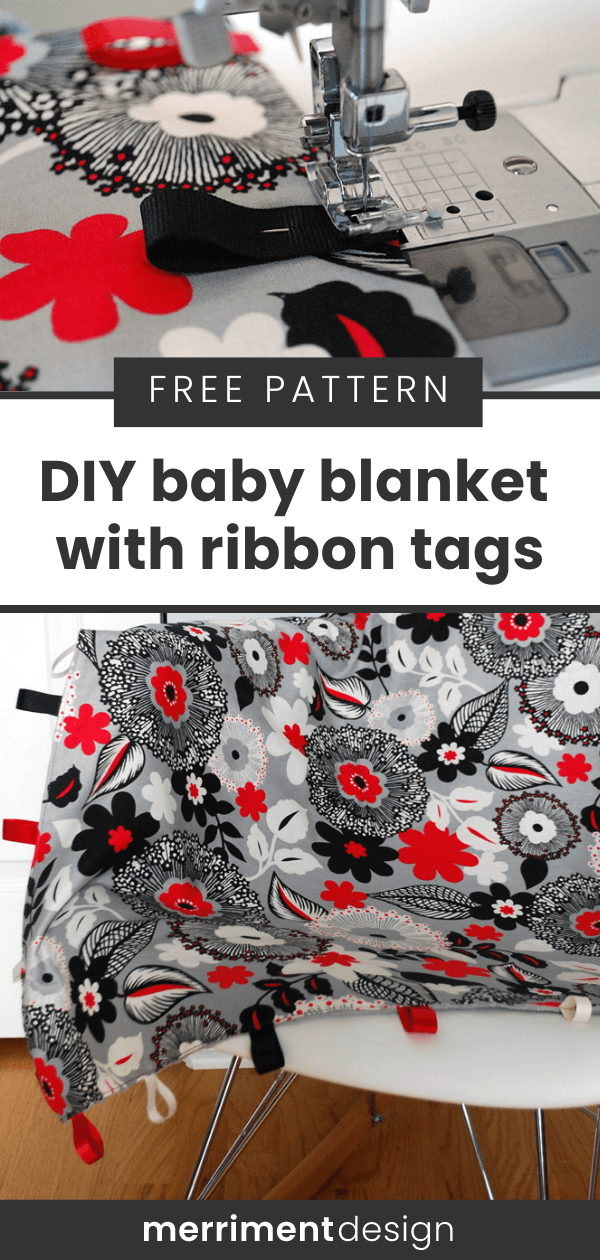
Make my easy DIY baby tag blanket for snuggly newborns to cuddle, learn, and play! It’s quick and easy to sew a baby tag blanket for a baby shower or baby gift. You can sew this baby tag blanket in a couple of hours!
I made this baby tag blanket with ribbon loops and super-soft minky fabric as a DIY baby gift for my friend Cristin‘s crazy cute newborn daughter, Margot.
See also: Travel baby blanket free sewing pattern with optional pockets >>


Quick and easy baby tag blanket sewing pattern
My DIY baby tag blanket free sewing pattern is a simplified, pocket-less, and slightly-larger version of my Kid’s Travel Toy Blanket with VELCRO Loops. I realized that I was fresh out of my beloved Snag-Free VELCRO so I used ribbons only, but you could add in the VELCRO to attach toys if you’d like.
Soft minky fabric on the back
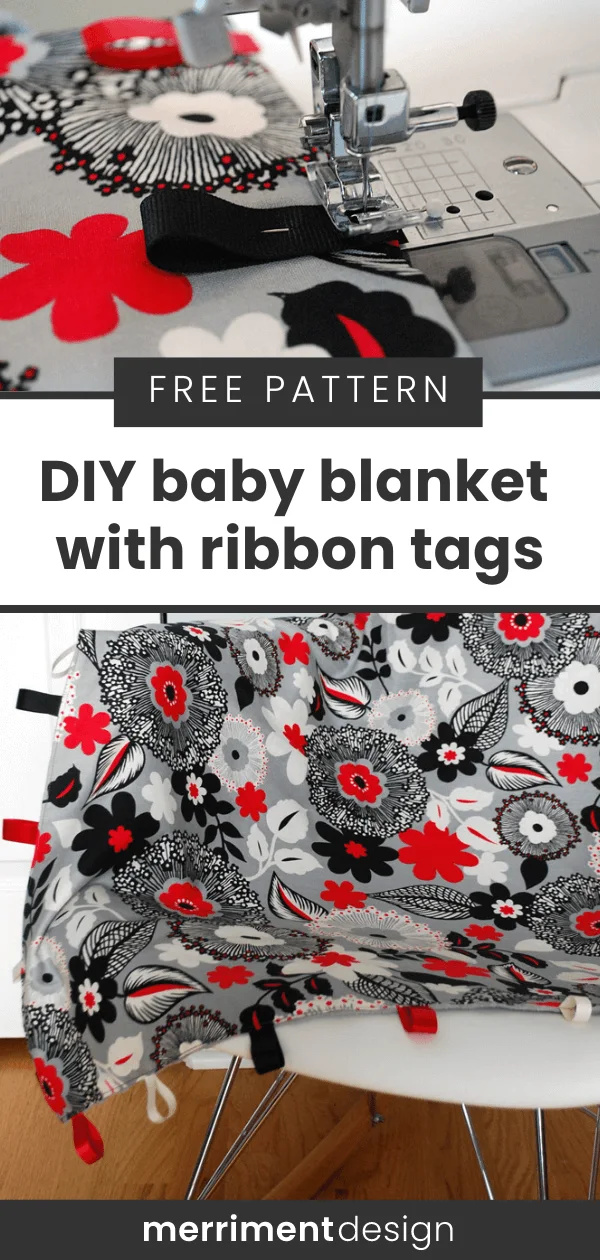
I love the floral fabric that I chose, which is a great black-and-white contrast for newborns, feminine, and elegant just like Cristin. The impossibly snuggly gray fabric on the back is called minky fabric, which is super soft and babies and toddlers love it.


Sew this baby blanket in a couple of hours
My DIY baby blanket pattern is easy enough that you should finish it in a couple of hours. Pair it with a couple of handmade baby burp cloths with loops for toys and binkies and you’ve got a smart-looking, handmade baby gift. Keep reading to see how to make a DIY tag baby blanket with ribbon loops and minky fabric.


Supplies for making an easy DIY Baby Tag Blanket (finished size blanket 24″ x 30″):
- 3/4 yard patterned fabric for the front
- 3/4 yard fabric for the back
- Assorted ribbons – I collect ribbons from gifts, boutique purchases, etc. in my ribbon drawer
- Good fabric scissors
- Pins
- Thread
- Good iron and ironing board
- Sewing machine
- Rotary fabric cutter, self-healing cutting mat and clear acrylic ruler
How to make an easy DIY Baby Blanket
Step 1: Cut your baby blanket pieces
Cut your fabric pieces for a finished size blanket 24″ x 30″:
- One 25″ x 31″ rectangle for the front
- One 25″ x 31″ rectangle for the back
You’ll be sewing 1/2″ seams throughout this project.


Step 2: Cut ribbons for the baby tag blanket
Cut a pile of assorted ribbons into 4″ long pieces. Fold the pieces in half and pin around the perimeter of the blanket front so that the raw edges line up. Space the ribbons 4″ apart or closer if you’d like more ribbons.


Step 3: Sew the ribbons to the edge of the baby tag blanket
Secure the ribbons to the front by sewing around the perimeter 1/4″ close to the edge.


Step 4: Pin the front of the baby tag blanket to the back
With right sides together, put the blanket back onto the blanket front. Ignore my creases …I ironed them out later 😉


Step 5: Sew the back and front of the blanket together
Sew the back to the front using a 1/2″ seam, making sure to leave an unsewn edge about 8″ long so that you can turn the blanket right-side out later.


I can’t tell you how many times I’ve just sewn the blanket shut and had to get out the seam ripper, so I like to make an “X” with my pins to remind me to stop. STOP!


Step 6: Clip your corners and turn the baby tag blanket right side out
OK now clip your corners and turn right-side out.


It’ll look like this …almost done!


Step 7: Iron the blanket edges
Iron everything nice and crisp. I know it’s tempting to skip this step but buck up and do it. Use a cool iron so that you don’t iron out the dots from the minky fabric.


Step 8: Pin the opening shut
Fold the opening under and pin the opening shut.


Step 9: Edge-stitch the baby tag blanket
Pin and sew around the entire blanket close to the edge to topstitch the blanket and close the opening shut. This picture cracks me up because I used about 1000 pins to hold the opening together, obviously you need a lot less.


Step 10: Give your blanket!
And now your baby blanket is all done! Add a couple quick handmade baby burp cloths with loops for toys and binkies and wrap up your handmade baby gift.


Be sure to pin my DIY baby tag blanket free pattern:
++++++
Like it? Share it!
The nicest way to say you like it is to pin it on Pinterest, post a comment, follow Merriment Design on Facebook, Pinterest, Instagram or sign up for monthly emails. Enjoy! 🙂
Copyright stuff: You’re more than welcome to use my free project, printable templates, and tutorials for personal use. Contact me for commercial use and Etsy sales. Momma’s gotta pay the bills.
linda a baughman
Monday 16th of December 2013
These look like something I could do! Thank you.
Kim
Wednesday 10th of April 2013
I just love this baby blanket and I can't wait to make one. But I do have one question: What are the ribbon hoops for?
Cristin
Wednesday 20th of March 2013
We love this blanket and I was so thrilled to receive it at my baby shower. Thanks Kathy! We'll be bringing it with us this weekend when we go and visit my mom in Pennsylvania.
Kathy Beymer
Sunday 24th of March 2013
So glad that you and Margot like it! :D