
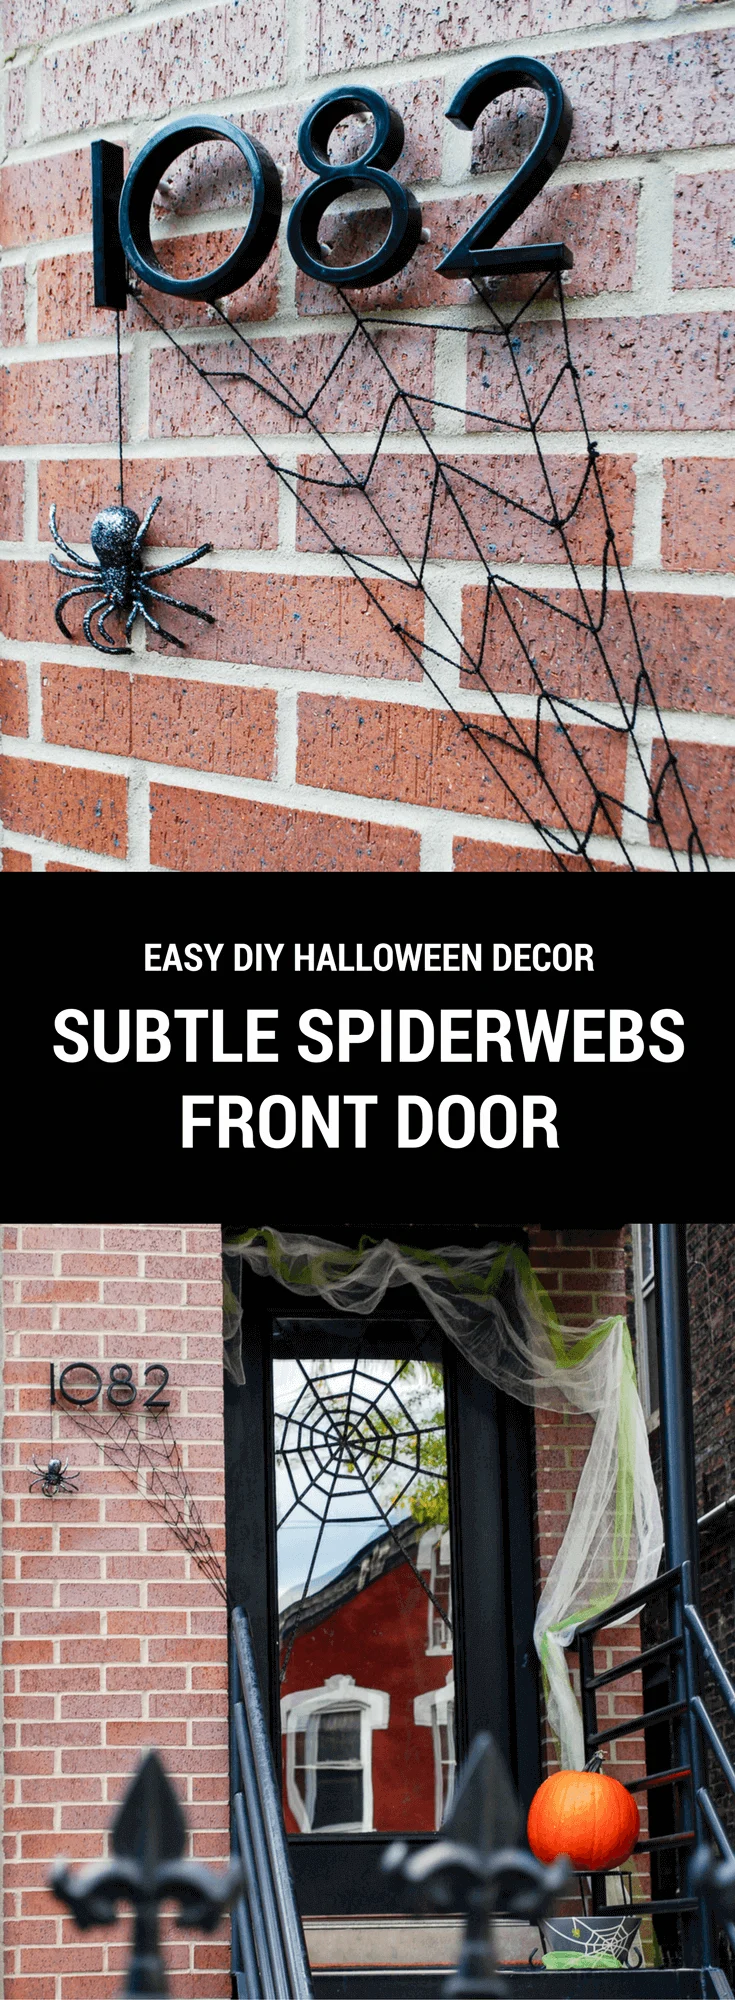
Here’s a creative DIY Halloween front door decoration that’s subtle in its spookiness: two DIY glitter spiderweb projects for a classy, understated Halloween front door to lure in trick-or-treaters. Eek!! My DIY Halloween decor idea includes how to to make an easy spiderweb on your front door using glitter tape, plus a spiderweb with a big ol’ glitter spider hanging from your address numbers.


JOANN Fabric & Craft Stores sponsored this #spookyspaces post as part of its Celebrate The Season campaign. All the designs and opinions are mine. And be sure to check out all of my craft projects that I’ve made for JOANN Stores.
Subtle spiderweb DIY front door decorations for Halloween
I wanted to decorate our Chicago condo building’s front door for Halloween. It has a challenging clear glass front door; here it is before…


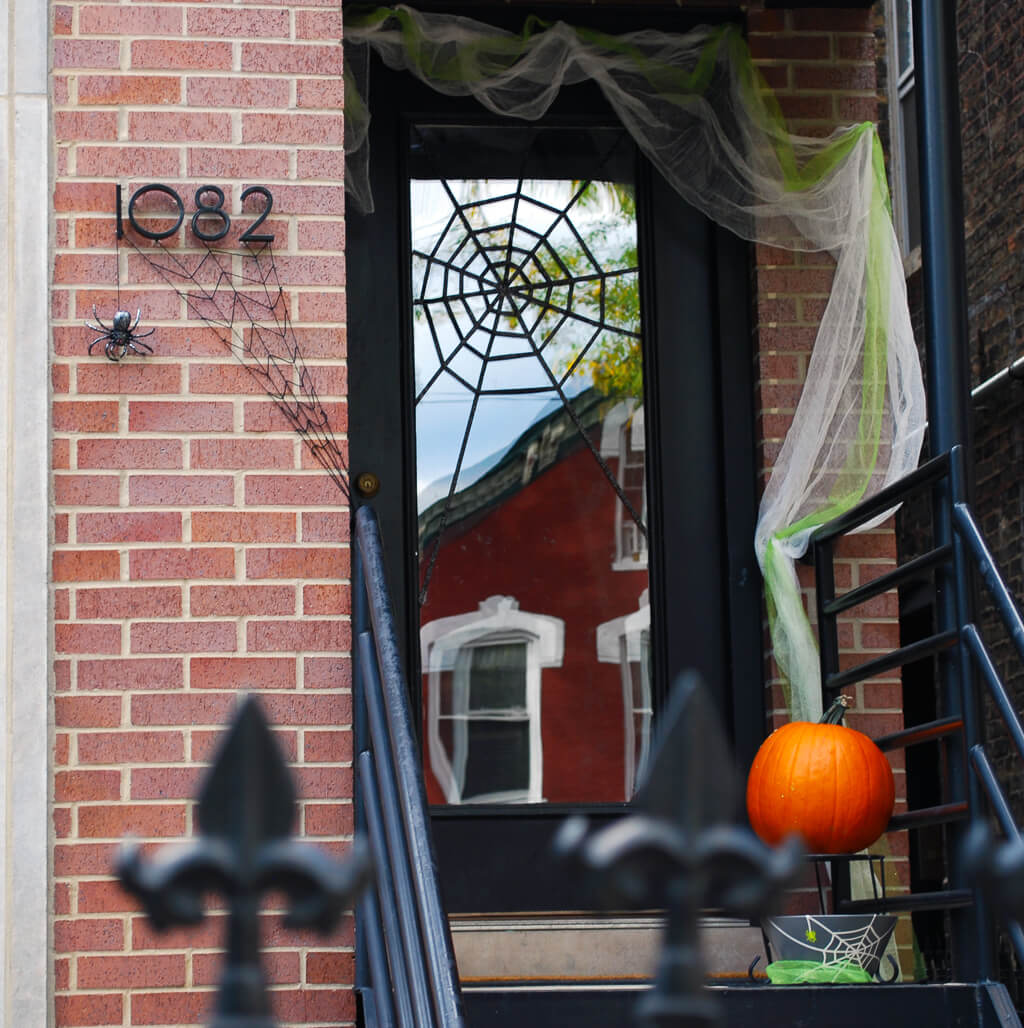
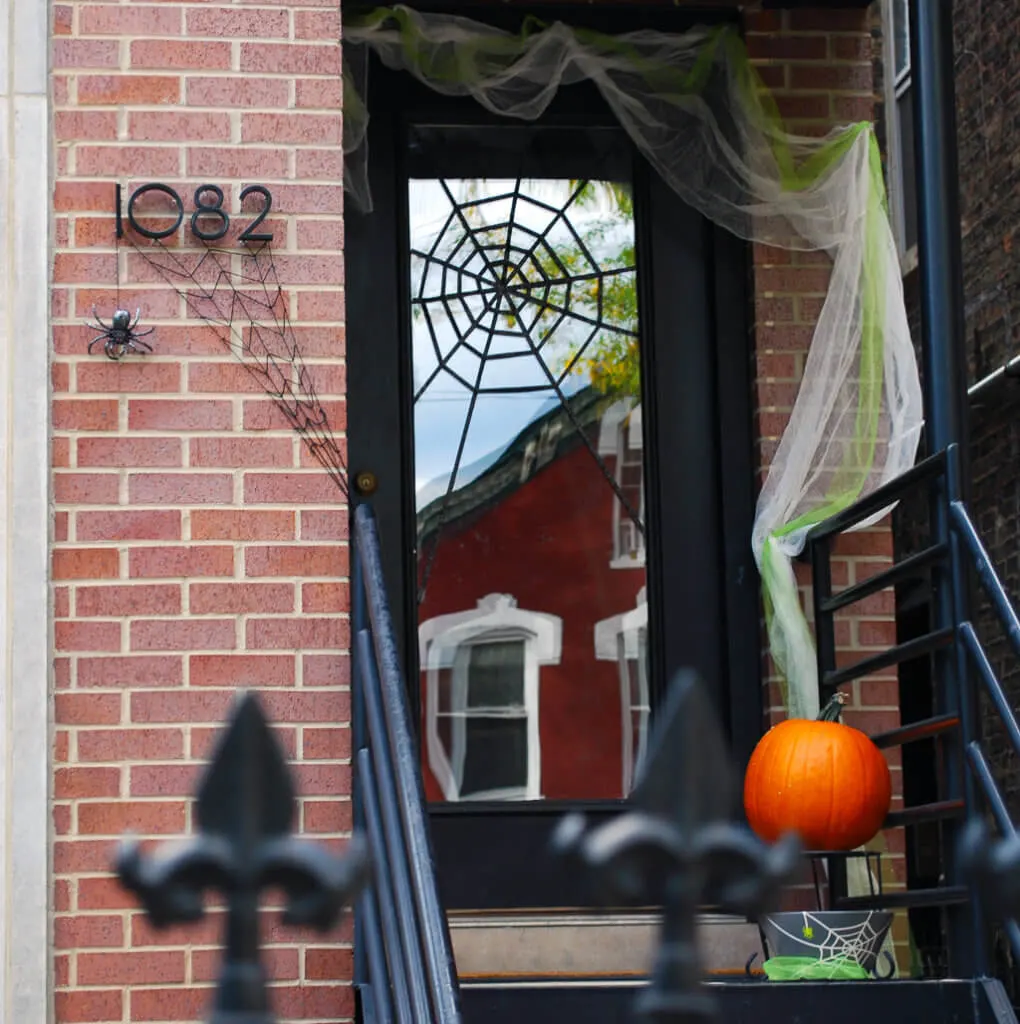
…and here it is after adding chic and simple glitter spiderweb using black glitter strips, green glitter tulle, and cheesecloth from JOANN Fabric & Craft Stores. I like that this classy spiderweb decor lets us still see through the door for safety.


I stumbled upon the glitter strips while browsing the aisles at JOANN. Glitter usually gives me the hives but there’s no mess when using these black glitter strips. And to make the door decoration easily removable, I attached the spiderwebs using VELCRO fasteners plus clear contact paper which makes them totally removable after Halloween …I’ll show you my easy removable trick below.


Decorate your house numbers with spiderwebs for Halloween
Next, I added a glitter-painted spider spinning its web on our address numbers. Decorating house numbers with spiderwebs is understated, classy and festive, and my neighbors in our building without kids love it, too!


Put these two spiderweb DIY projects together for a subtle and sophisticated Halloween front door decoration. Come hither, fearless trick-or-treaters, come hither.


For more #spookyspaces, visit Creative Made Simple by JOANN Fabric & Craft Stores.


Supplies for making subtle spiderwebs for DIY Halloween front door decorations:
I bought my supplies at JOANN Fabric & Craft Stores:
- American Crafts 3/8″ Glitter Strips — this product is seasonal, so if it’s not currently in stock then try Glitter Washi Tape in Black or Glitter Washi Tape in Silver and then you can skip the clear contact paper
- Glitter yarn – I used Lion’s Brand Vanna’s Glamour Yarn
- Green glitter tulle spool
- Cheesecloth
- Optional: VELCRO Sticky-Back Fasteners in Clear and clear contact paper (only needed if you use the American Crafts 3/8″ Glitter Strips instead of washi tape)
- Removable clips to hang the cheesecloth
- Glitter paint (I used Martha Stewart Crafts Multi-Surface Coarse Glitter in Obsidian) and paint brush
Plus scissors and plain rubber spiders — eek!
—
How to make an (easily removable!) glitter spiderwebs on a front door for Halloween
Step 1: Gather supplies for your DIY Halloween front door decorations.
See the list above for my supplies. I used 3 spools of American Crafts 3/8″ Glitter Strips on our door.


Step 2: Attach removable fasteners to your front door
Cut a small piece of contact paper and apply it to the door. Then cut the VELCRO Sticky-Back Fasteners to size and stick the hook (scratchy) side onto the contact paper. This will hold your web and will be so simple to remove after Halloween, no residue to scrape off at all.
Then stick the loop (soft) side onto the back of the Glitter Strips.


Step 3: Create a spiderweb design on your front door with glitter tape
Make your web by on your door by cutting strips to size and adding it to your door. It took a couple of naptimes to get this done but my neighbors and I love the glimmer and it’s held onto our glass door very well!


Step 4: Add spooky Haunted House details to the front door
Grab the glitter tulle spool and cheesecloth.


Drape it above your door, leaving a bit to hang on the left side and letting it fall down the right side. Do the cheesecloth first and then add the tulle. I used VELCRO Holiday Multi-Clips. I didn’t even cut any of it.


And now you have a subtle yet spook spiderweb front door decoration.


Step 5: Paint glitter onto rubber spiders
Paint your spider using the glitter paint enlisting some child labor.


My helper did a great job! Here’s a before and after.


Step 6: Make a DIY yarn spiderweb on your front door address numbers
Now to add spooky spiderwebs to our front door address numbers. I used Vanna’s Glamour Yarn in Onyx.


It helps that our numbers are mounted about 1/2 from our brick because it gave me an easy place to weave.


Make the long strands of the spiderweb, securing with knots. Then go across until your spiderweb is complete.


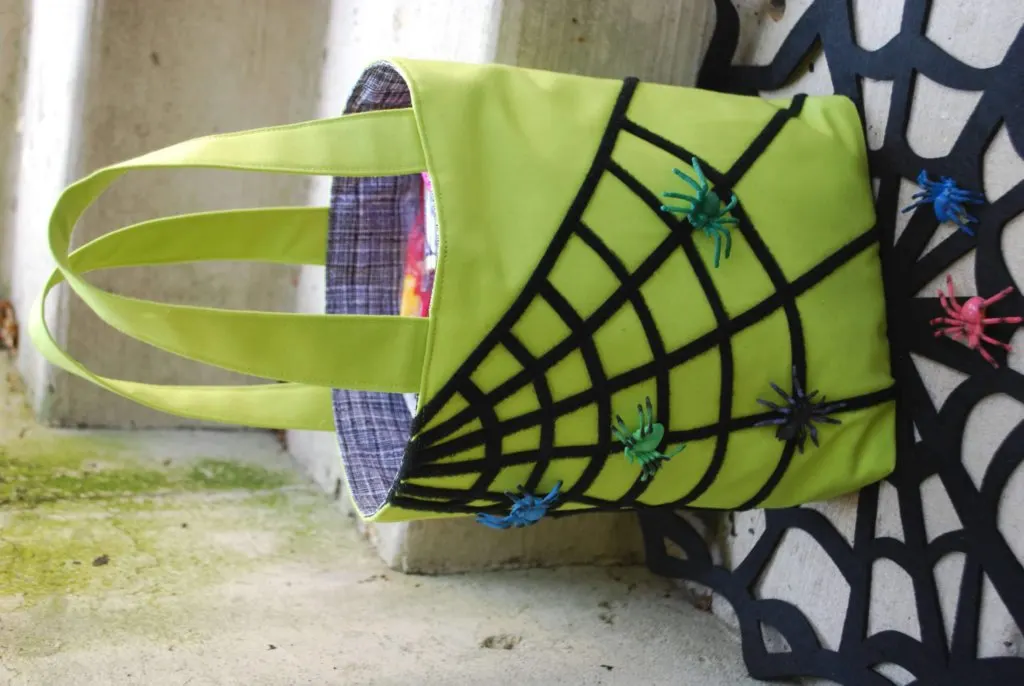
Step 7: Tie spiders onto your yarn spiderweb Halloween decorations
Tie some yarn around the spider to secure.


And tie him from the left side of the web. Please don’t bite the children, Mr. Spider.


Be sure to pin my easy DIY Halloween front door decoration using spiderwebs:

—
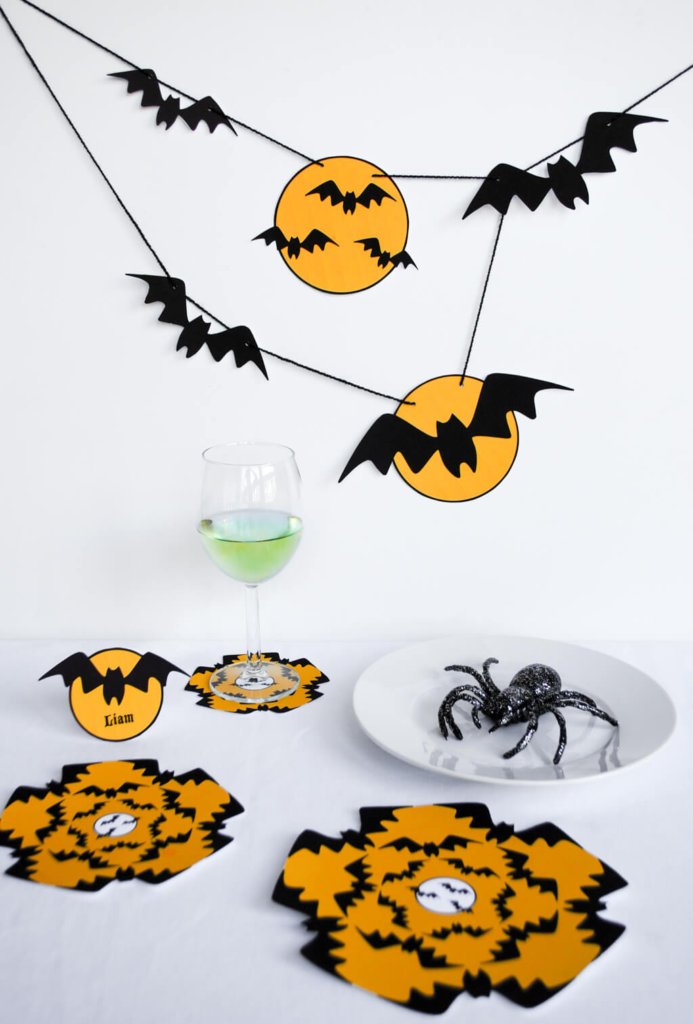
Like this easy Halloween decor project? Please also see more of my favorite Halloween crafts and DIY costumes:


—
++++++
Like it? Share it!
The nicest way to say you like it is to pin it on Pinterest, post a comment, follow Merriment Design on Facebook, Pinterest, Instagram or sign up for monthly emails. Enjoy! 🙂
Copyright stuff: You’re more than welcome to use my free project, printable templates, and tutorials for personal use. Contact me for commercial use and Etsy sales. Momma’s gotta pay the bills.
Mimi
Monday 28th of October 2013
The subtle spider webs are a nice touch.
Wendy
Thursday 10th of October 2013
This is great non-spooky Hallowern decoration. I can see my four year old wanting a glitter spider!
Kathy Beymer
Sunday 13th of October 2013
Yes, the glitter spider is awesome. We made two and one is, ahem, next to Elise's bed now.