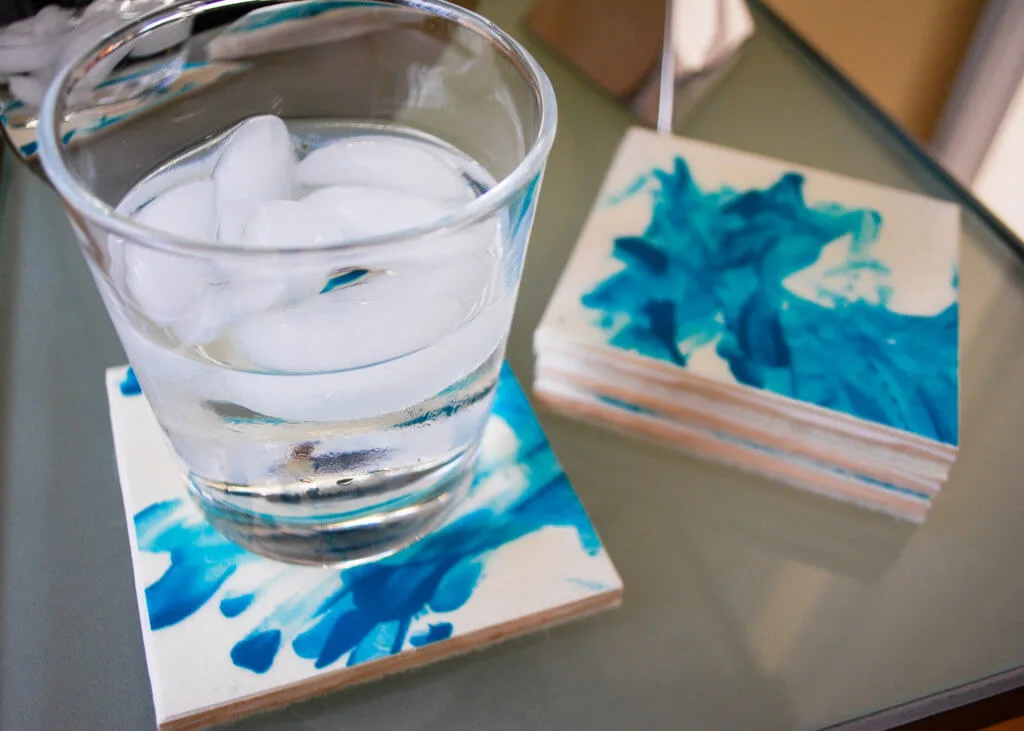
See how to make modern tile coaters for drinks using fingerpaint! Make modern DIY tile coasters using fingerpaint. This easy fingerprint DIY coasters idea is the perfect DIY gift idea from the kids. I made these modern tile coasters using square ceramic tiles, glossy Mod Podge and my two-year-old’s fingerpainting artwork. Making your own decoupage tile coasters is crazy easy. I love how they turned out, and Elise got to dig her hands into some goo.
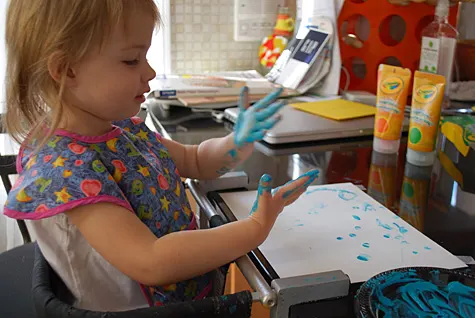
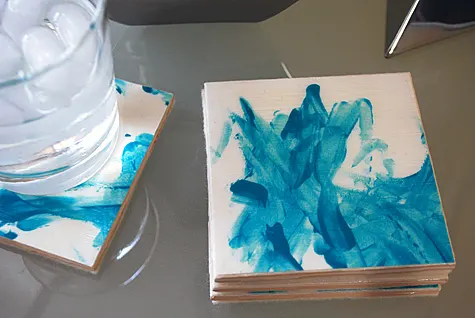
DIY coasters are a great gift idea that kids can make
We made these handmade ceramic tile coasters as a DIY birthday gift for my sister Krista who just redecorated her TV room to be more modern. She got help from a super affordable online-only design service called CopyCatChic.com that charges a nominal fee for a custom design board, product links, and a scaled floor plan to your room’s dimensions. Here’s Krista’s custom board for her living room design:
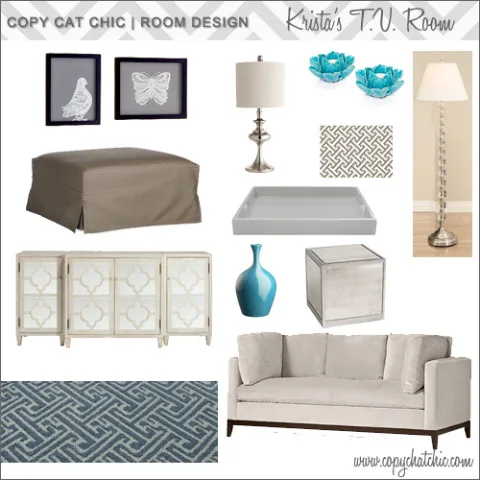
So for Krista’s birthday I got her a West Elm cream throw for her new couch and Elise and I made these DIY ceramic tile coasters – they add to the room, yes?
Make DIY coasters that look handmade, not homemade
I like that this ceramic tile coaster DIY gift is warm and personal without looking TOO handmade if you know what I mean. The key with using kid’s artwork on stuff like this is to keep it simple, like Elise’s monochromatic fingerpainting shown here. Otherwise these DIY tile coasters would scream “kiddie artwork in my adult room” – not the goal.
I first saw the make your own tile coaster idea at Style Me Pretty and Pretty Prudent has a version with really great instructions and photos. A good idea is worth gifting.
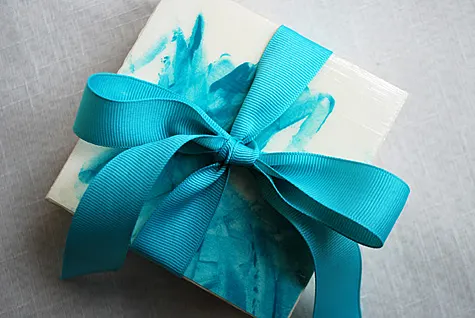
WANNA MAKE IT? Keep reading for my free step-by-step tutorial and supply list for making your own handmade ceramic tile coasters from fingerpainting artwork.
++++++
And see more DIY gift ideas that kids can make:
- DIY pen pal kit for Grandma
- Washi tape DIY candles
- Masking tape DIY photo frame
- Tie-dye DIY cloth fabric napkins
- Fruit & Veggie Stamping – Tote bags or kitchen hand towels
- DIY paper bead jewelry
- DIY lemon and oatmeal soap
- Personalized wrapped sugar cubes
- Handmade chocolate stir sticks for hot chocolate and mochas
Merriment Design is supported by readers like you. If you buy products that I recommend, I may earn an affiliate commission at no additional cost to you. Thanks – your clicks help me make more free DIYs!
++++++
Supplies for making modern DIY tile coasters with fingerpaint:
- Fingerpainting artwork using turquoise fingerpaint (or your color of choice) ideally on 90 lb rough surface heavyweight watercolor paper (I used Canson brand) OR you can buy pretty paper or cute fabric
- Square ceramic coasters kit – this kit is really neat because it includes the tiles and pre-cut cork backing pads (or you can use felt or thin corkboard for the bottom of the tiles if you don’t buy the kit)
- Mod Podge and foam brush
- Sealer in glossy finish or Sealer in matte finish
- Self-healing mat, metal ruler, and X-Acto knife
- Sandpaper(optional)
++++++
Instructions for making modern DIY coasters using fingerpaint artwork:
Step 1: Make a DIY coasters paper pattern
Whenever I’m cropping from a larger piece of artwork or fabric I like to make a pattern to help figure out what areas to crop. To make your own pattern, trace a paper square the same size as your ceramic coaster tile. Draw a square inside with about a 1/4″-1/2″ border. Then cut out the inside square using a self-healing mat, metal ruler, and X-Acto knife.
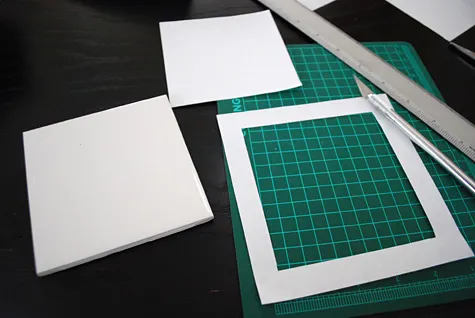
Now you have a little window to use to figure out what piece of the artwork you’d like to crop and cut for your coaster.
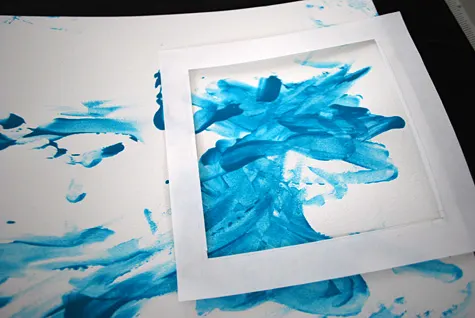
And here’s another tip: Fingerpainting can make paper pretty bumpy. I actually had Elise fingerpaint onto acid-free 90 lb. watercolor paper and it actually stayed pretty flat. And it’s more of a matte finish which I prefer over the slick shiny fingerpainting paper.
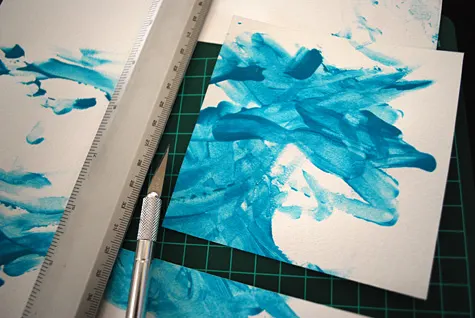
Step 2: Cut out squares from fingerpaint artwork
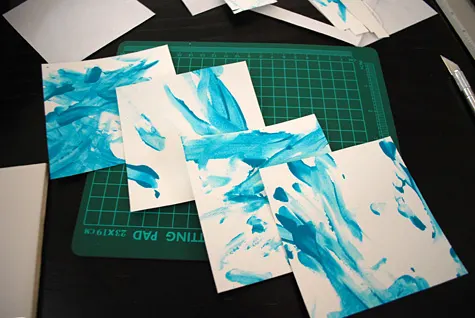
Cut out squares using a metal ruler, X-Acto knife and self-healing mat. Here are the four squares that I cropped for the coasters from Elise’s fingerpainting artwork. Cut as many squares as you like to make DIY coaster sets.
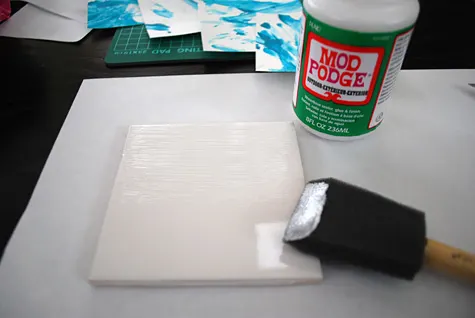
Step 3: Add Mod Podge adhesive to the tile coaster
Brush a thin layer of Glossy Mod Podge on the top of the ceramic coaster. Now before you do this, you can paint the edges with white paint to cover up the unfinished sides. I didn’t do this but next time I will.
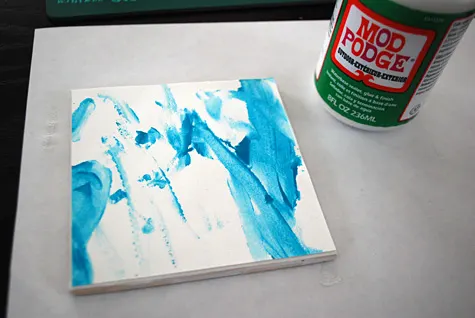
Step 4: Smooth the fingerprint artwork on top of the tile coaster
Place the fingerpainting artwork square on top of the Mod Podge, carefully smoothing out all the bubbles, being careful not to tear the artwork (see the tip above about reducing bumps in fingerpainting artwork).
Step 5: Coat the DIY coasters with Mod Podge layers
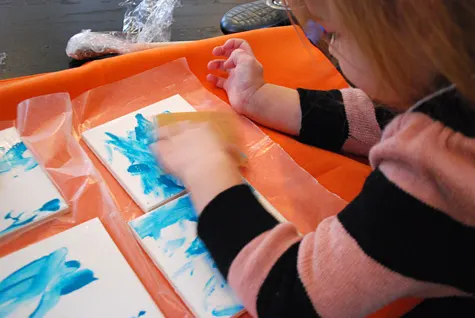
Brush a thin layer of Mod Podge on top of the artwork. Brush in one direction because you’ll be able to see the brush strokes, the thinner the layers the better. Let it dry completely, about 15-20 minutes or so.
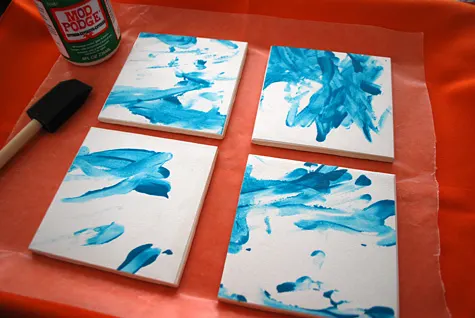
Optional step: I wanted the coasters to be as smooth as possible so I sanded between coats. This is totally optional. Sanding worked really well on my decoupaged custom fabric covered baby wipes popup container but honestly, I don’t know if it really helped that much on this project but it Elise liked helping. Anyway, I brushed on the Mod Podge in the same direction each time but if you brush opposite directions if you want a cross-hatch pattern Repeat the thin Mod Podge layers until you like how it looks; I did three layers of Mod Podge.
Step 6: Seal the DIY coasters to make them waterproof
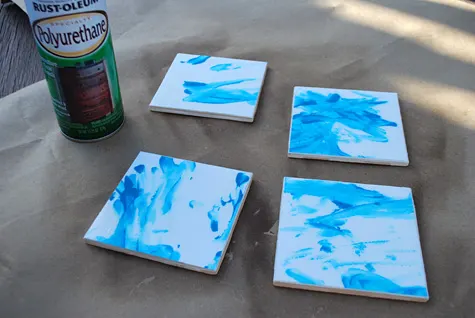
Mod Podge by itself is not waterproof, so you’ll want to spray a sealer on them to make your coasters waterproof. Yes, this is kind of an annoying step but you’ll have to seal the coasters before using them for drinks. Spray Beacon Glossy Decoupage Sealer or Aleene’s matte spray sealer on the top of the coasters according to your sealer’s directions. Spray really thin coats of sealant – I did three very thin sweeps and let it dry between coats. Some people recommend using Thompson’s WaterSeal as another sealant option.
Step 7: Cut felt squares for the bottoms of the DIY coasters and adhere
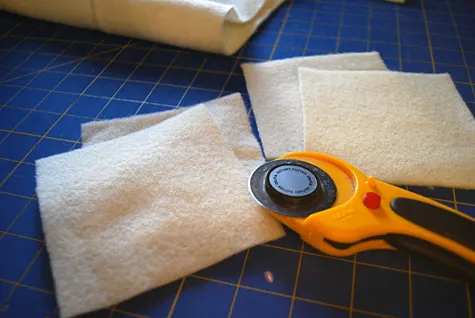
You’ll want to put pads on the back of the ceramic coasters to pad the bottoms. If you got the square ceramic coasters kit with cork backing then you can peel and stick the cork to the back. Otherwise, cut felt squares (or thin corkboard) for the bottom of the tiles the same size as your tile. You can use a self-healing mat, rotary cutter and clear plastic ruler or good fabric scissors.
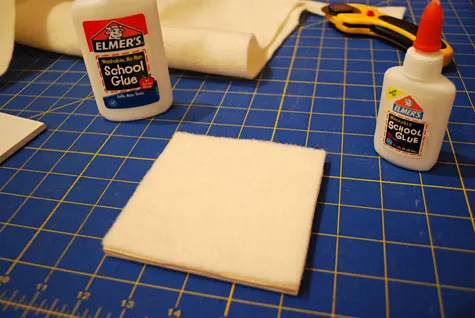
Glue it on the bottom using Elmer’s school glue or other craft glue – spread it out really thin with your fingers (or you can just use your Mod Podge, this occurred to me after I already glued mine on). Flip over and let dry.
From what I read at Pretty Prudent that you’re supposed to wait a whole month (!!) to put a hot drink on these coasters to let the Mod Podge and sealer fully cure. You could probably give it a try after a week. In the meantime, they look great in Krista’s new TV room.
—
Like it? Share it!
The nicest way to say you like it is to pin it on Pinterest, post a comment, follow Merriment Design on Facebook, Pinterest, Instagram or sign up for monthly emails. Enjoy! 🙂
Copyright stuff: You’re more than welcome to use this free project and tutorial for personal use. Contact me for commercial use and Etsy sales.

Jen
Thursday 14th of December 2017
If you don't want to mess with cutting/gluing felt, you can buy little felt pads that stick right on. Four per tile—one on each corner—works great!
I got a 150 pack at Home Depot for less than $4.
Kris Boudreau
Monday 19th of October 2015
I have painted directly onto white tile with paint markers bought at WalMart. They then went into the oven to dry. This is a really neat project, as is, though... thinking Christmas gifts from school children!
Kathy Beymer
Tuesday 20th of October 2015
Hi Kris, that's a great idea. Maybe I'll try the paint markers approach this year!
Tonia
Sunday 26th of July 2015
I'm an art , homeschool art , and 3k teacher at the YMCA and I love your website . I recently had a box of tiles donated and I'm looking forward to try several of these ideas :) thank you !. I'll let you know how they turn out .
Rachana
Monday 6th of July 2015
Am new in Chicago. And I don't know where to buy material to make this coaster. (cheap by prize) Please guide me so I can make this coaster too. This will be great help.
dawnette
Wednesday 28th of August 2013
Thanks so much for posting this. I have a project I have been thinking of doing for a friend that has just adopted three siblings - I wanted to do 8 x8 tiles and have their hand prints on them but I didn't know how to do it and get the paint to dry on the ceramic tiles. didn't think about doing it on paper and putting them on the tiles. So excited to get working on this project!