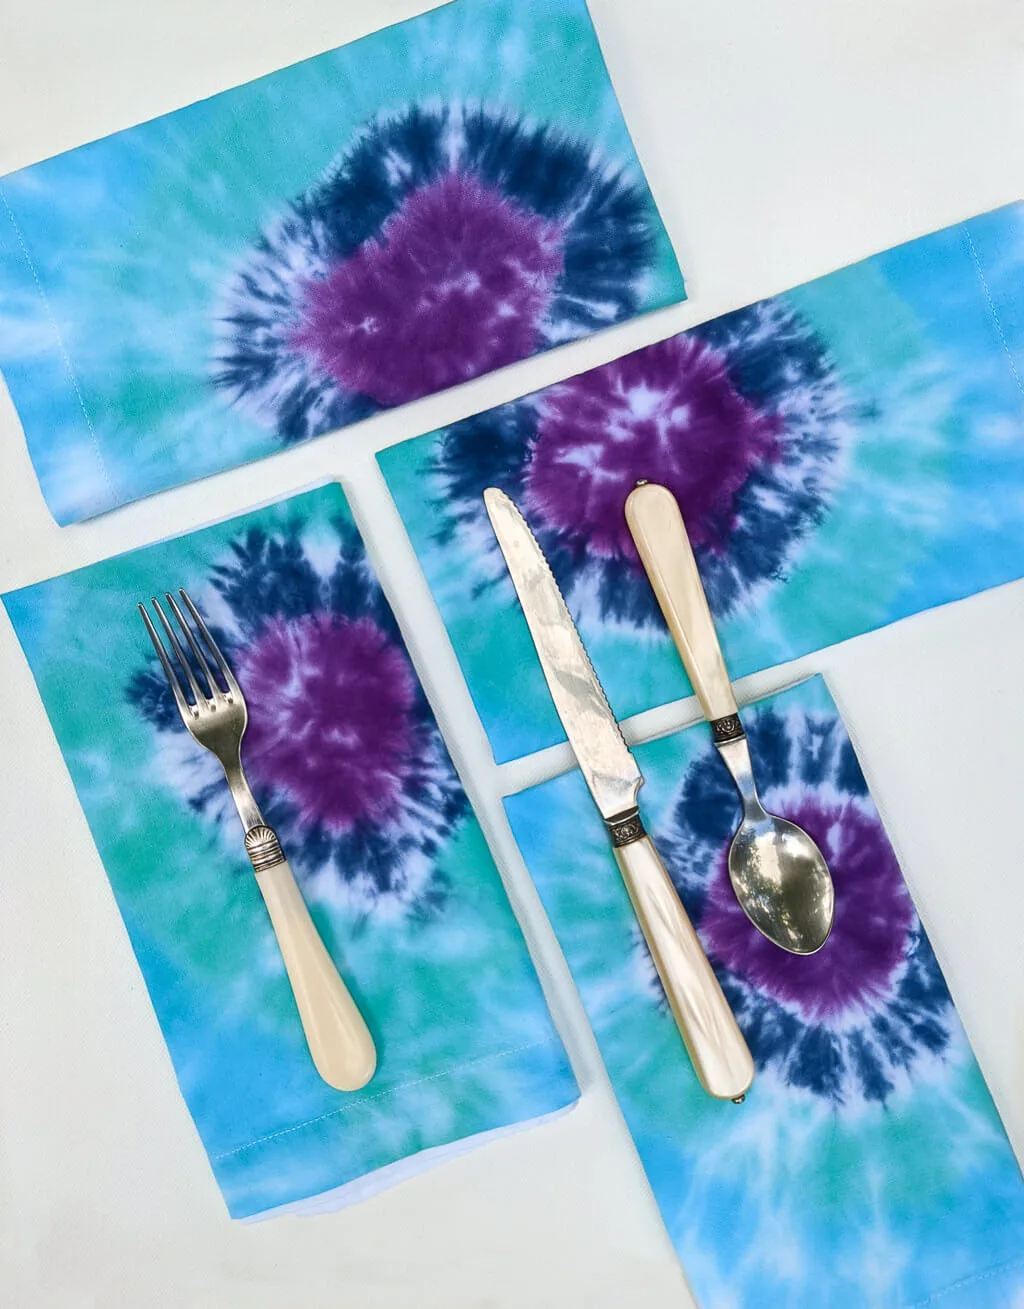
Transform plain white cotton cloth napkins into cheerful DIY Tie-Dye Dinner Napkins. This tie dye idea is so simple to do, tons of fun, and takes just a couple of craft supplies to make a whole bunch.
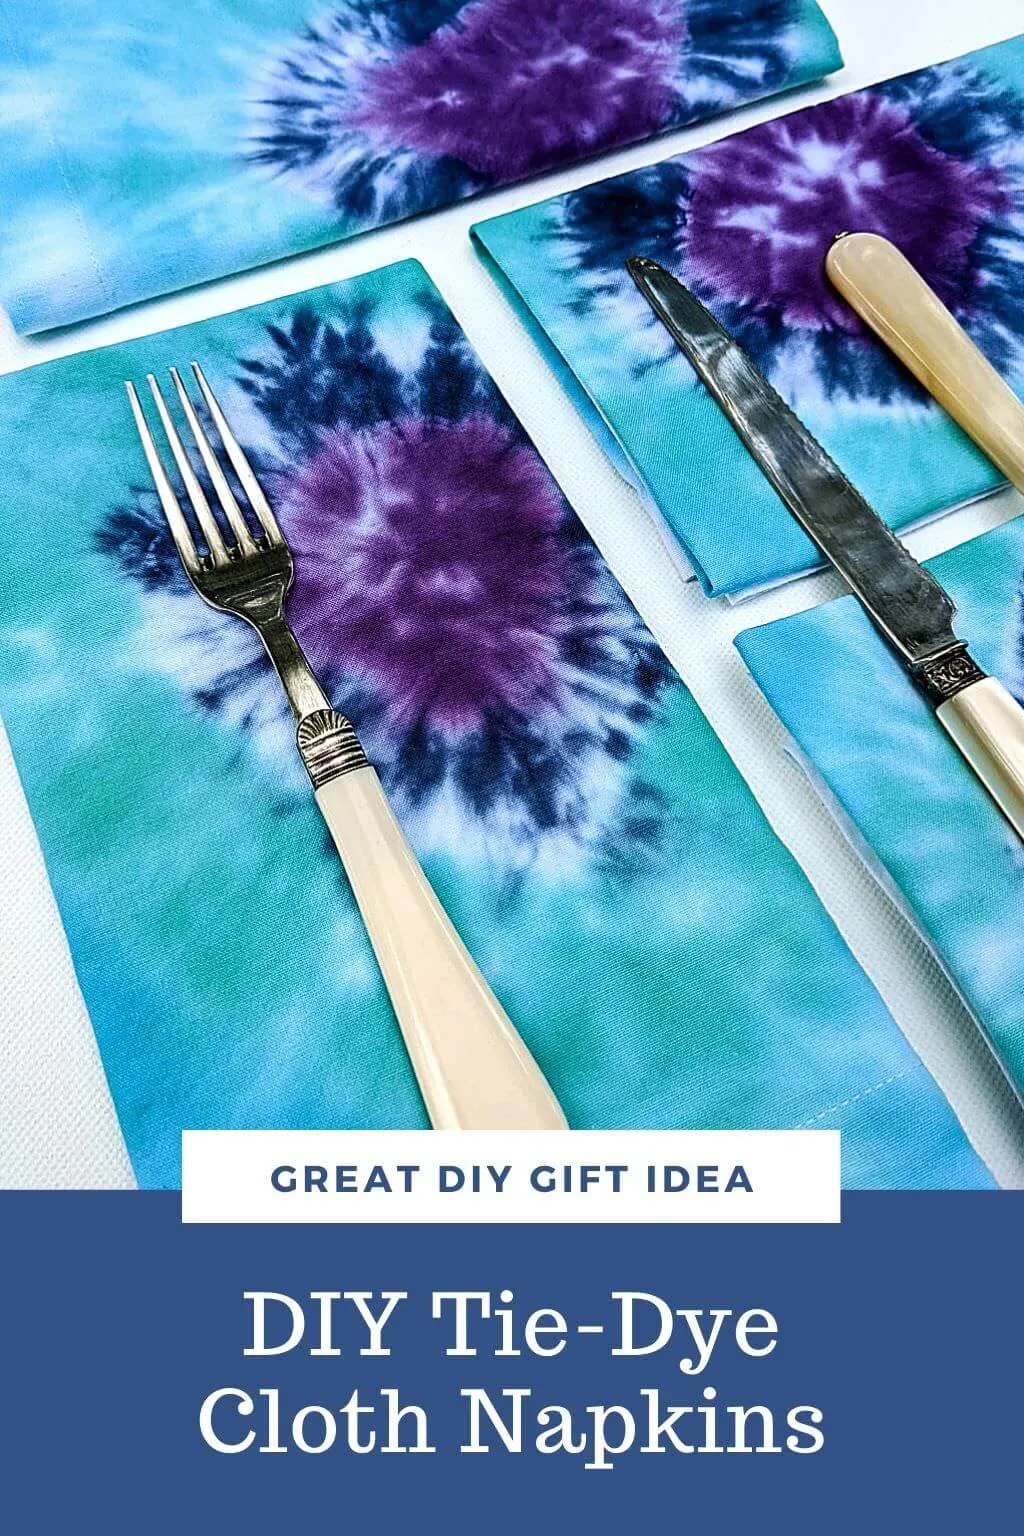
Tie-dying is one of those magical crafts where you can be a total beginner and nail it. The key is to really embrace the lack of control. Sometimes tie-dying will work out how you expect, but more often the final result is a happy surprise. I think that this dinner napkin set looks like geodes. Did we plan it? Nope, and I absolutely love it.
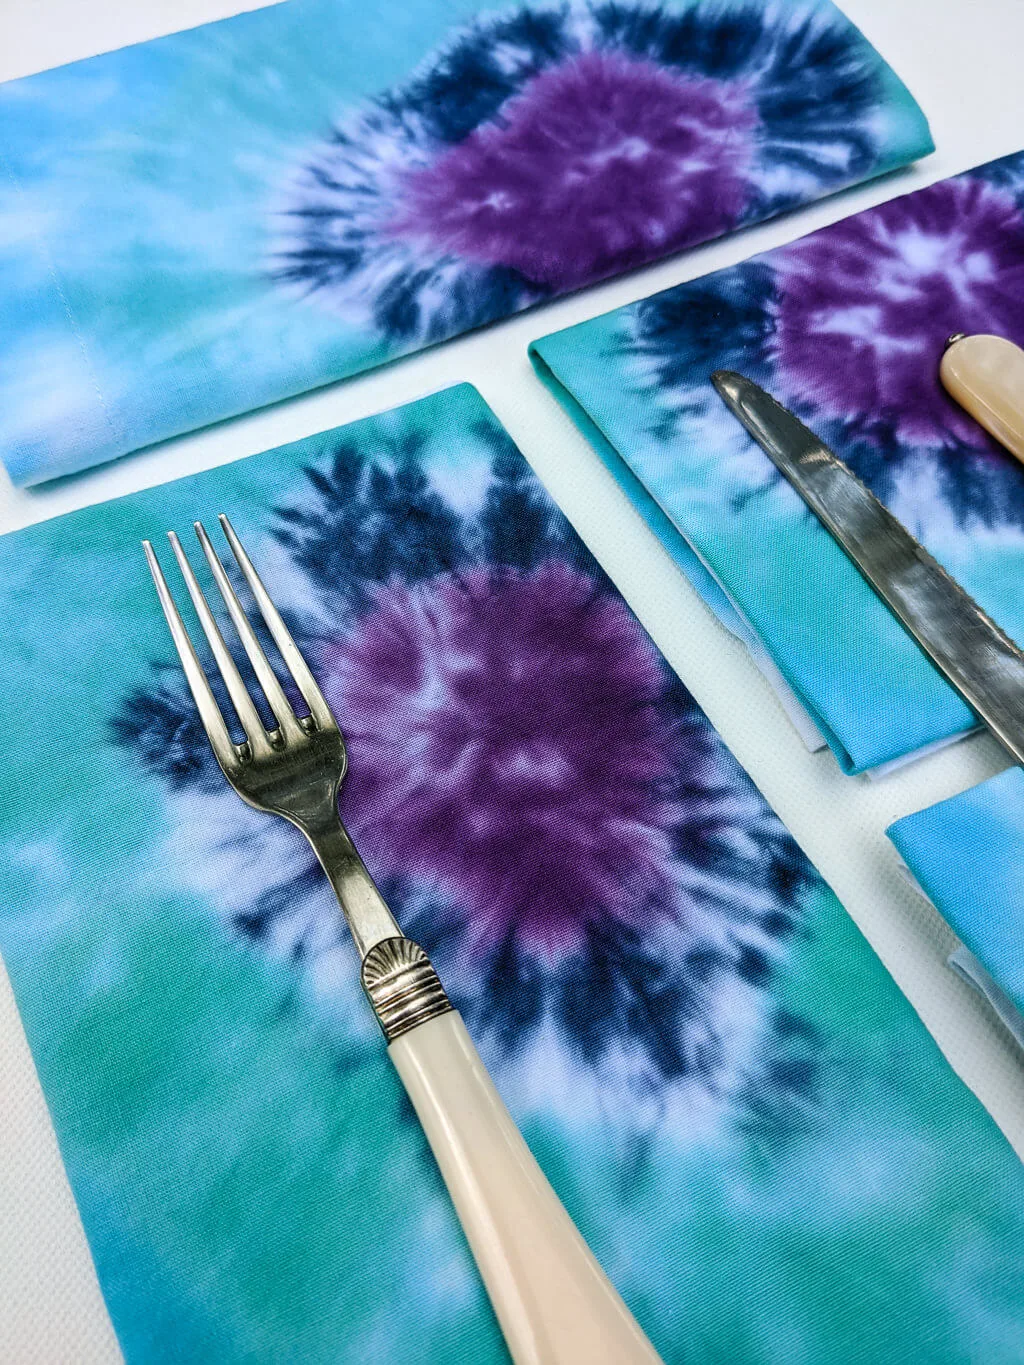
An easy tie-dye project idea for beginners
Making DIY tie-dye dinner napkins is an easy tie-dye project whether it’s your first time or whether you are obsessed like we are. This is already our second time making tie-dye this summer. The first time around, we dyed a bunch of white cotton t-shirts. And once we started, we kept looking around the house for more white cotton items to dye. Then we decided to make white cloth cotton napkins. Tie-dying is kind of addictive!
See also: ‘DIY Lemon and Oatmeal Soap’ »
Great tie dye idea to give as DIY gifts
Tie-dye cloth napkins make a great DIY gift idea. We made three different sets of four napkins each: four to give to Grandma & Aunt Krista, four to give to Aunt Karin and Uncle Mike, and four napkins for us. Here’s our yellow, orange, and red version tie-dye cloth napkins that feel like a sunset.
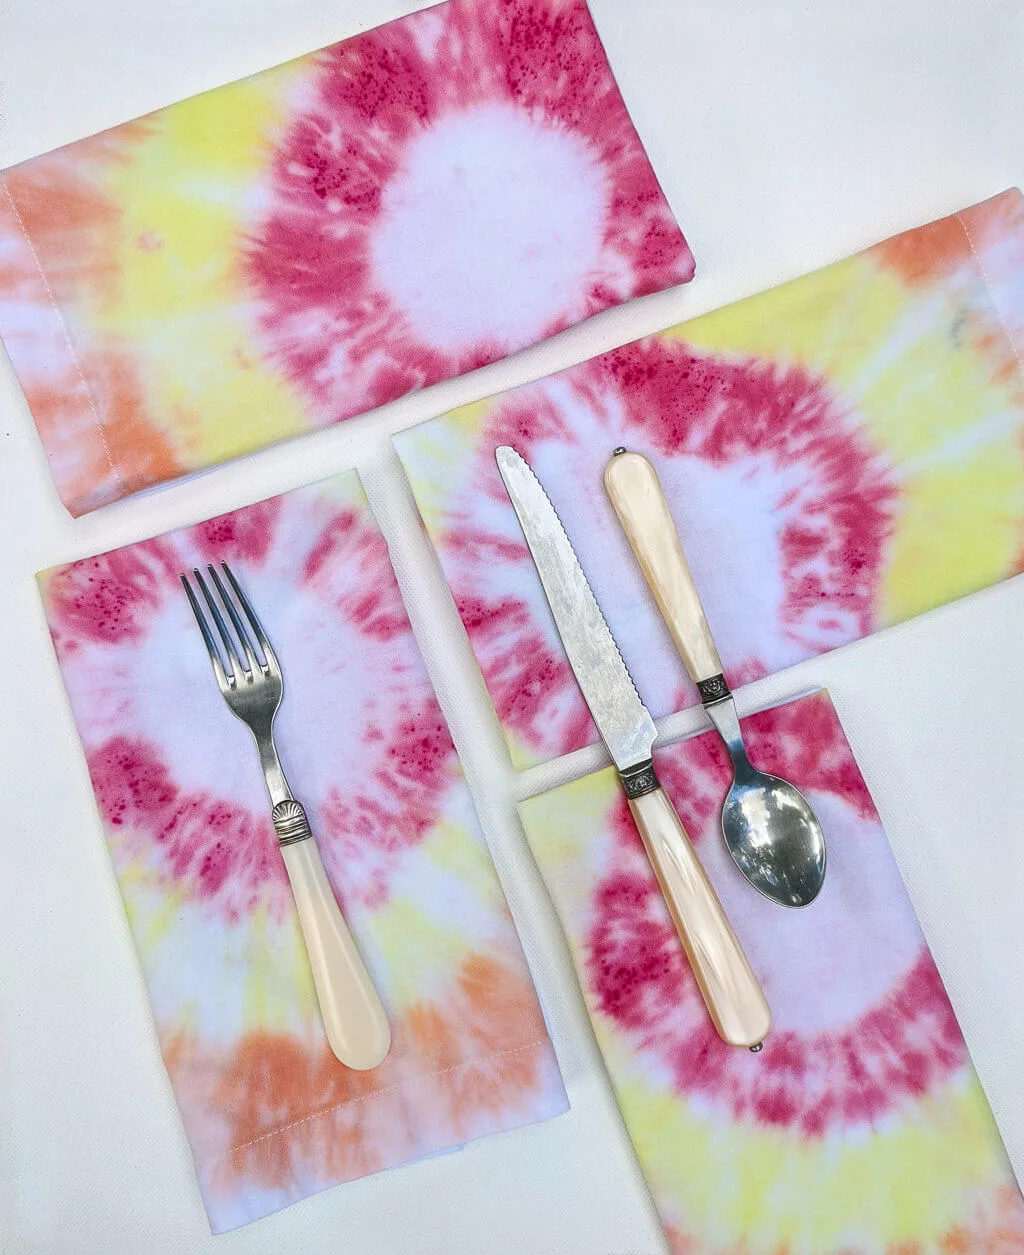
Start with easy bullseye and spiral tie dye patterns
The bullseye tie-dye pattern that we used is much more simple to make than the shibori tie-dyed napkins. Most of the napkin actually ends up being white with just a splash of color on the folded front, so a little dye goes a long way and you can easily make lots of napkins with just one batch of dye. The bullseye is an easy throwback pattern that feels like a modern tie-dye pattern.
Let’s start with some beginner tie-dye tips:
1. What supplies do I need to tie-dye?
Not much. There are just a few craft supplies needed to tie-dye:
- Cotton white items like white cloth cotton napkins and white cotton t-shirts
- Tie-dye kit that contains dye, bottles, rubber bands, gloves
- Pyrex glass with a pouring spout
- Water to mix the tie-dye
- Bowl of water for cleaning gloves between colors
- Plastic bags
2. Where should I tie-dye?
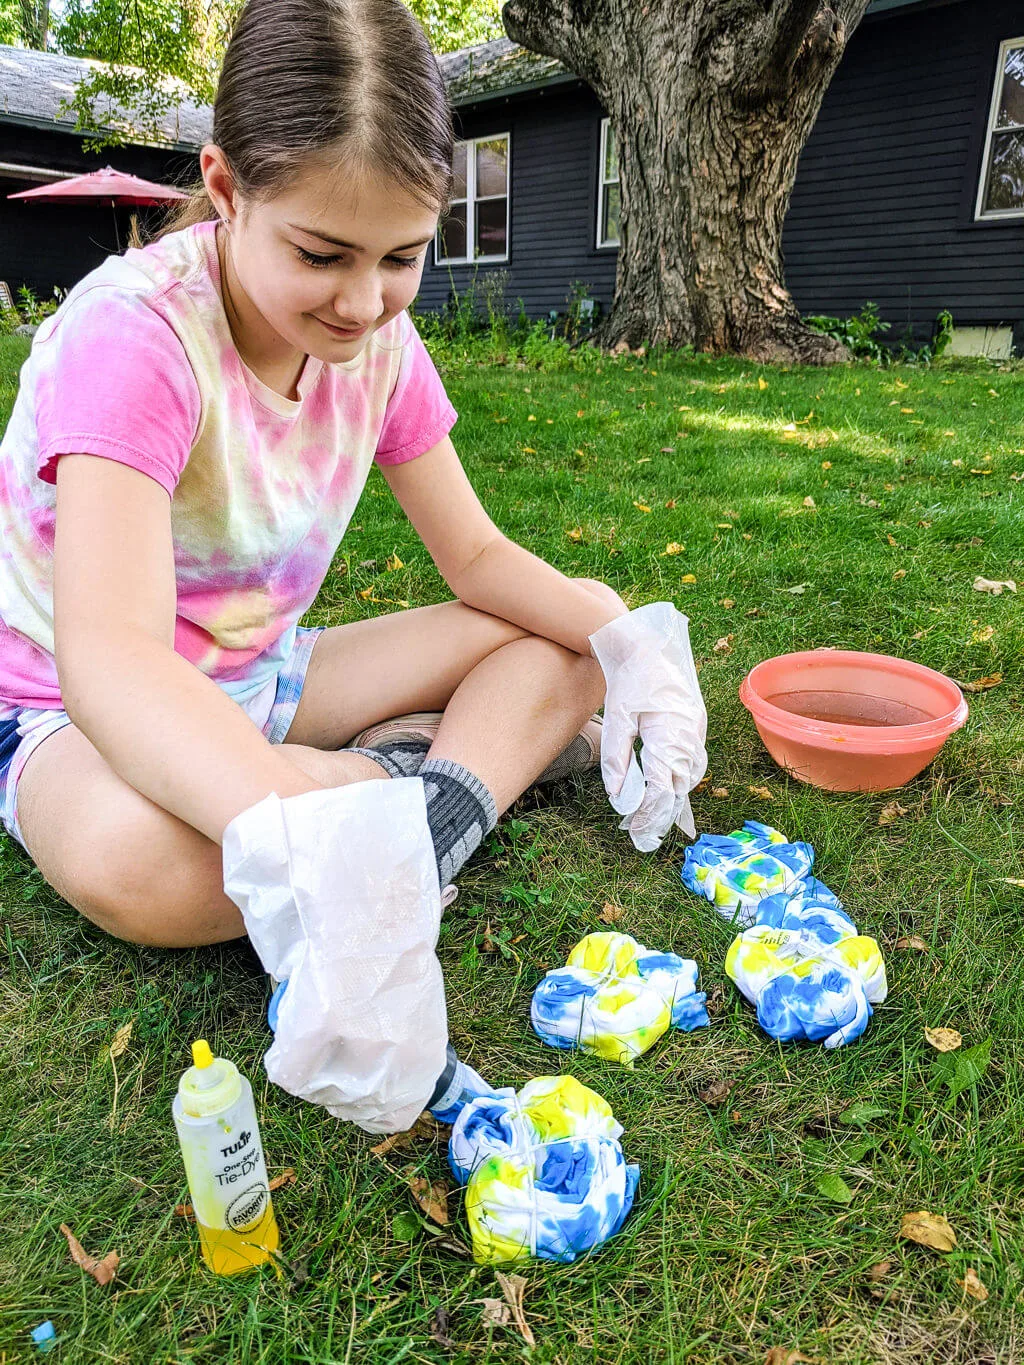
This is a step that many other tie-dye tutorials skip. Where’s the best place to tie-dye? I recommend tie-dying right onto the grass. Move around the yard as needed for each new item. When we were making our tie-dye t-shirts earlier this summer we tried to tie-dye onto a plastic-covered surface thinking that it would be less messy. Not a great idea! The plastic underneath trapped the dye and made it mix together, which means that we created some browns that we did not want to create.
3. Is it better to tie-dye wet or dry?
According to the package instructions, leaving the cloth damp before tie-dying will help the dye more easily saturate the fabric when it’s wet. Using damp cloth also creates a watercolor effect with the dye. Lastly, if you apply dye to dry fabric, it uses up a lot more dye. But both techniques work so have fun and experiment.

Supplies for making DIY tie-dye dinner napkins:
- Tie-dye kit (includes enough dye, bottles, gloves, and rubber bands)
- Pack of 12 white cloth cotton napkins
- Plastic grocery bags
- A plastic bowl of water
++++++
How to dye cloth napkins using tie-dye:
Step 1: Wash your white cotton dinner napkins
It’s important to follow the directions and wash the white cloth cotton napkins before tie-dying them to remove the sizing. No need to dry them; just take them out of the washer and work with them while damp.
Step 2: Choose a tie-dye napkin pattern
There are tons of classic and modern tie-dye patterns and techniques to choose for your napkins — shibori tie-dye, ice dye, crumple, sunburst — I love all the pattern names. We chose the bullseye and the spiral patterns as our tie-dye napkins pattern.
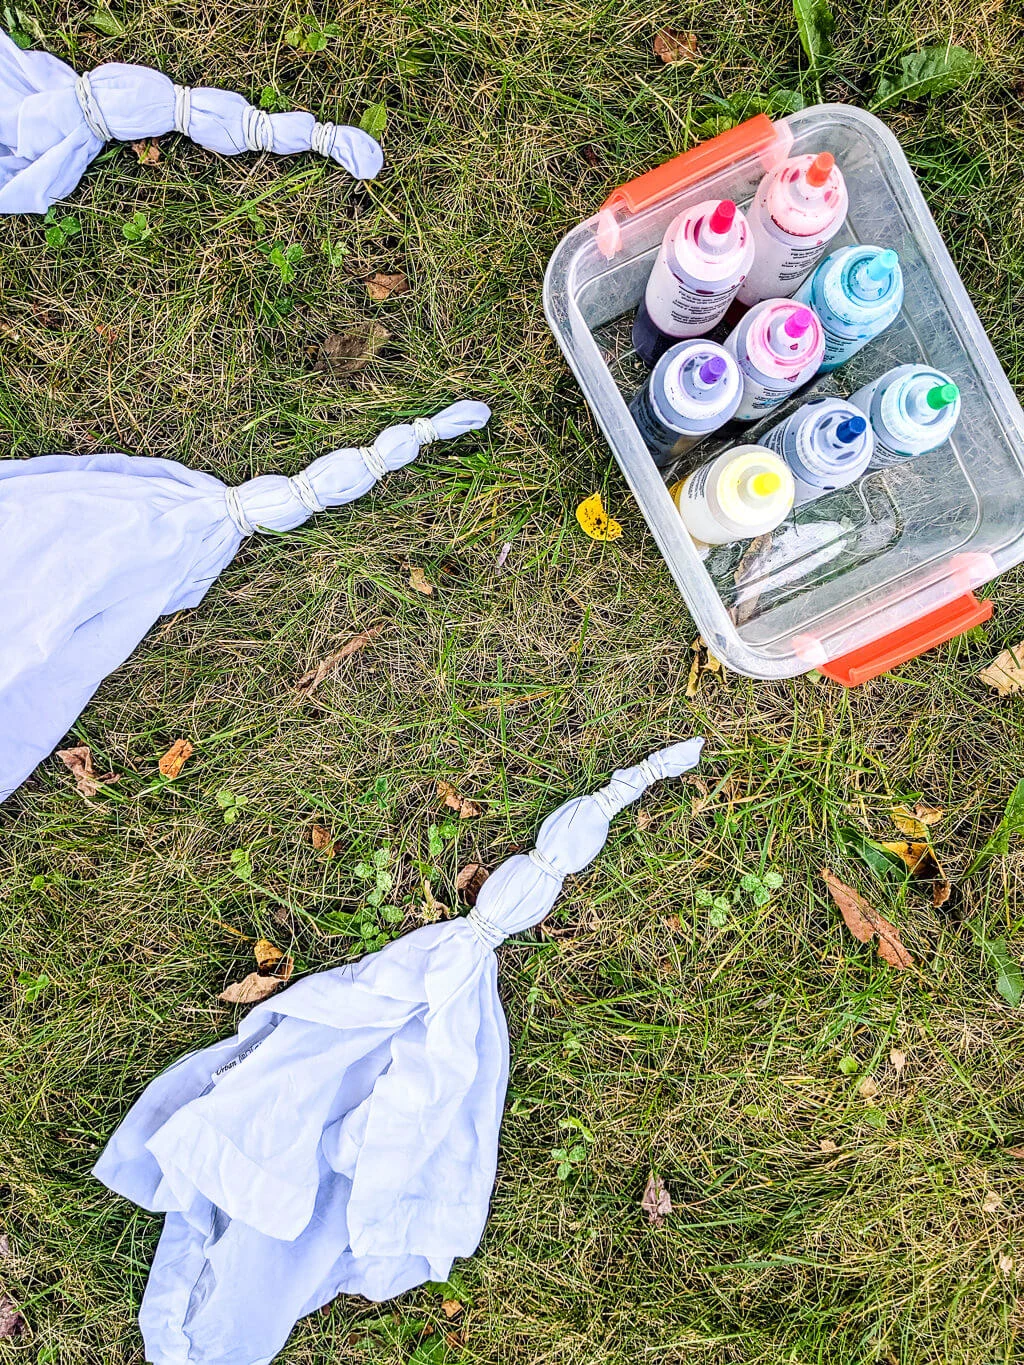
Step 3: Tie-dye napkins with up to four colors
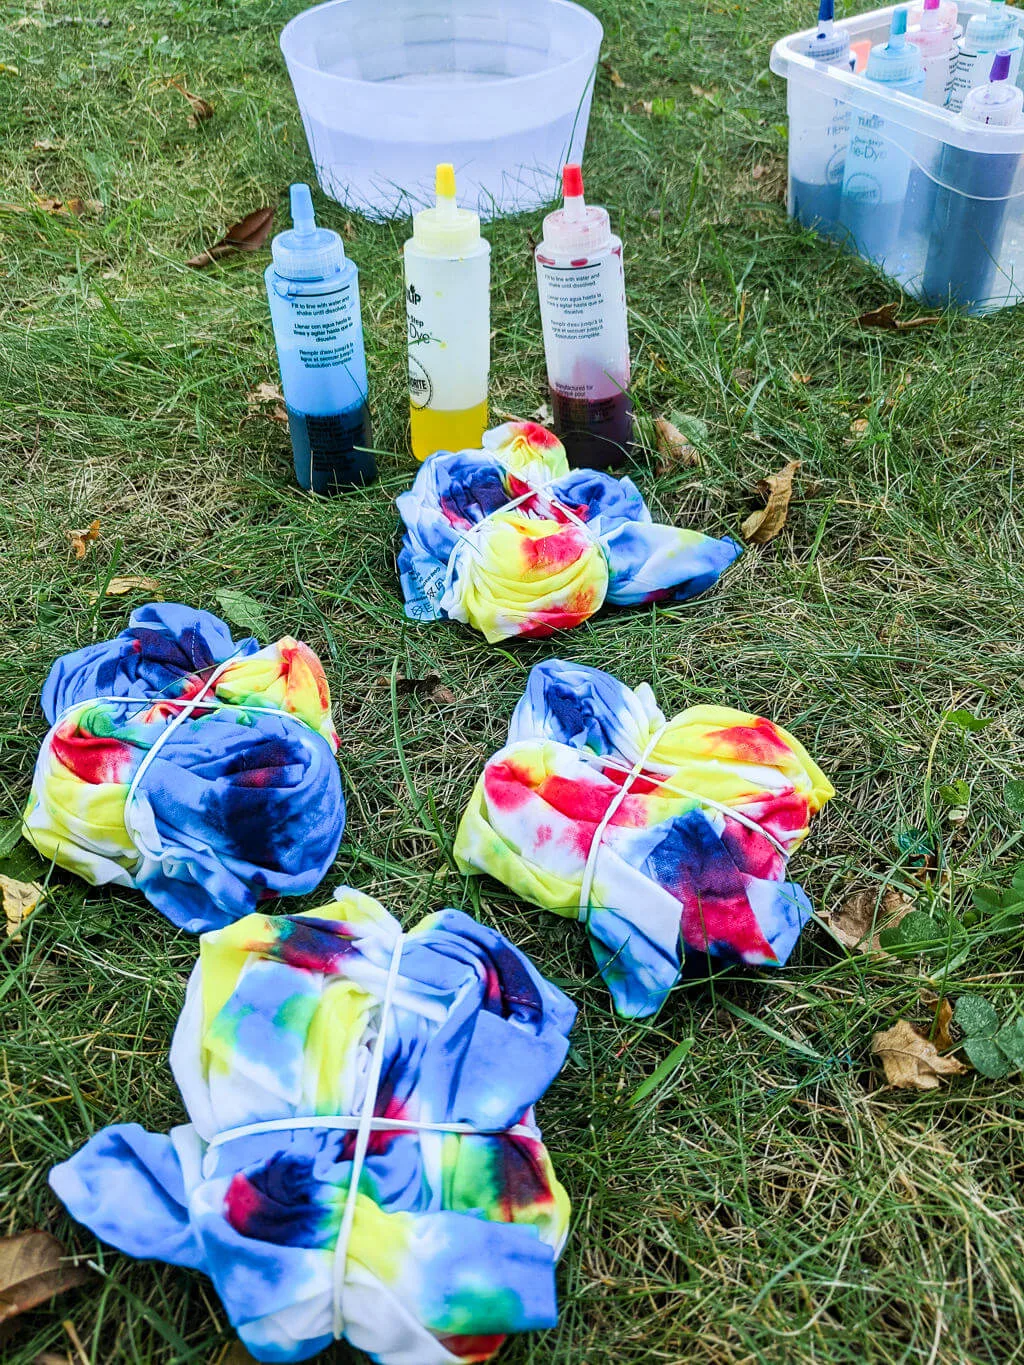
Pick up to four colors from the tie-dye kit. We used blue-purple-indigo-turquoise, red-yellow-blue, and yellow-red-blue. Squirt the tie-dye between the four sections of rubber bands. See how making tie-dye damp lets the dye seep a little bit like watercolor?
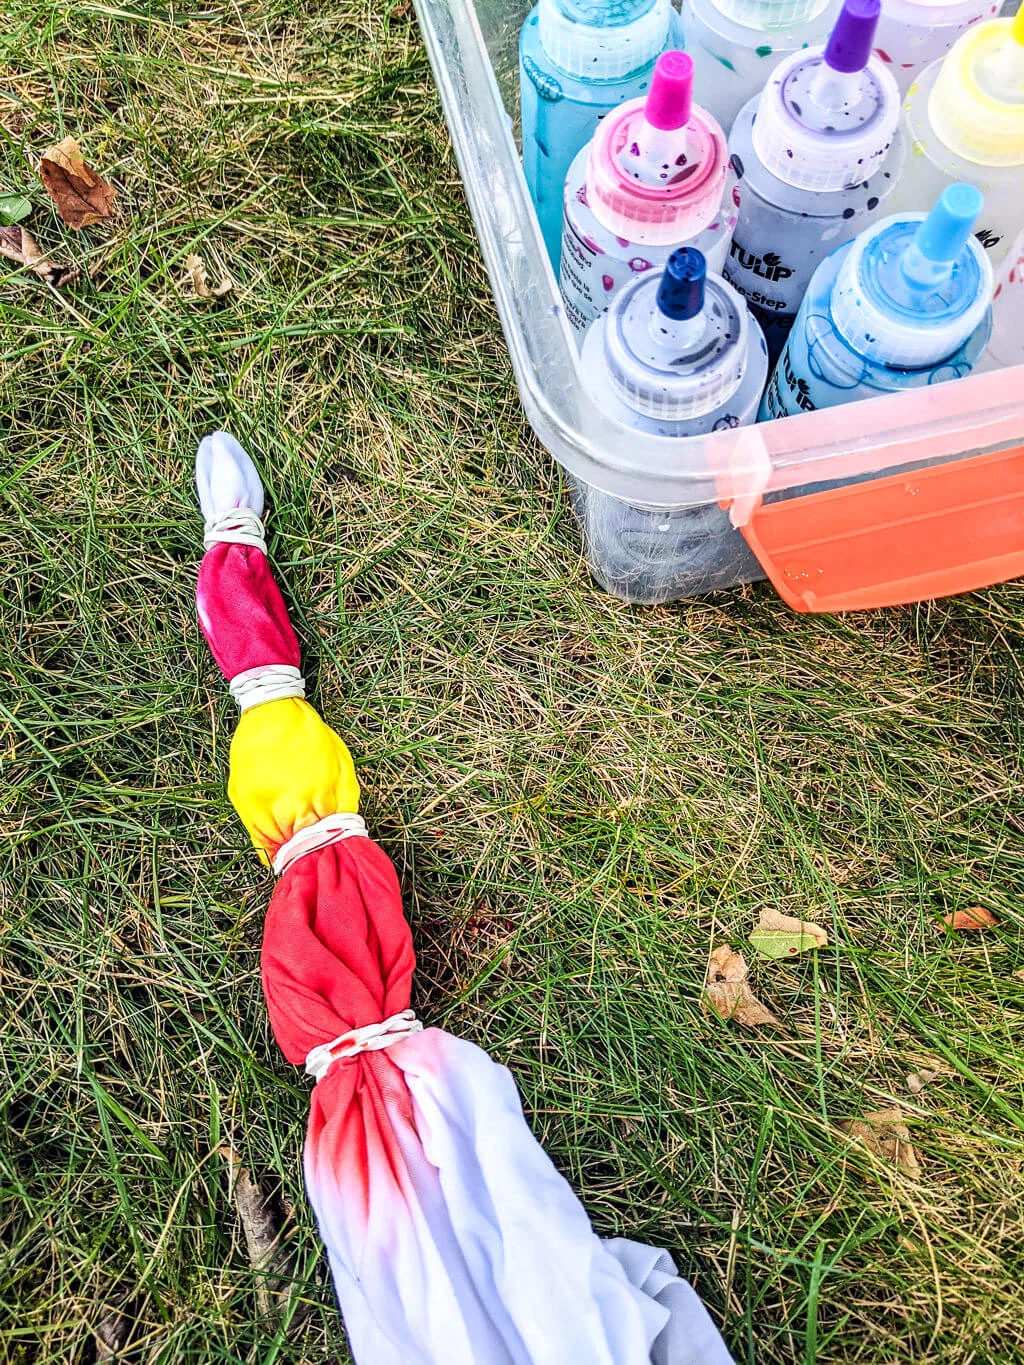
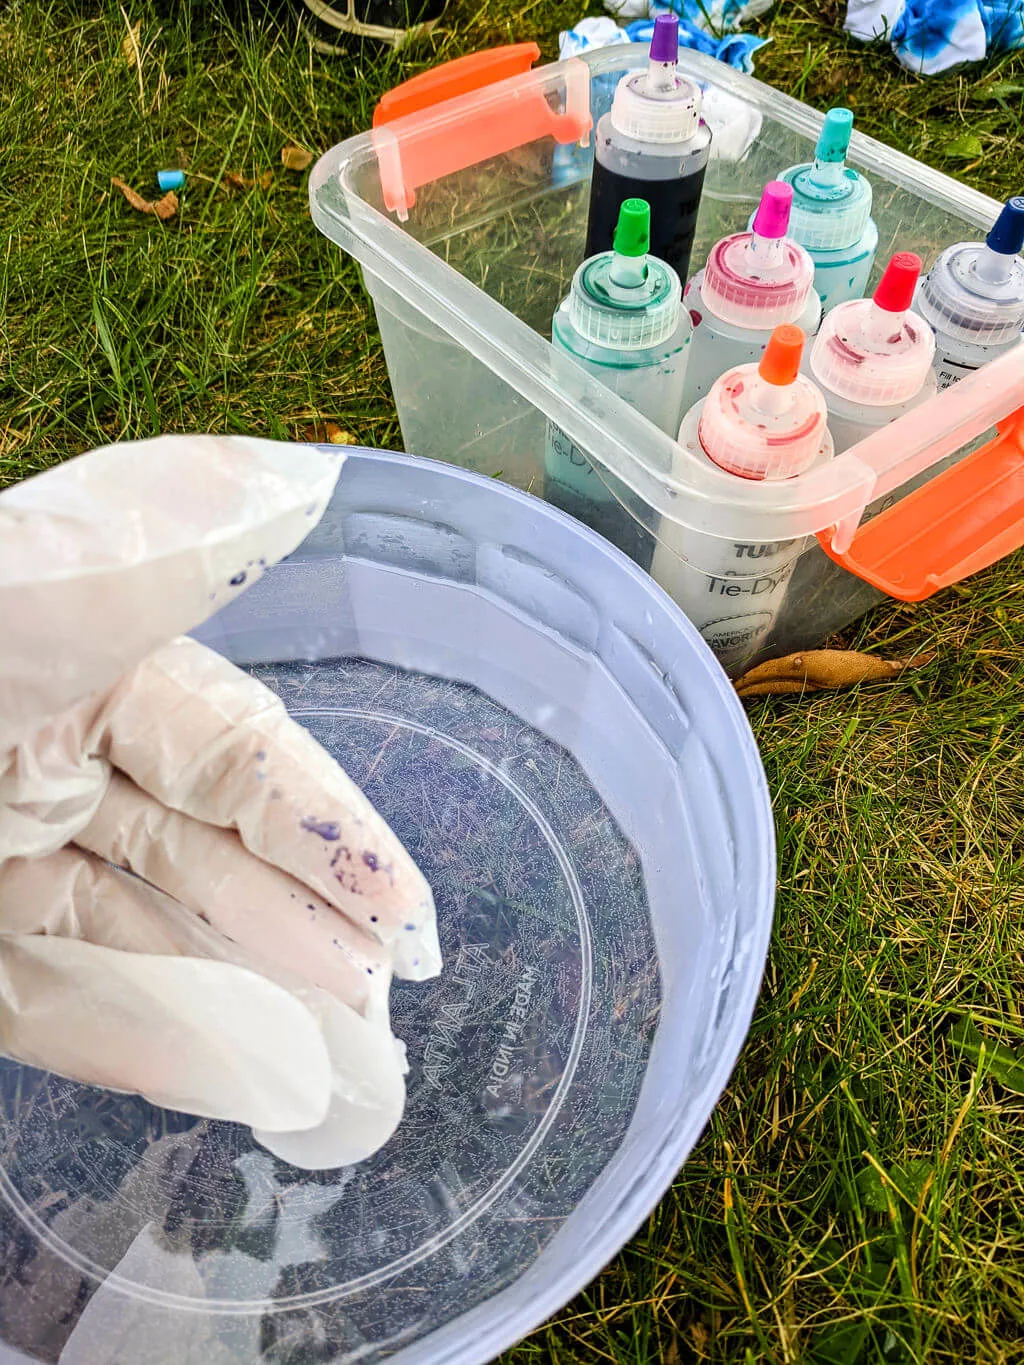
Here’s an important tie-dye tip to avoid mixing colors: Be sure to have a bowl of water to dip your gloves into it between touching bottles. We noticed last time when we were tie-dying our t-shirts that we got dribbles of color onto t-shirts, which was a bummer. So between colors, just dip your gloved hands into the bowl to wash off the drips before picking up the next bottle or handling your cloth.
Step 4: Wait 24 hours, then rinse and reveal
“The waiting is the hardest part.” Wrap the white cloth cotton napkins inside of a plastic bag, then set them aside and wait. The package instructions say that you can rinse earlier than 24 hours, but we waited longer in hopes for more saturated colors. After 24 hours, take off the bags and rubber bands and rinse until the water is clear.
Rinsing is my favorite part. It’s like opening a gift to see what appears,.
Step 5: Wash, dry, and iron your tie dye napkins
Follow the package instructions to wash and dry the tie-dye napkins. Then iron them to further set the dye and also make them nice and crisp for gifting.

Be sure to pin this tie-dye idea for making cloth napkins as a DIY gift:
And see more DIY gift ideas like paper bead jewelry and a stenciled infinity scarf.
++++++
Like it? Share it!
The nicest way to say you like it is to pin it on Pinterest, post a comment, follow Merriment Design on Facebook, Pinterest, Instagram or sign up for monthly emails. Enjoy! 🙂
Copyright stuff: You’re more than welcome to use my free project, printable templates, and tutorials for personal use. Contact me for commercial use and Etsy sales. Momma’s gotta pay the bills.
