

I made these easy St. Patrick’s Day necklaces and St. Patrick’s Day pins to spiff up my St. Patrick’s Day outfit just a little bit. I just love making DIY jewelry using Shrinky Dinks! It’s a fun and lucky St. Patrick’s Day craft activity for kids that adults will love too. Keep reading to get my free printable templates to make your own DIY Shrinky Dink necklaces and pins for St. Patrick’s Day.


Cute accessories for St. Patrick’s Day outfits
Of all the holidays, St. Patrick’s Day is among the least classy when it comes to outfits and unfortunately, my Chicago home is a prime offender. Our Chicago neighborhood is filled with partiers wearing gaudy glitter clover headbands, shiny green and gold beads, beer-logo-strewn clothing, face painting, and the like. These St. Patrick’s Day necklaces and pins are a cute and classy St. Patrick’s Day outfit idea.


Now I’m not claiming that my Shrinky Dink necklaces are super fancy but they sure beat clover earrings and leprechaun sweatshirts. Oof. Aren’t they cute?


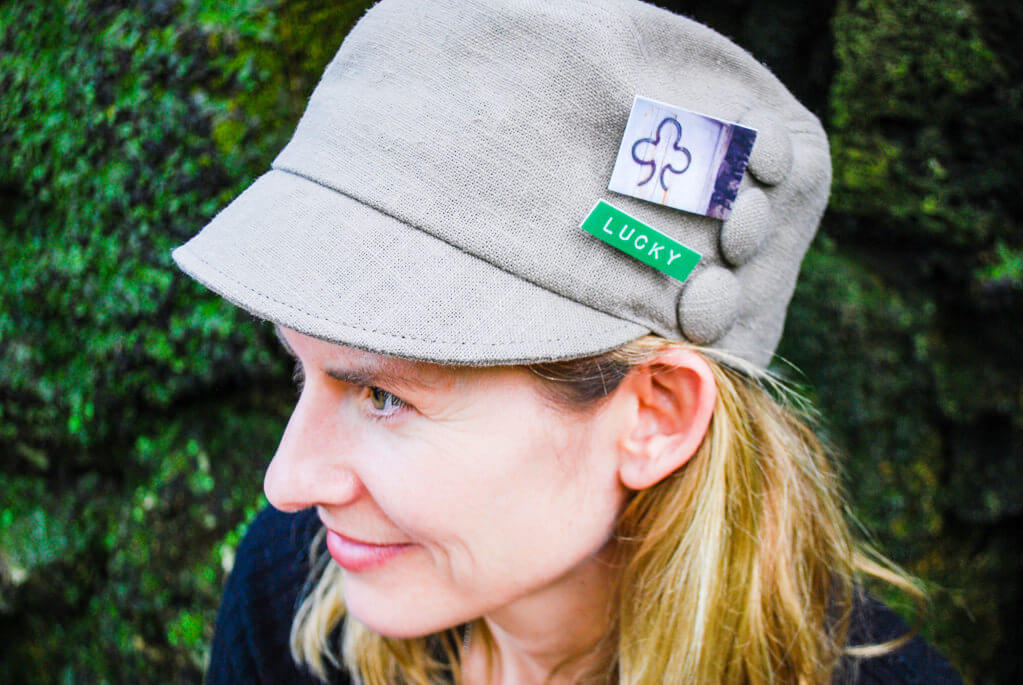
I made an assortment of Irish-inspired charms including a map of Dublin in both circles and squares and some St. Patrick’s Day Irish sayings – Kiss Me, Irish, Craic, Lucky. I also made a charm from this photo that my sister took on our trip to Ireland – it’s a clover made out of horseshoes that we saw in Dingle. Love.


We all know that Shrinky Dinks are fun to make no matter your age. I still love making Shrinky Dinks like these lucky rabbit’s foot napkin rings. And these St. Patrick’s Day necklaces are just as cute on the kids.


May the road rise up to meet you.


This post contain affiliate links which means that products I recommend may give me a nominal commission at no extra cost to you. Thanks – your clicks help me make more free DIYs!
++++
Supplies for making St. Patrick’s Day Necklaces and Pins for St. Patrick’s Day outfits:
- Kathy’s free printable Irish maps and sayings templates (PDF – 2 pages, print the one you prefer)
- Shrinky Dink ink jet printable shrink film
- Ball chain necklace or Snake chain necklace
- 1/4″ hole punch
- Good scissors and/or an Xacto knife, metal ruler, and self-healing cutting mat
- Brown grocery sack or other paper, heavy book, and cookie sheet
- Ink jet printer (it’s gotta be an ink jet for the Shrinky Dink paper to work, no laser printers)
Additional supplies for making St. Patrick’s Day pins (please see my St. Patrick’s Day pins step-by-step tutorial)
- Pin backs (if making pins)
- VELCRO Sticky Back Tape (or other adhesive to attach pin backs)
++++
How to make St. Patrick’s Day Necklaces and Pins with Irish Maps and Sayings
Step 1: Print free St. Patrick’s Day printable onto shrink plastic film
First, print my free printable (pick one of them or both) onto Shrinky Dink ink jet printable shrink film following the Shrinky Dink instructions. You need to use an ink jet printer here — the Shrinky Dink sheets won’t work with laser printers. They will print very lightly, and this is intentional because the colors will darken and intensify when the necklaces and pins are baked in the oven.


Step 2: Cut the Shrinky Dinks into necklace charms
Cut out the Shrink Dink pieces using an Xacto knife, metal ruler, and self-healing cutting mat for straight edges, and use good scissors for the circles.


Again you’ll notice that they the Shrinky Dink St. Patrick’s Day jewelry pieces will look a bit pale – that’s by design because when they shrink up, the colors will intensify.


Step 3: Punch holes in your Shrinky Dinks before baking
Punch holes for necklaces using a 1/4″ hole puncher. If you want to make pins, skip the hole punching step — and you also should cut off a little of the left green side for the sayings so the pins because pins don’t need the hole punch room. Punch two holes for the Dublin map — just make sure you aren’t punching too close to the edge because as you know it’s all going to shrink up.


Step 4: Bake your Shrinky Dink jewelry
Follow the instructions on your Shrinky Dink ink jet printable shrink film. Mine said to put Shrinky Dinks on a metal cookie sheet with a piece of paper bag on the top for easy removal later.


Now the best part — shrink it! I never get tired of watching this little guys cook and curl and flatten out.


Even when they look a little scary like this cup they end up flattening out in the end.


Elise got into the Shrinky Dinks too — kind right of passage if you ask me.


Here’s what they look like when the come out of the oven. See how the colors are more saturated and bright now?


When they come out of the oven, very quickly slip off the brown grocery cart, place another piece of paper on top of the warm Shrinky Dinks, and flatten with a heavy book like this one I was given when I met Martha Stewart! AAH!!


Step 5: Thread St. Patrick’s Day charms onto metal necklace chains
To make necklaces, simply thread the ball chain necklace through the holes. Elise helped me with this part and promptly put them on to wear for the day. My cute little semi-Irish girl.


And if you want to make them into pins, please see my DIY St. Patrick’s Day Pins using Shrinky Dinks tutorial. It’s super easy too – lucky you!!

++++++
Be sure to pin these St. Patrick’s Day Necklaces and Pins to dress up your DIY St. Patrick’s Day outfit


And be sure to check out more St. Patrick’s Day craft activities and St. Patrick’s Day recipes like my classic pot pie recipe.
—
Like it? Share it!
The nicest way to say you like it is to pin it on Pinterest, post a comment, follow Merriment Design on Facebook, Pinterest, Instagram or sign up for monthly emails. Enjoy! 
Copyright stuff: You’re more than welcome to use this free project and tutorial for personal use. Contact me for commercial use and Etsy sales.
Allie
Friday 15th of February 2013
To Pamela Clear nail polish works well to gloss the top or jewelry resin in a squeeze bottle can be found in craft stores like Michaels
Kathy Beymer
Sunday 17th of February 2013
Thanks, Allie! That's a great tip. Is the resin easy to work with? I've yet to use it.
Pamela
Wednesday 19th of December 2012
Did you spray something over the top after you printed to seal them? I made some and put modgepodge on top and all the ink lifted right off. :-(
Kathy
Friday 3rd of March 2017
Hi Pamela, I am just seeing this comment - that's quite a delay, ha! Anyway, so when I seal ink jet Shrinky Dinks I use clear nail polish and it works really well. Just use thin coats of the nail polish and make sure that they are 100% cool before sealing. Give that a try and let me know how it goes!