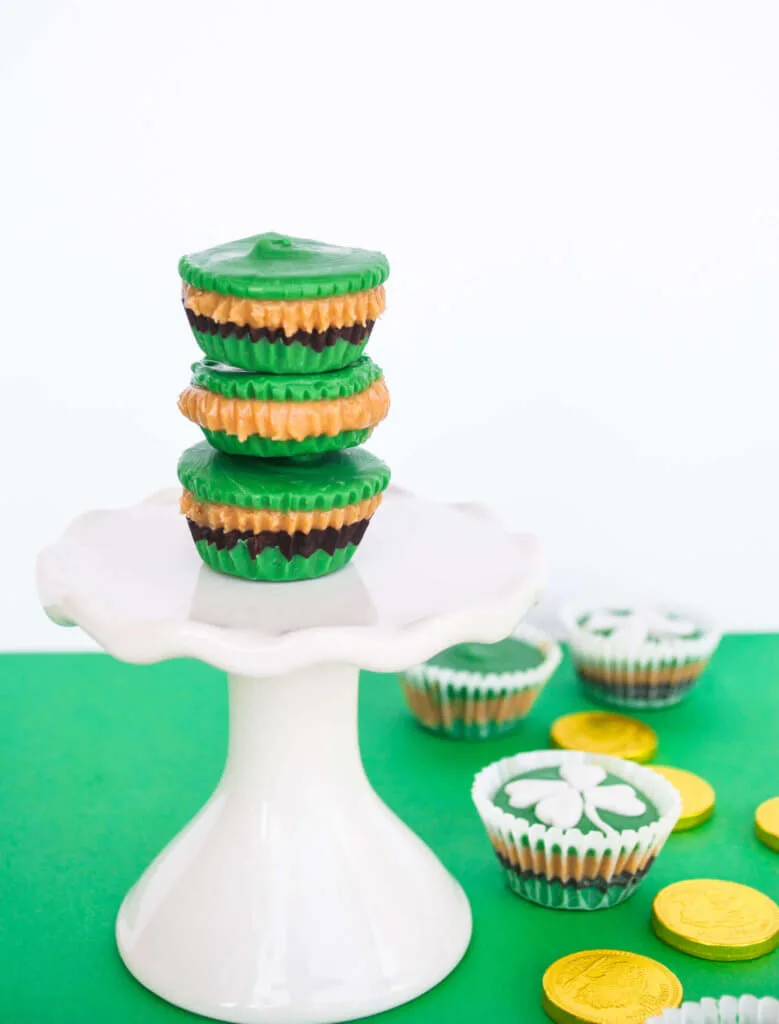
This easy green chocolate peanut butter cups recipe for St. Patrick’s Day takes only 5 ingredients: dark green candy melts, dark chocolate, peanut butter, honey, and a little coconut oil. It’s a sweet green dessert idea for St. Patrick’s Day for kids with a hidden layer of peanut butter gold.
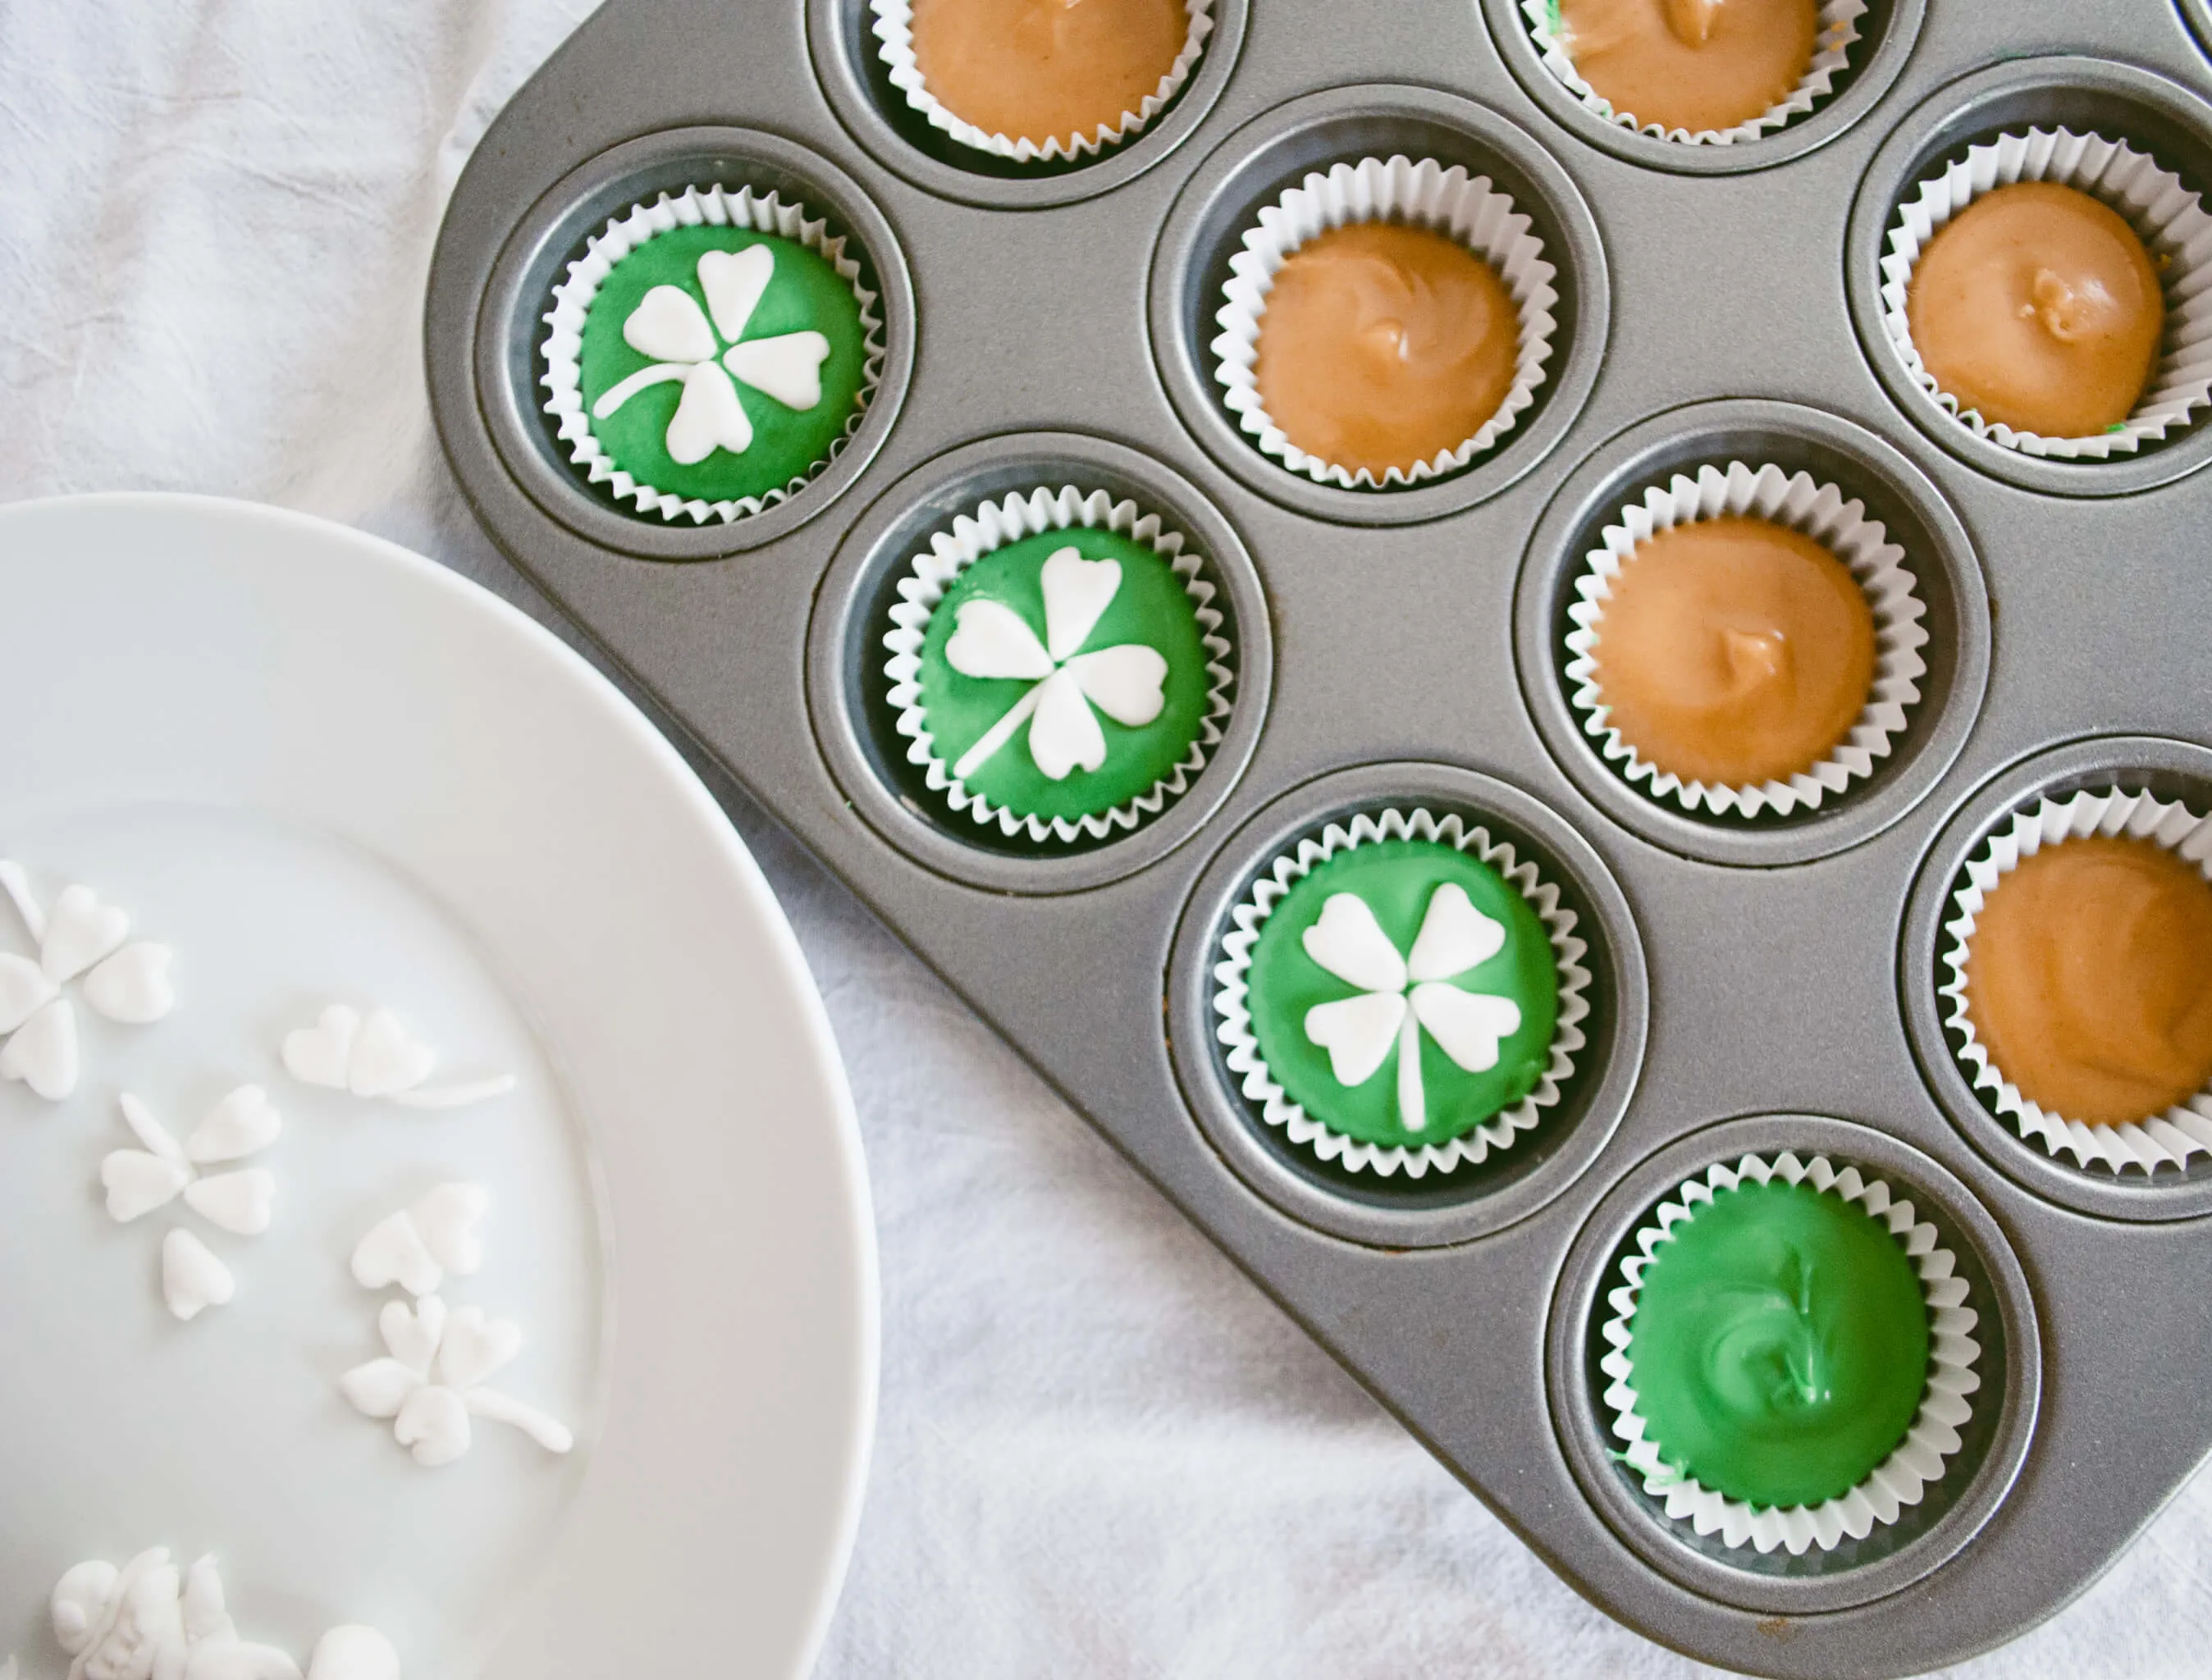
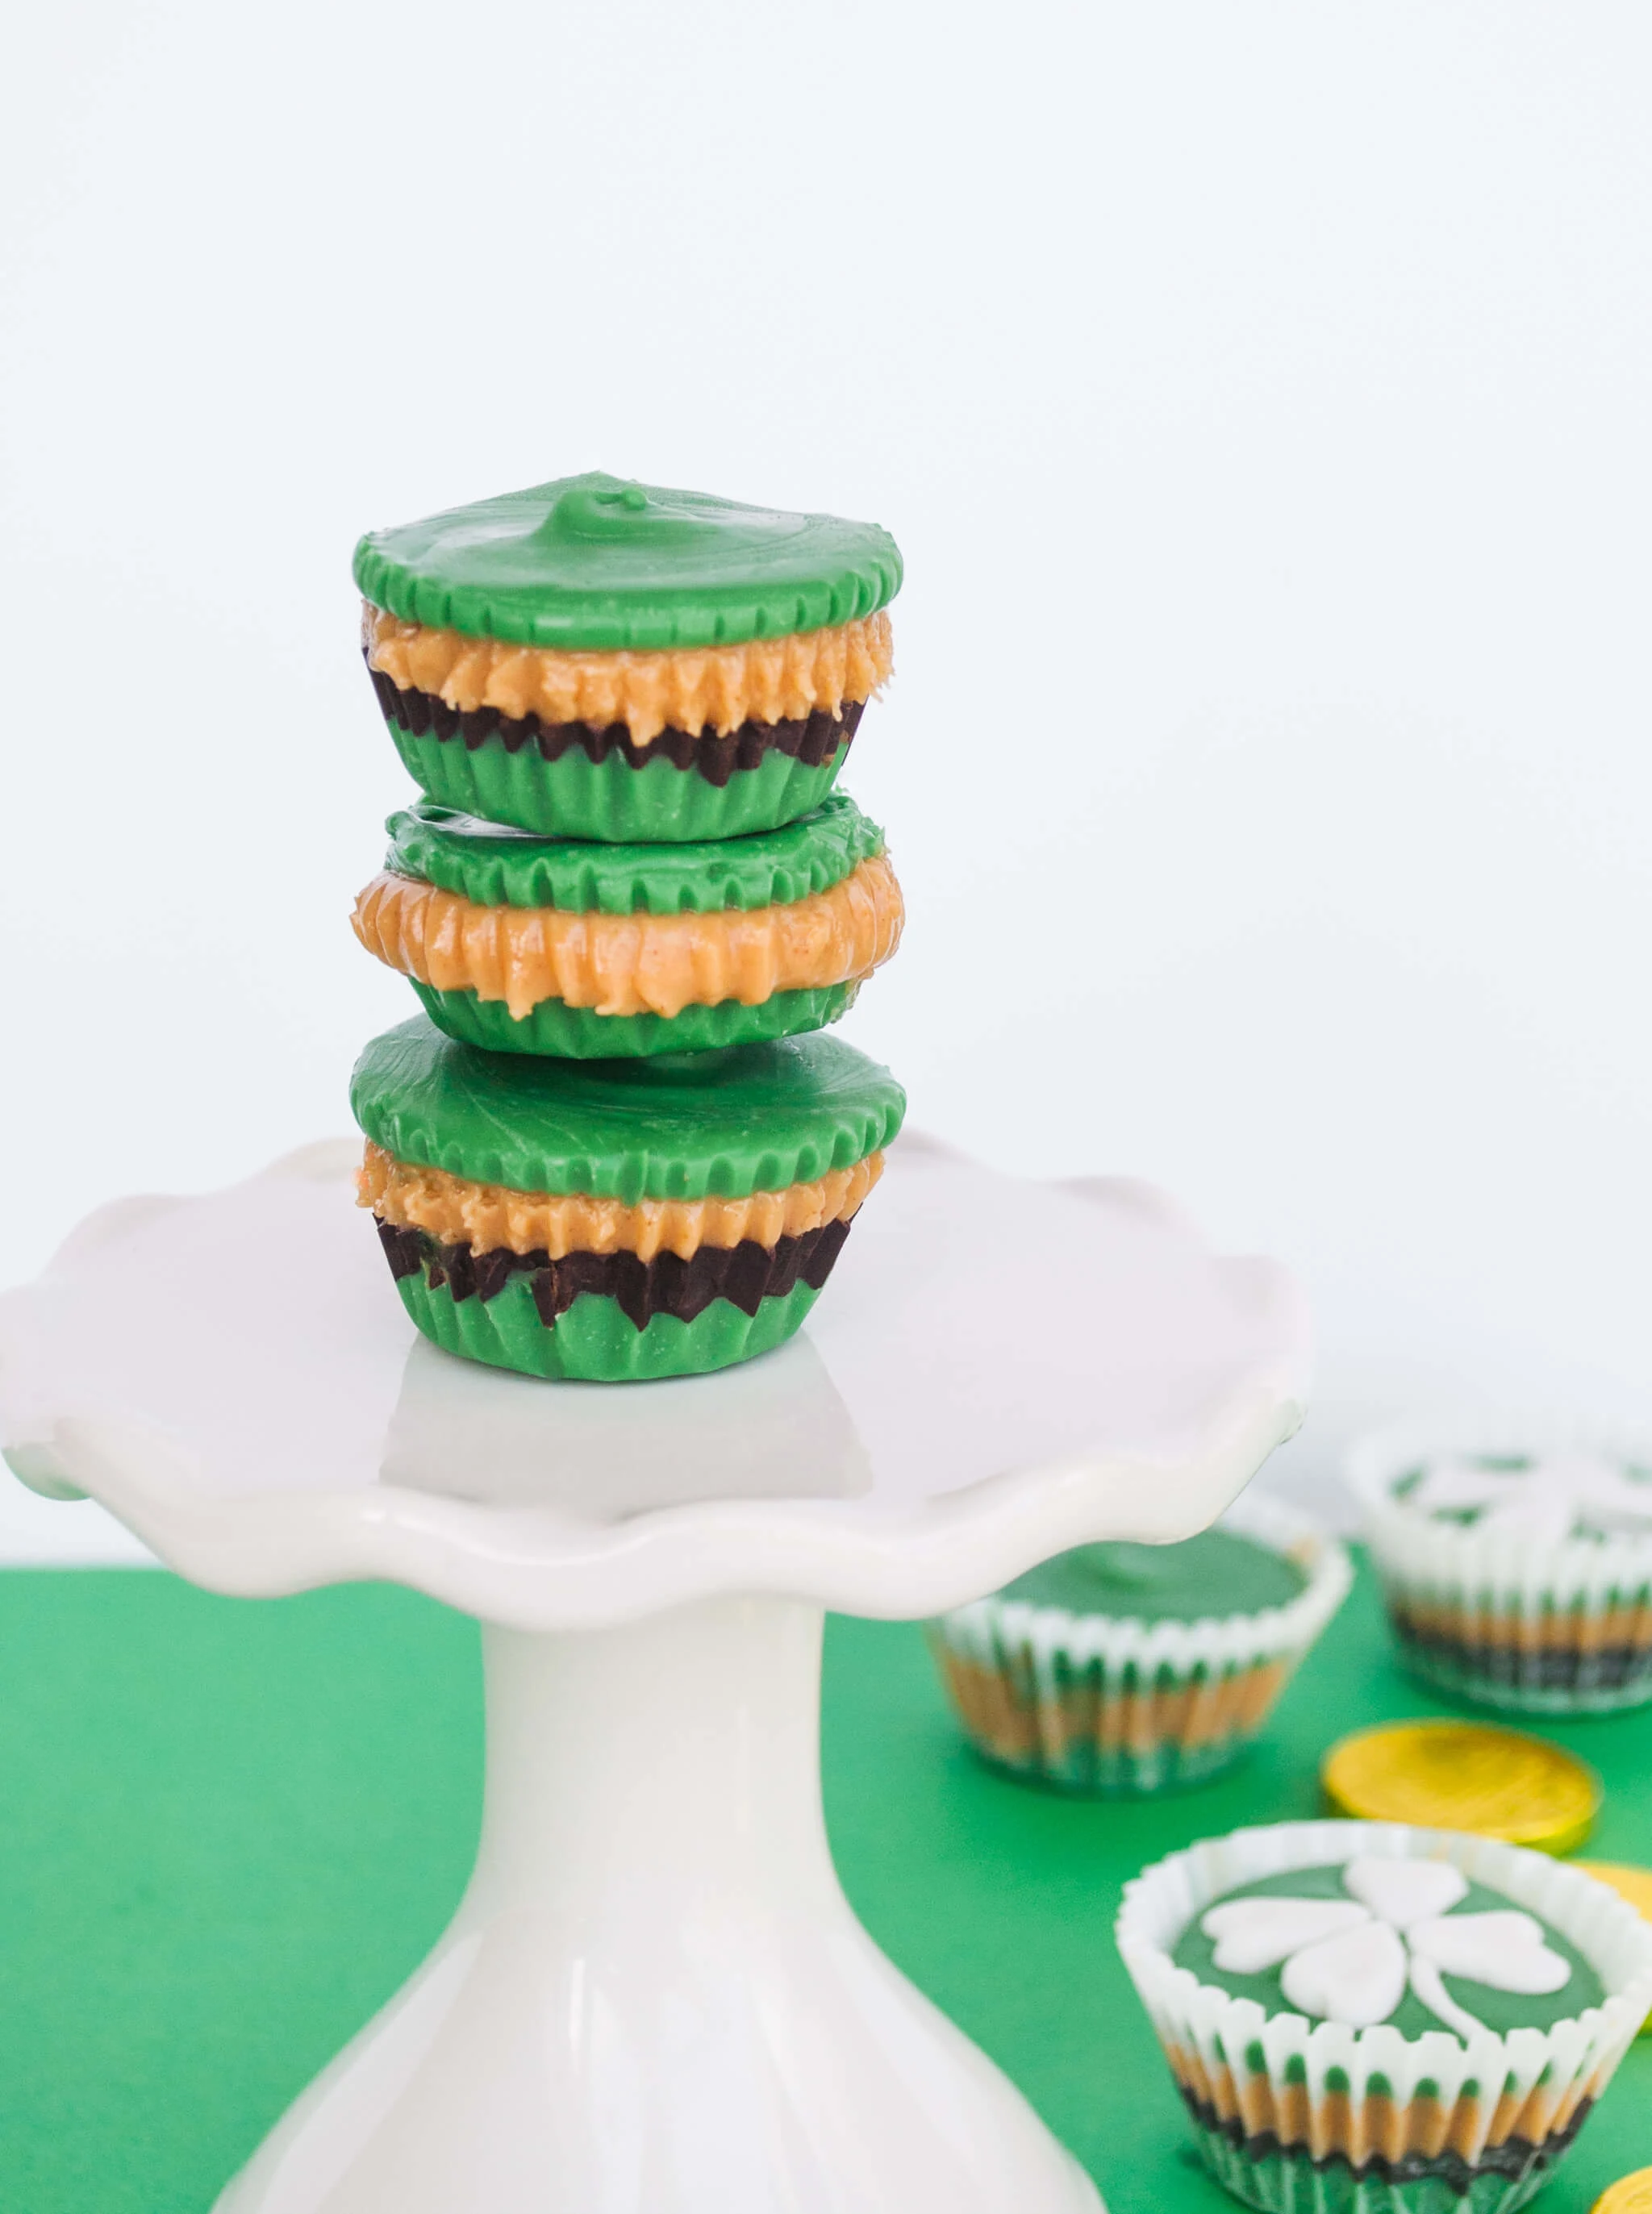
Add optional edible shamrocks
And I added some white fondant shamrocks to a handful for extra luck. This is optional, of course, but it never hurts to add a little bit of luck.
See also: St. Patrick’s Day DIY Napkin Rings >>
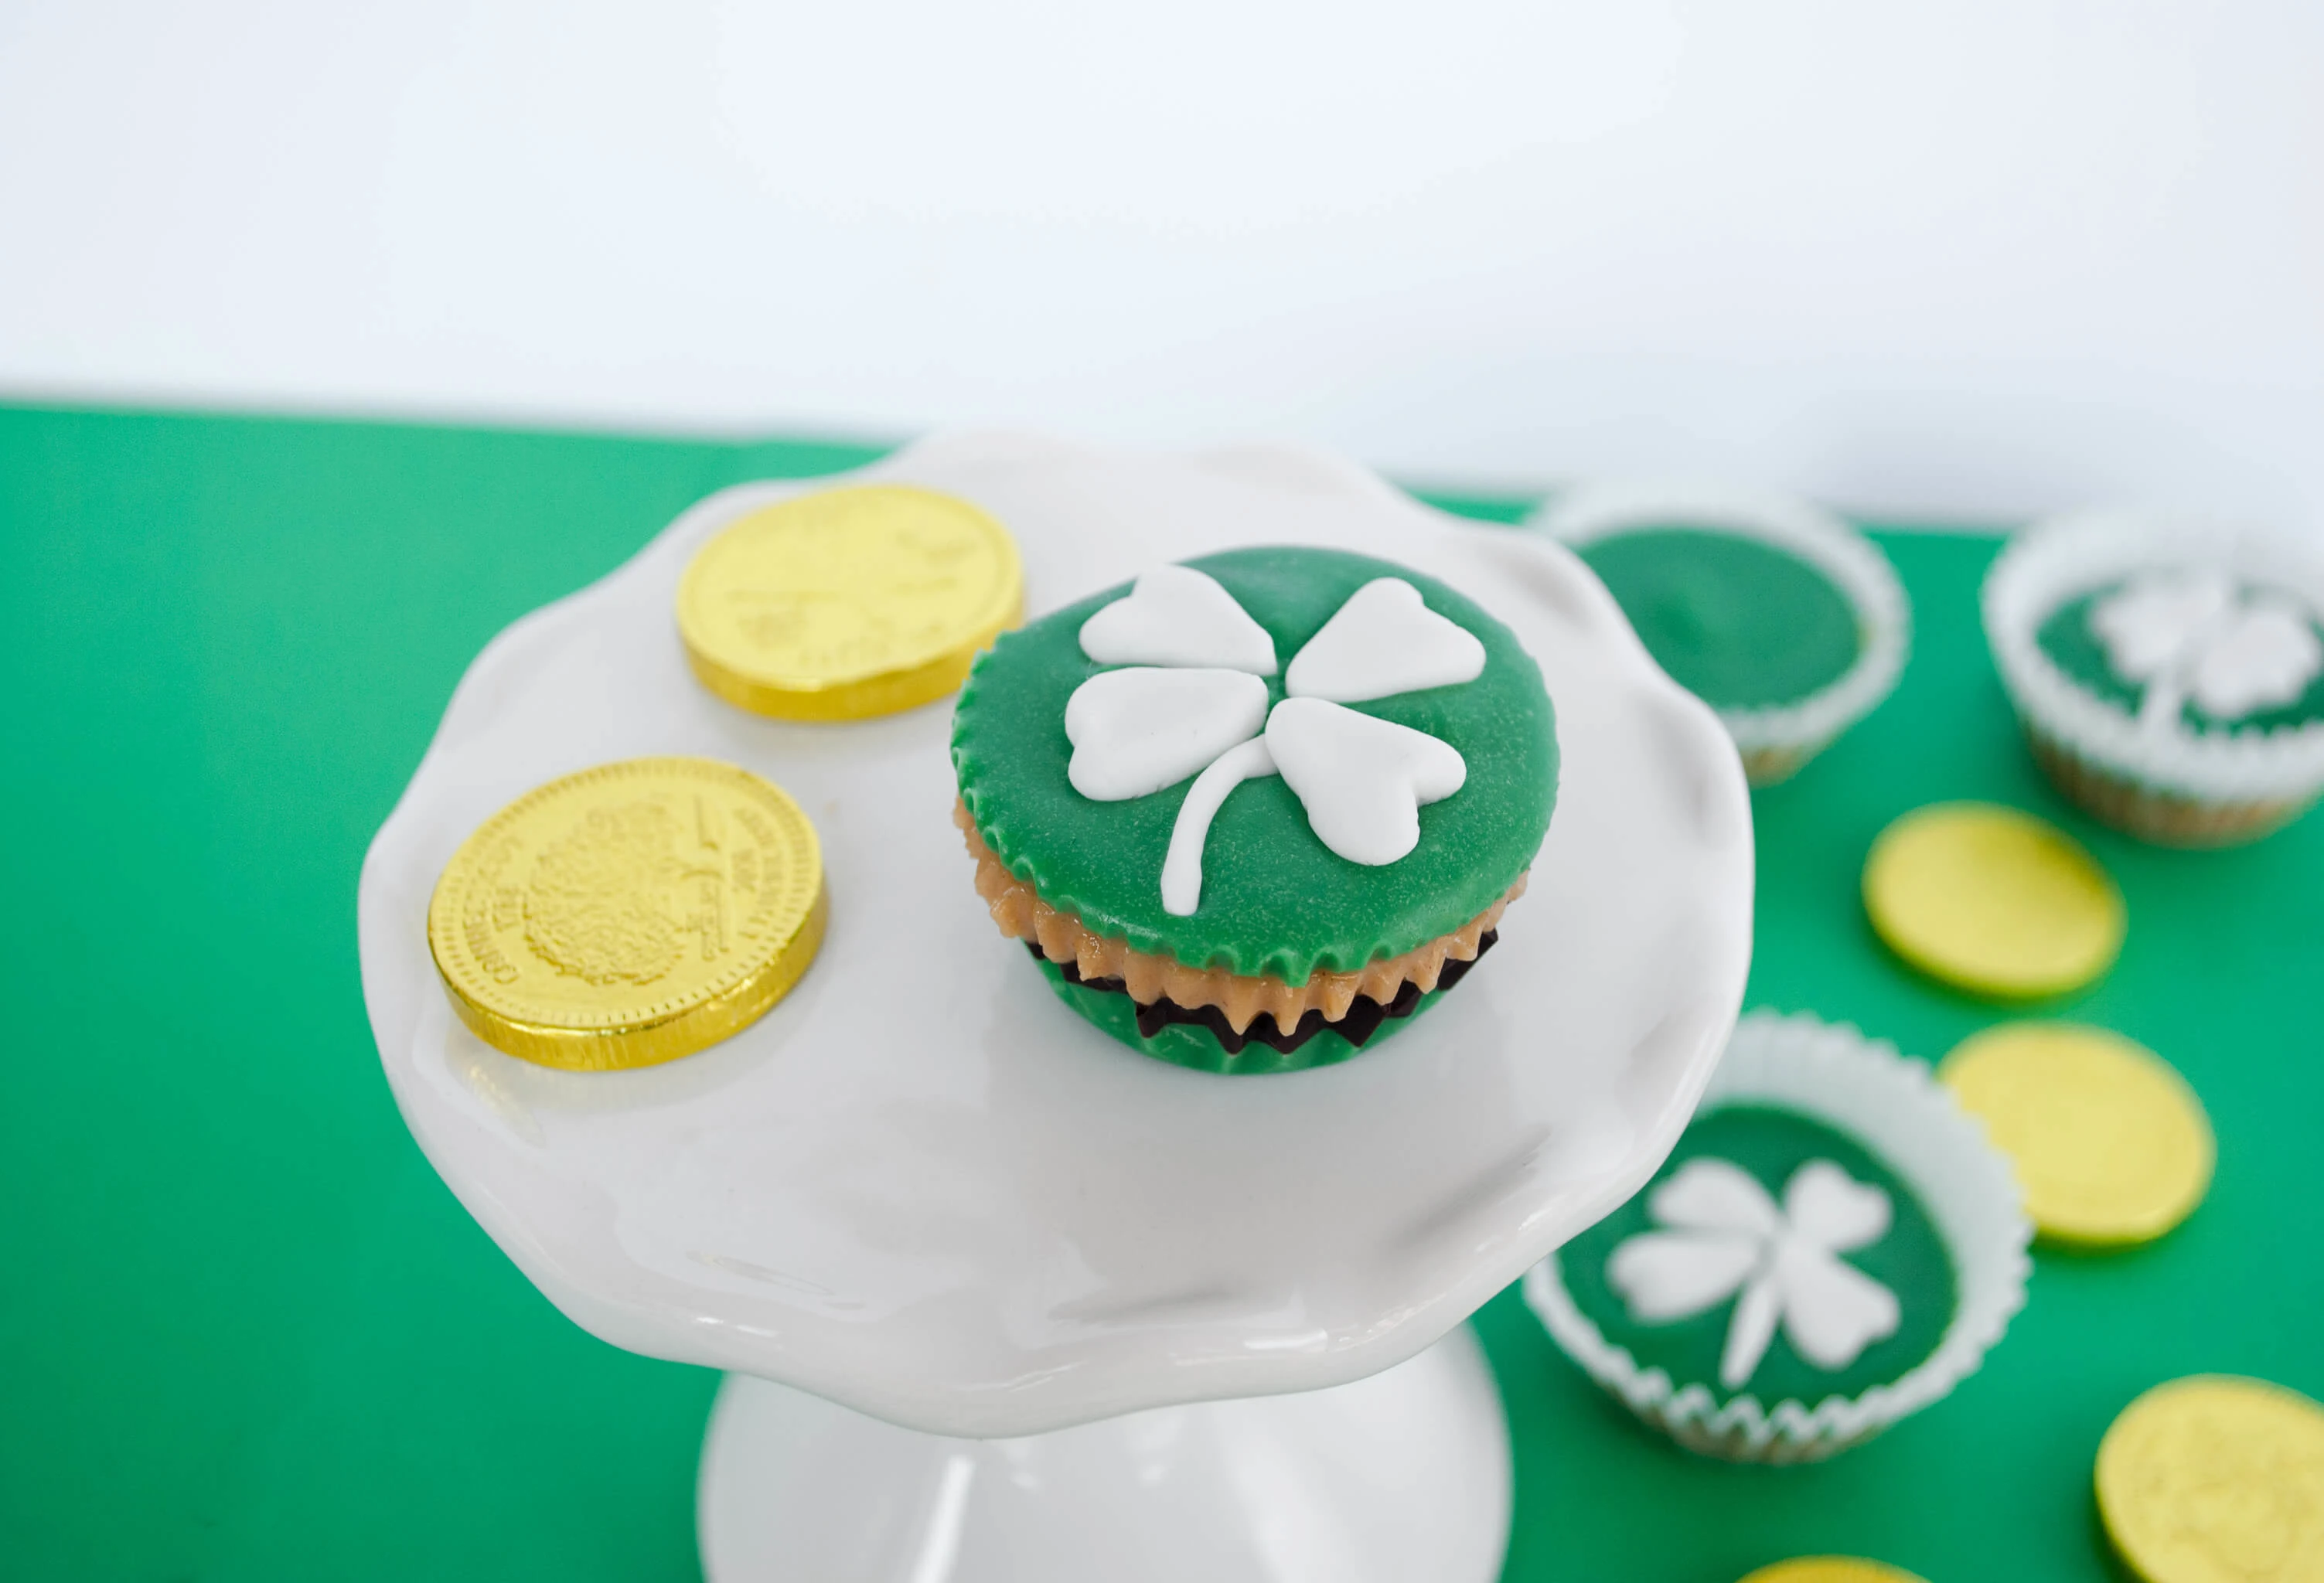
Quick and easy St. Patrick’s Day treat
This green chocolate peanut butter cups recipe is actually really quick and easy to make, less than 30 minutes hands-on time and about an hour including refrigeration.
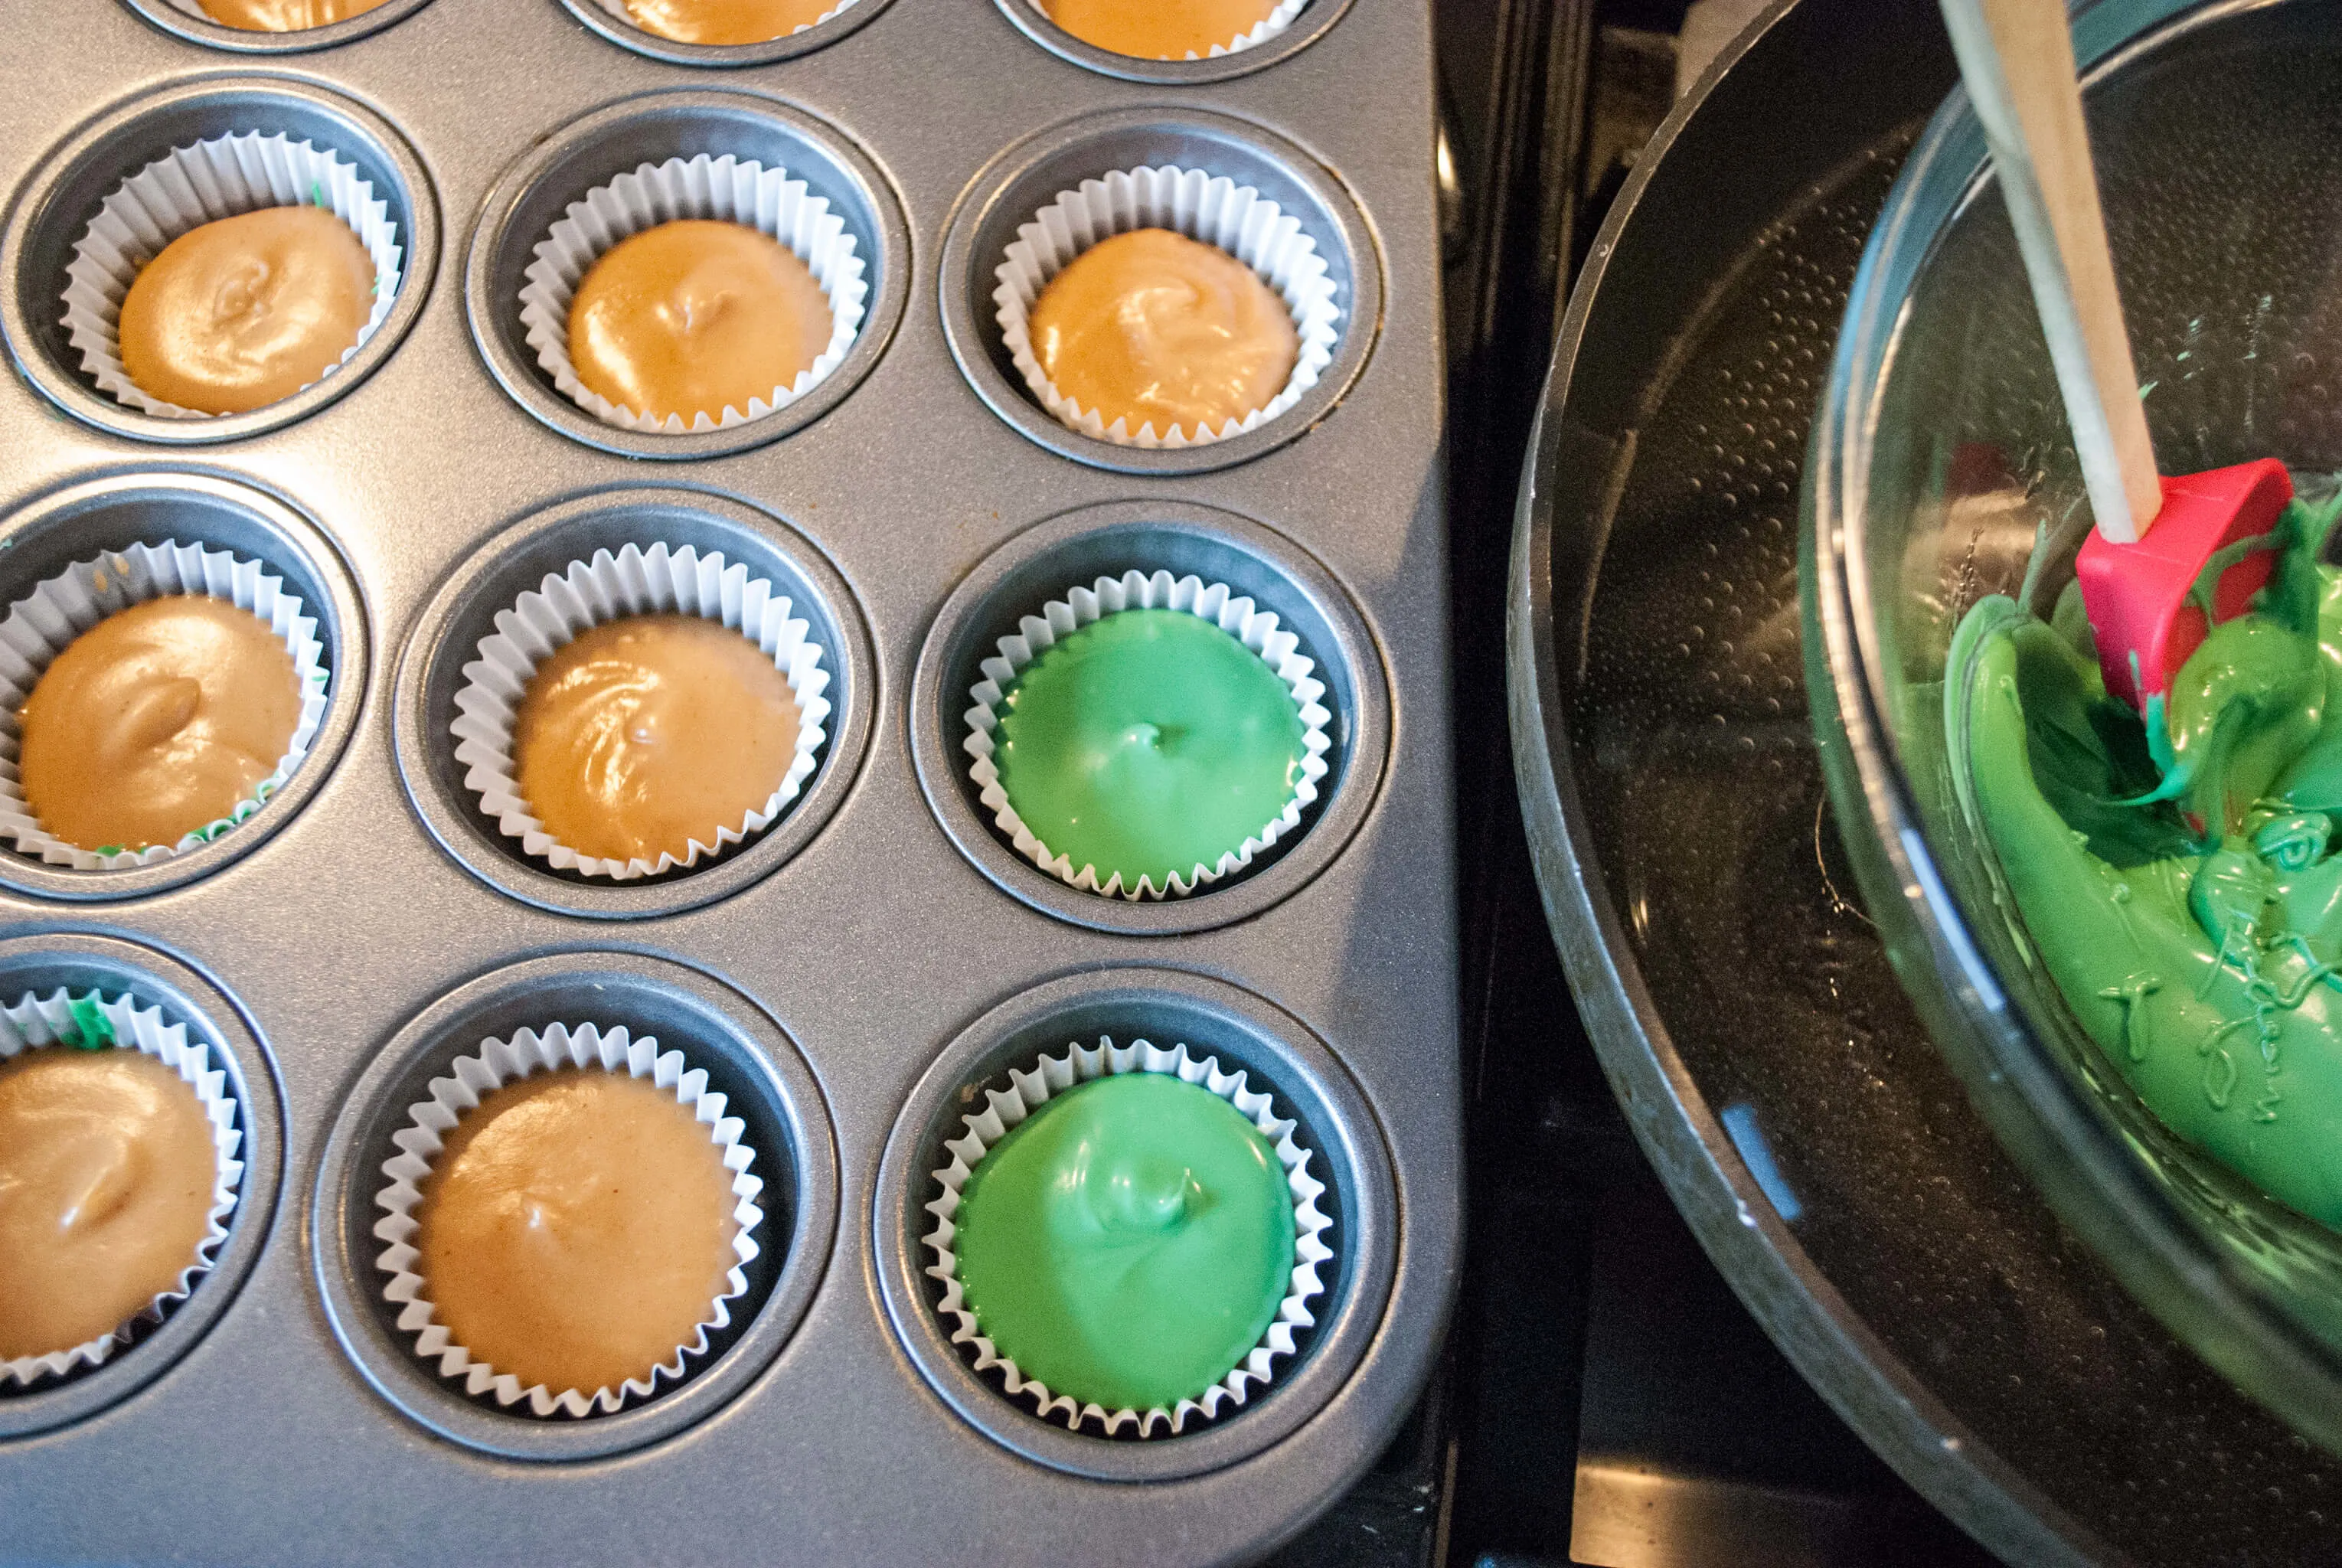
Easy green dessert idea for St. Patrick’s Day
So why green chocolate peanut butter cups? My sweet tooth has been craving Justin’s Peanut Butter Cups. I grabbed one at lunch with a friend at Goddess and Grocer the other day and I thought it would be fun to make a festive green chocolate version using the half-bag of candy melts left over from my mermaid birthday cake.
Adding white fondant shamrocks to the tops is optional – we made half with, half without.
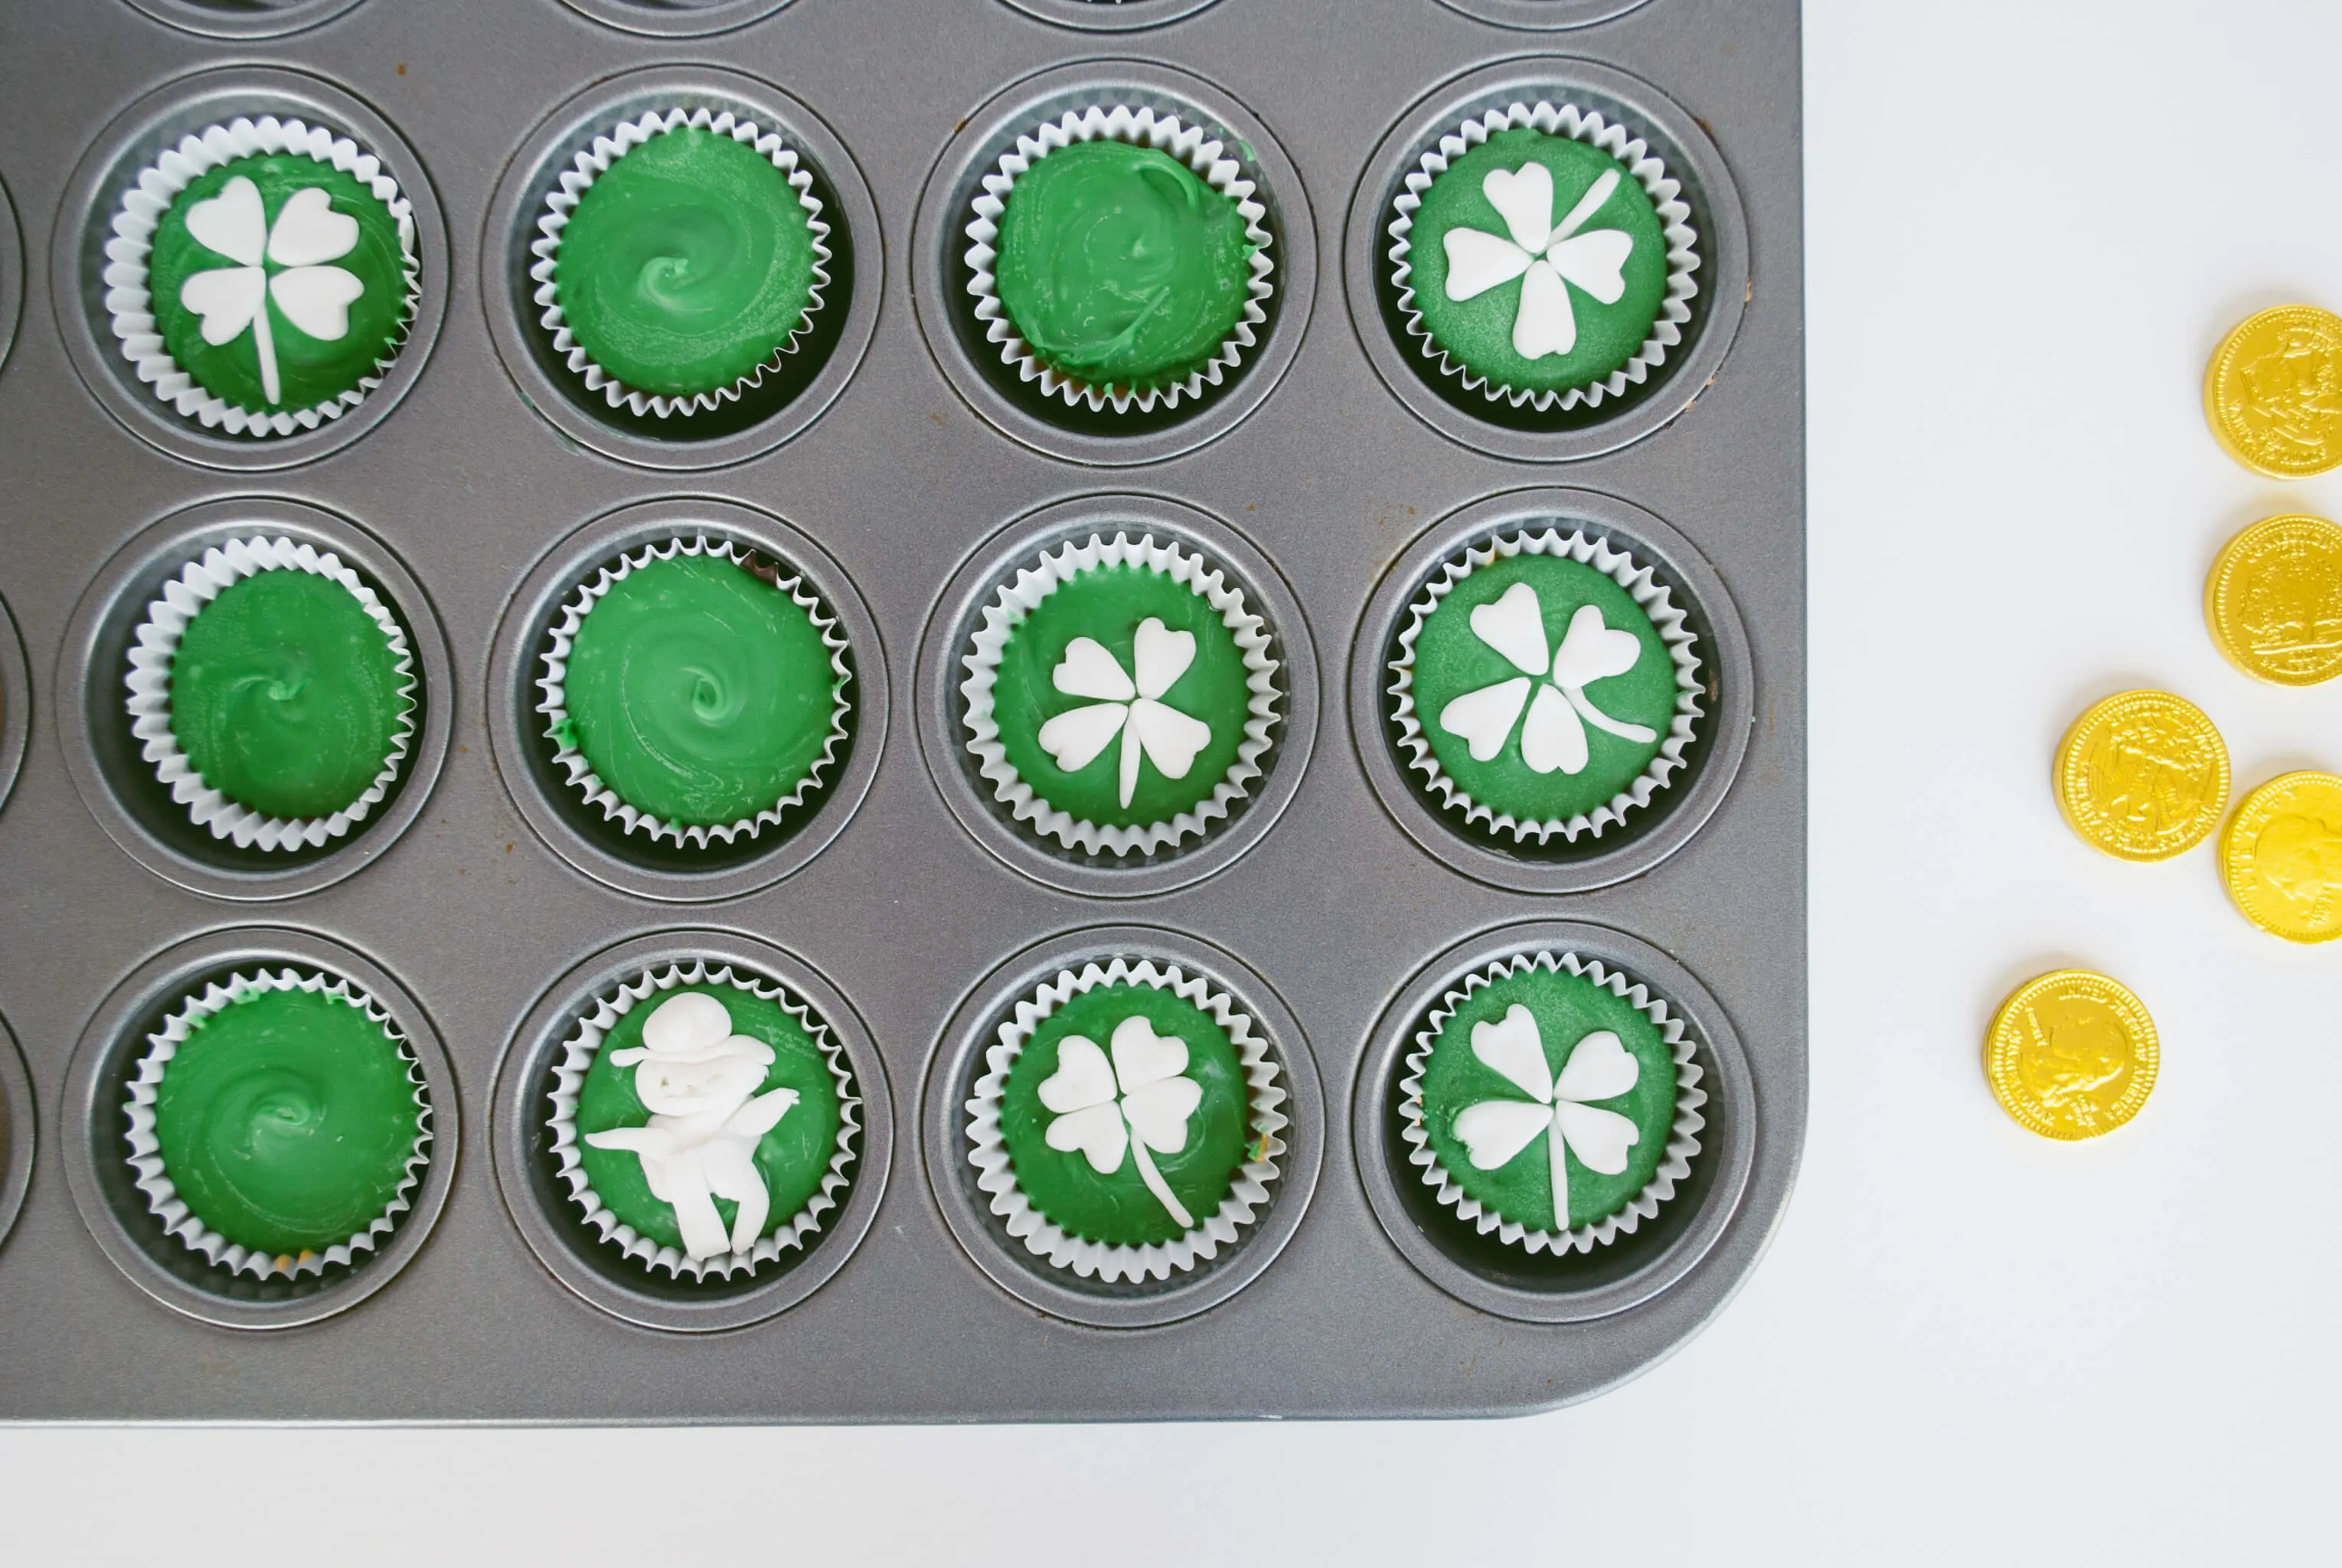
It’s a fun recipe to make with kids
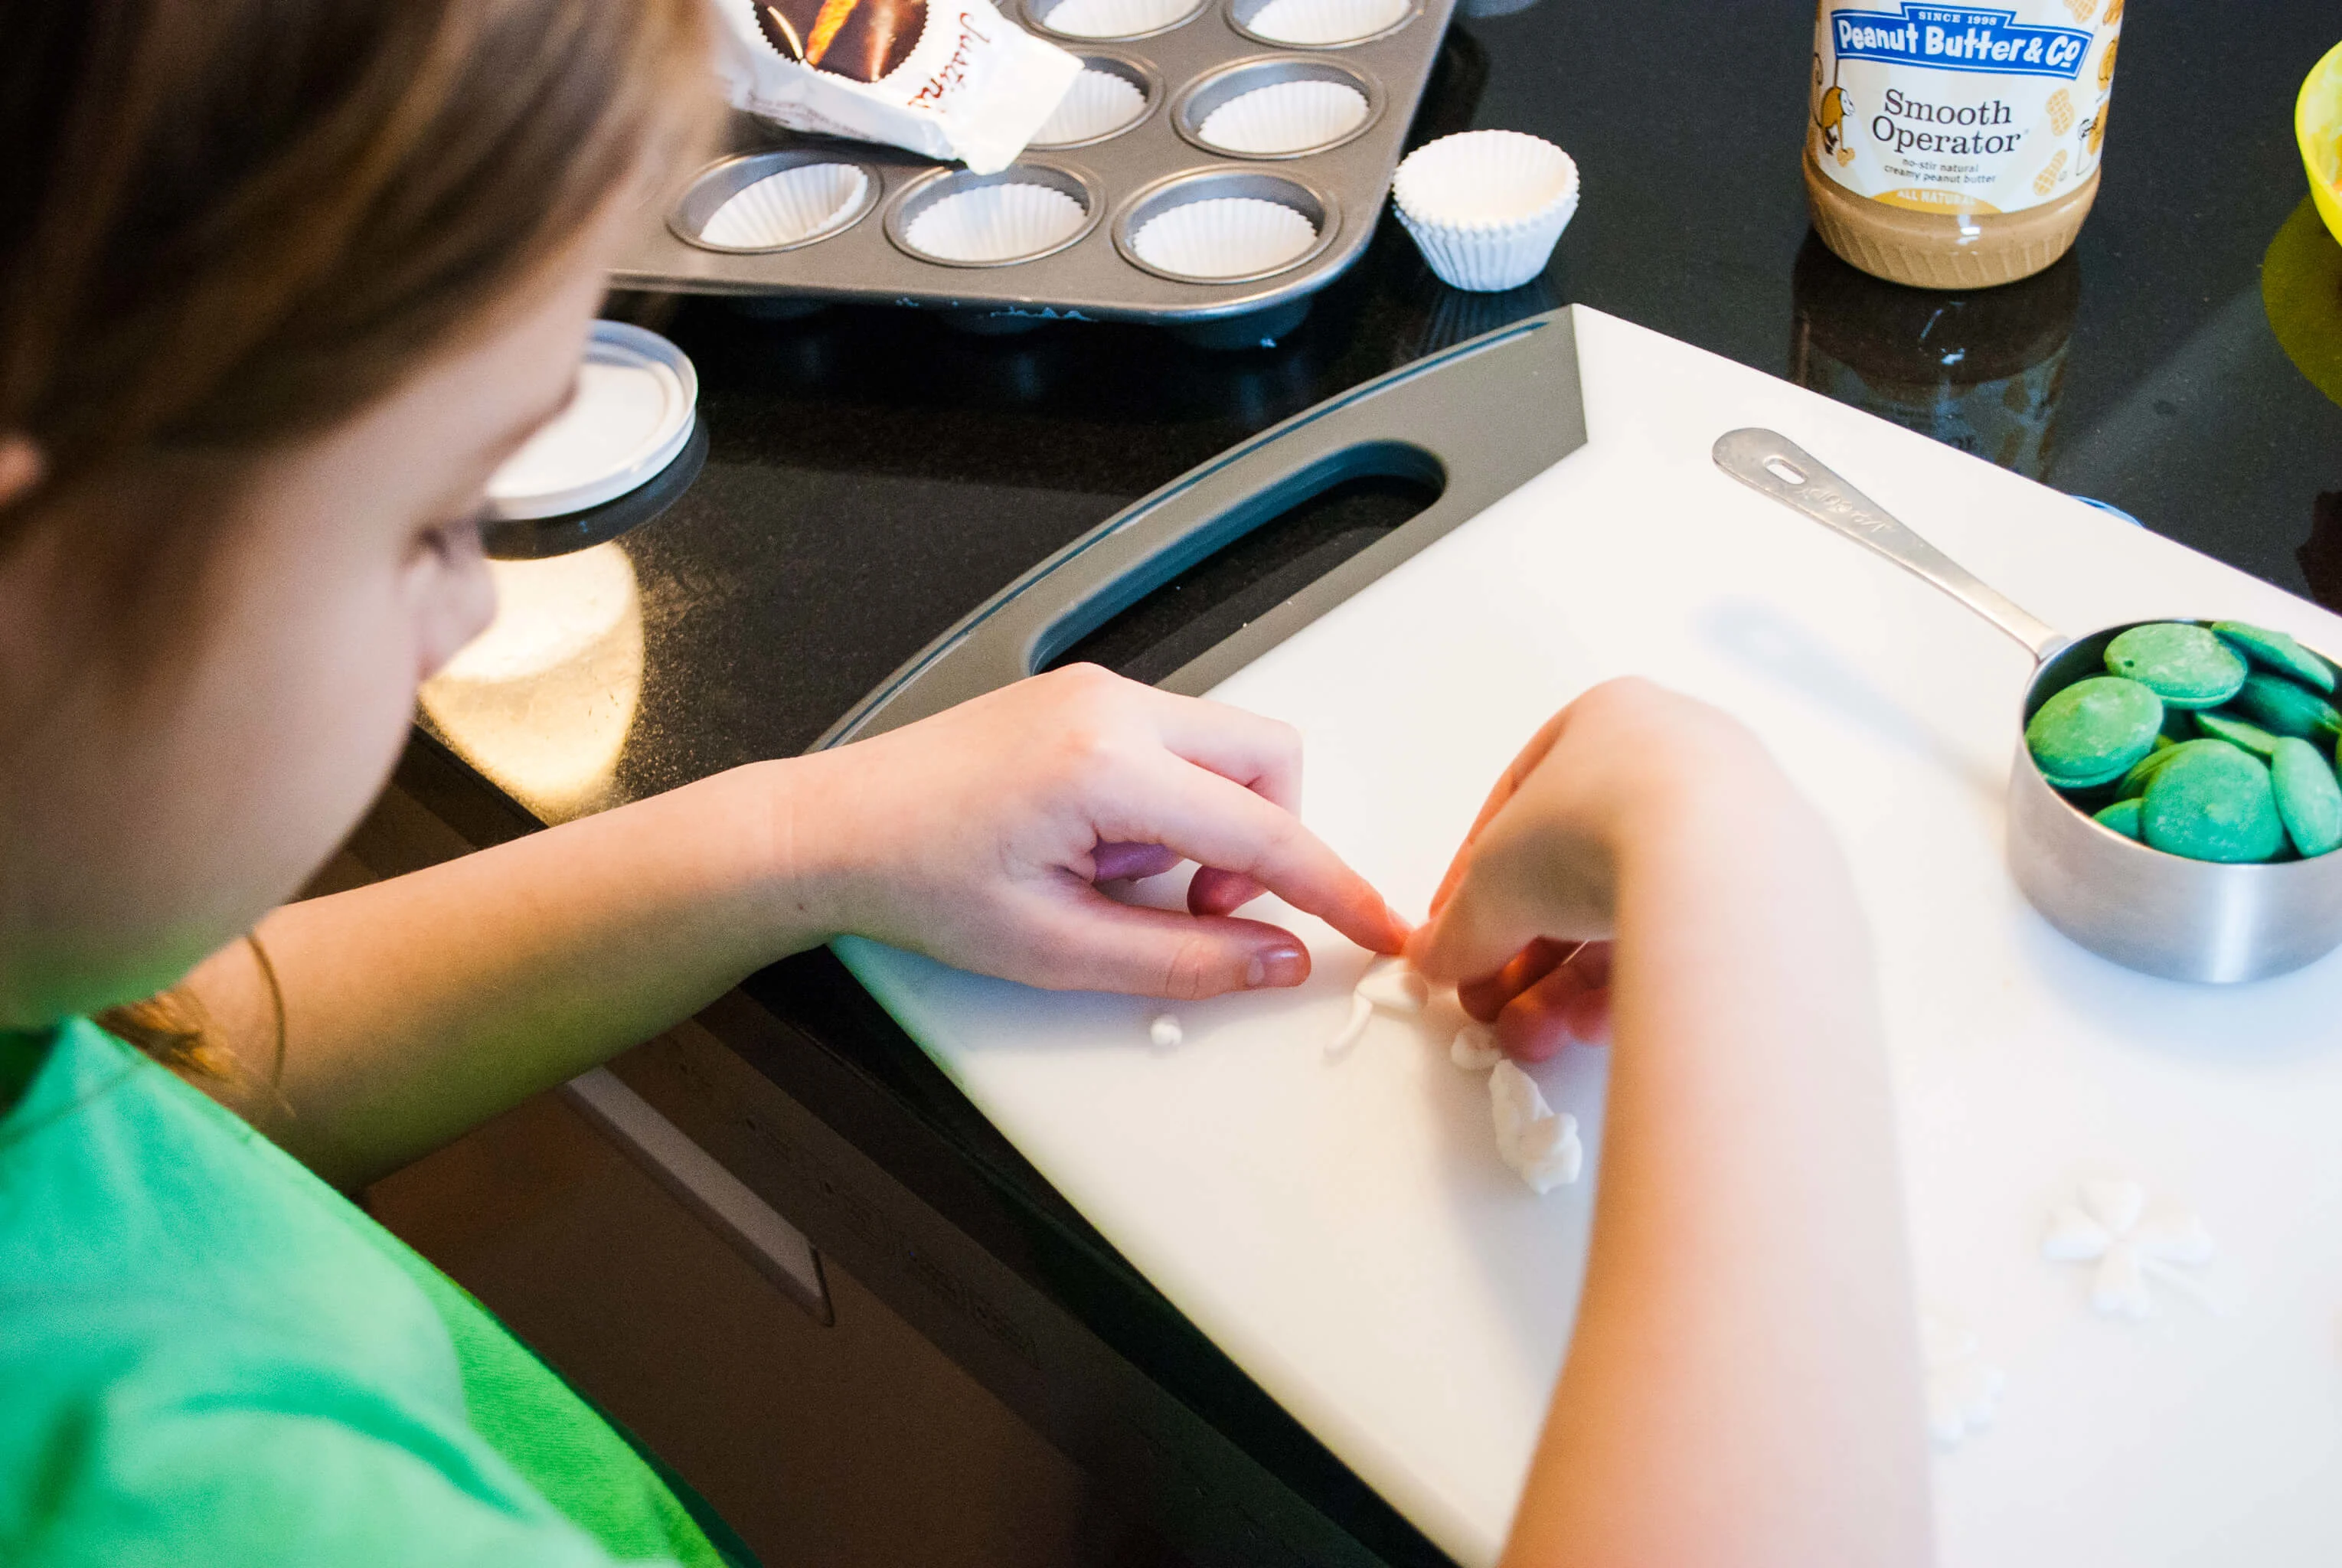
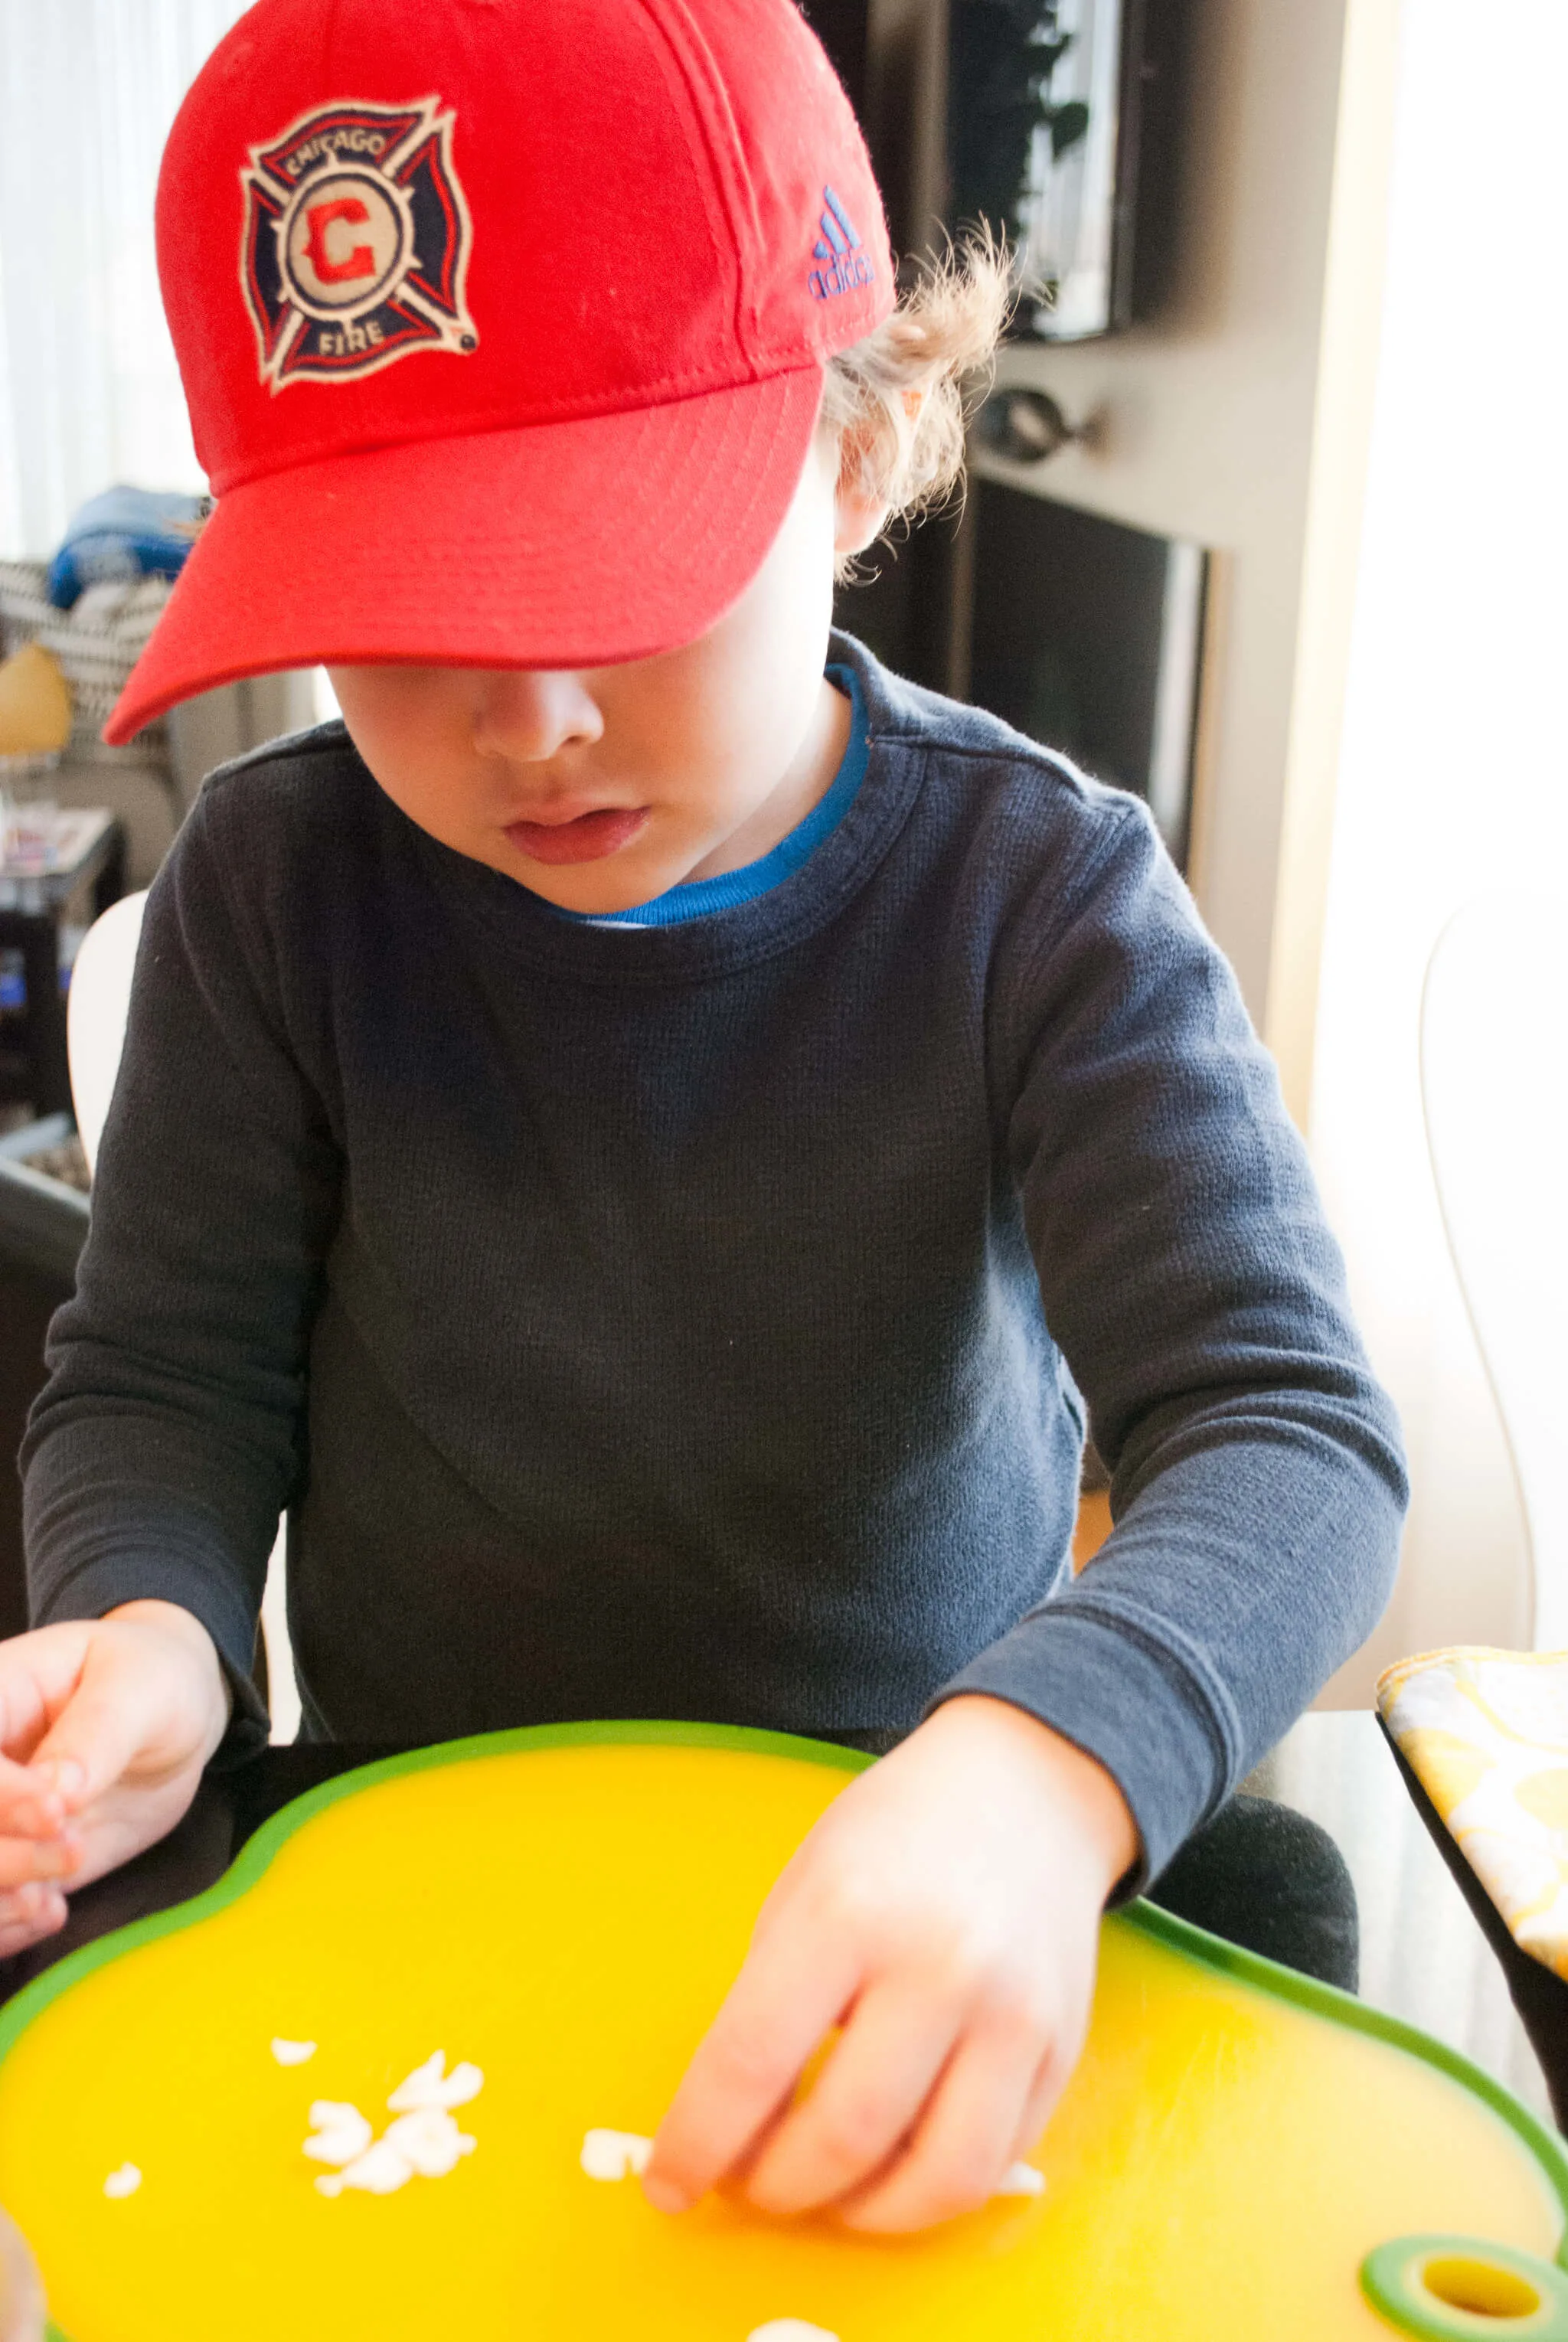
The part that the kids liked best (other than eating them) was making shamrocks to top the green chocolate peanut butter cups.
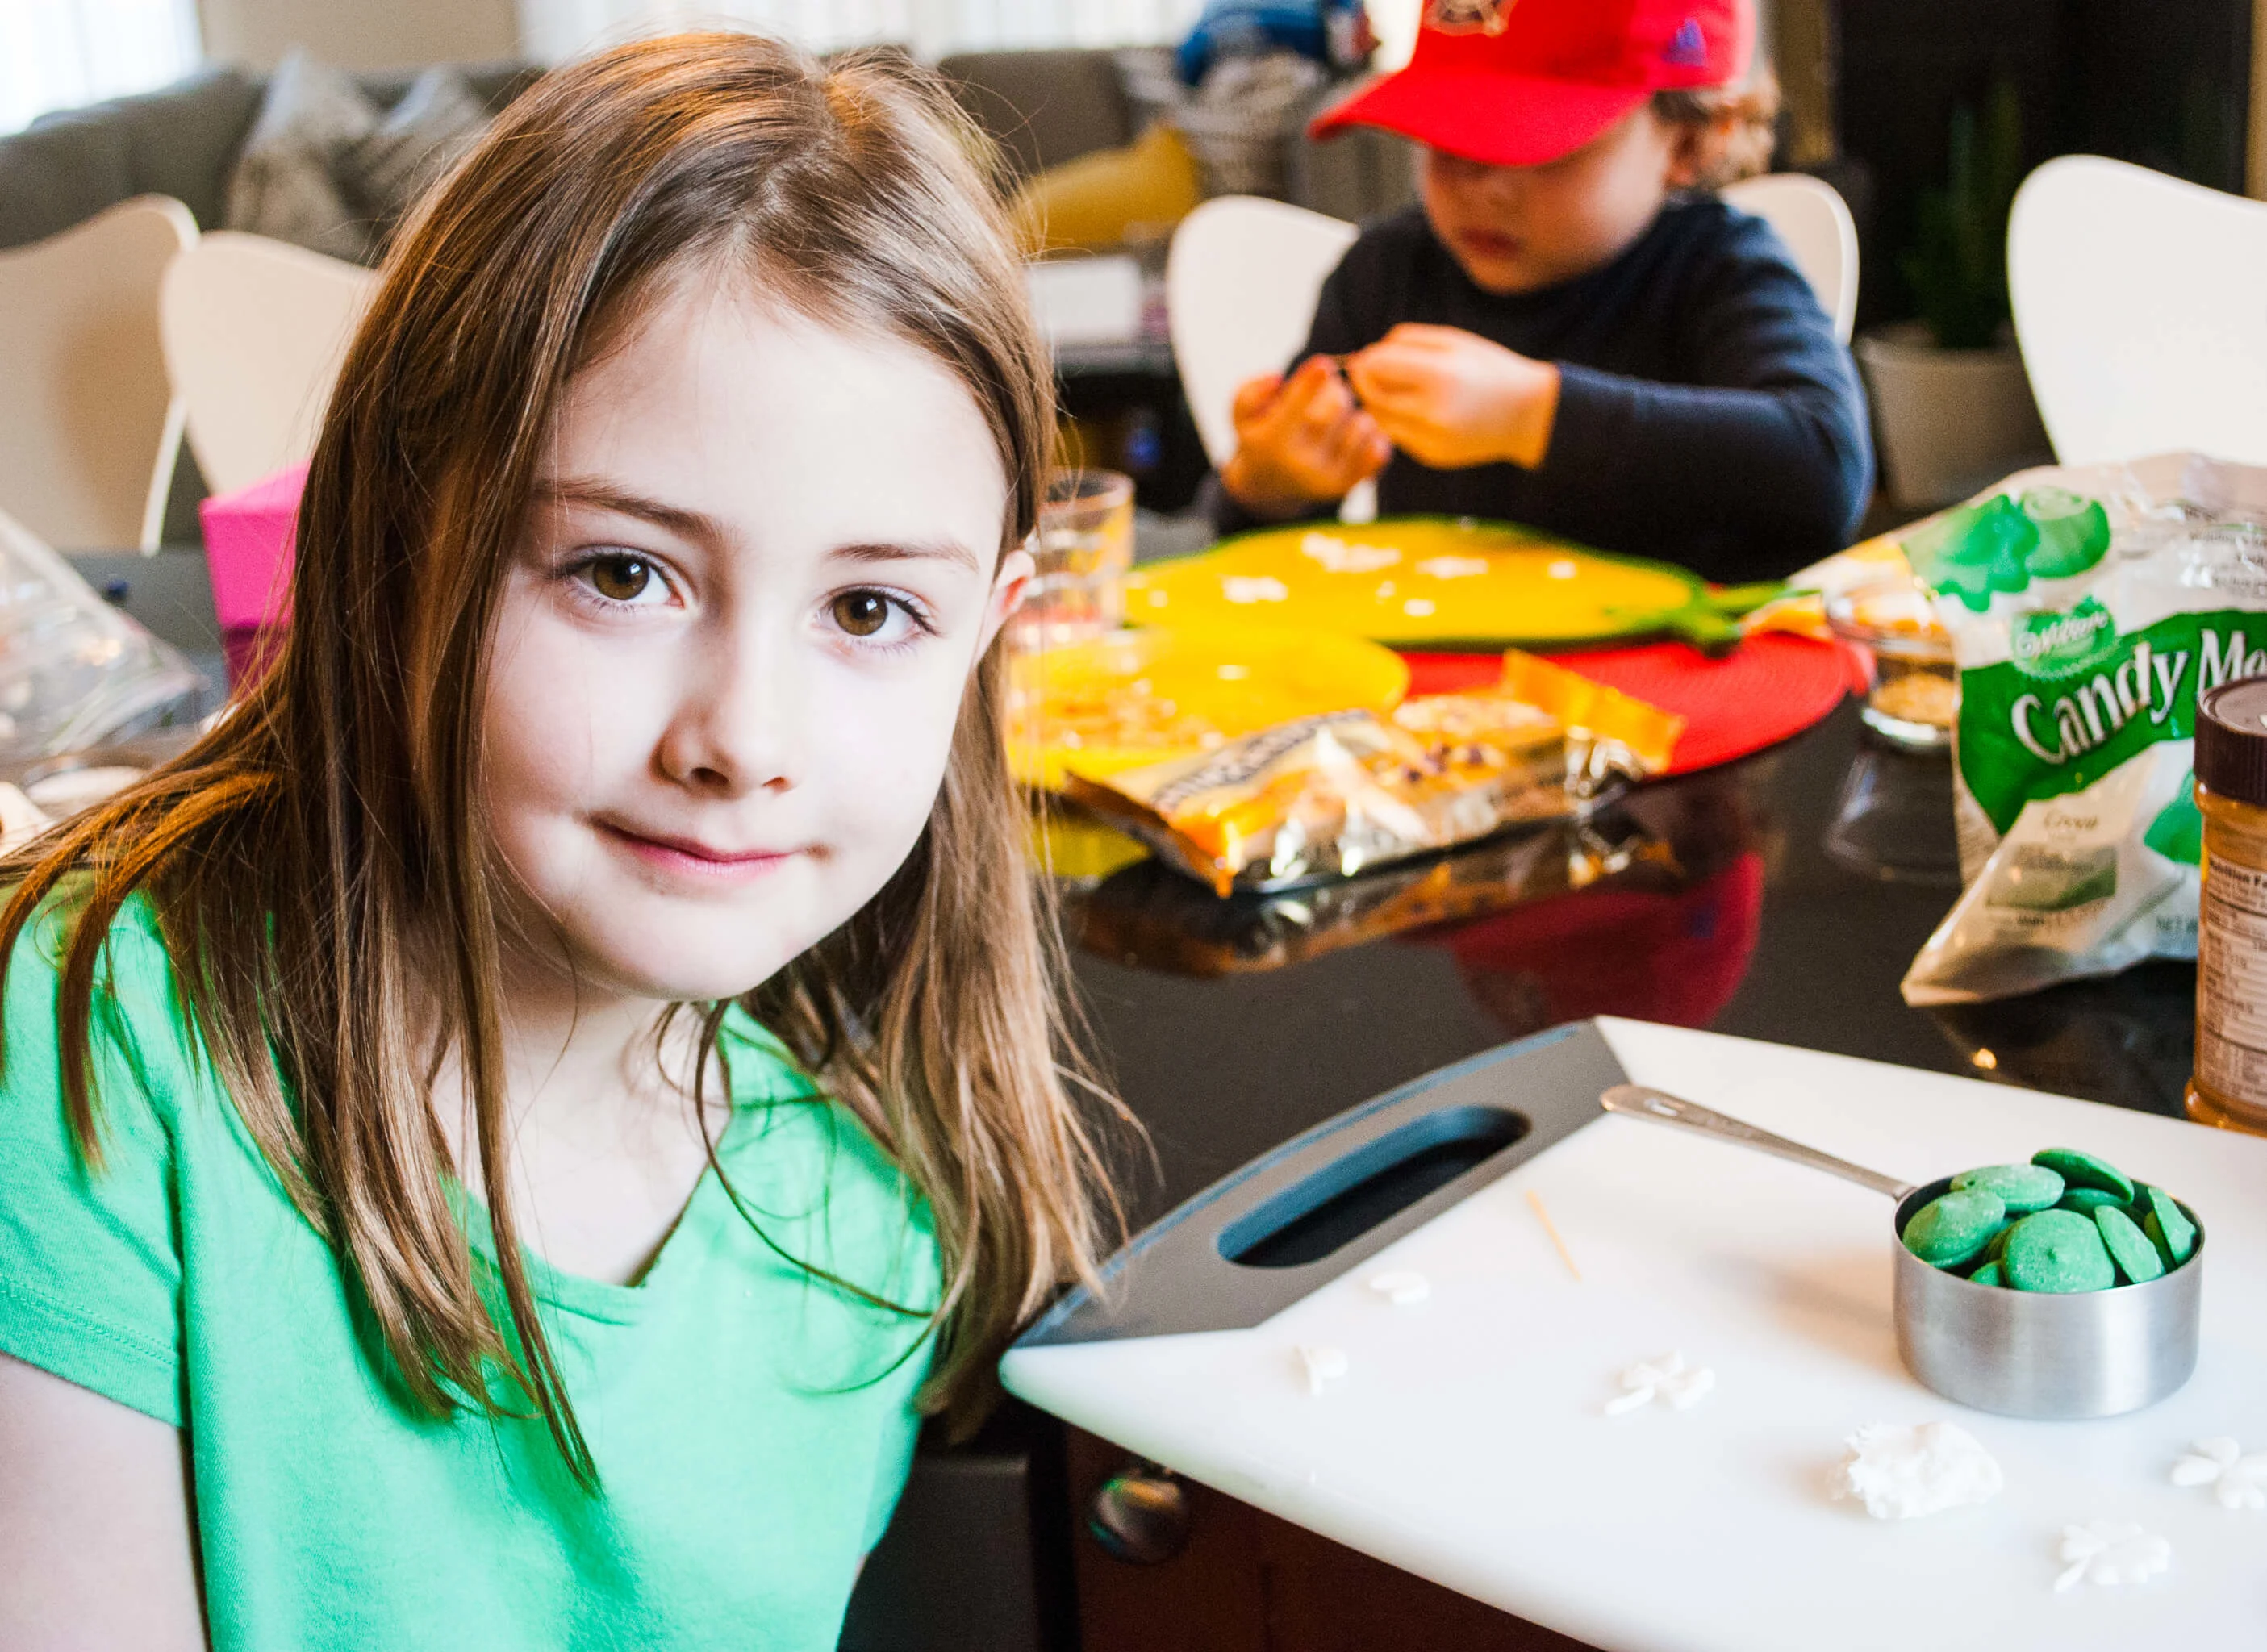
And Elise also made this cute little fondant leprechaun.
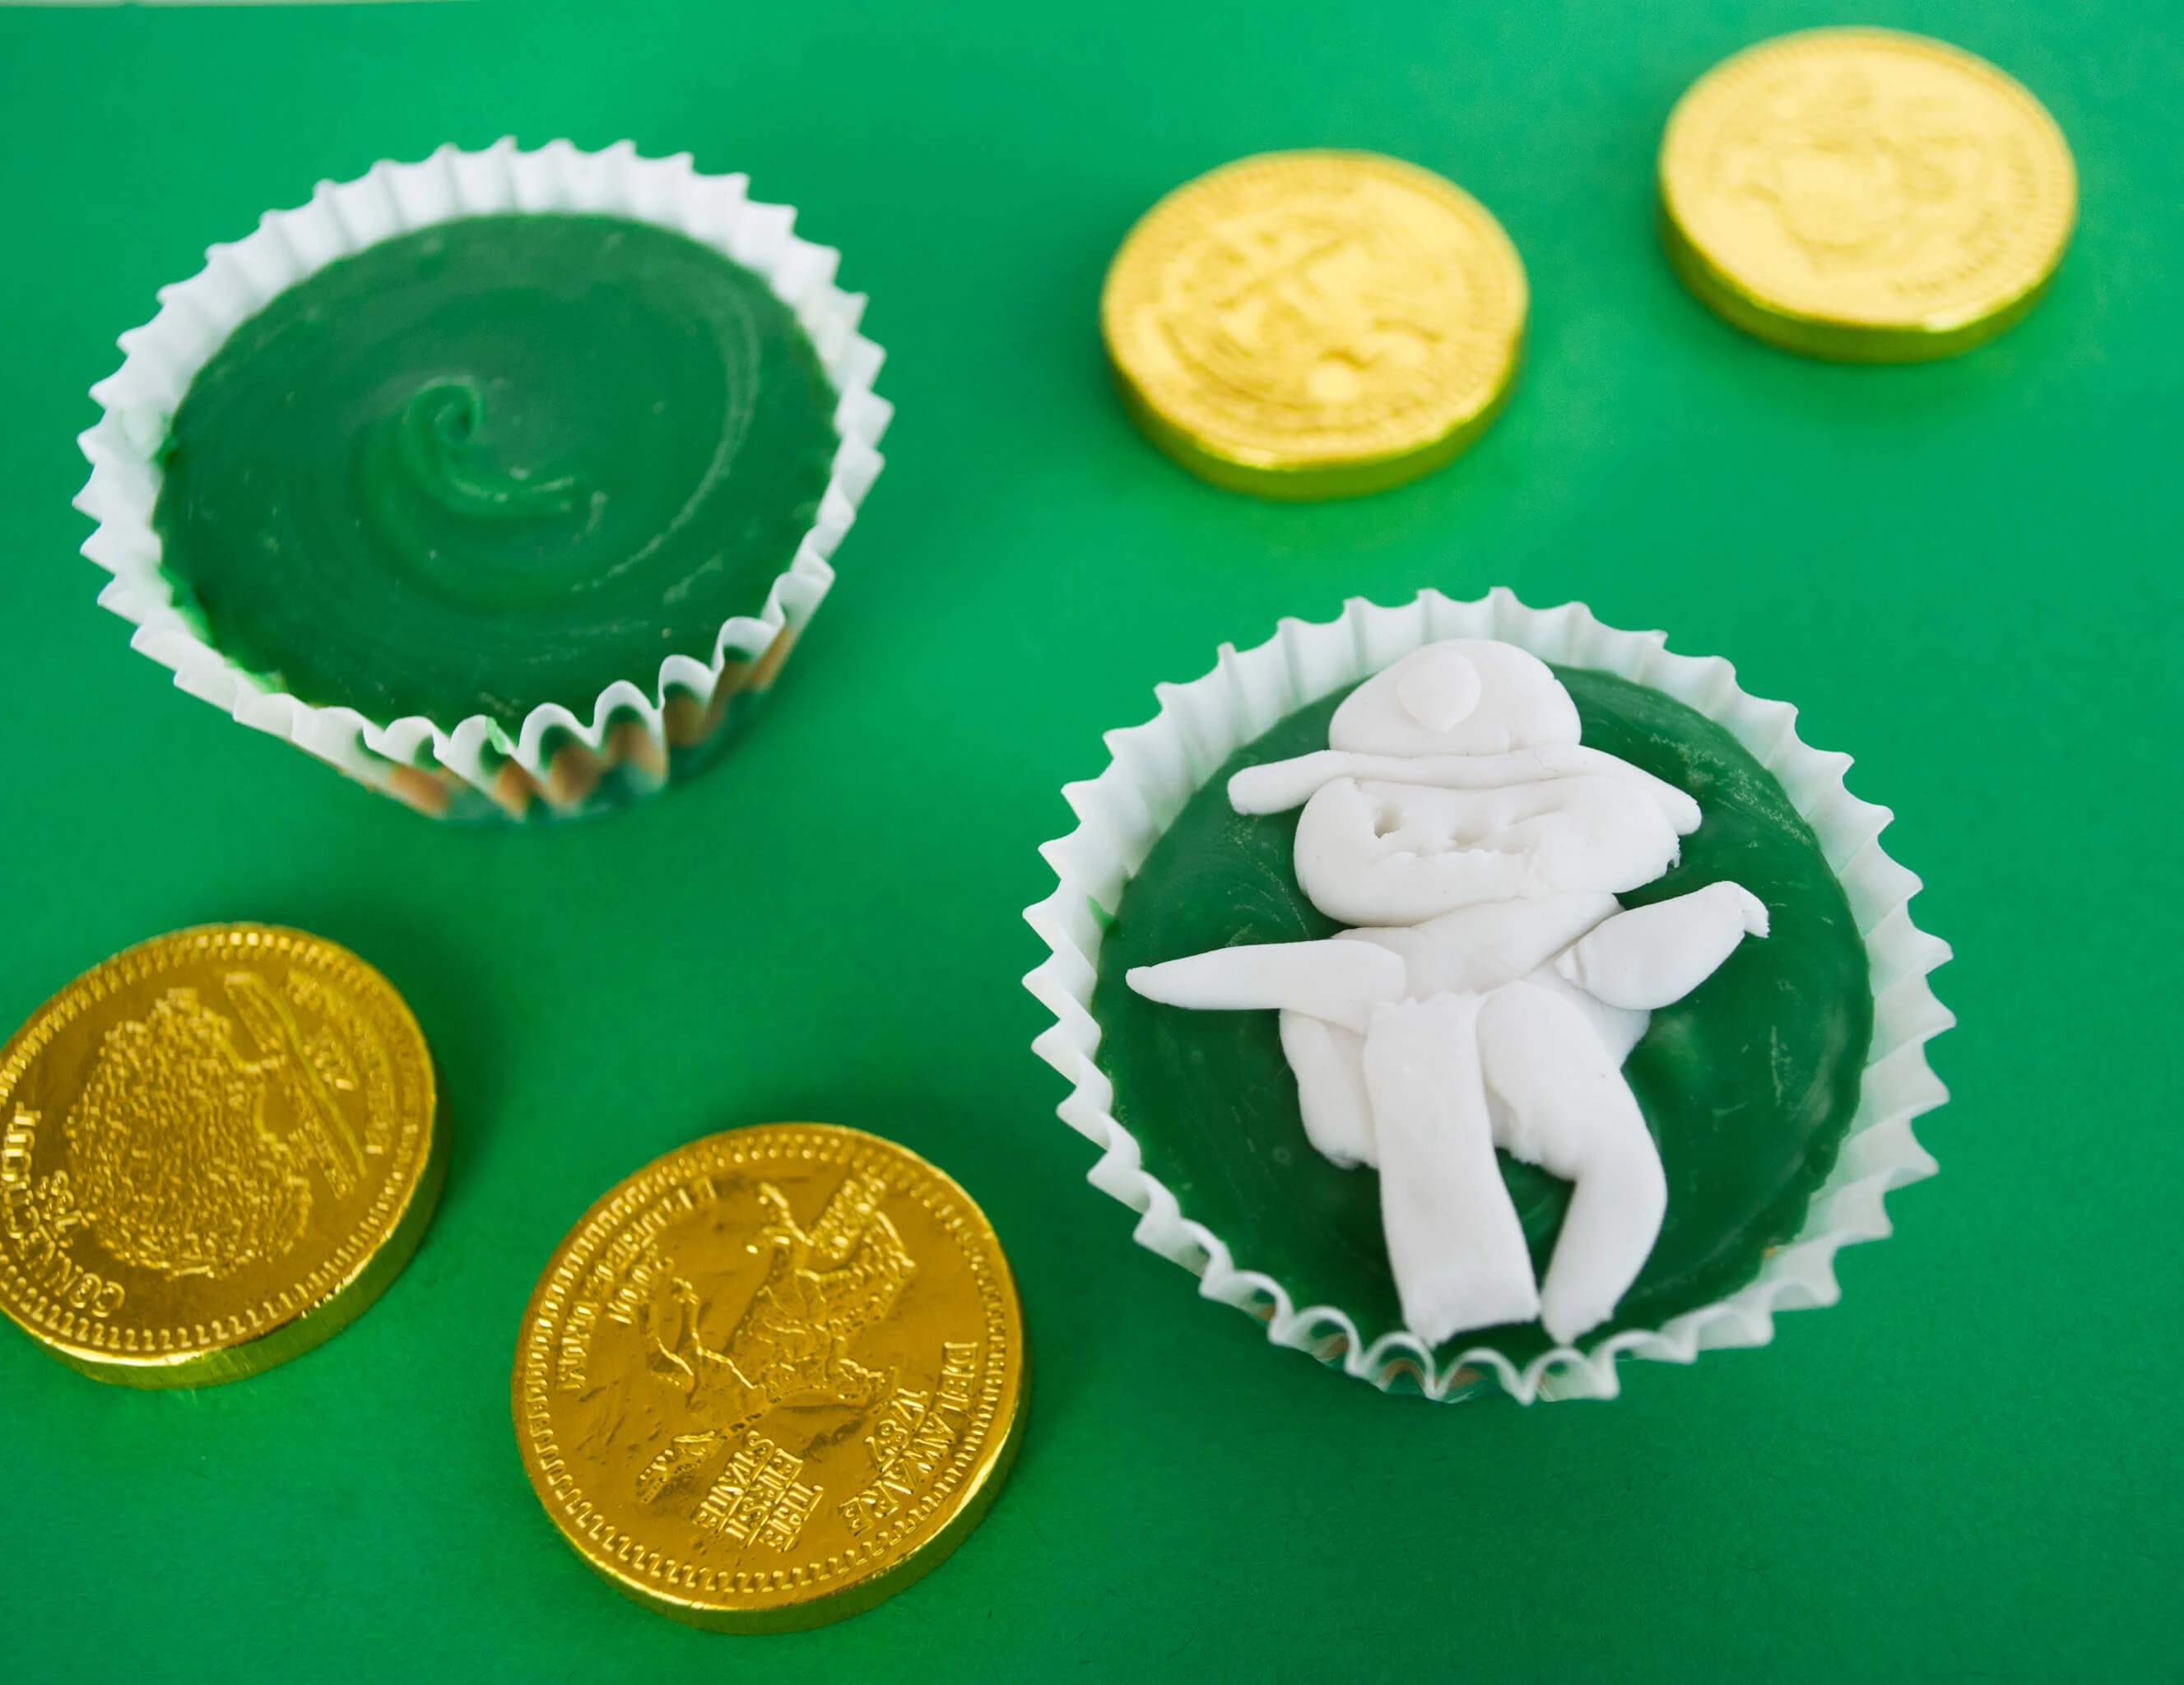
Use mini cupcake liners for bite-sized St. Patrick’s Day treats
You definitely need to use mini cupcake liners to avoid sticking. We experimented with our layering by making with dark chocolate layers and some without. Personally, I think it needs the bitterness of the dark chocolate but the kids also liked them with only candy melts. We also played around with two-layer cups, peanut butter on the bottom and then chocolate on the top; it’s faster because there’s one less layer although messier to eat.
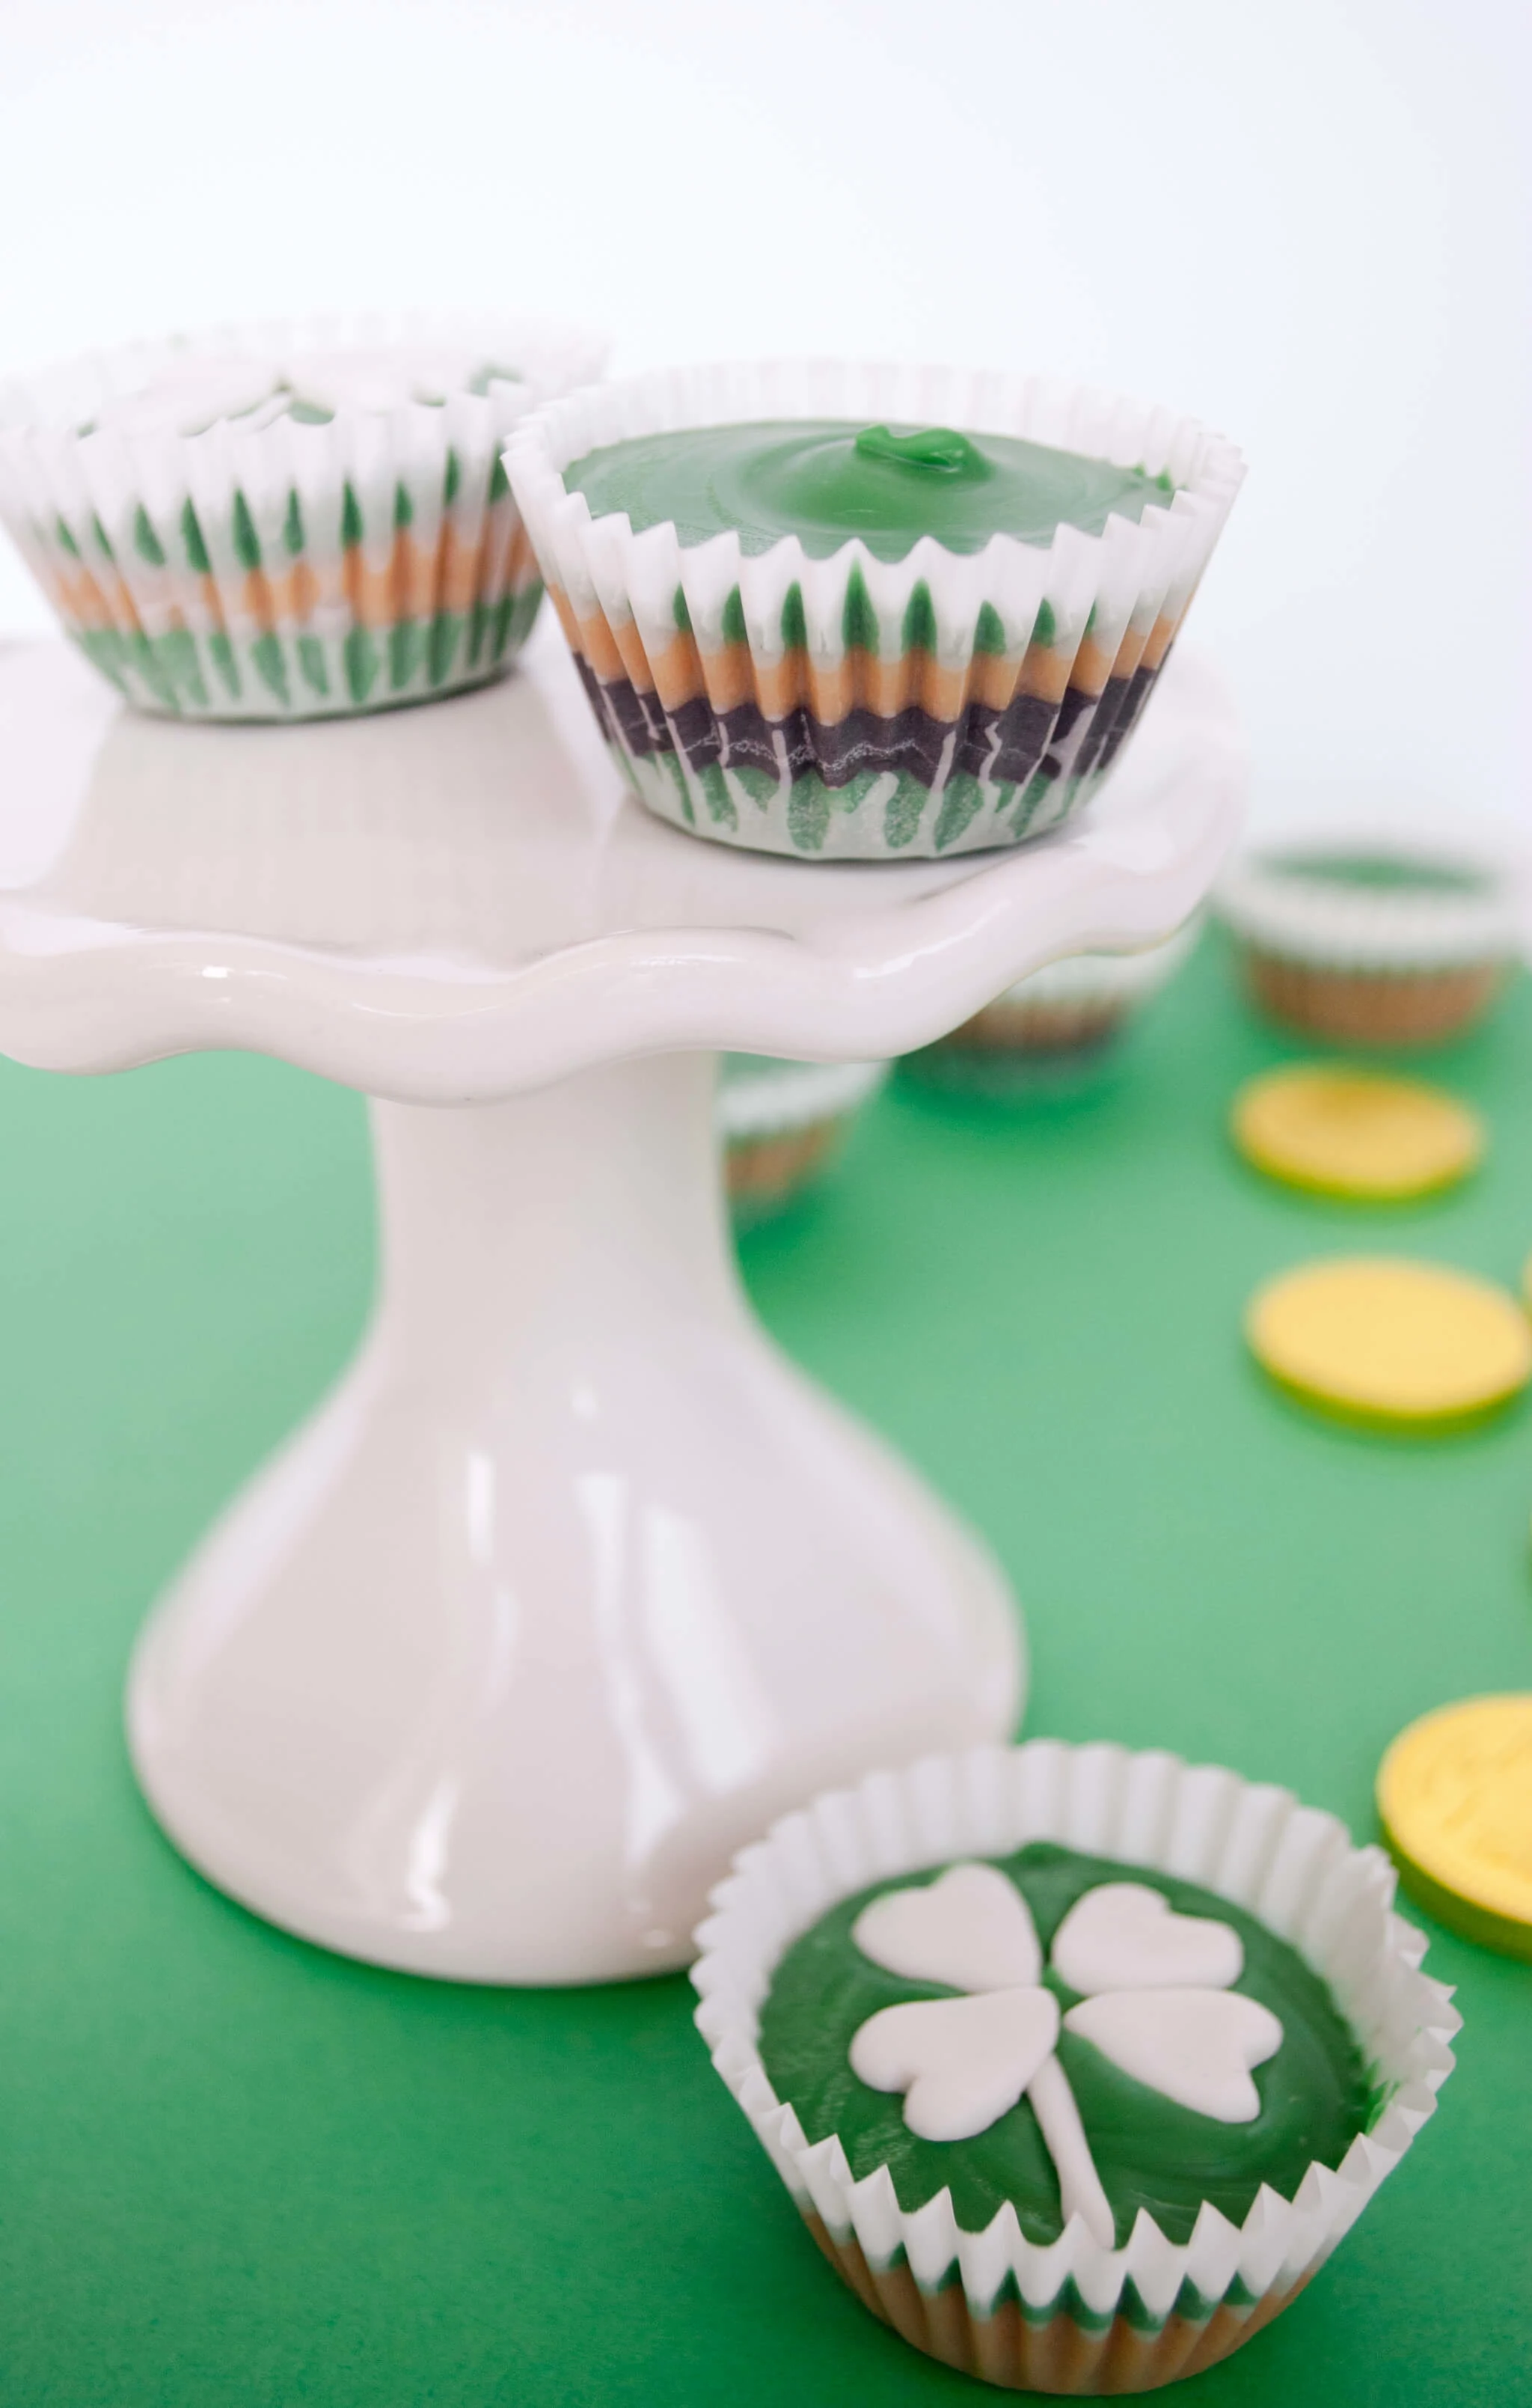
St. Patrick’s Day Chocolate Mini Peanut Butter Cups Recipe
Ingredients
For the green chocolate:
- 1.5 cups green candy melts
For the dark chocolate (optional):
- 1/8 cup – ¼ cup dark chocolate chopped, depending on how much you would like
For the peanut butter filling:
- ½ cup all-natural peanut butter
- ¼ cup honey
- 2 tablespoons coconut oil
For the shamrocks:
- White fondant Fat Daddio’s tastes the best
Instructions
- Line muffin tin with liners. Melt dark green chocolate and spoon into liners and chill until hardened, 10-15 minutes in the freezer or refrigerator.
- Melt optional dark chocolate, layer onto green and chill to harden.
- Whisk together peanut butter, honey and coconut oil over low heat until smooth. Spoon on top of chocolate and chill to harden.
- Melt dark green chocolate, layer onto peanut butter and chill to harden.
- To make white fondant shamrocks, see detailed directions below.

Ingredients for making my green chocolate peanut butter cups recipe
- Dark green candy melts
- Dark chocolate
- Peanut butter
- Honey
- Coconut oil
- White fondant (optional)
- Mini muffin pan
- Mini muffin paper liners
- Optional mini shamrock cookie cutter
- Mini spatulas
- Pyrex glass bowls
- Adjustable measuring cup (for peanut butter and honey)
How to make my green chocolate peanut butter cups recipe
Step 1: Melt green chocolate
First, let’s talk about melting chocolate: I think microwaves are creepy so I researched and found this genius way to melt the chocolate on the stove top. This is the method I used for the mini peanut butter cups and the nice thing is, it keeps the chocolate warm while you’re spooning so it doesn’t prematurely harden in your bowl like it can when using a microwave.
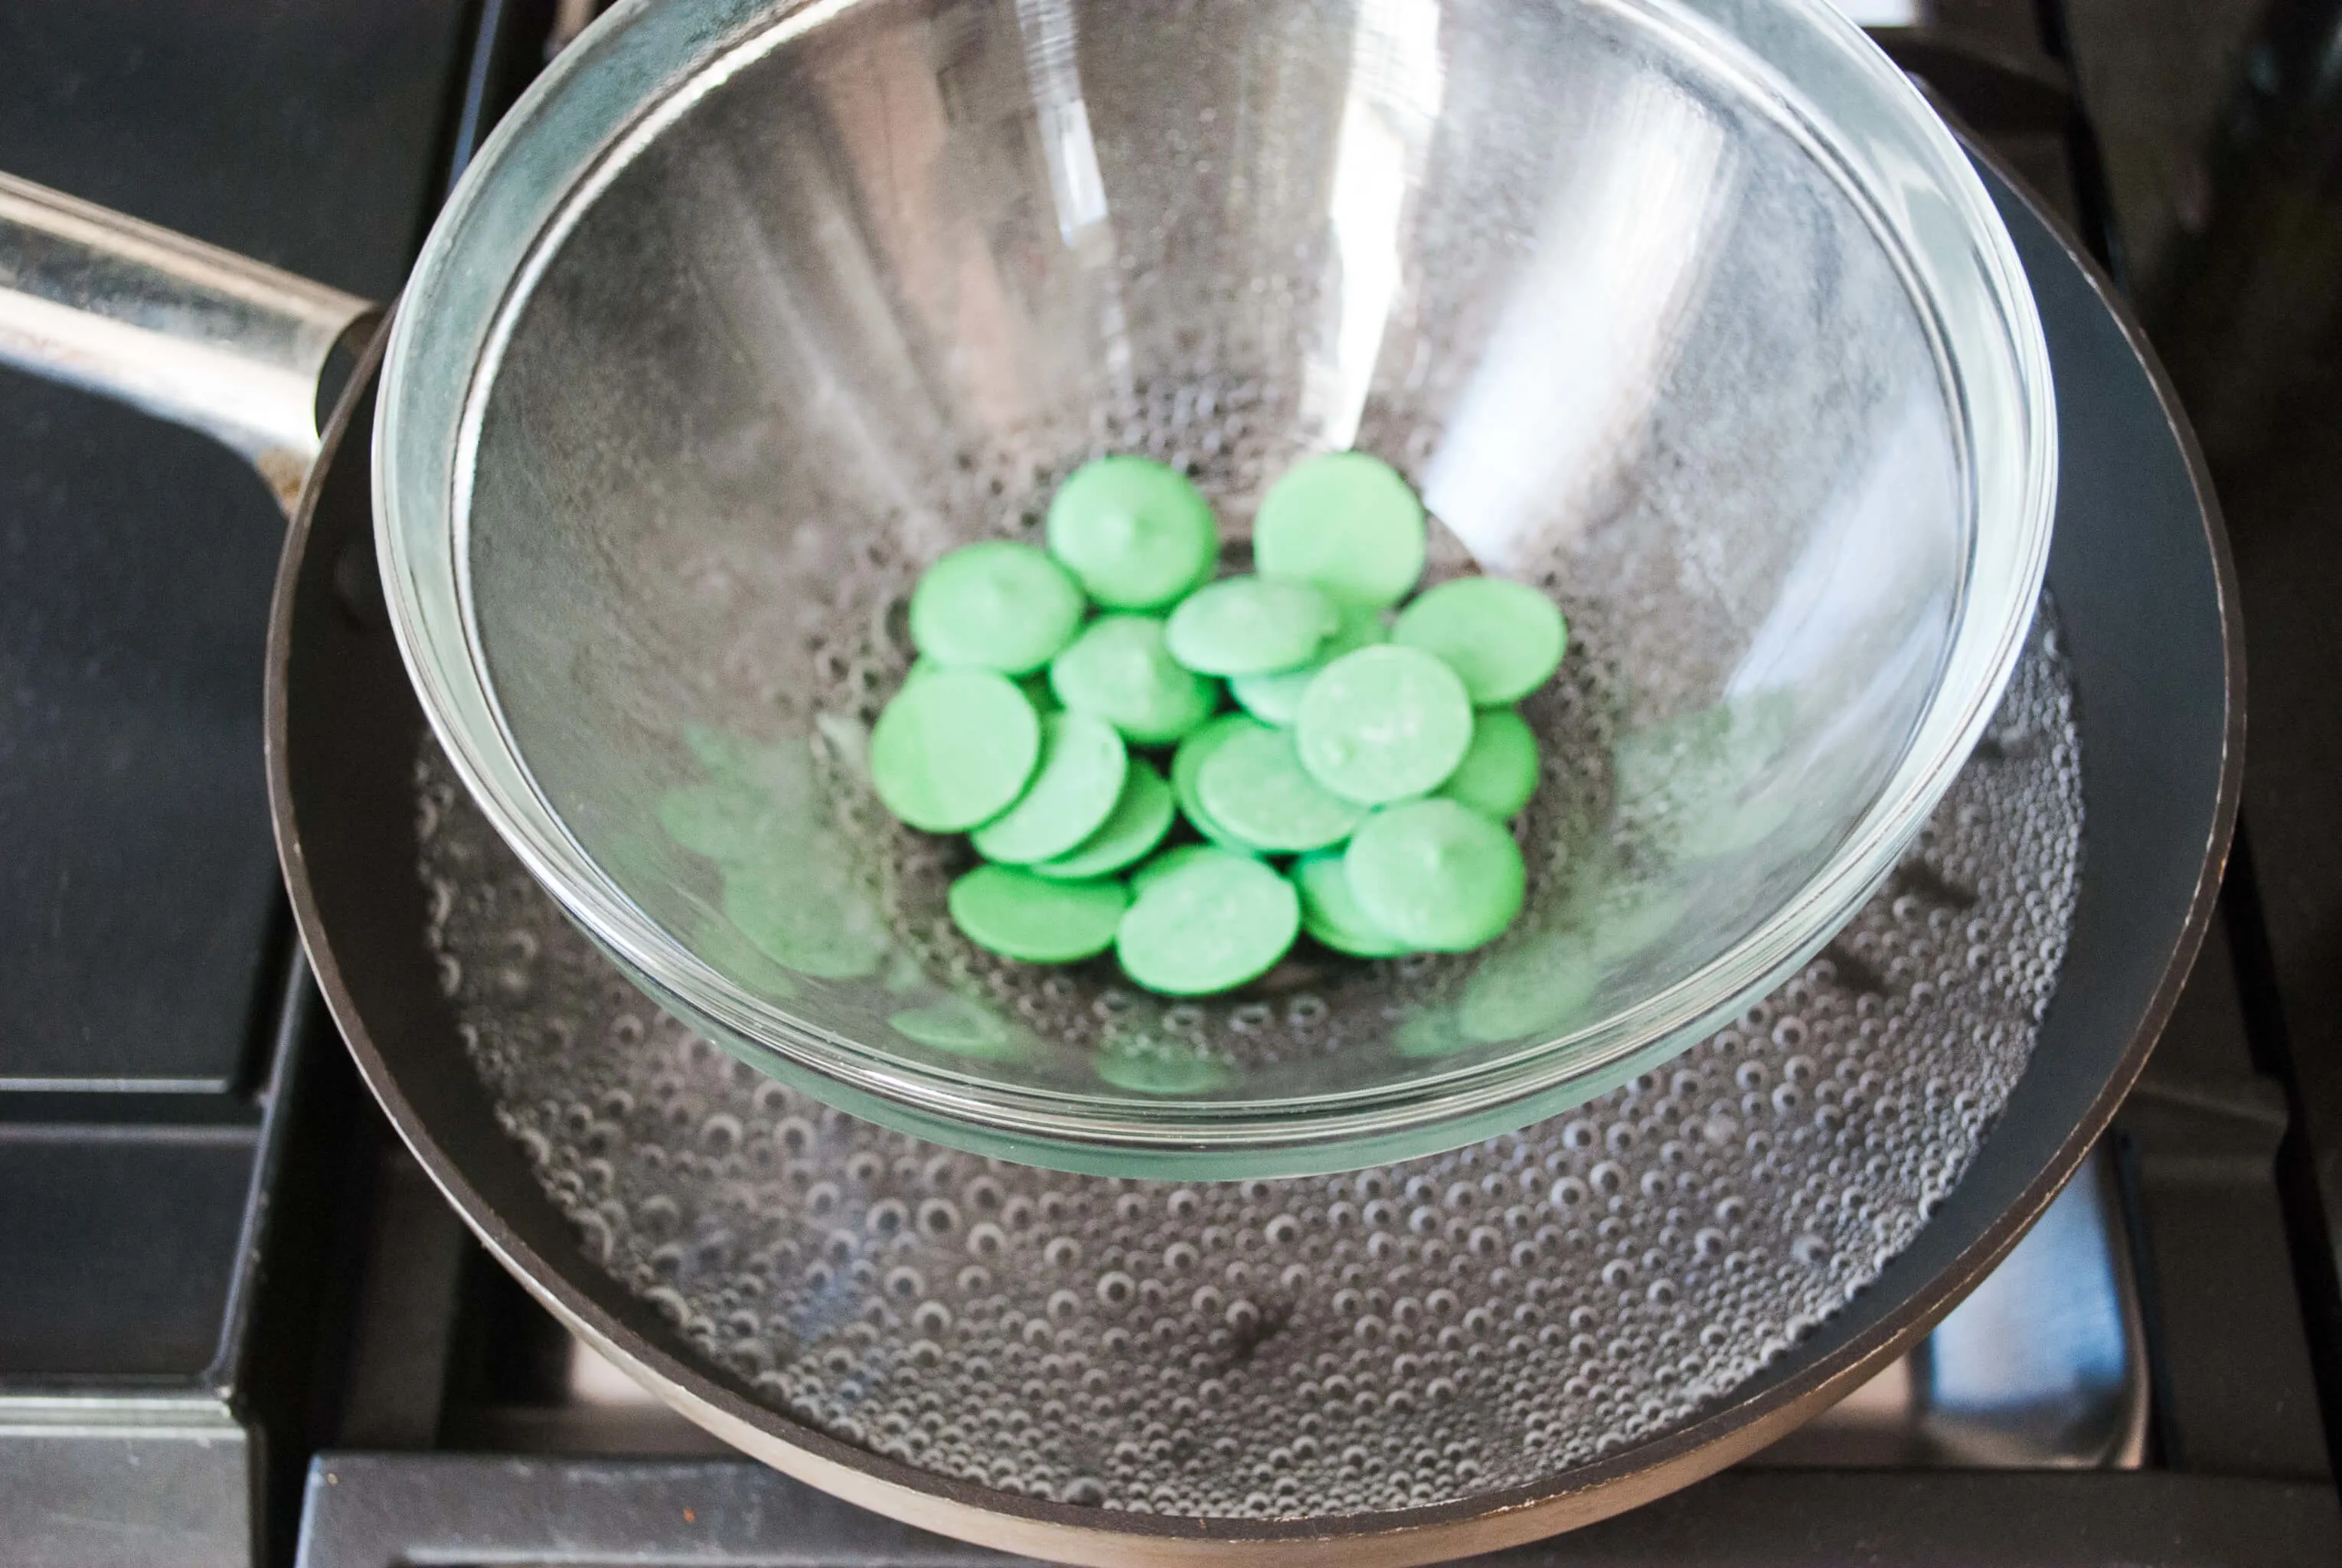
OK, let’s make them. Line a mini muffin pan with liners. Melt the dark green candy melts and put a little into the bottom of each liner. The easiest, cleanest way I found to do this is to use two mini spatulas. Take a little chocolate on the first spatula, then scrape it off using the other spatula. I missed getting a photo of the process because I needed both hands!
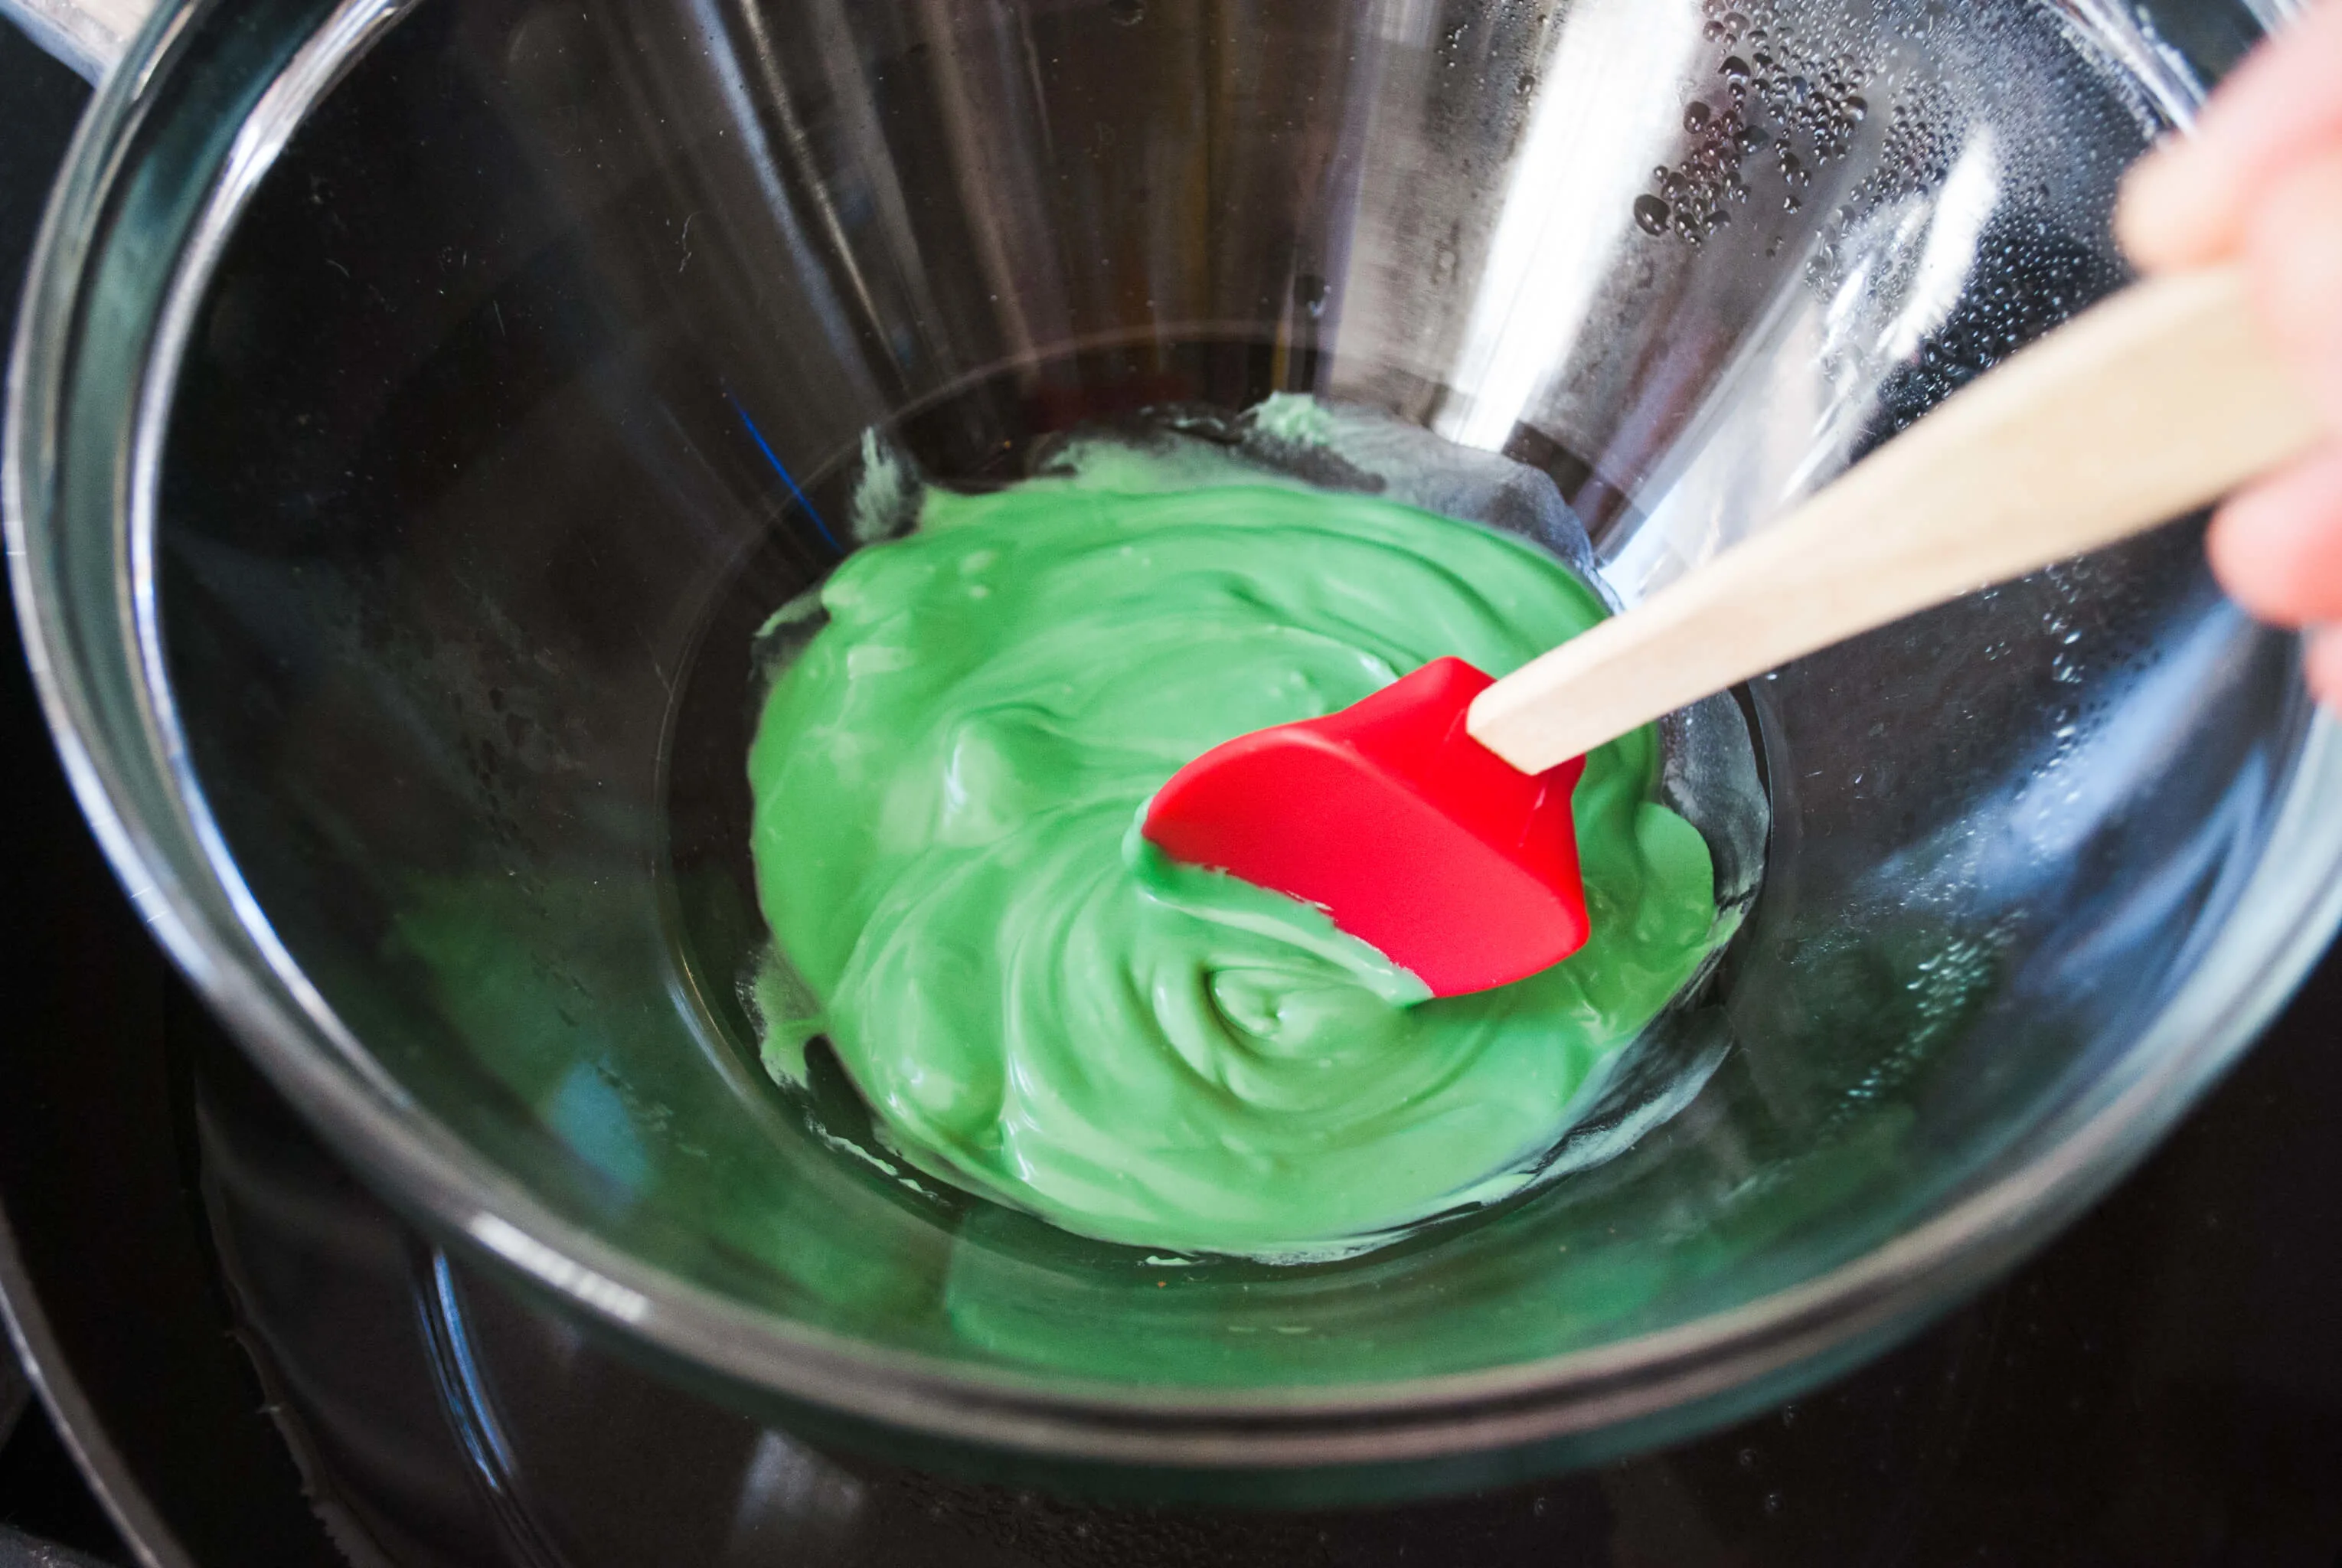
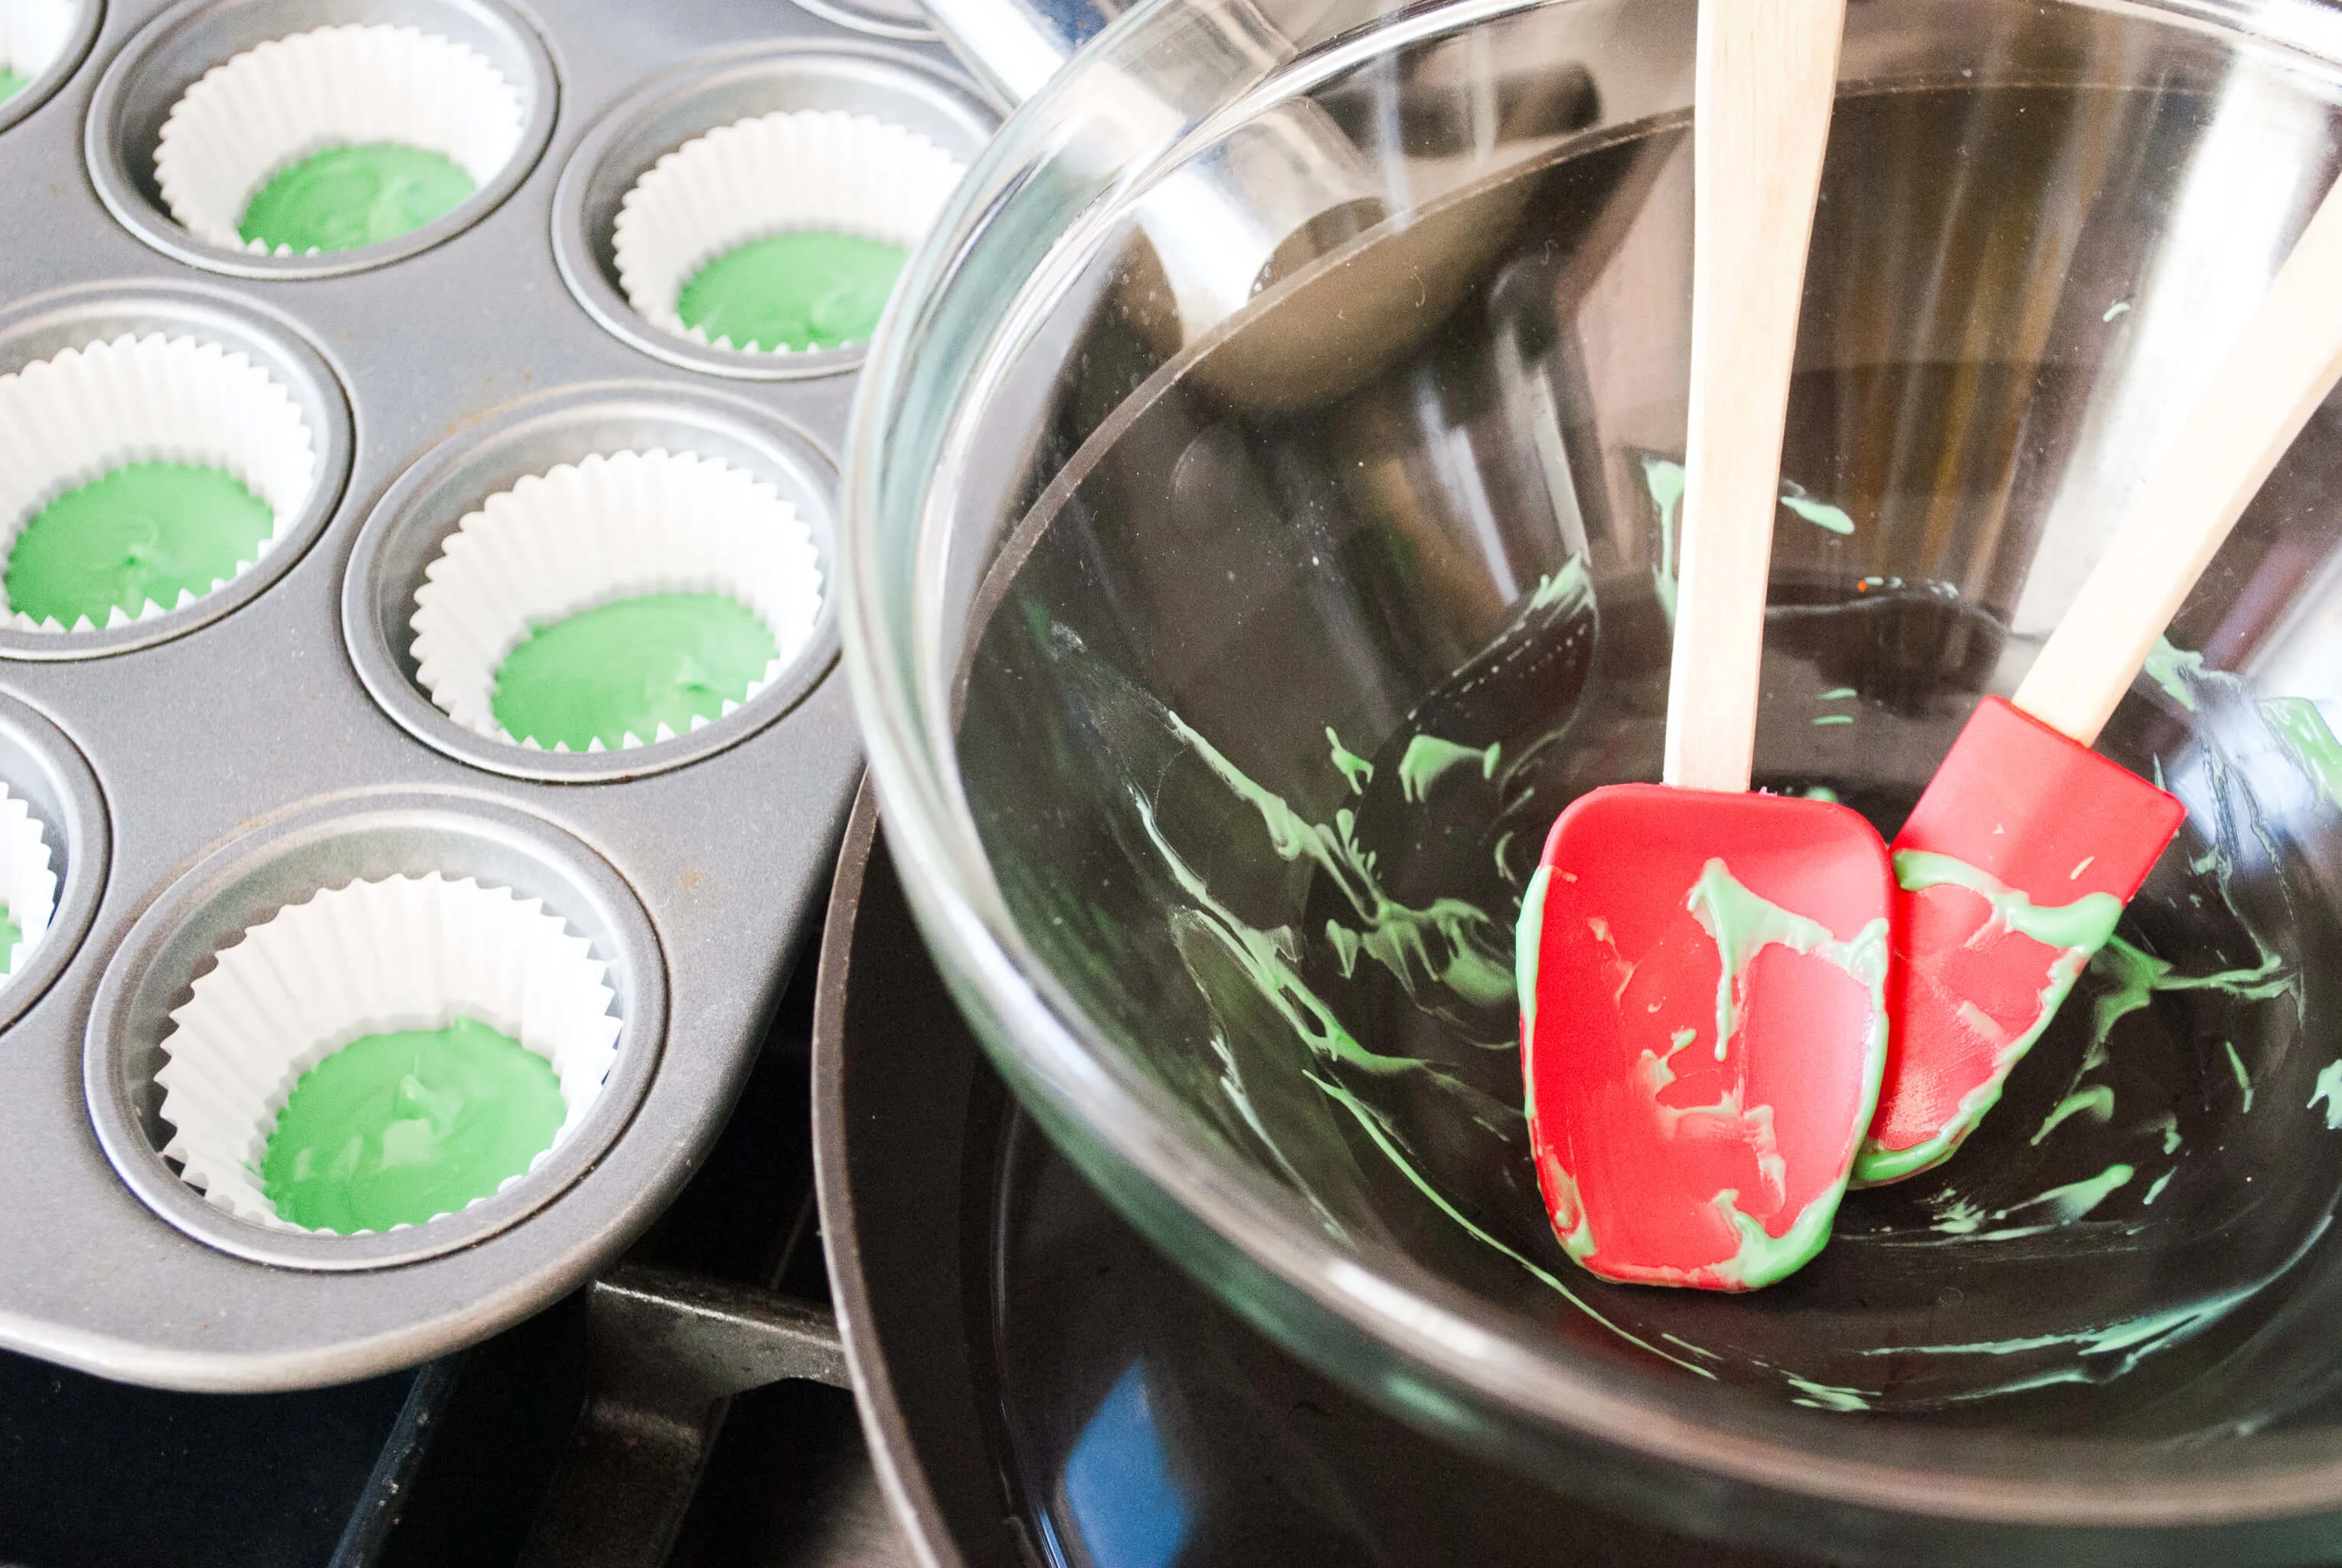
Pop the pan into the freezer if you have room or into the refrigerator like I did. Candy melts harden really quickly – it took me only like 10 minutes in the refrigerator.
Step 2: Make peanut butter filling
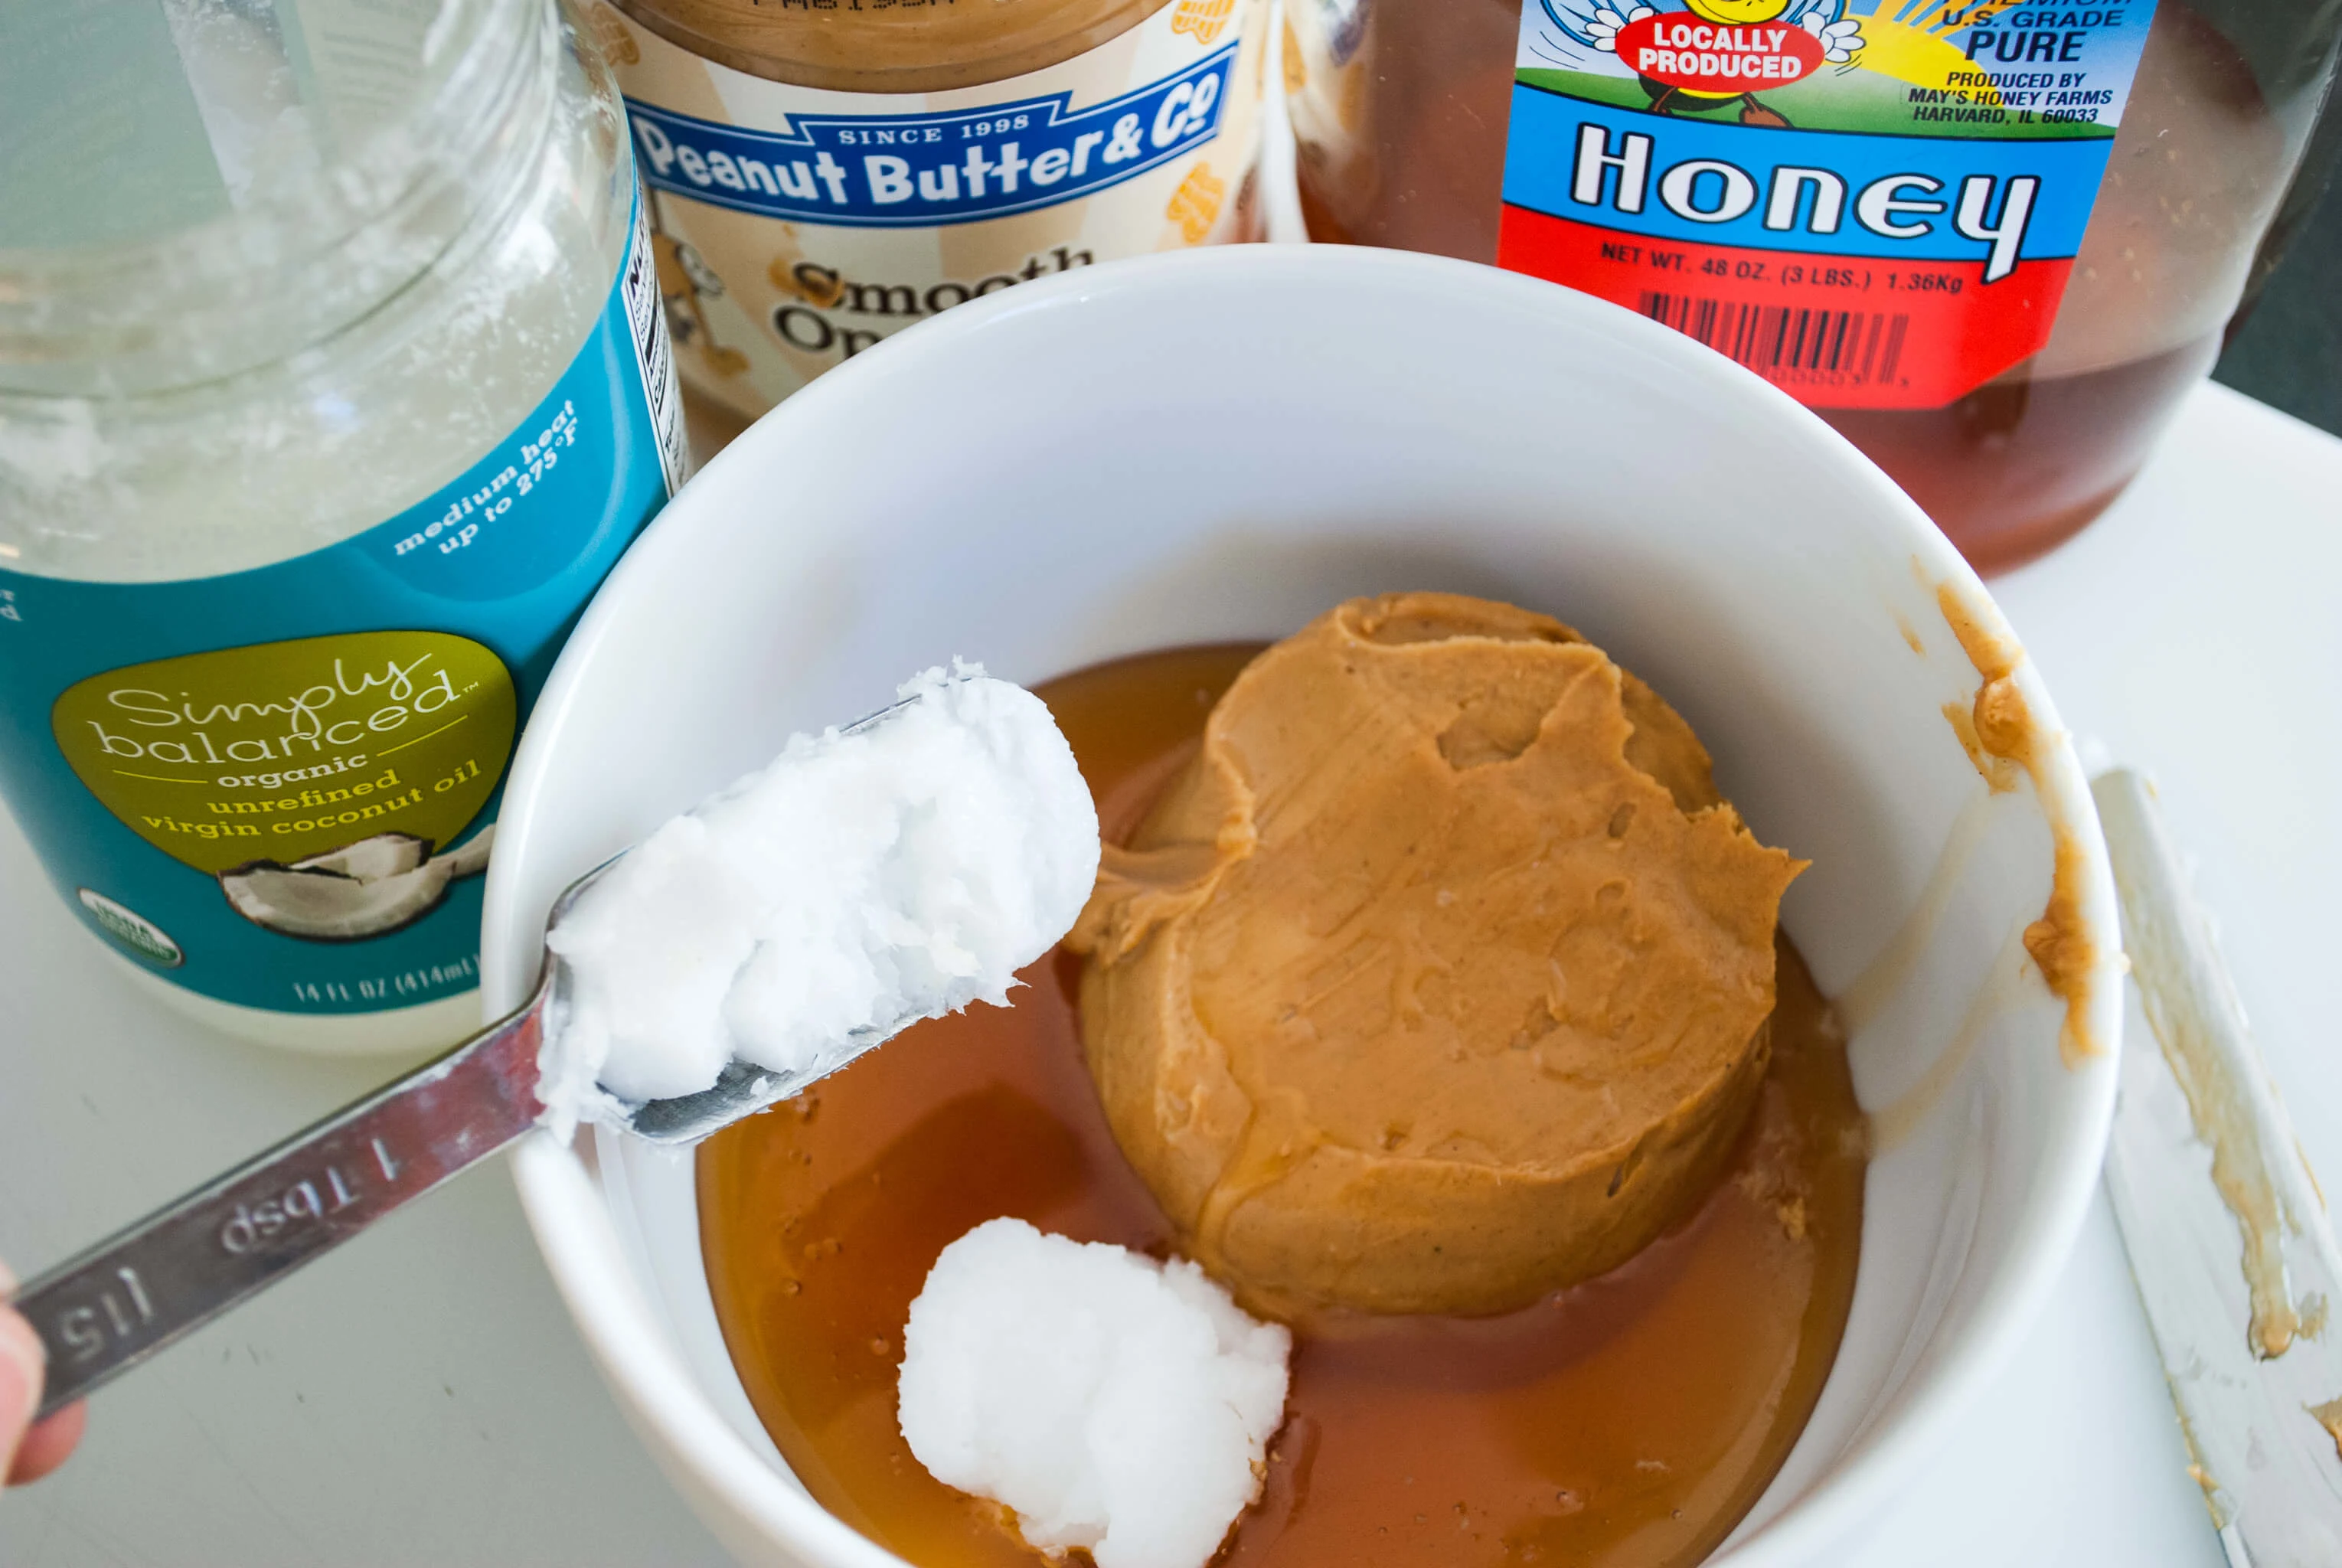
While it’s hardening, combine the peanut butter, honey, and coconut oil and whisk it together. You could use sunbutter here if you need to avoid peanuts.
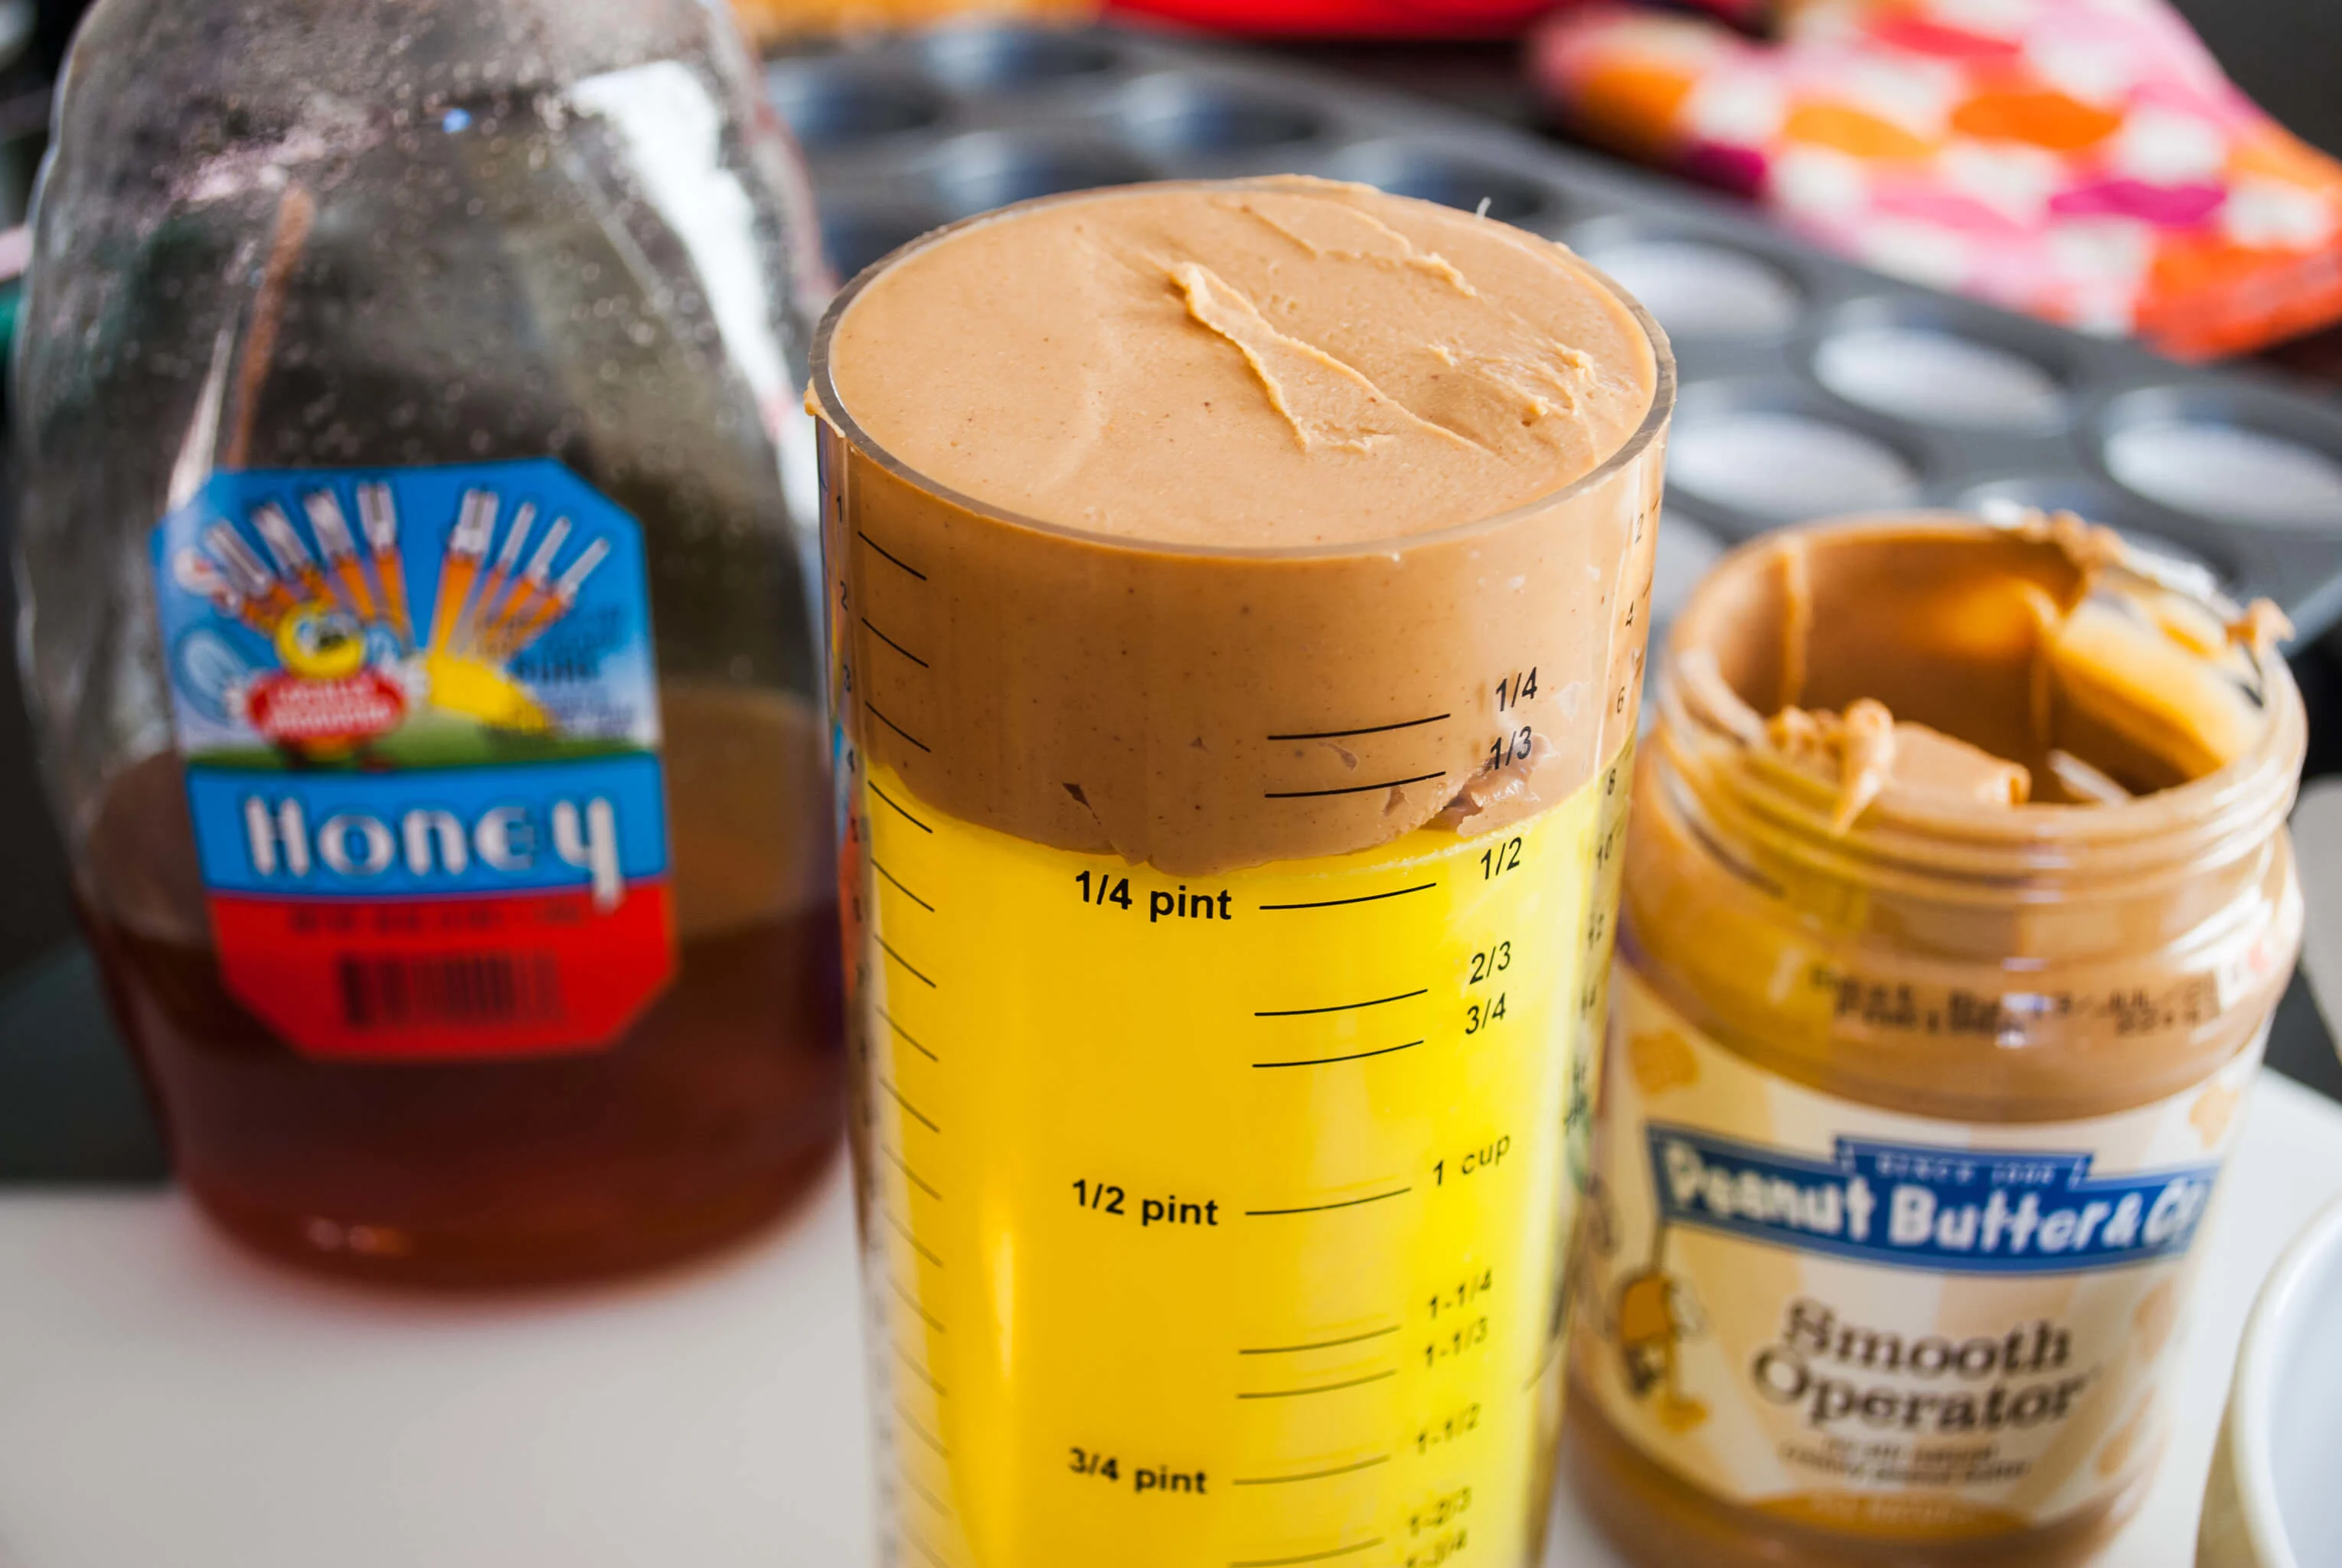
By the way, this adjustable measuring cup is the best for peanut butter and honey. Pops right out!
Melt a little bit on the stove to make it easy to work with.
Step 3: Melt dark chocolate and add layers
I melted the dark chocolate at the same time that I melted the peanut butter cups. They both fit right into a saucepan.
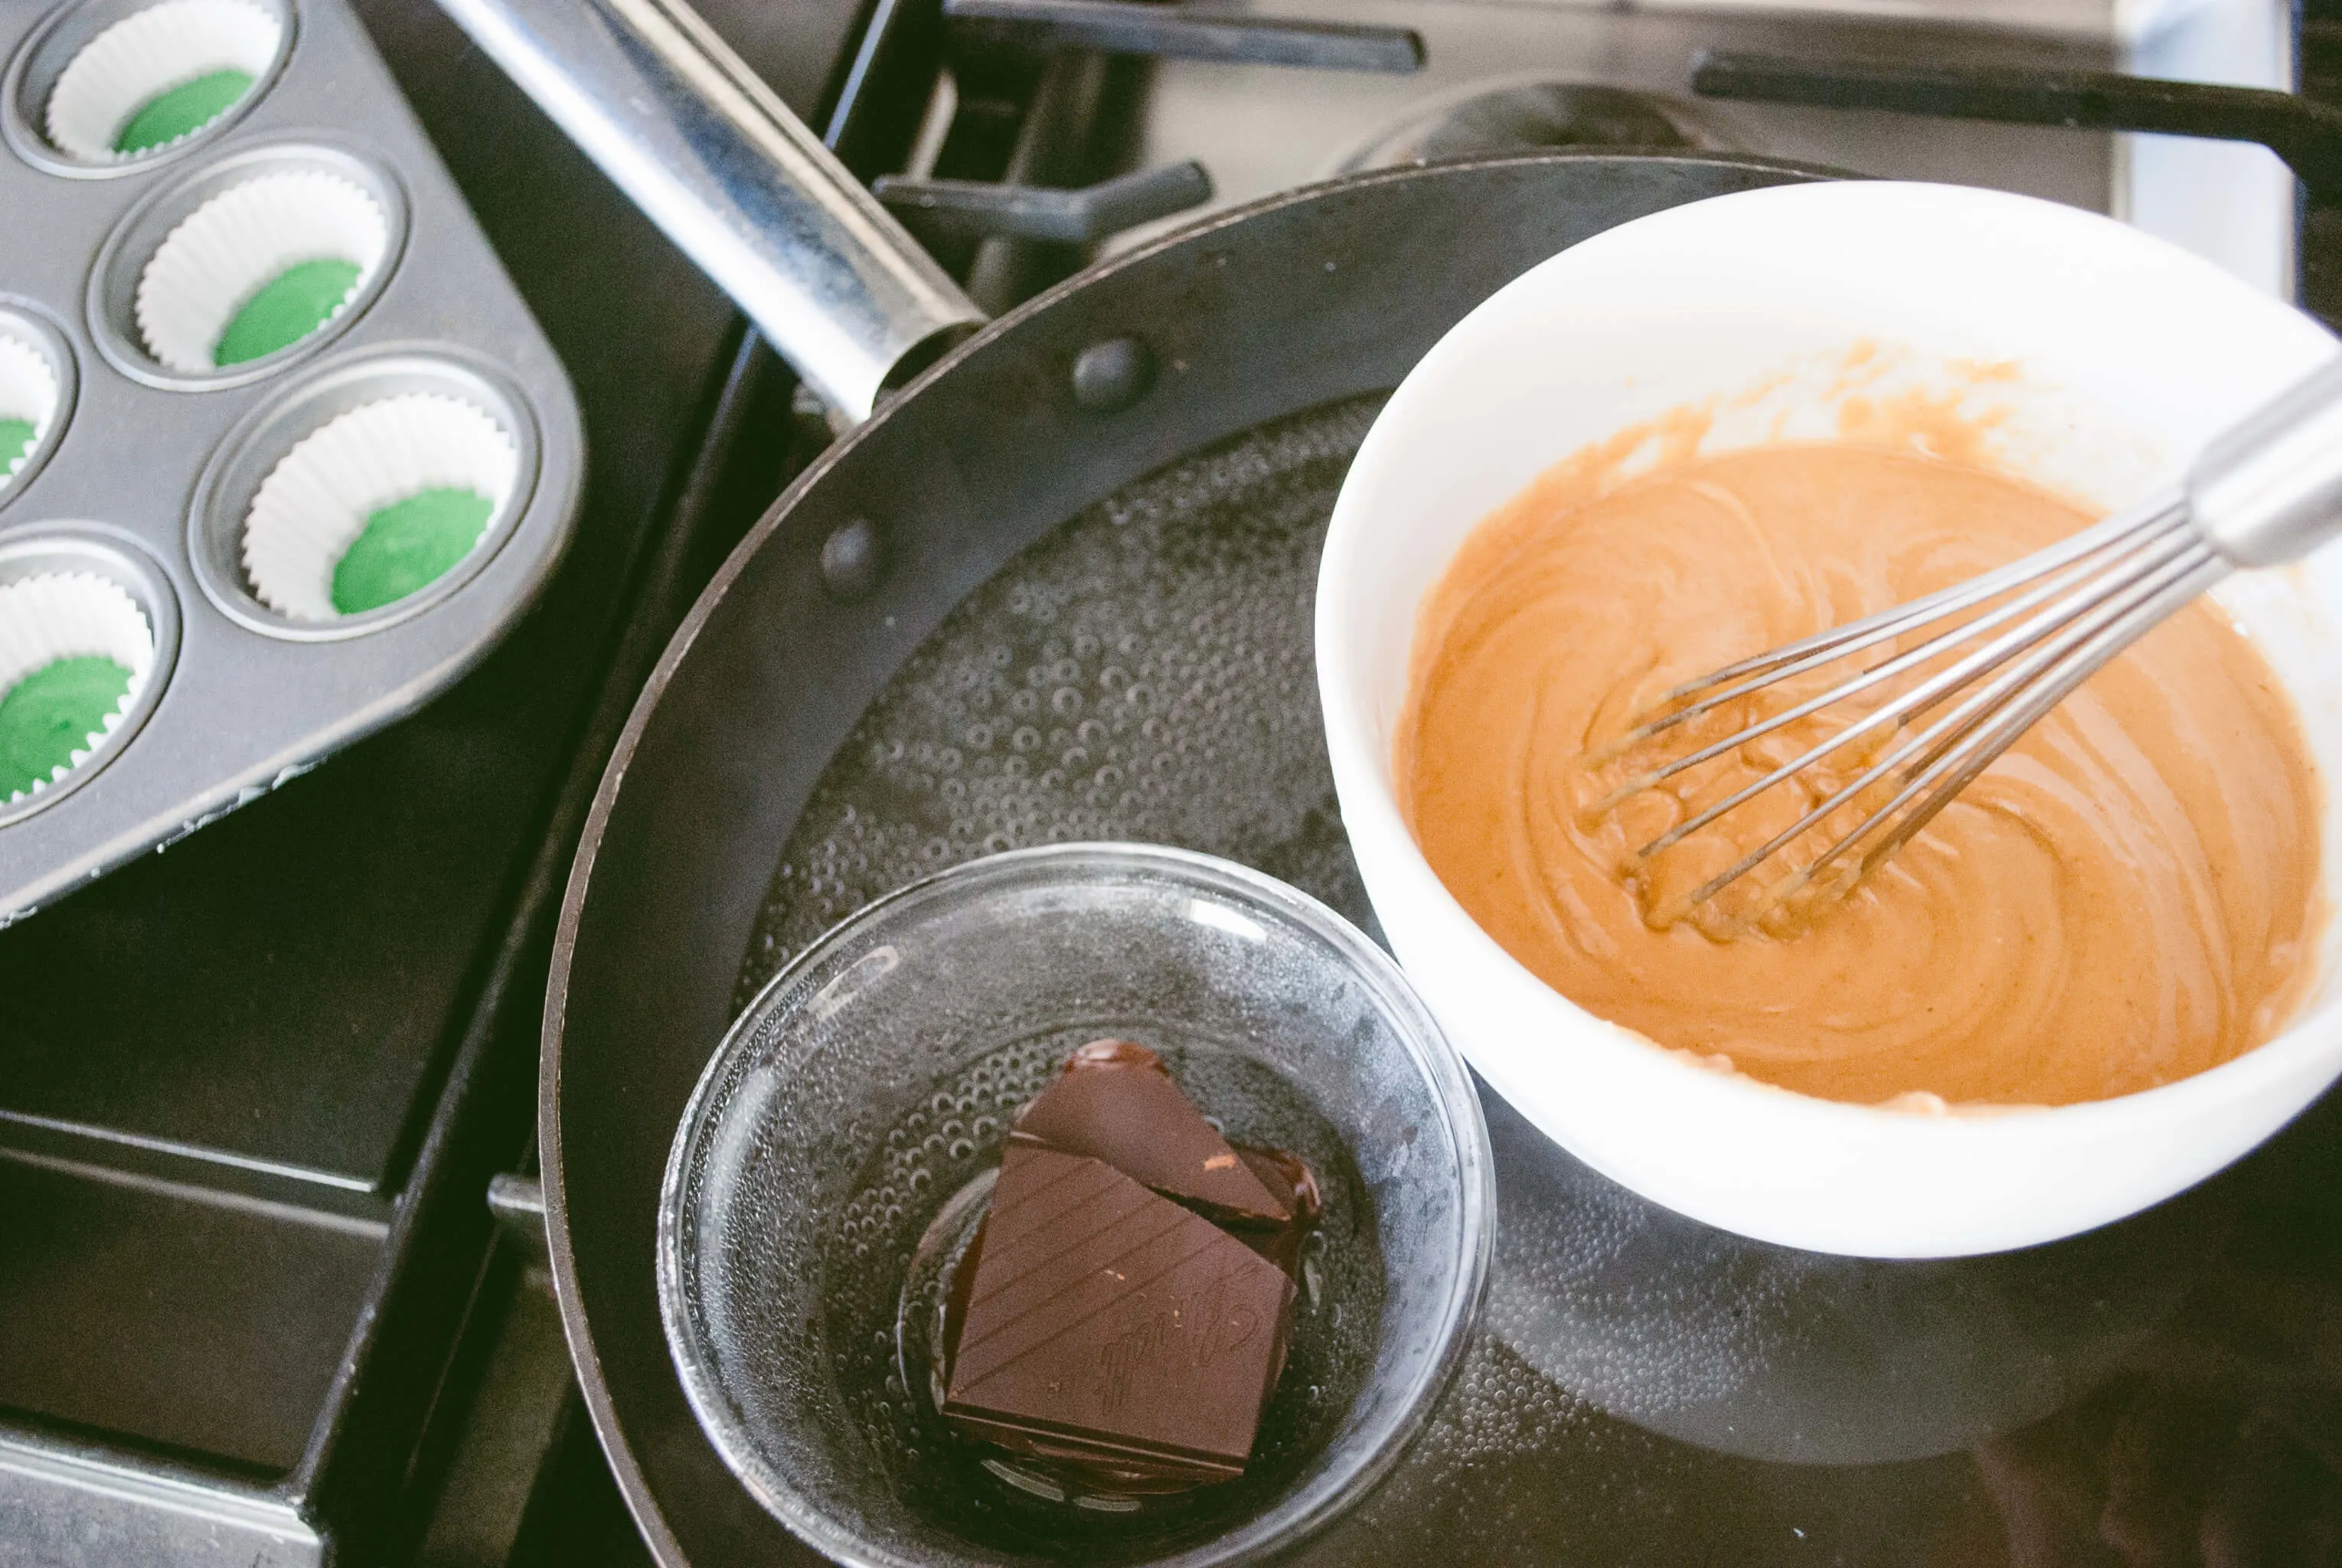
Add that optional dark chocolate layer on top of the green…
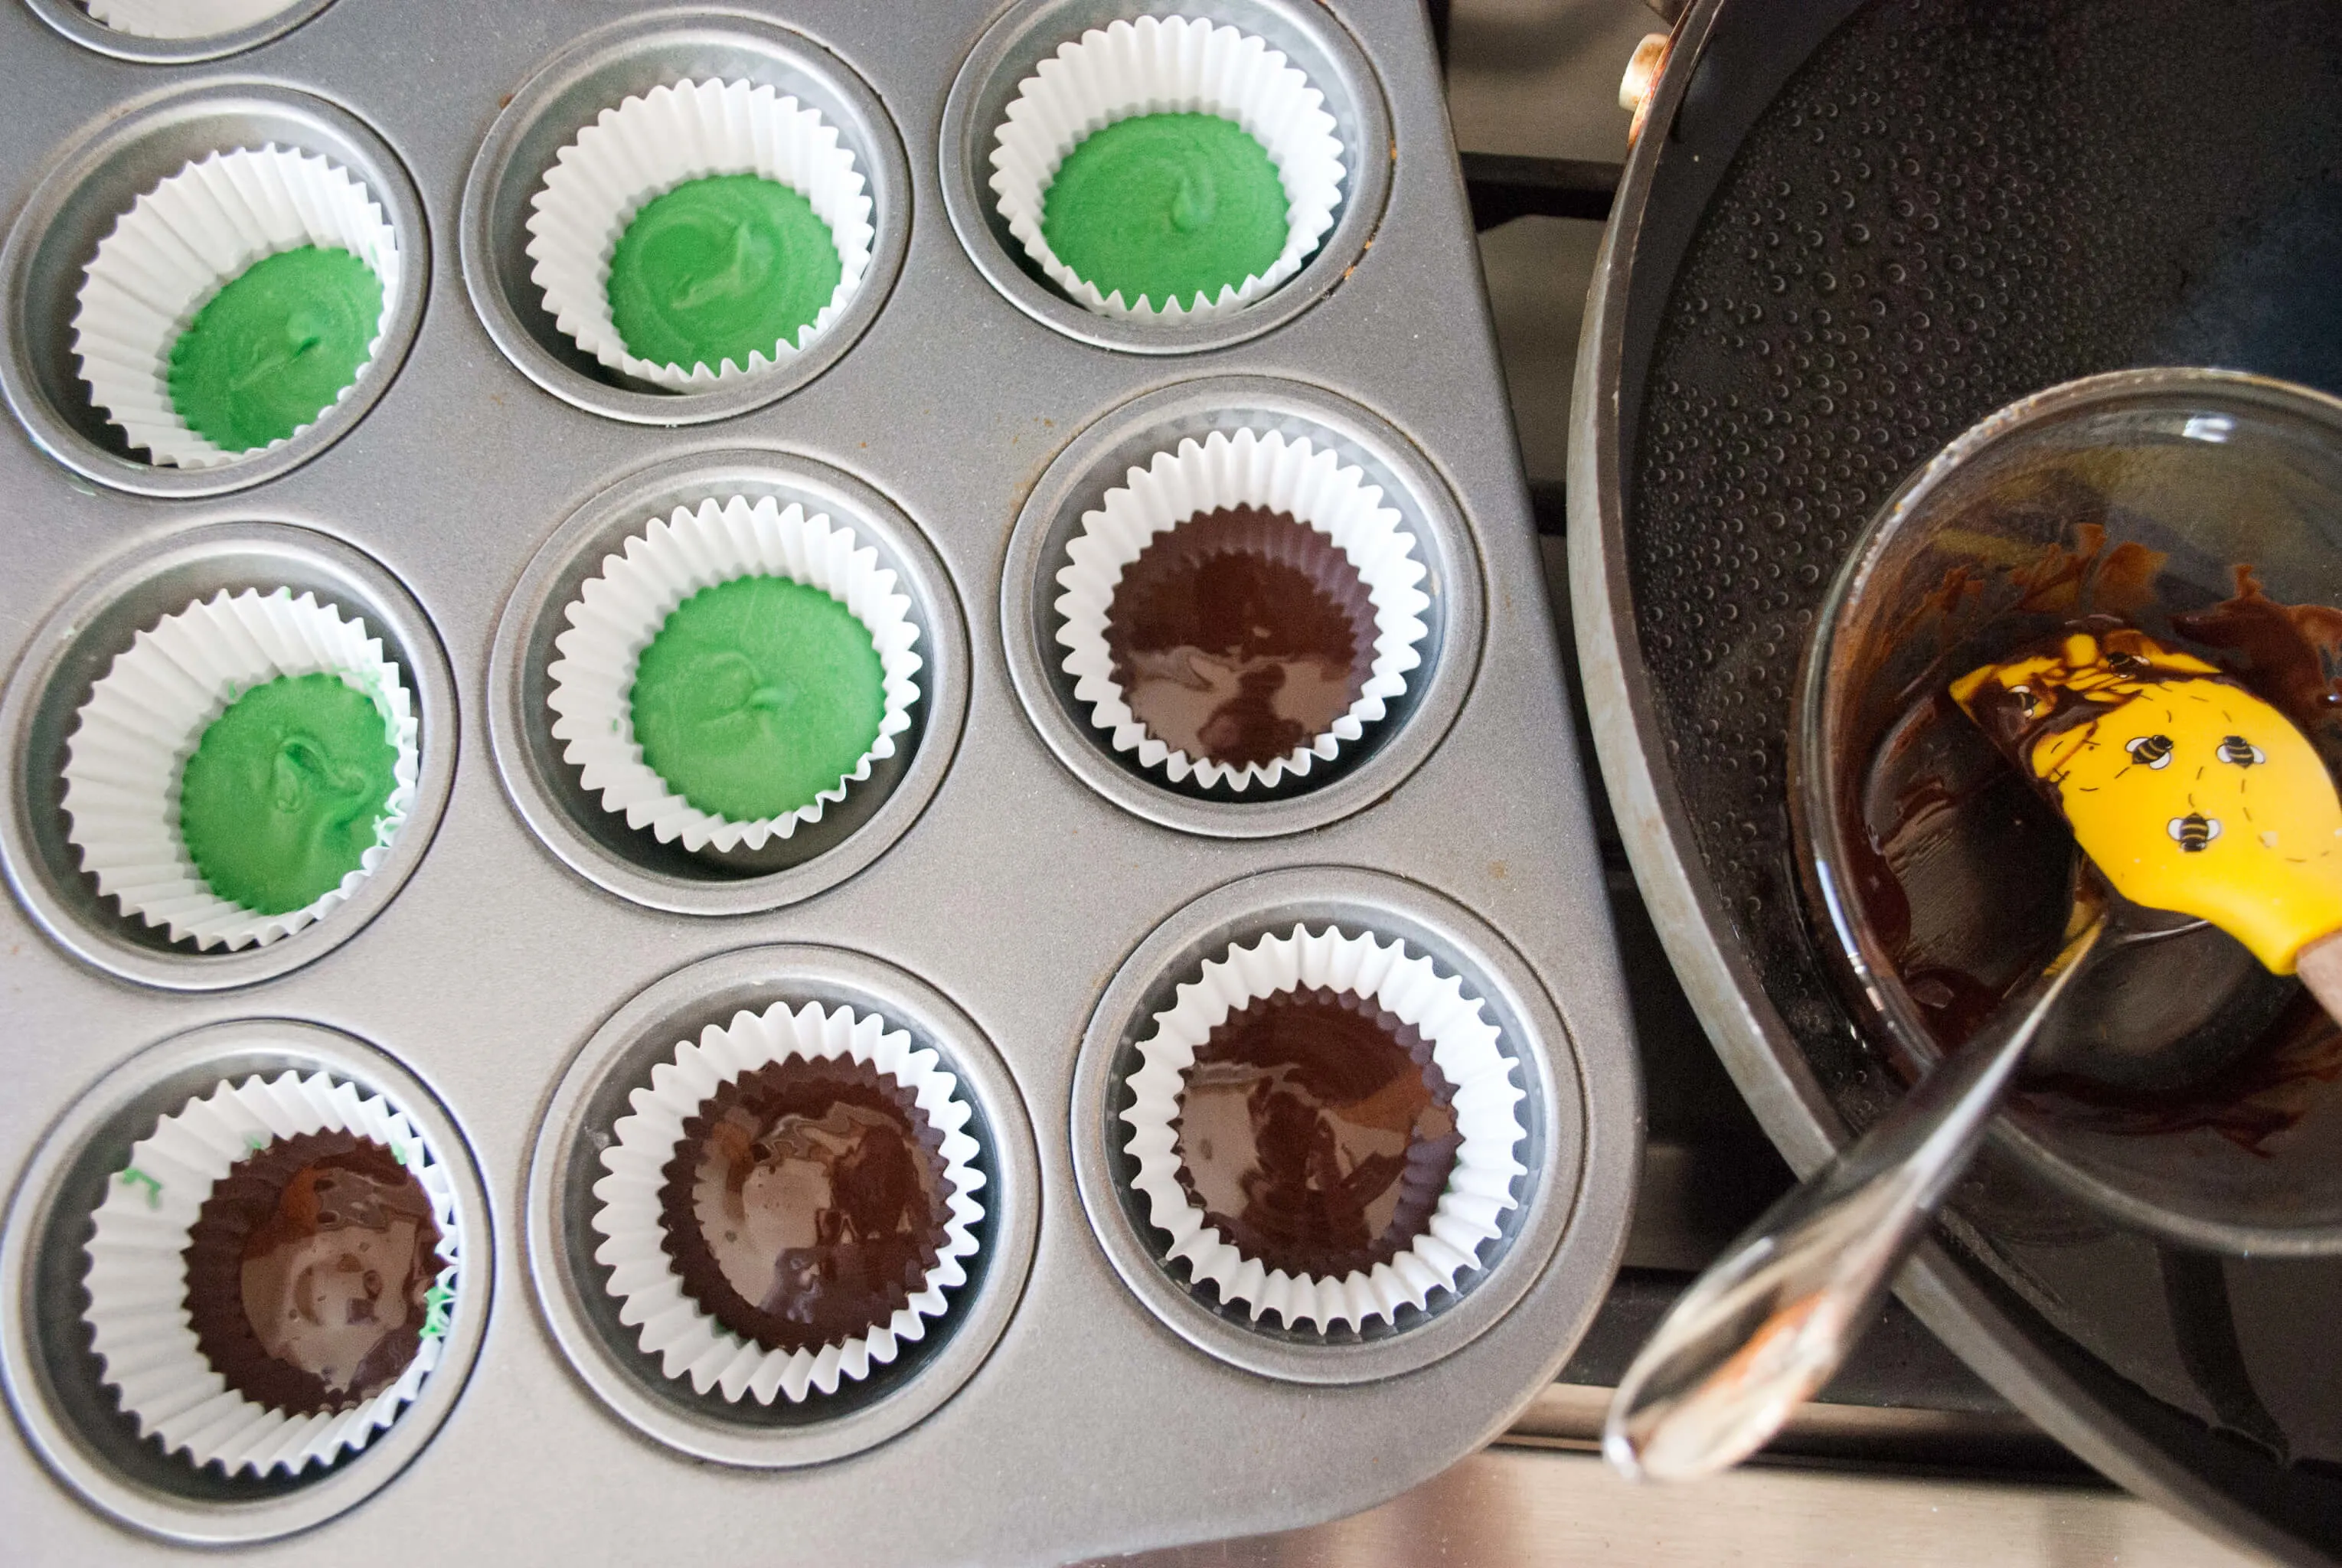
…or go straight to the peanut butter layer. We made some with dark chocolate, some without. Personally, I like it with the dark chocolate added but the kids liked it without. Pop in the freezer/fridge again.
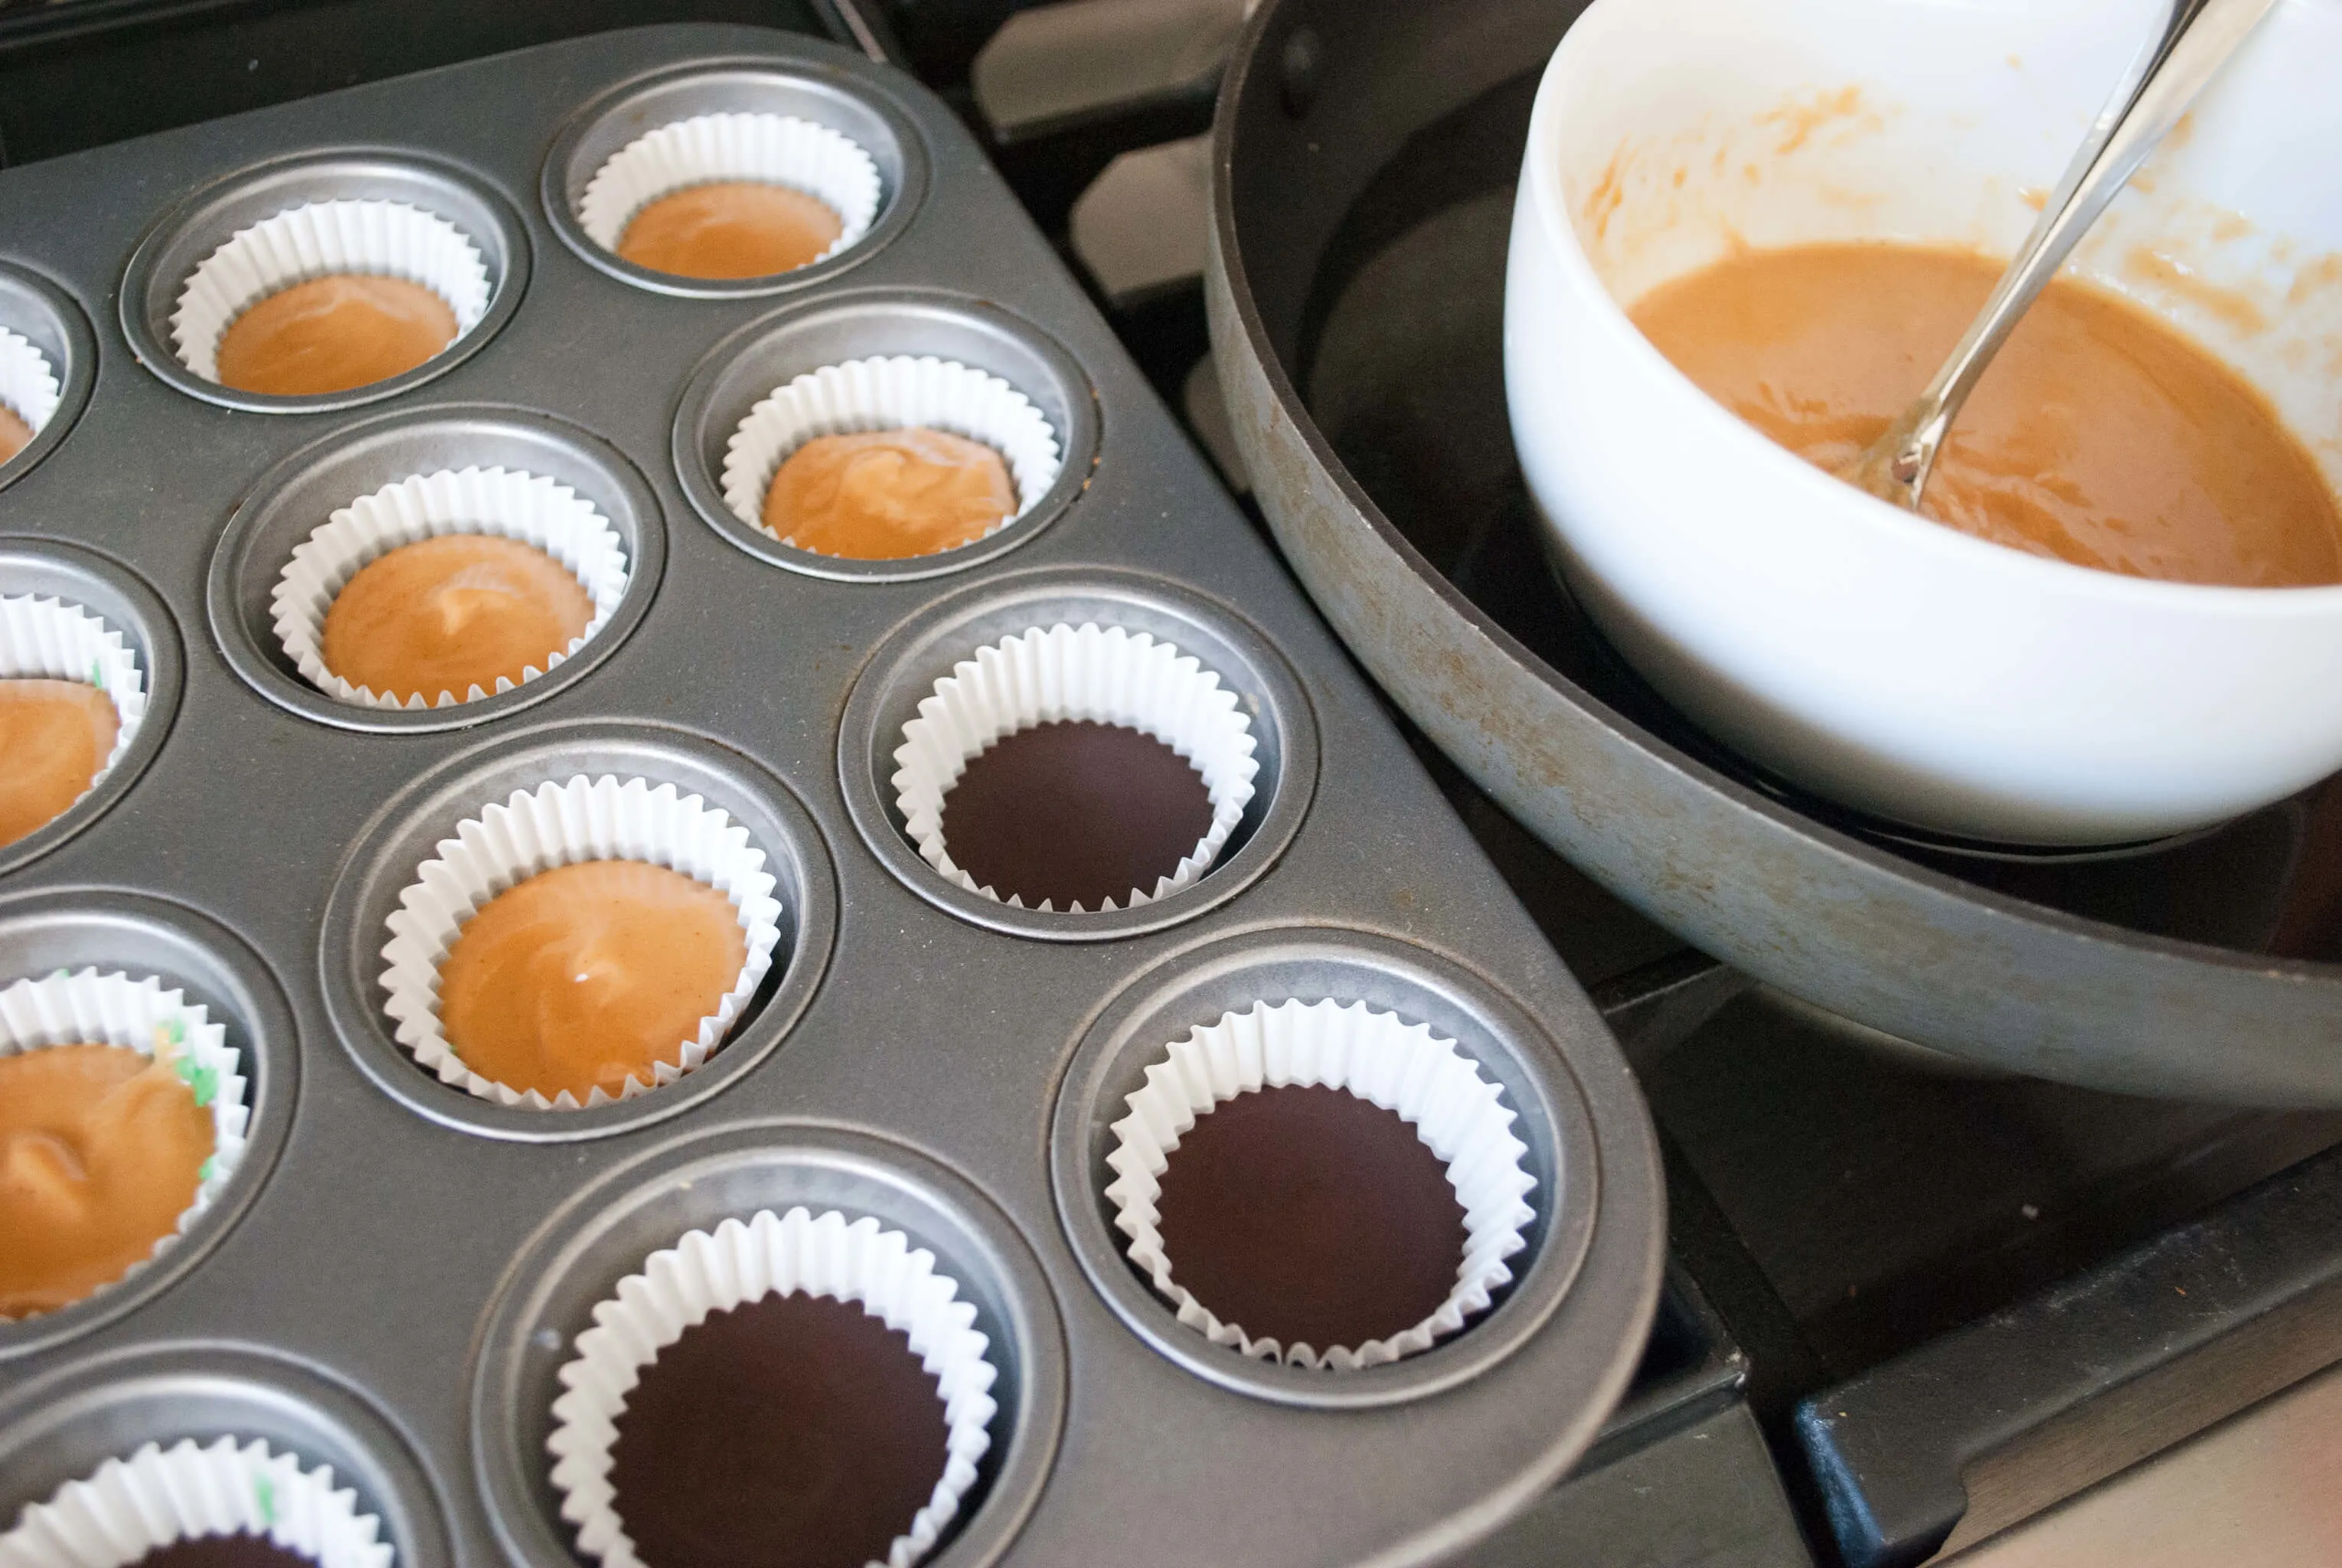
Step 4: Melt more green chocolate, add last layer to your peanut butter cups
Melt some more dark green candy melts and add to the top.

Step 5: Add fondant shamrocks (optional)
Let’s backup to those optional shamrocks on top. You could use micro clover cookie cutters for the shamrocks; I just rolled some shamrocks myself like Play Doh out of white fondant – the Fat Daddio’s brand tastes the best.
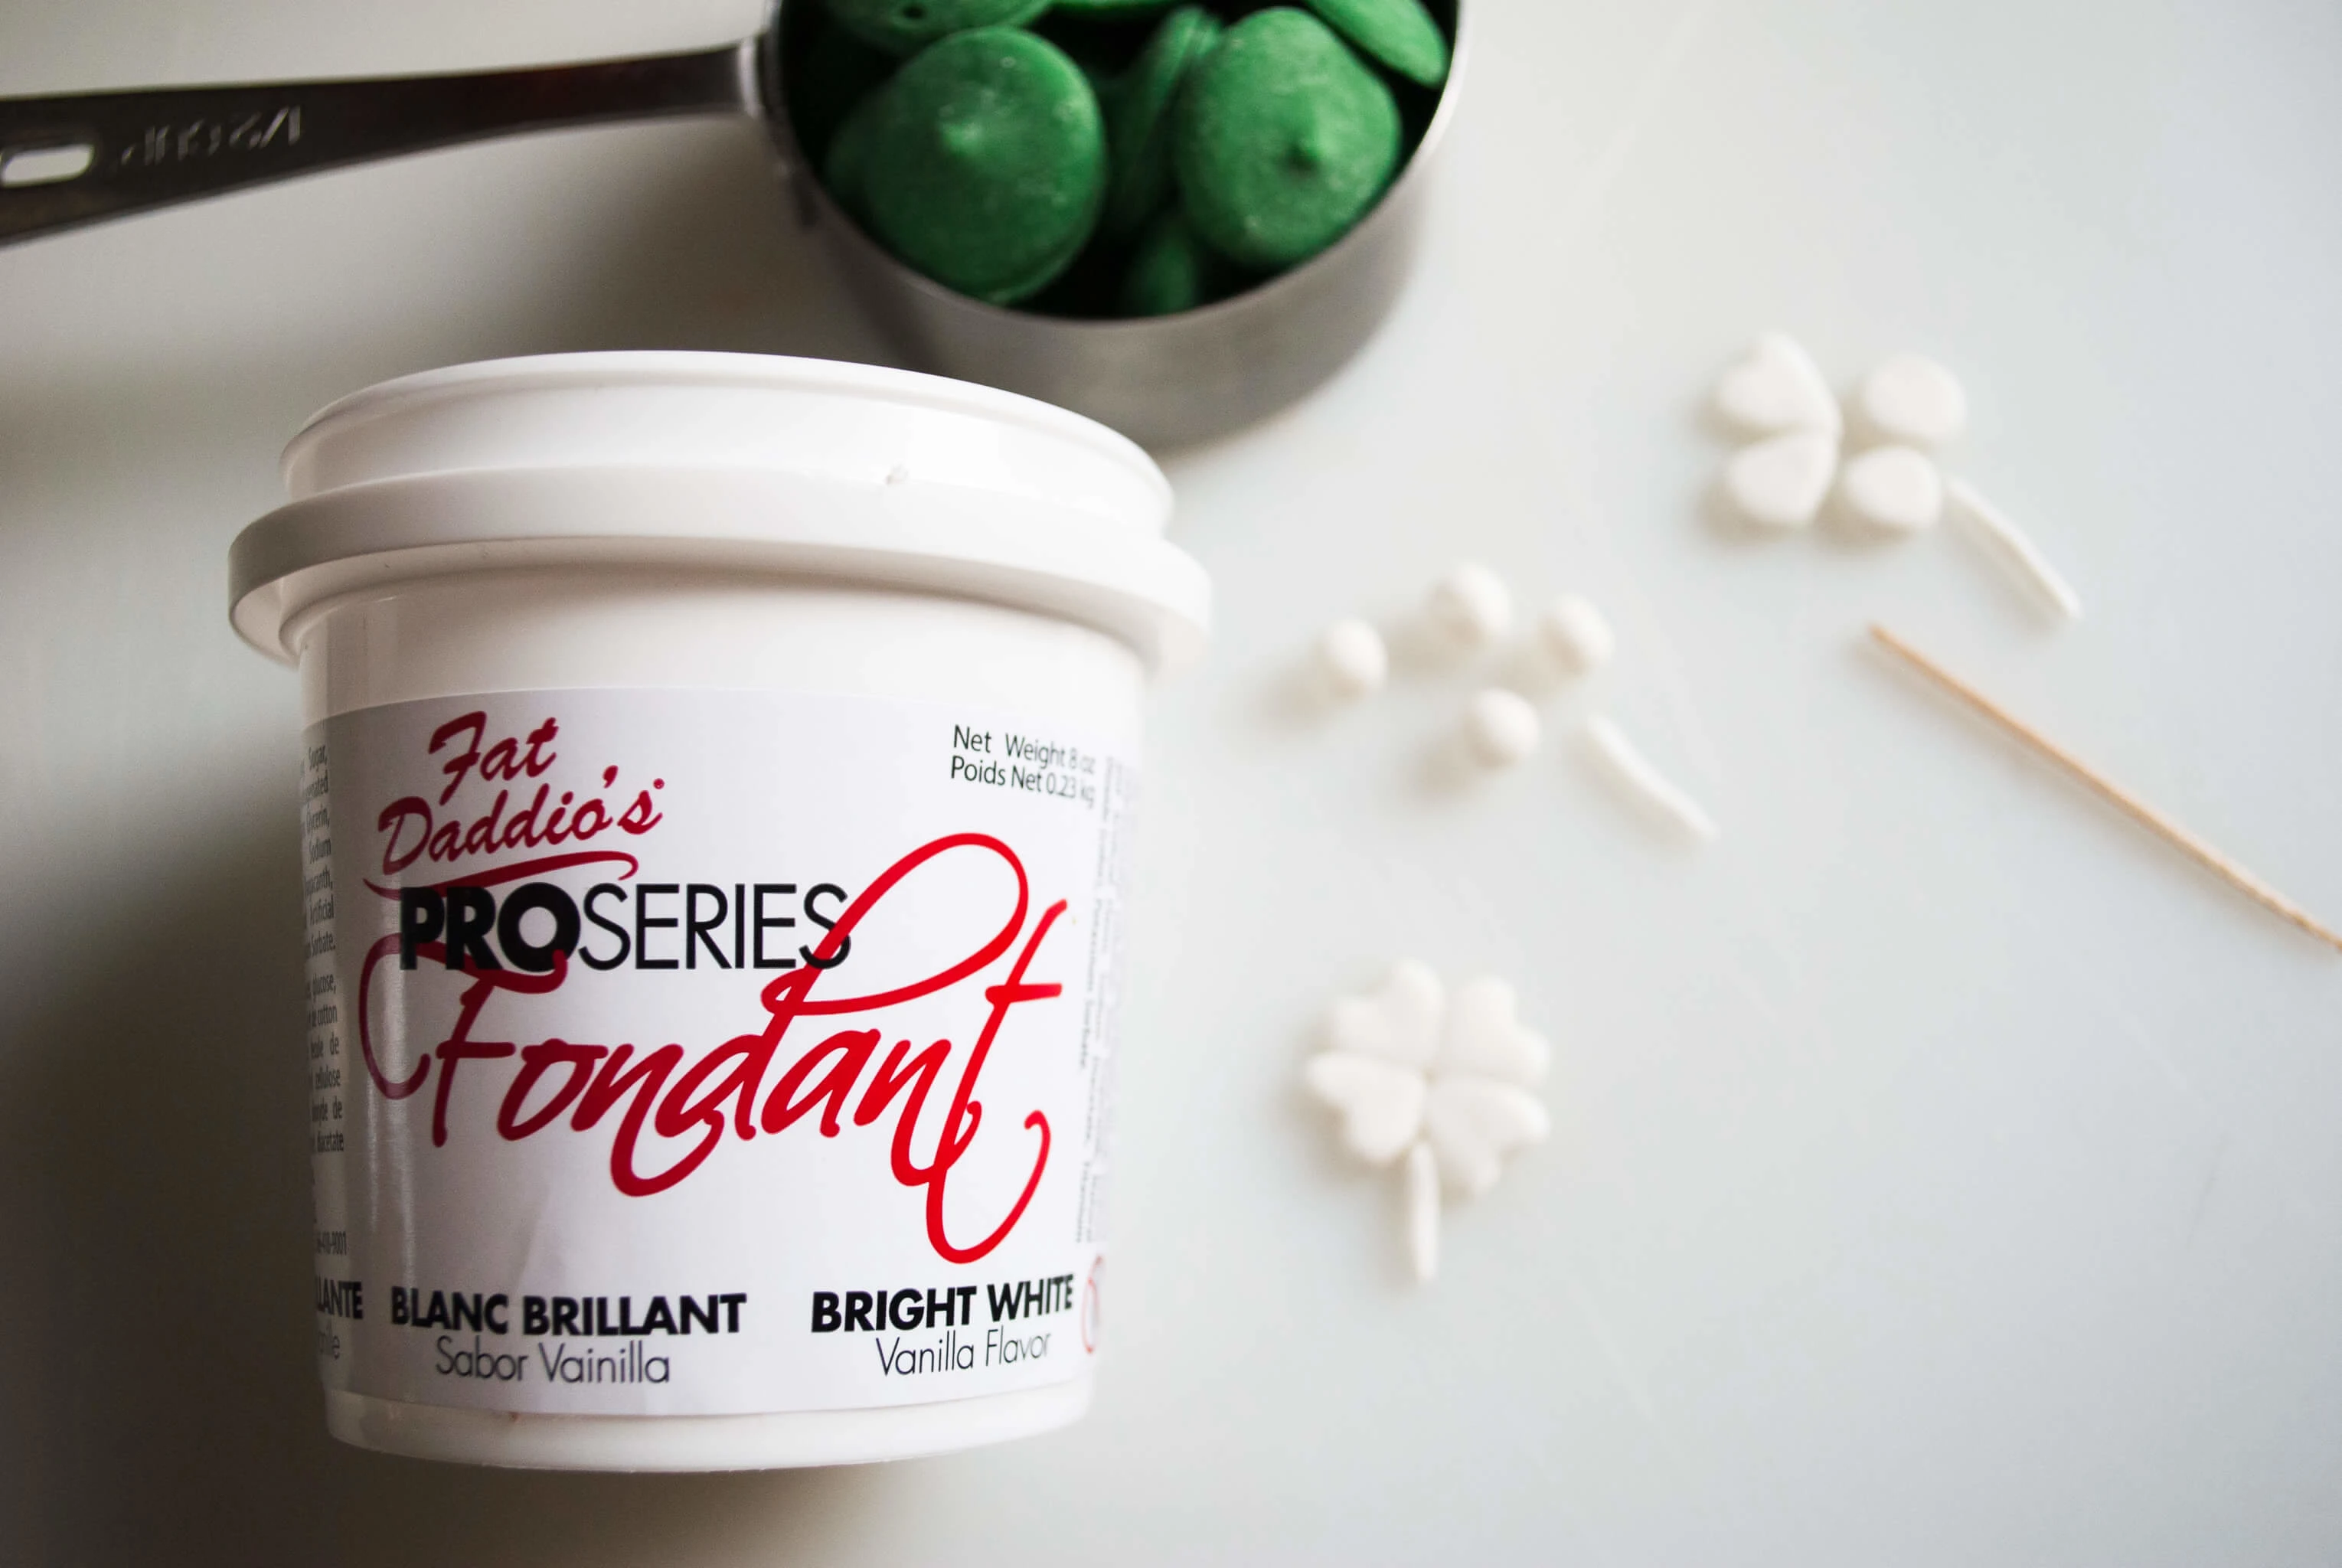
Roll four tiny balls, one for each lucky leaf.
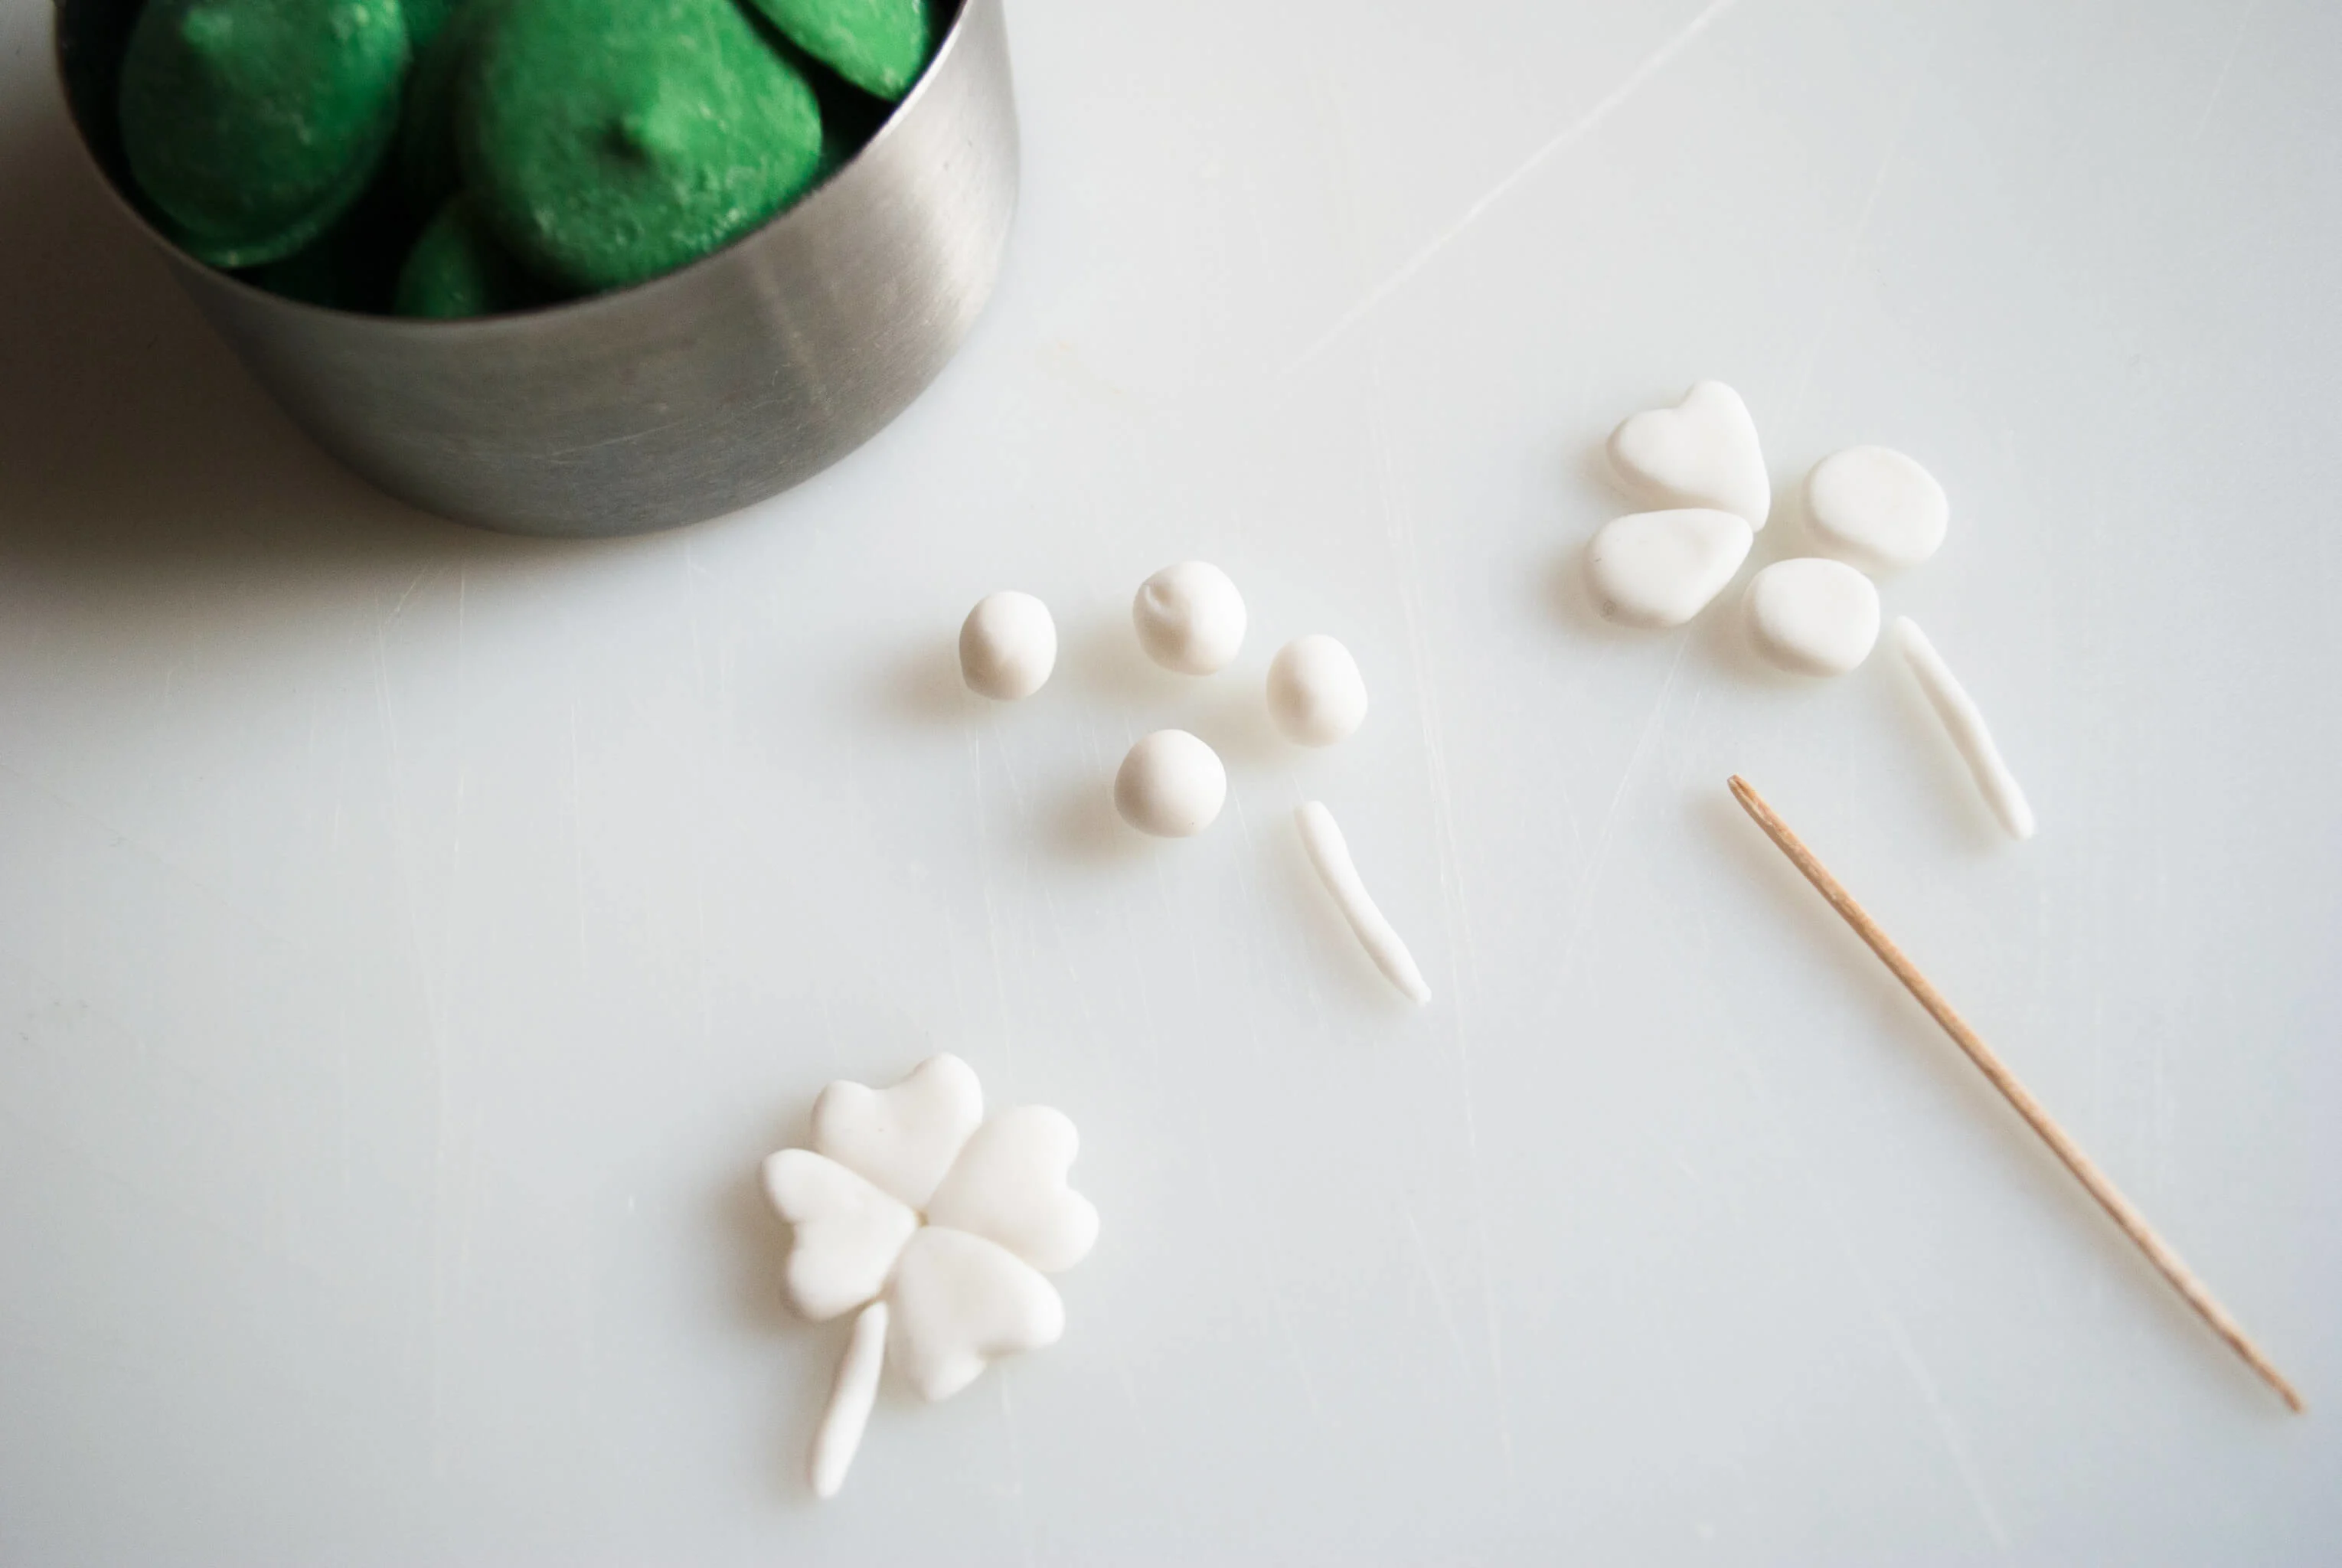
Then flatten and shape like Play Doh into tiny long hearts.
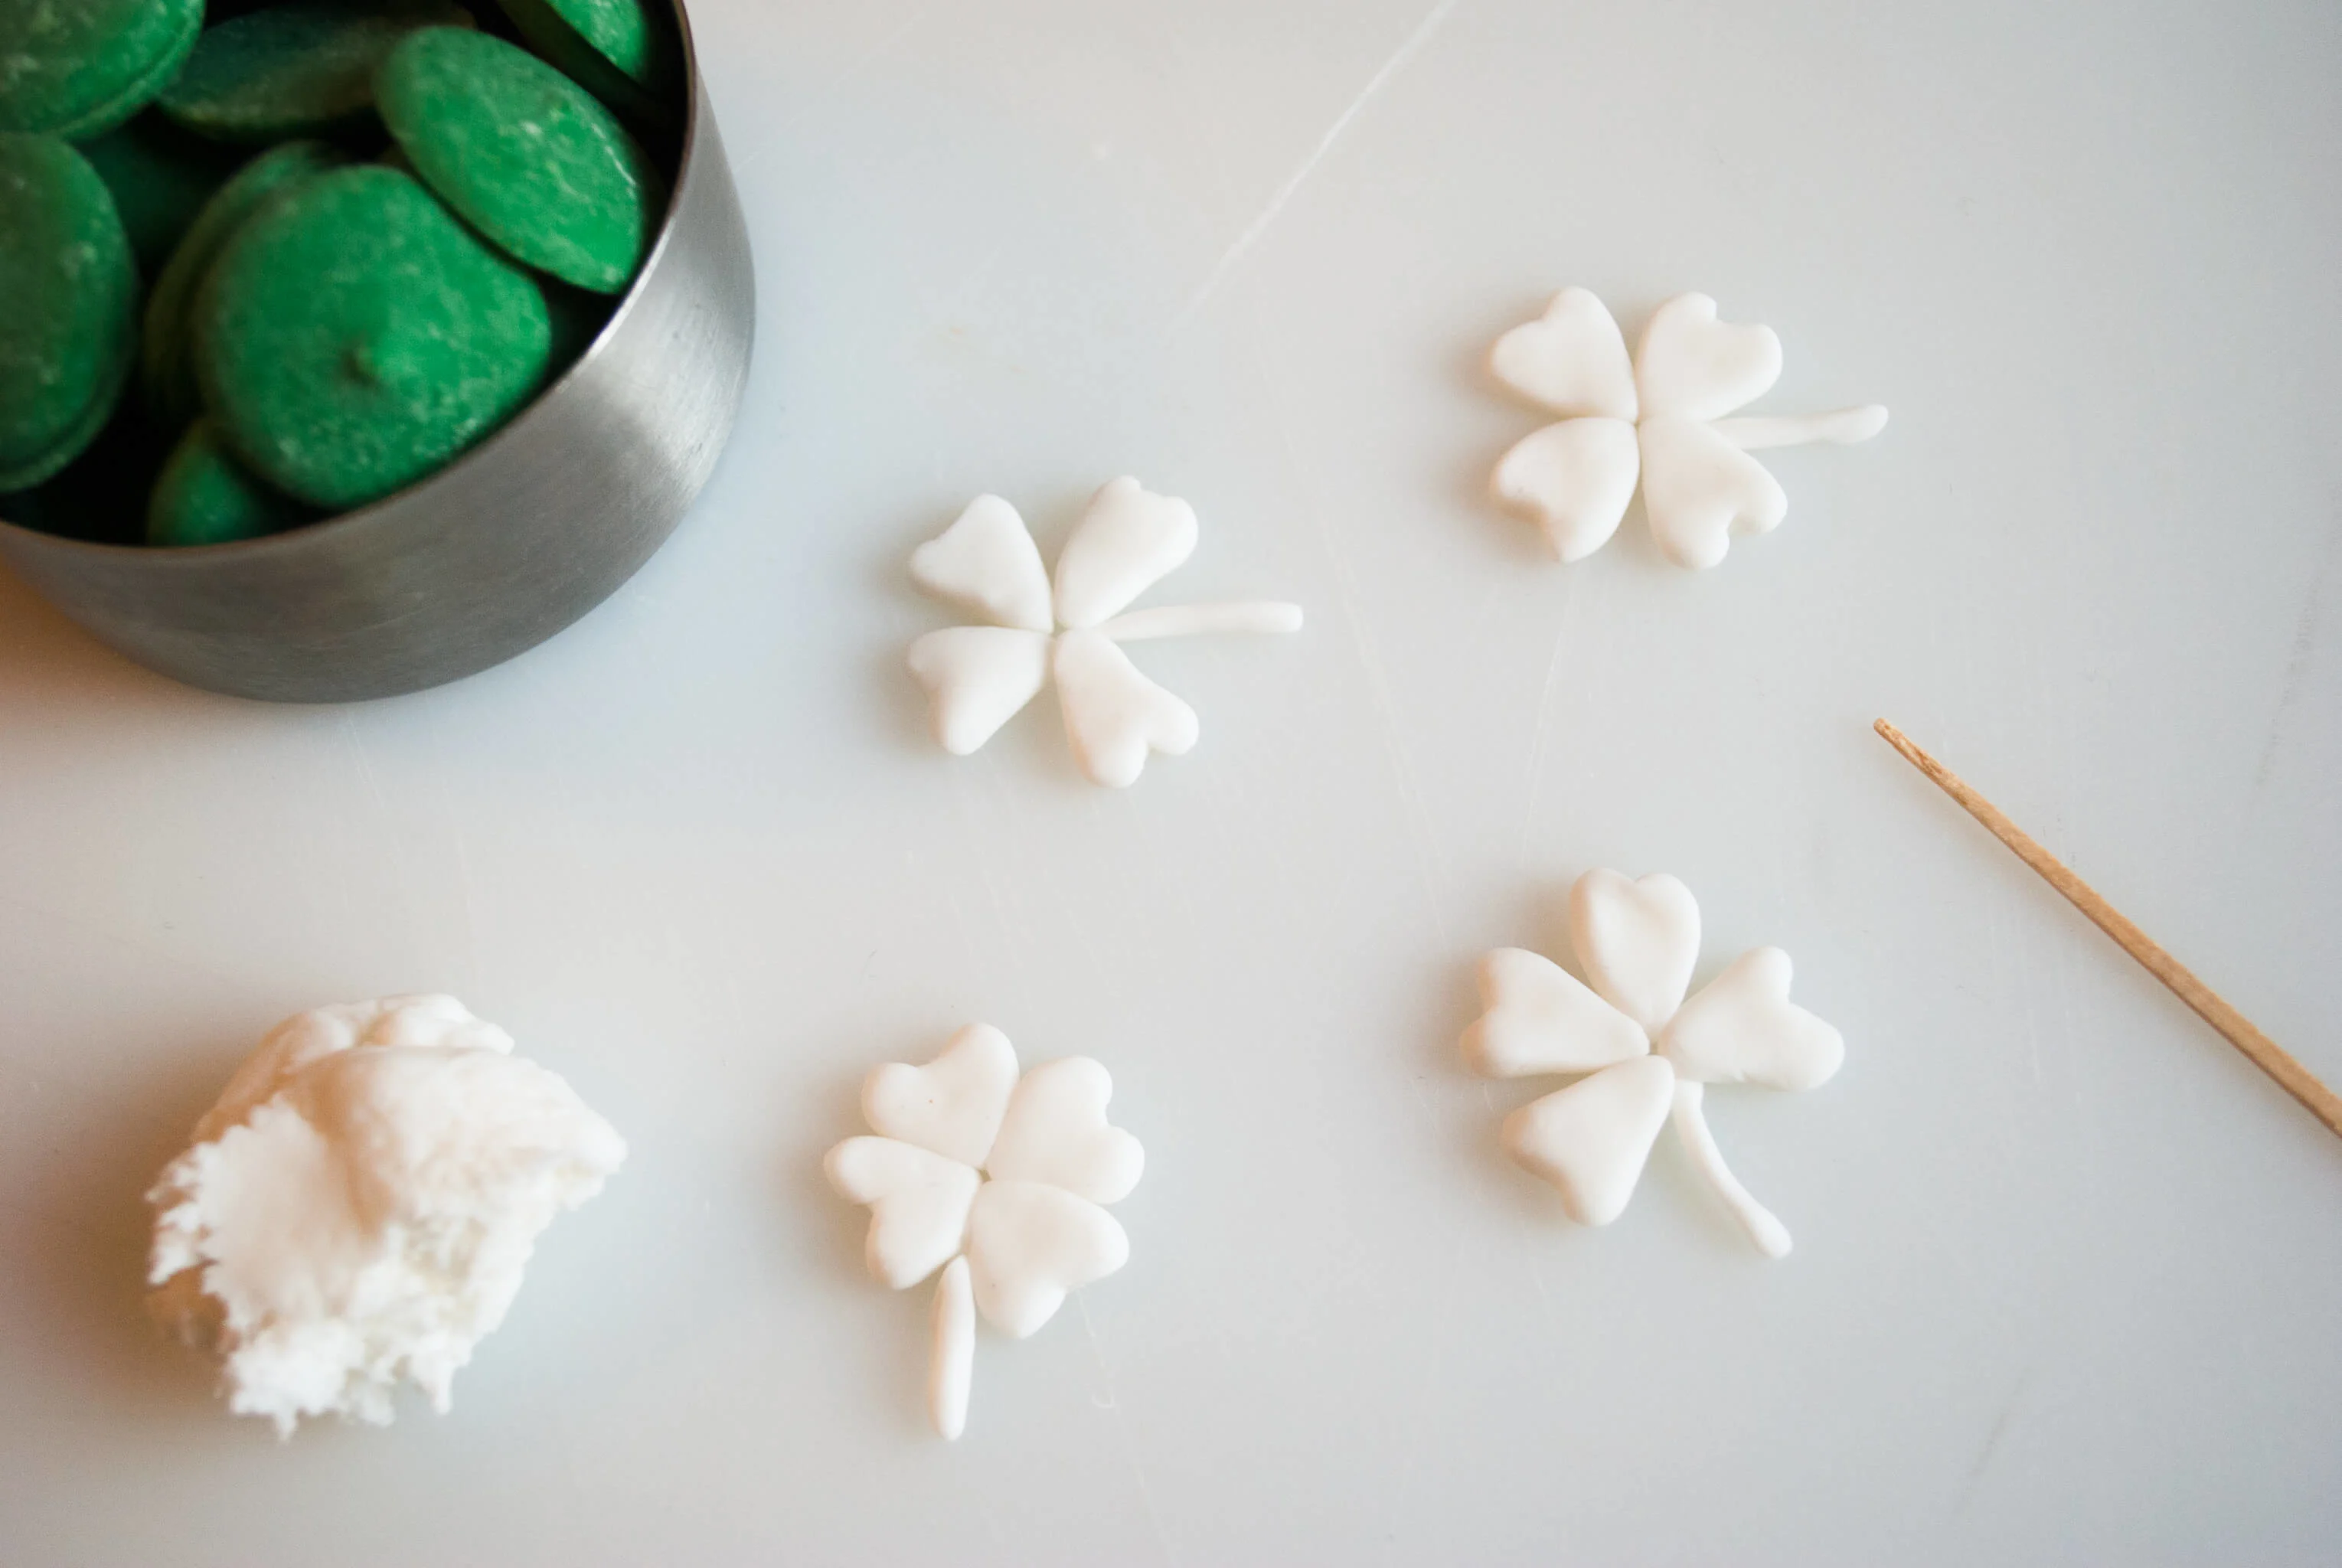
The kids got into this step.
We made our shamrocks the day before and they were fine.
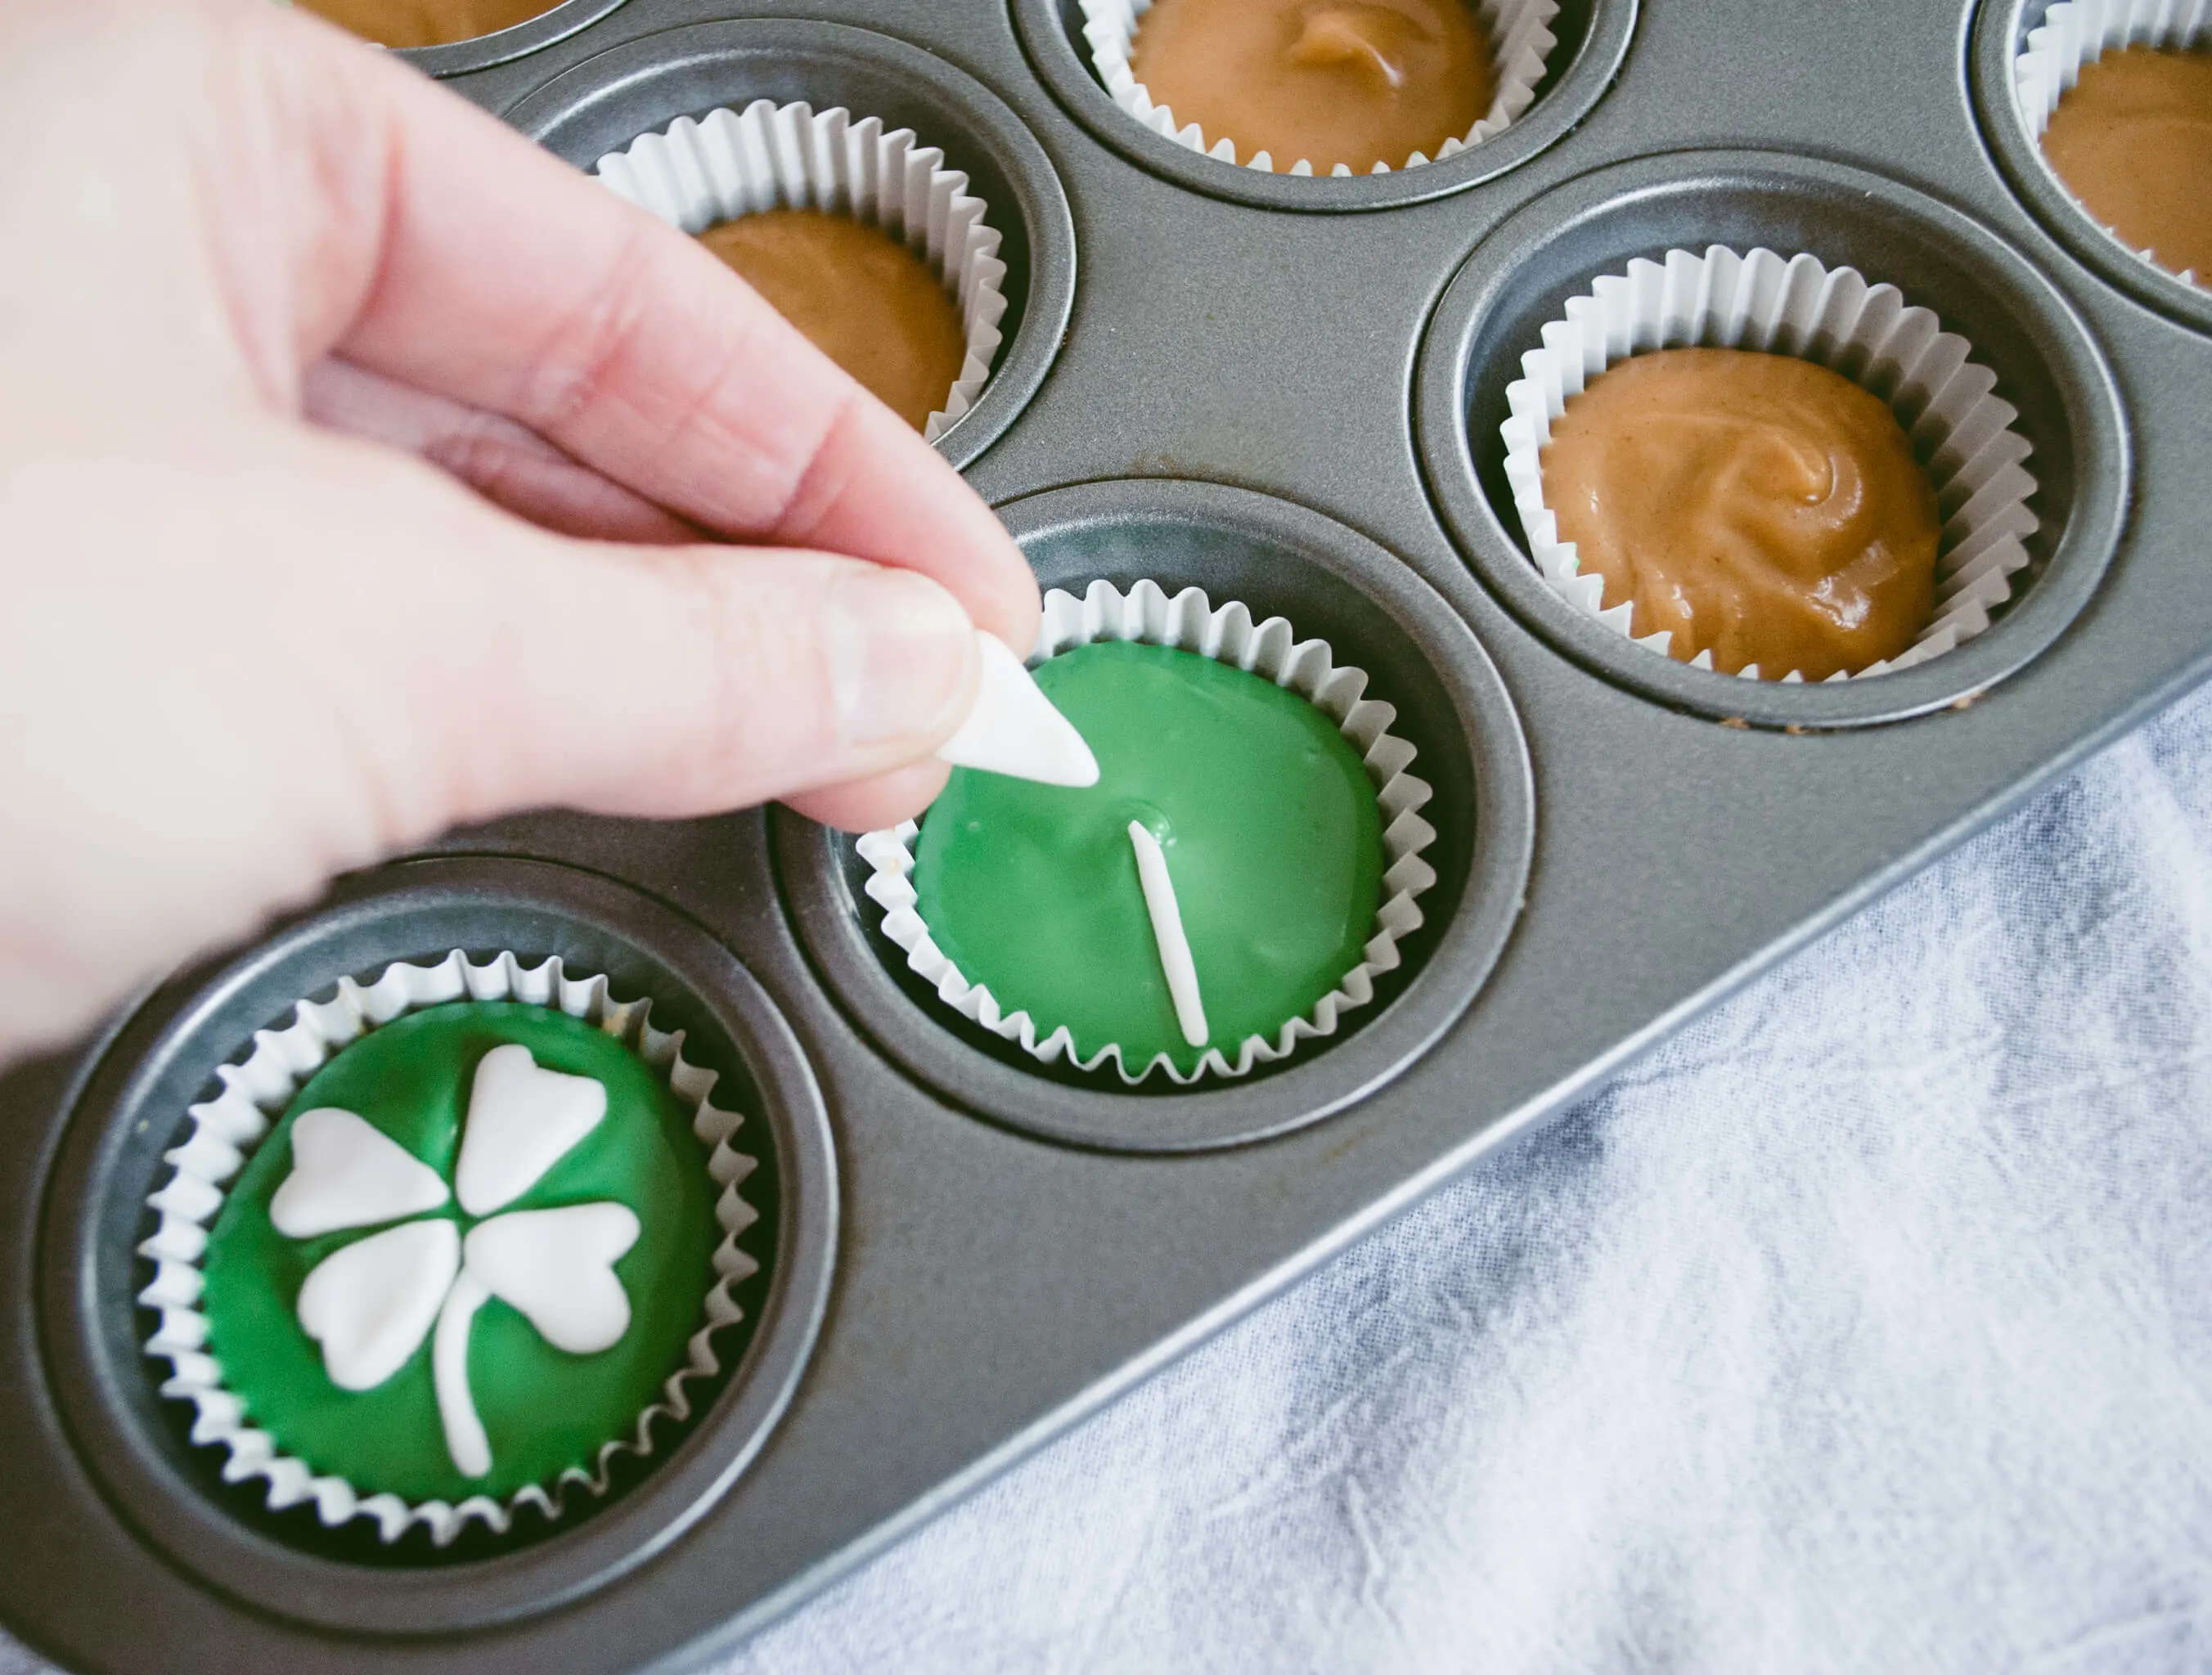
So back to that top green layer: add the shamrocks to the dark green chocolate before it hardens. I did two at a time to make sure the green didn’t harden before I was ready.
Chill again in the freezer/refrigerator until hard, 10 minutes. Peel off the papers and eat!
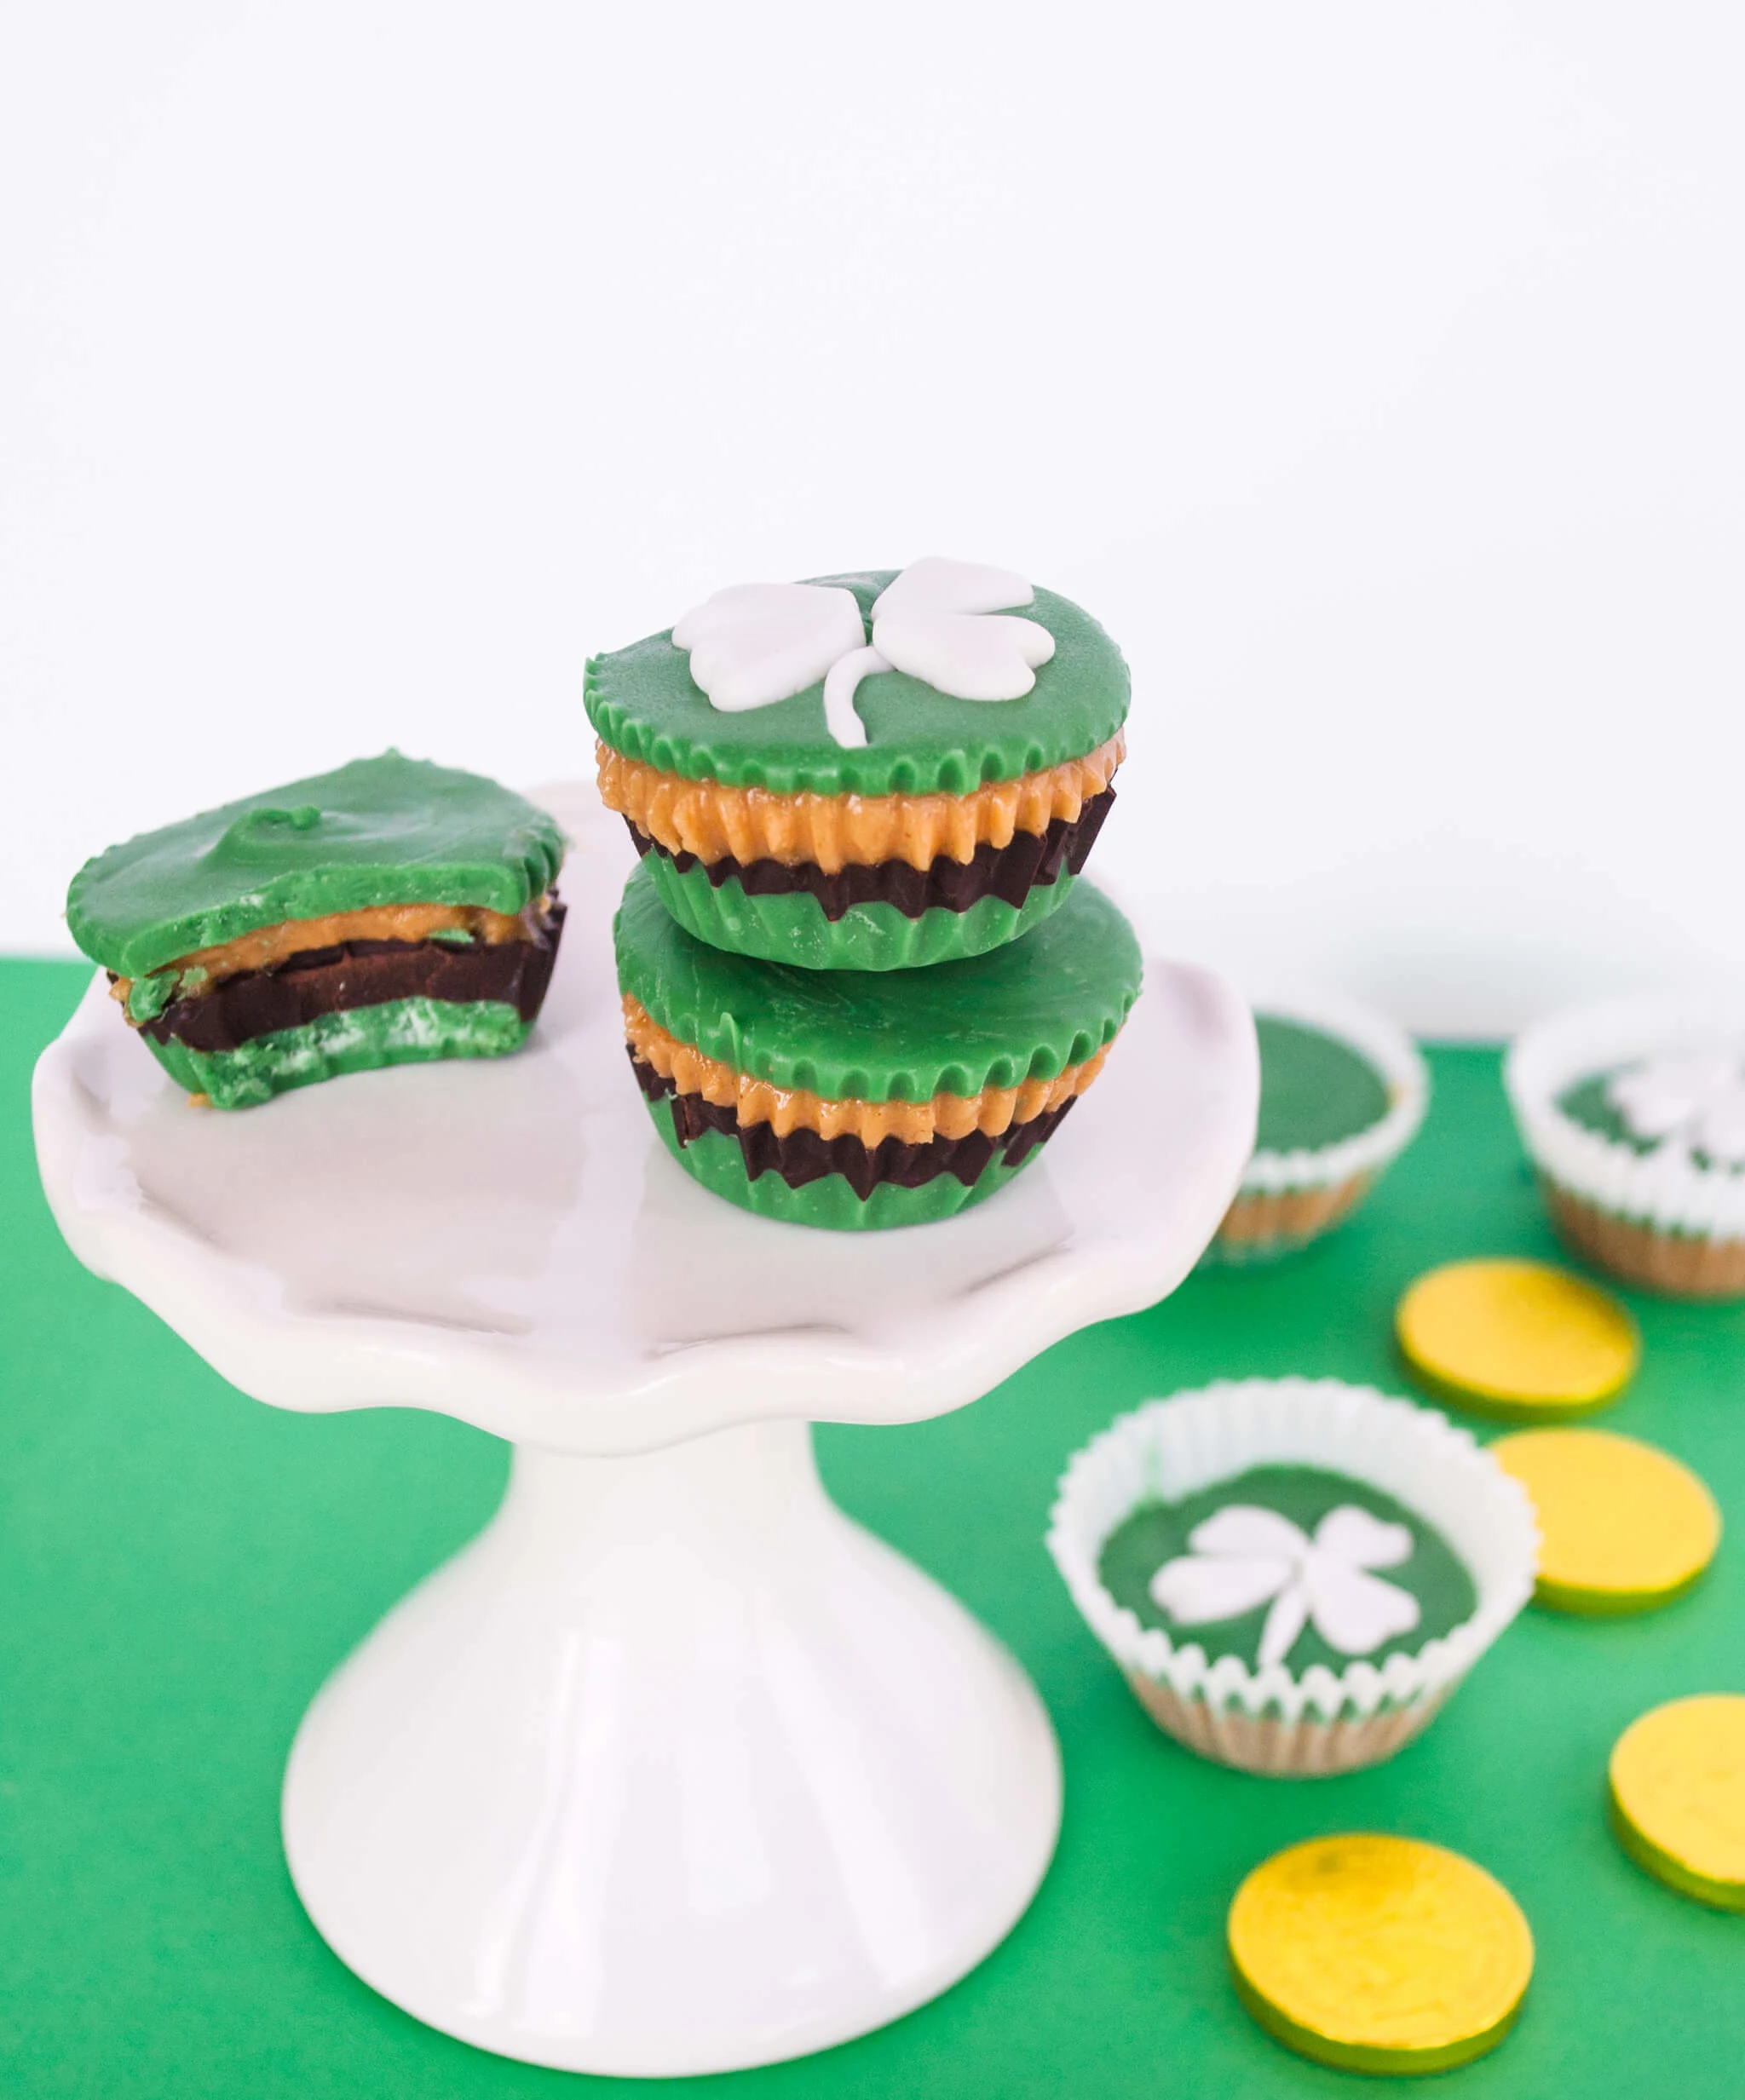

Pin this green chocolate peanut butter cups recipe for St. Patrick’s Day dessert!

++++++
Like it? Share it!
The nicest way to say you like it is to pin it on Pinterest, post a comment, follow Merriment Design on Facebook, Pinterest, Instagram or sign up for monthly emails. Enjoy! 🙂
Copyright stuff: You’re more than welcome to use my free project, printable templates, and tutorials for personal use. Contact me for commercial use and Etsy sales. Momma’s gotta pay the bills.
