

Today I’m sharing how to make an easy L quilt block that you can make using new fabric, fabric scraps, or even baby clothes. My modern take on a letter L alphabet quilt block combines two letter L’s together with a square in the middle. You can combine these L blocks in a bunch of different quilt patterns that I’ll show you below. Keep reading to see how to make your own double letter L quilt blocks.


How to make a modern letter L quilt block
My letter L quilt block is a modern and subtle way to include the letter L into a quilt pattern. Many years ago, I stashed a bag of Liam’s baby clothes into the abyss of my craft closet with plans of making him a memory quilt someday. Nothing like 2020 to motivate me to finally pull out the bag and come up with a quilt pattern for him. I’ve made simple memory t-shirt quilts before with straight squares, but I wanted Liam’s memory quilt to feel more modern and less “baby clothes quilt” you know what I mean? I sketched out several potential quilt blocks and came up with the idea of two letter L’s combined into one block with a center square. I think it features the fabric while creating a simple, modern square that you can combine into a bunch of geometric quilt patterns.
See also: ‘How to sew bias tape with mitered corners’ »


Some simple L-block quilt patterns to sew
I want to show you some ideas for how to combine your stack of L-shaped blocks. These are just a handful of the many ways to combine letter L-blocks into a simple quilt pattern. First up: my modern L-block quilt pattern with one stripe that I’m making for Liam out of his baby clothes. It’s a very large throw size …it’s almost a twin-sized quilt.


Here’s Liam’s sewn L-quilt top so far. Yeah, it was super windy and this was the best shot that Elise could get of me holding it up in the snow. Now I just need to add the back and quilt it up!


Got some extra blocks? Just add them onto the middle row in a symmetrical pattern. I’m showing six additional blocks on the sides of the original stripe for this simple geometric quilt pattern.


Or you could sew a quilt that’s completely filled with L-blocks. I like the idea of using two colors for a modern and geometric quilt pattern. I alternated the colors and L shapes. Isn’t it pretty?


Or if you want to make fewer L-blocks, you could strip this design down to make one double stripe down the side of the quilt. Again, using two colors give this easy quilt pattern a modern feel. It feels a little bit like a Greek key pattern to me. Anyway, as you see, there are lots of ways to combine my double letter L-blocks into a geometric quilt pattern. Keep reading to see how to sew your own L-quilt blocks.


Merriment Design is supported by readers like you. If you buy products that I recommend, I may earn an affiliate commission at no additional cost to you. Thanks – your clicks help me make more free DIYs!


Supplies for making double letter L quilt blocks:
- Kathy’s free L-block pattern (PDF) or see measurements below
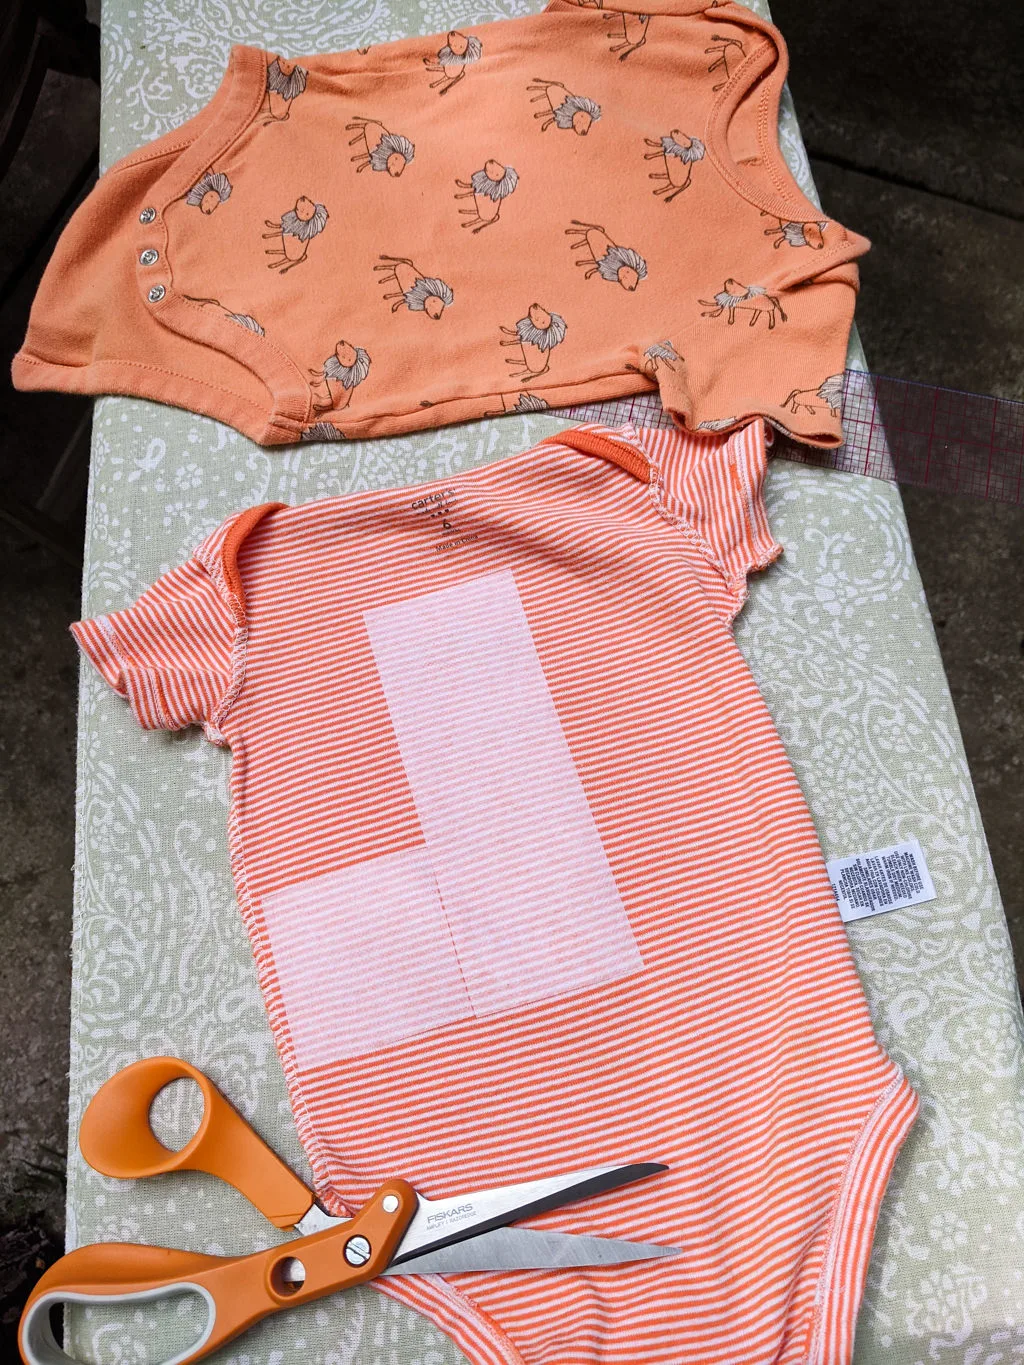
- Baby clothes, t-shirts, scrap fabric, or regular quilting fabric
- Lightweight interfacing (only if using stretchy fabric like baby clothes)
- 6-1/2″ x 6-1/2″ square quilt ruler and 2-1/2″ x 8″ quilting ruler (optional but makes things go much faster)
- Rotary fabric cutter and self-healing cutting mat
- Good fabric scissors
- Aurifil 50wt thread
+++
How to make L-shaped quilt blocks:
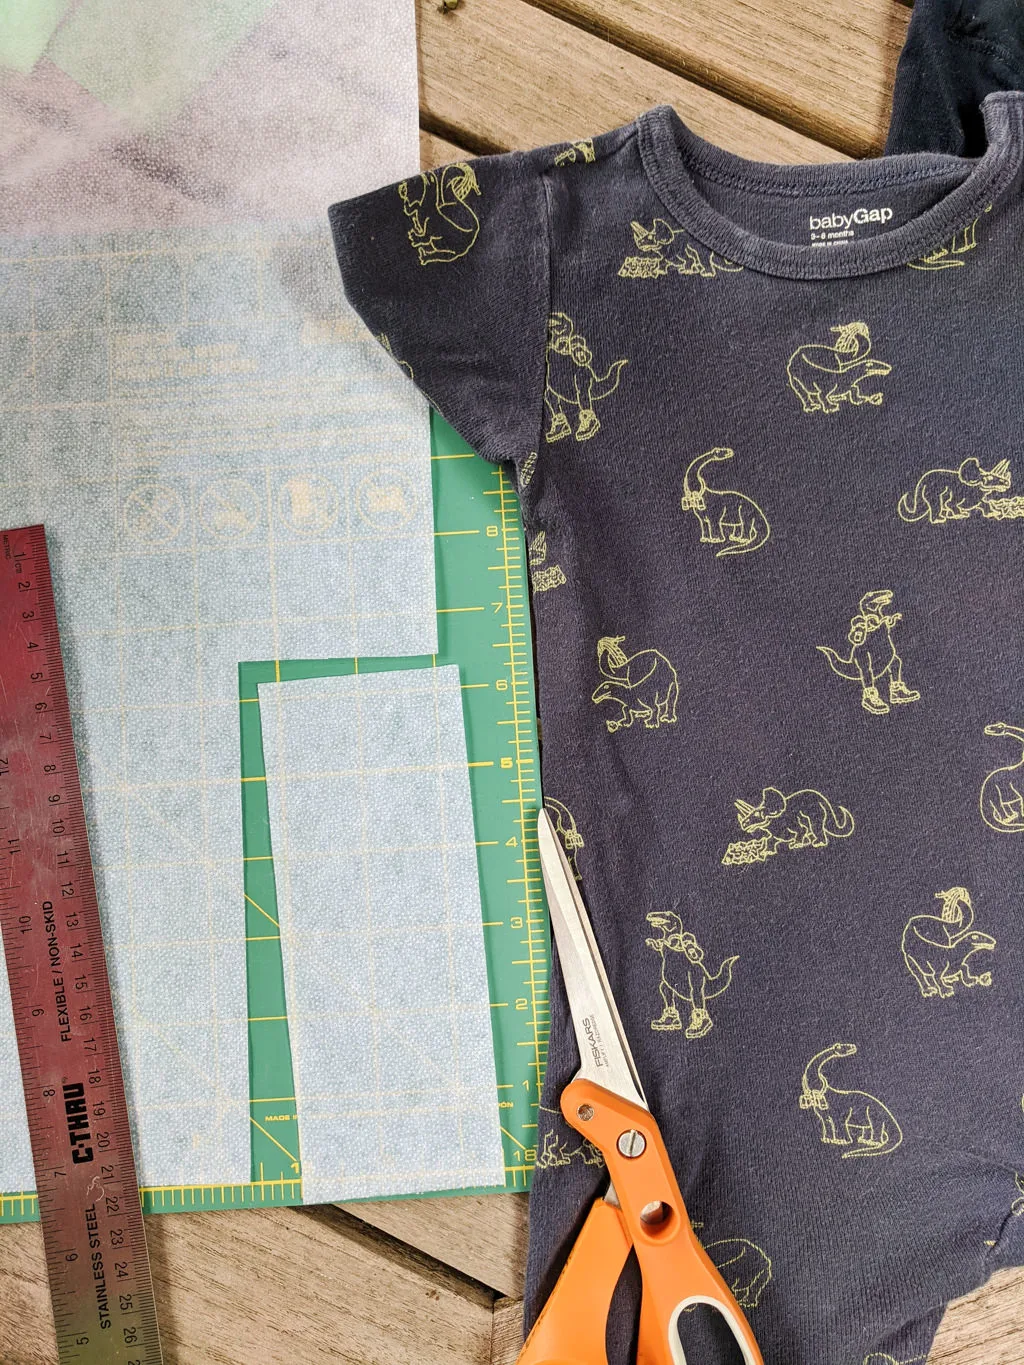
Step 1: Cut interfacing (for stretchy jersey fabric only)
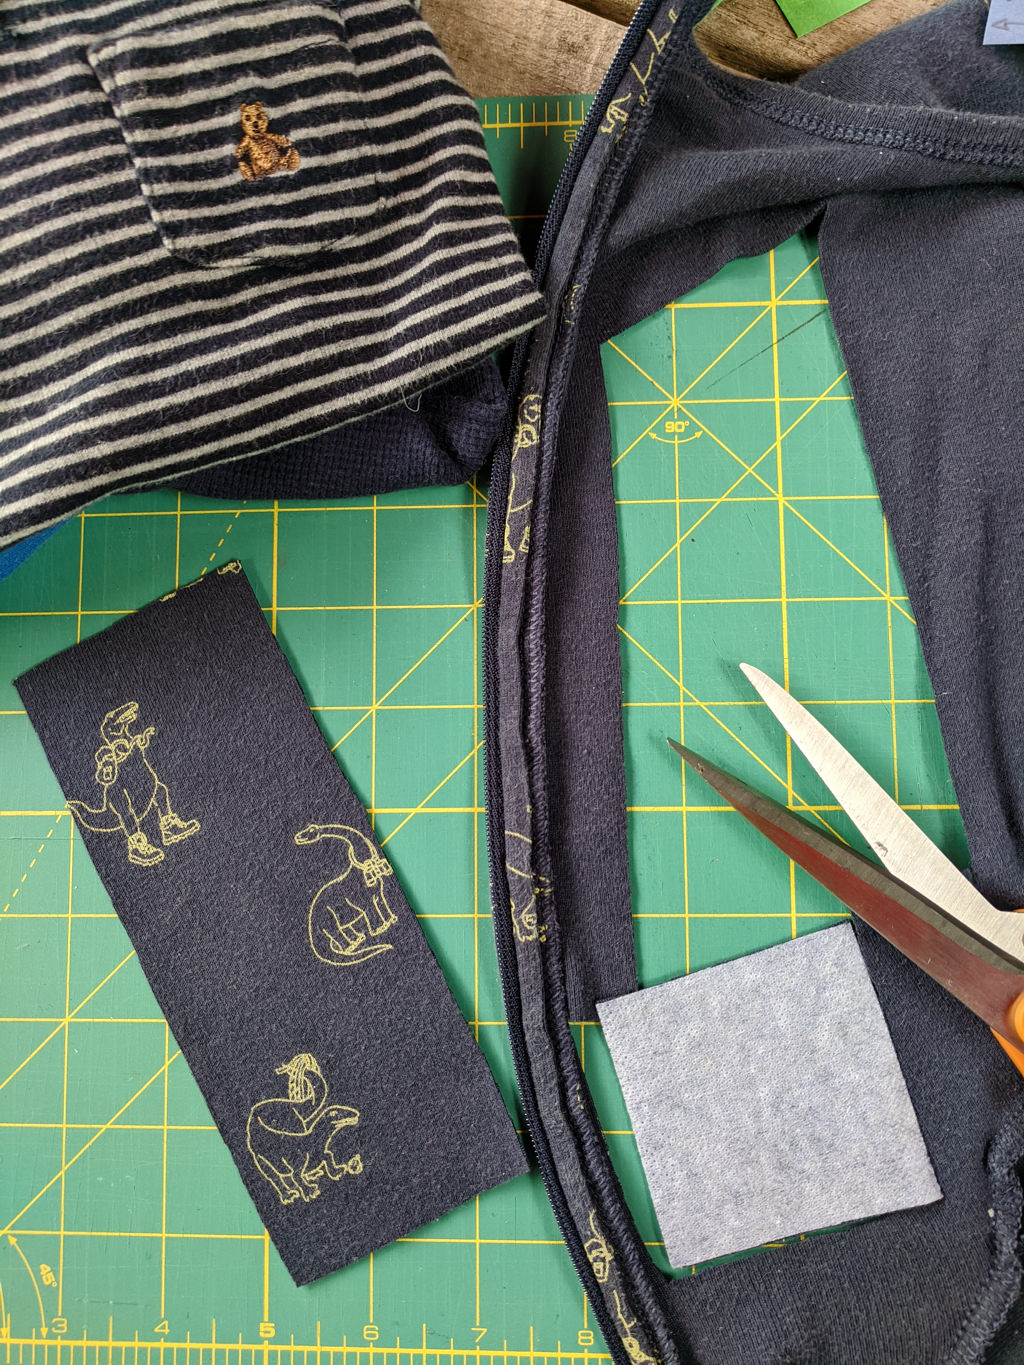
If you use quilting fabric, then you can just go ahead and skip ahead to step 2. However, if you plan to use stretchy jersey baby clothes like I did, then it’s a good idea to iron-on lightweight interfacing to help the L quilt block pieces keep their shape. Without the interfacing, it’s a tricky to keep things straight if you know what I mean. Here’s the lightweight interfacing that I used and it’s amazing for this project!
Cut interfacing into 6-1/2″ x 2-1/2″ rectangles and 2-1/2″ x 2-1/2″ squares either using Kathy’s free L-block pattern (PDF) and good fabric scissors or a 6-1/2″ x 6-1/2″ square quilt ruler and 2-1/2″ x 8″ quilting ruler with rotary fabric cutter and self-healing cutting mat. Cut two squares and two rectangles for each L-block. Iron the lightweight interfacing onto the backside of any stretchy jersey fabric that you’re may be using such as baby clothes or t-shirts. Then go to step 2.

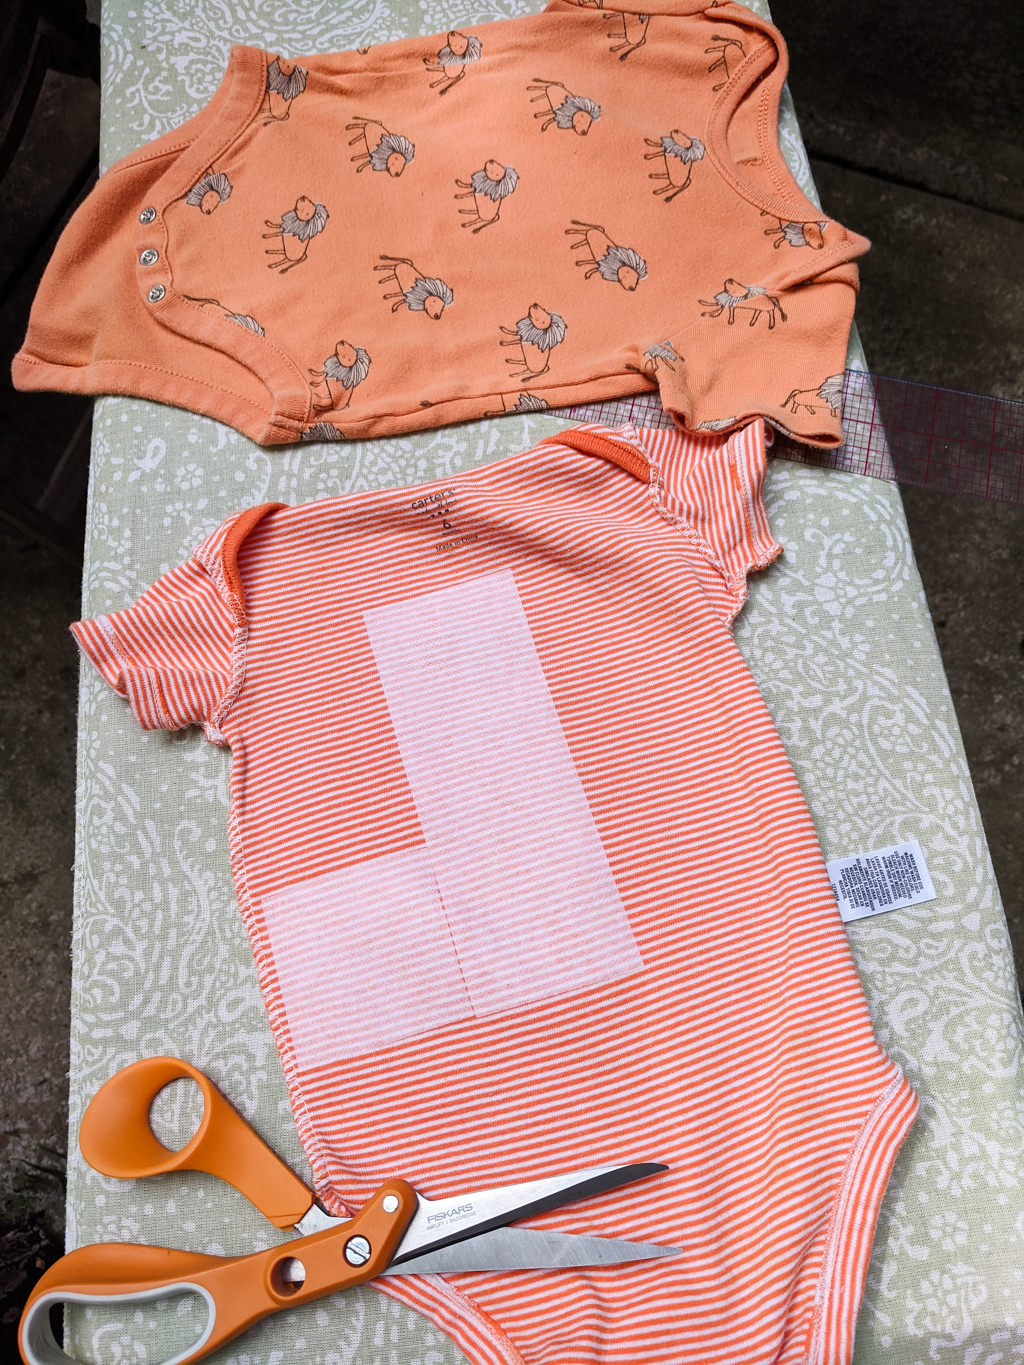
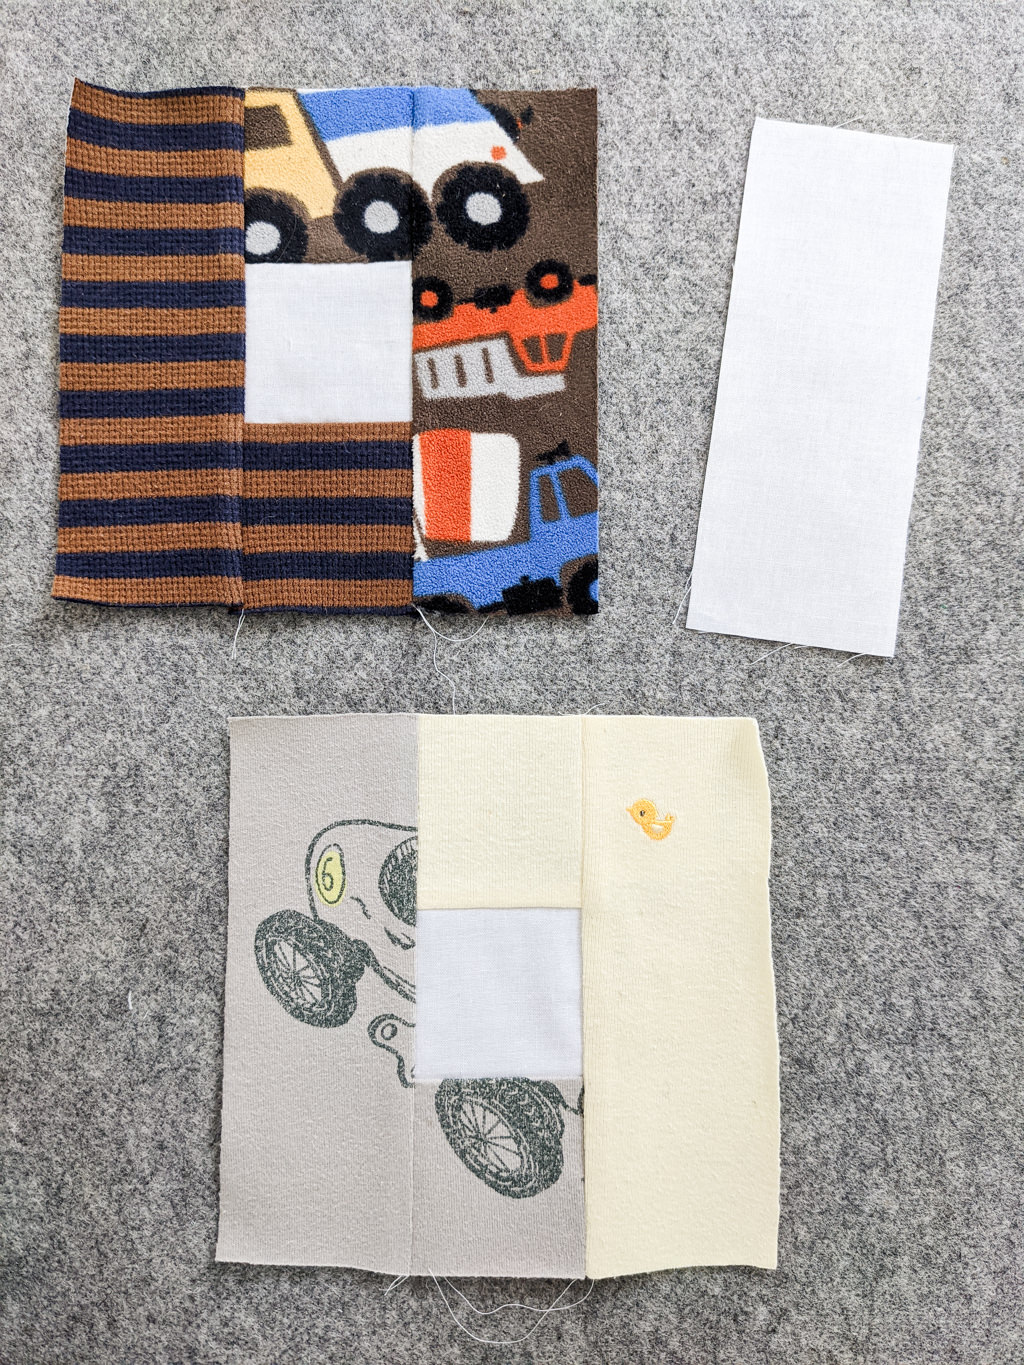
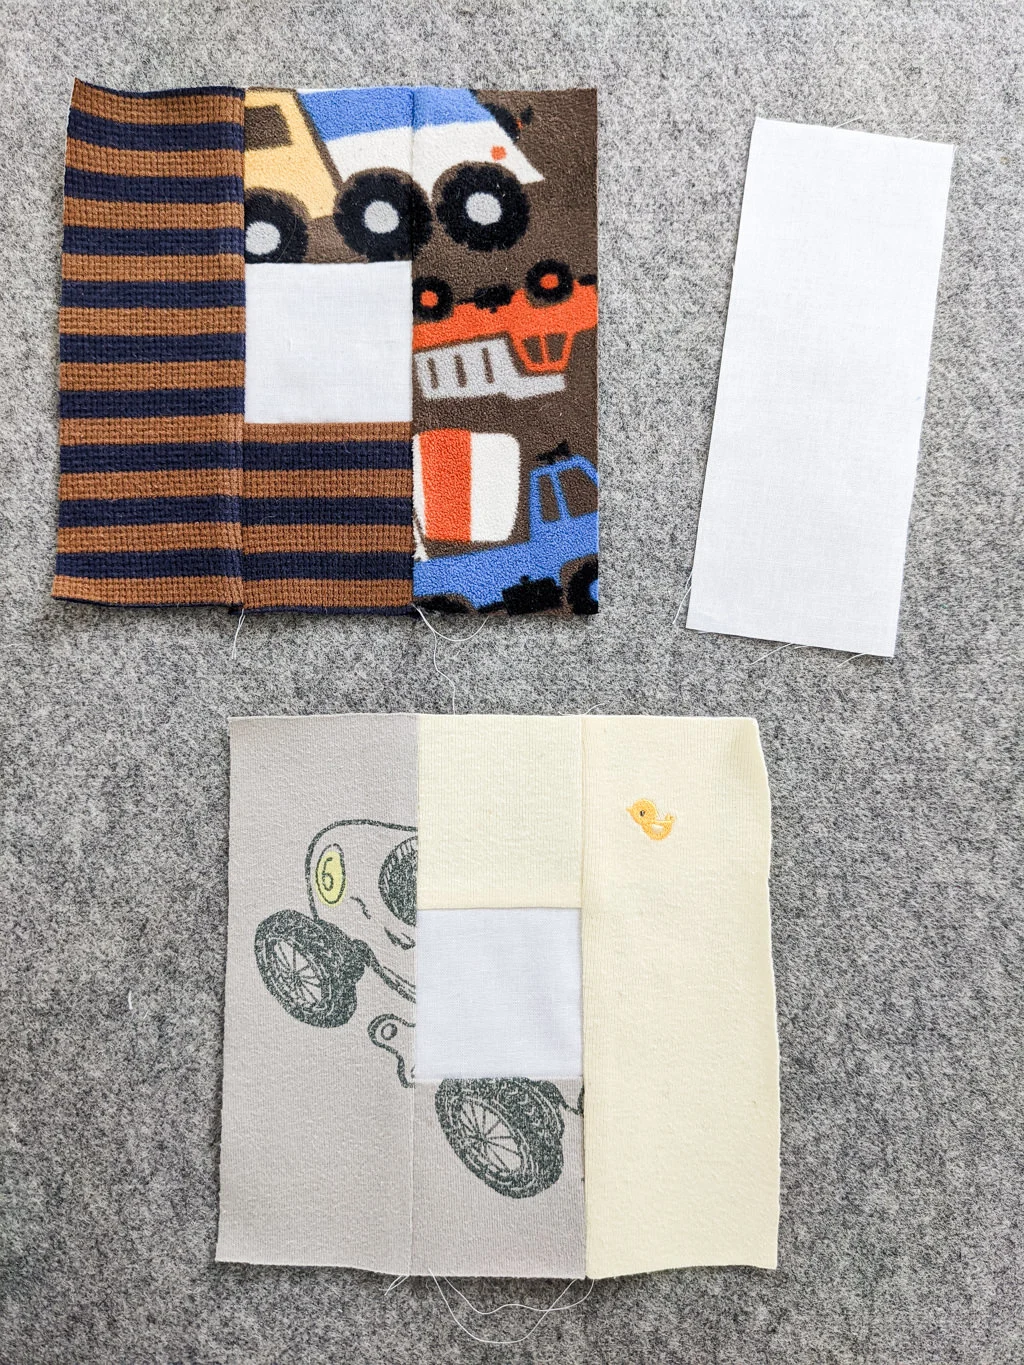
Step 2: Cut L-shaped quilt pieces
Cut your quilt pieces for each L-shaped quilt block. Either print out Kathy’s free L-block pattern (PDF) and cut with good fabric scissors or use a 6-1/2″ x 6-1/2″ square quilt ruler and 2-1/2″ x 8″ quilting ruler with rotary fabric cutter and self-healing cutting mat and measure and cut the following for each block:
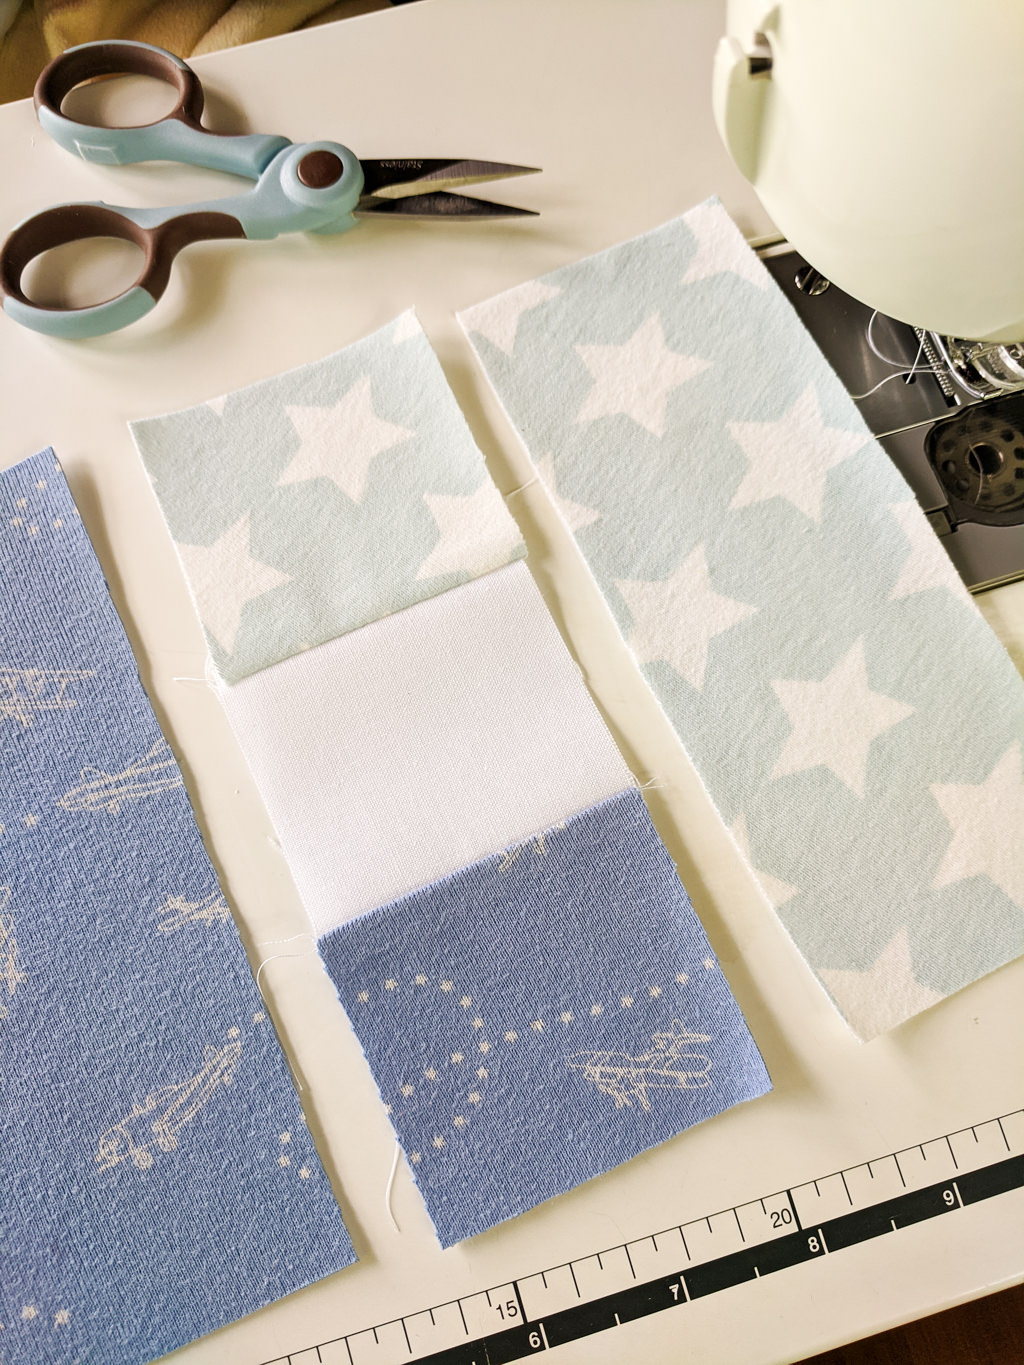
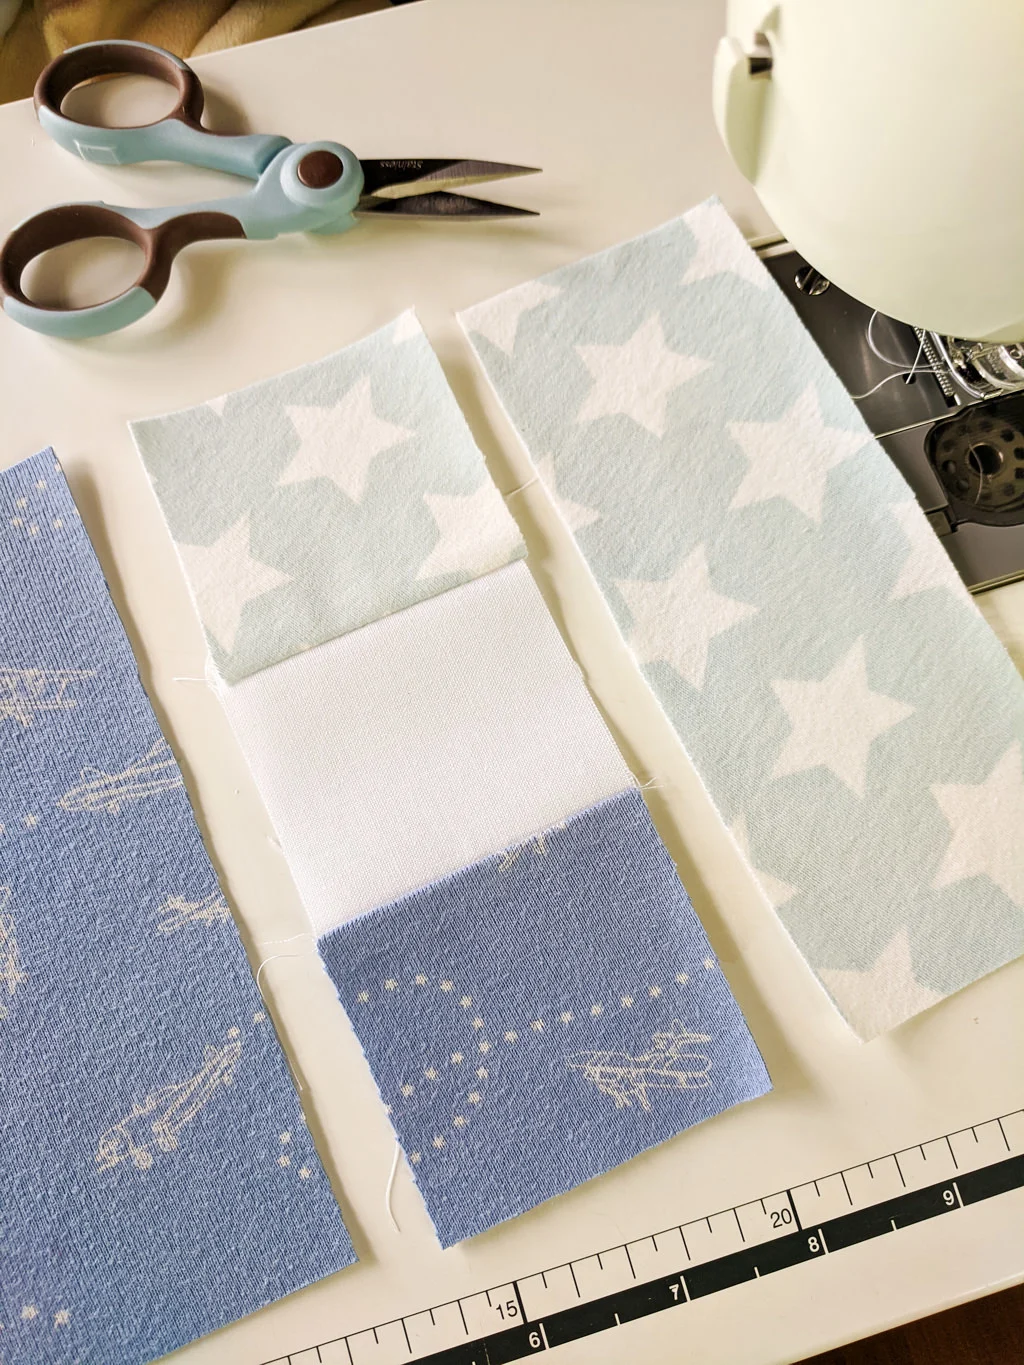
- Color #1: Cut 1 rectangle 6-1/2″ x 2-1/2″ and 1 square 2-1/2″ x 2-1/2″
- Color #2: Cut 1 rectangle 6-1/2″ x 2-1/2″ and 1 square 2-1/2″ x 2-1/2″
- Color #3: Cut 1 square 2-1/2″ x 2-1/2″ for the middle square
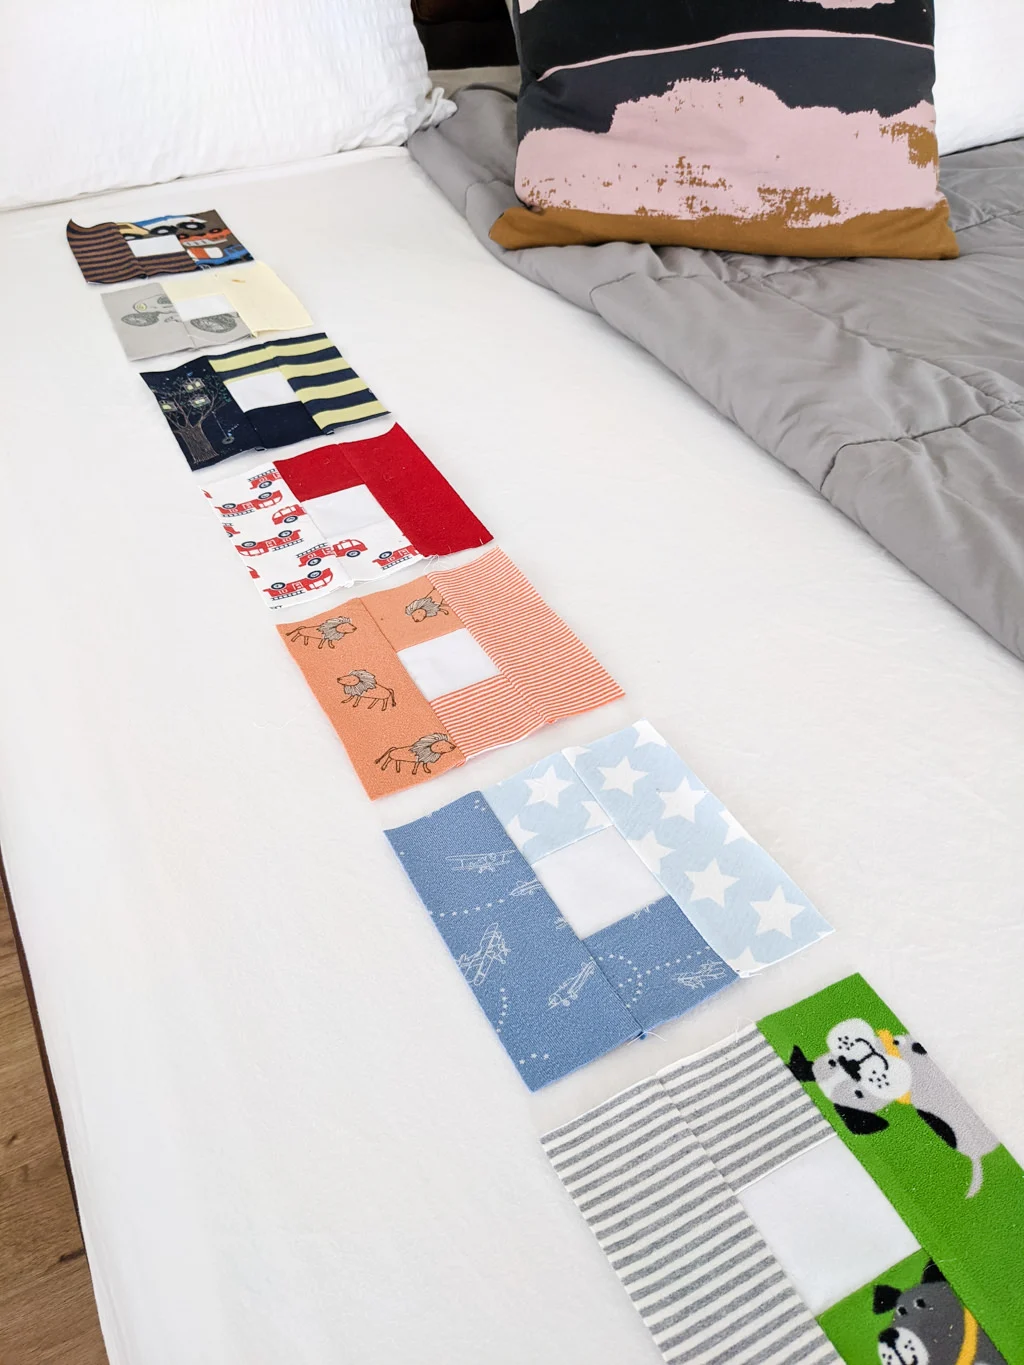
Cut as many L blocks pieces as you like for your quilt. I made 9 blocks total for Liam’s baby clothes quilt pattern that has one offset stripe on the side.

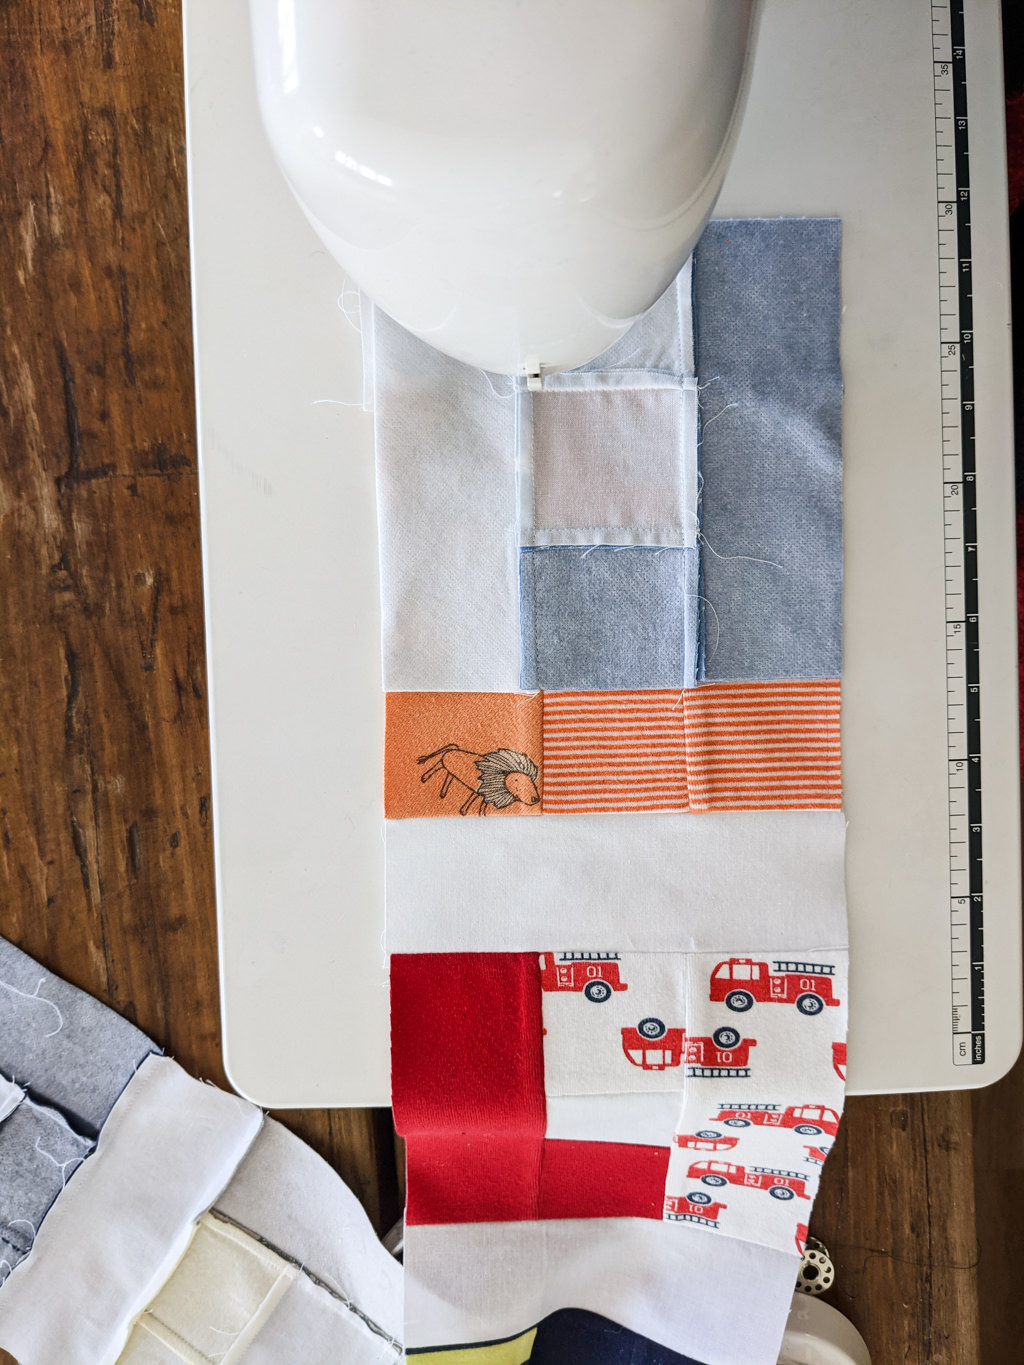
Step 2: Sew square pieces together to make the middle row of the quilt block
Using a 1/4″ seam, sew the square pieces together using Aurifil 50wt thread to form the middle row of the block. Because I used white fabric as the center square, I ironed the seams towards the colored fabric so that the seams wouldn’t show behind the white.
Step 3: Sew rectangles to each sides of the middle block
Again using a 1/4″ seam, sew the rectangles using Aurifil 50wt thread to each side of the middle row. If you’re using white fabric like I did then iron seams towards the colored fabric to ensure the seams aren’t visible behind the white. Neat trick, huh?
Step 4: Repeat for each L-shaped quilt block
Repeat the process to make a stack of L quilt blocks. I made 9 quilt blocks to make a modern quilt with one stripe.


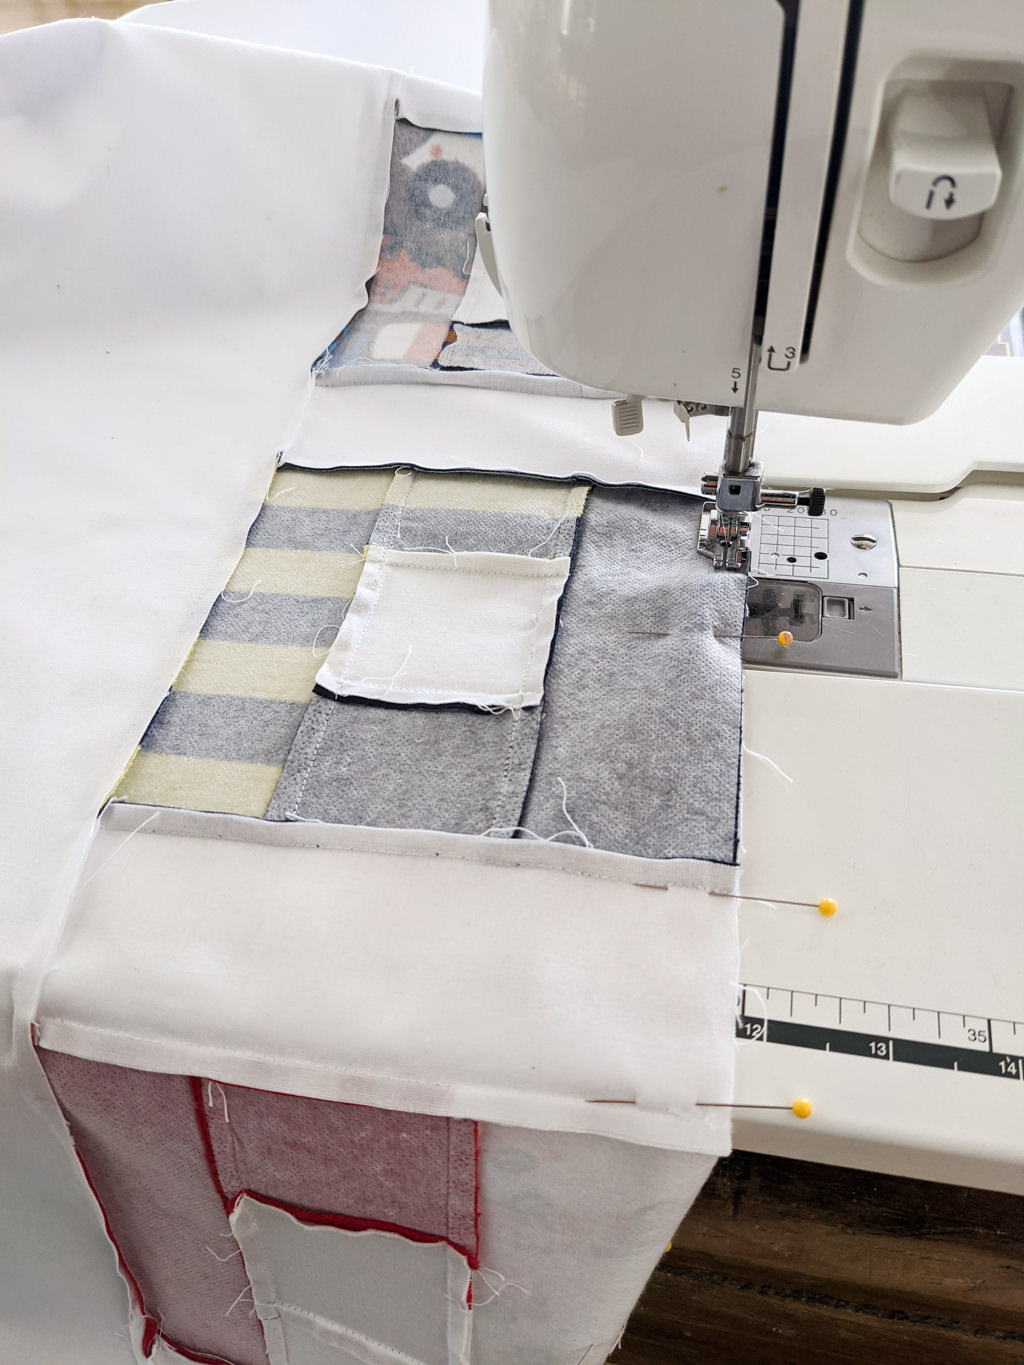
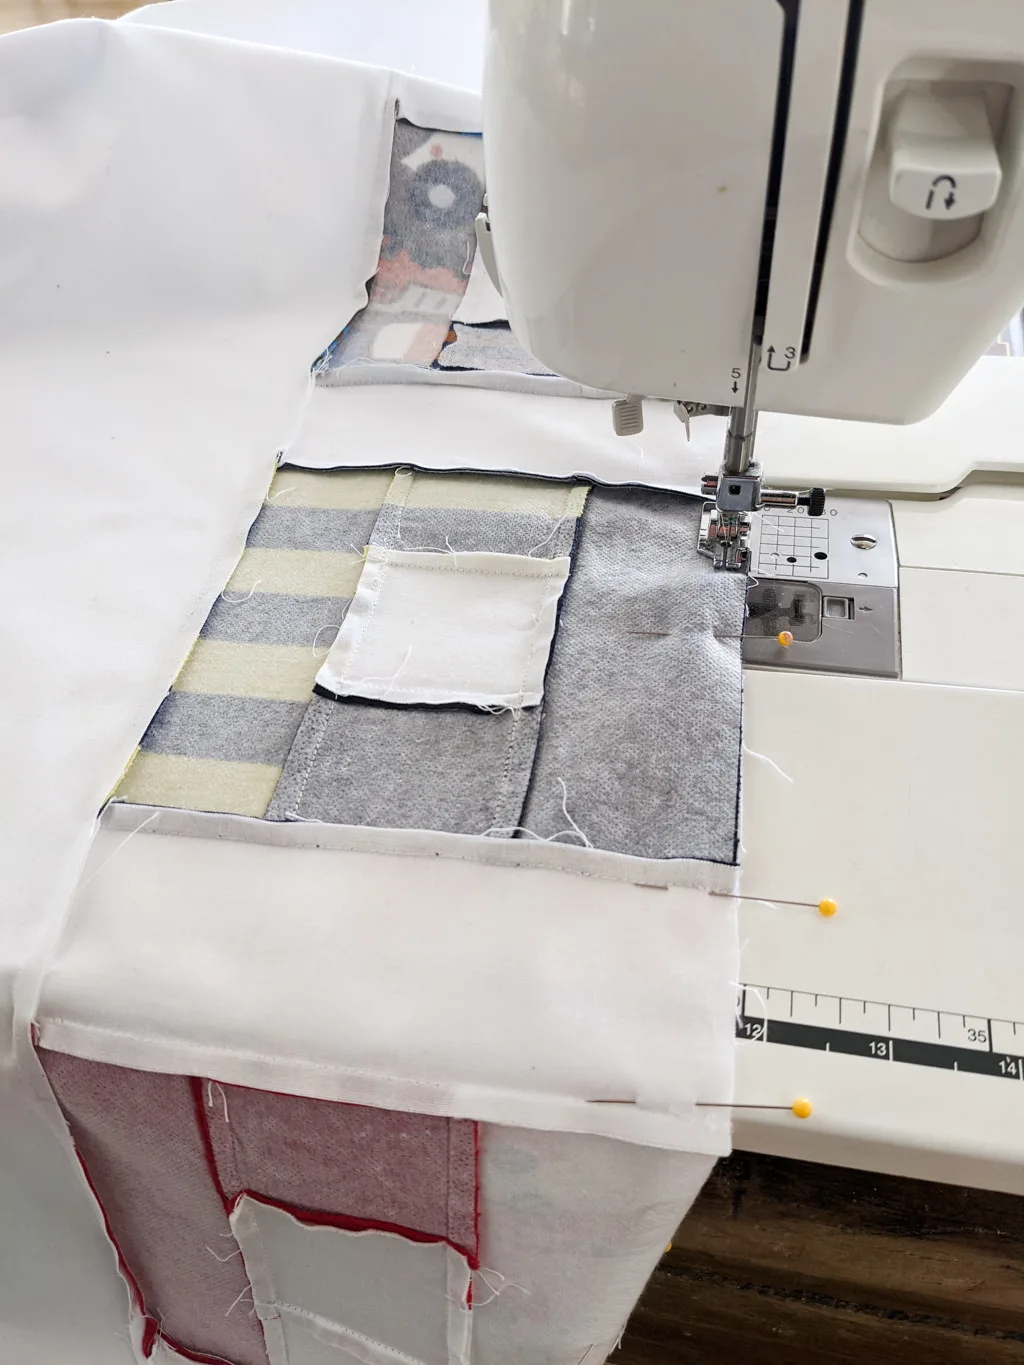
Step 5: Sew the L-quilt blocks together into a quilt
I think these L-blocks look nice with strips of white sashing to divide the quilt blocks from each other. I’ll be posting my full L-block quilt sewing pattern soon for you to download and use. If you’d like to get started before I finish my quilt pattern for you, then cut and sew 2-1/2″-wide sashing between the quilt blocks (so each sashing between the squares in each row will be 2-1/2″ x 6-1/2″). Scroll up to my quilt patterns sketches at the beginning of this post for some creative ways to combine your L-blocks in to a simple modern, geometric quilt. I’ll be posting my full quilt pattern and tutorial for you soon. In the meantime, get started on your stack of L-blocks.
Be sure to pin my letter L quilt block pattern:


And see more sewing projects and patterns like my free pincushion thread catcher sewing pattern and free oven mitt pattern.
++++++
Like it? Share it!
The nicest way to say you like it is to pin it on Pinterest, post a comment, follow Merriment Design on Facebook, Pinterest, Instagram or sign up for monthly emails. Enjoy! 🙂