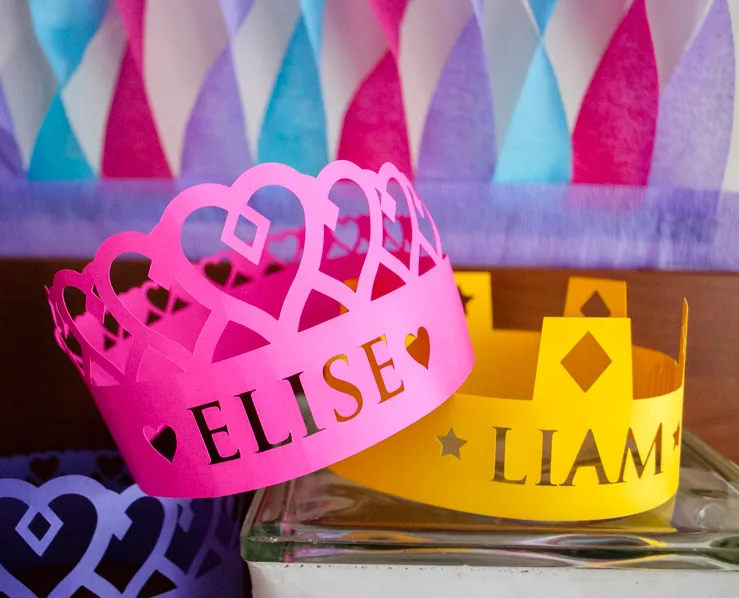
I made these personalized 3D paper crowns for Elise’s princess birthday party and each one took only about 10 minutes to make. Really.
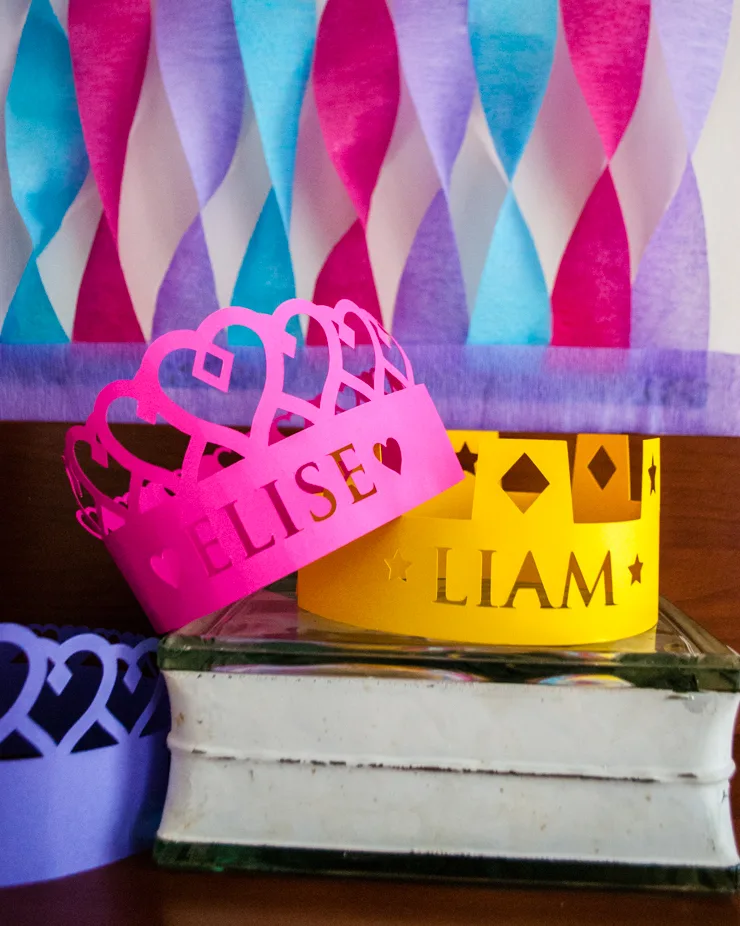
Elise requested “all the princesses” birthday party so I thought it would be fun to make paper king and queen paper crowns for both boys and girls.
Silhouette America sent me a Silhouette Portrait machine (thank you, Silhouette America!) to review and all opinions here are mine. I wanted to use it right away! Elise’s birthday was just a few days away so I wanted to start with something simple because I know there’s a learning curve. So I browsed the Silhouette Design Store and found this classy 3D adjustable crown and this heart-shaped 3D adjustable crown (the birthday girl’s choice).
I practiced a few times making plain crowns and was going to write them on and then it hit me: Wait, I can cut out the party guest’s names too! AWESOME!
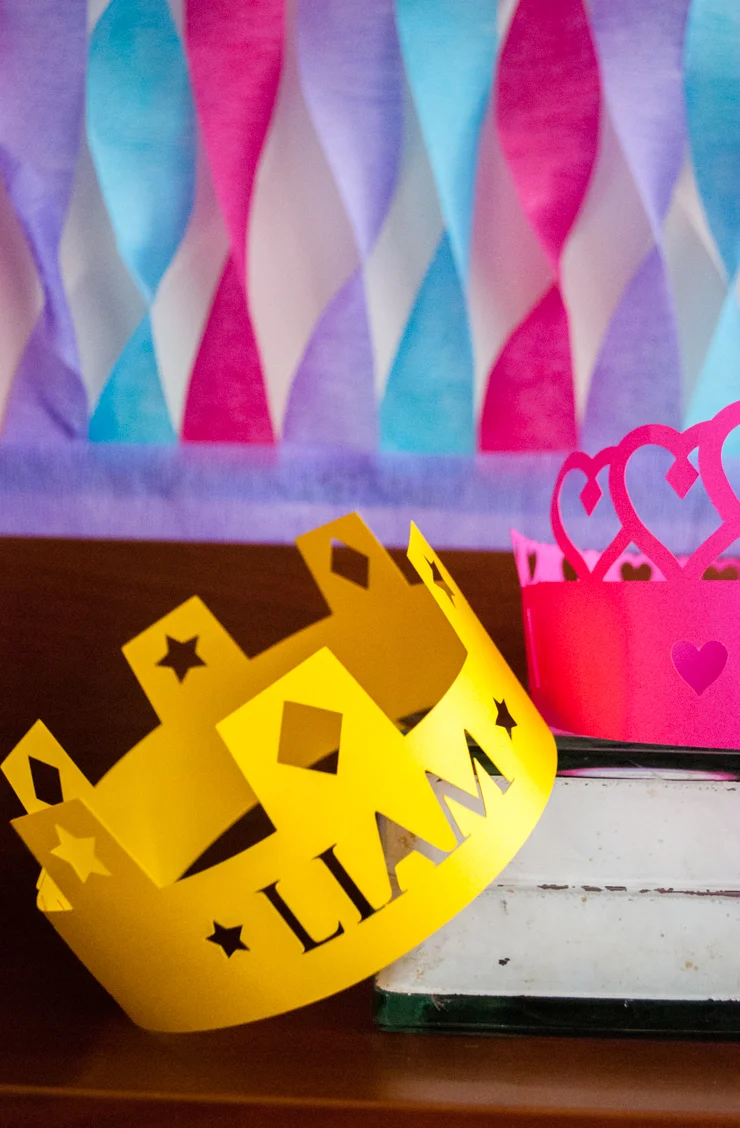
And in the process, I learned a few Silhouette Portrait newbie tricks that I’ll share with you below.
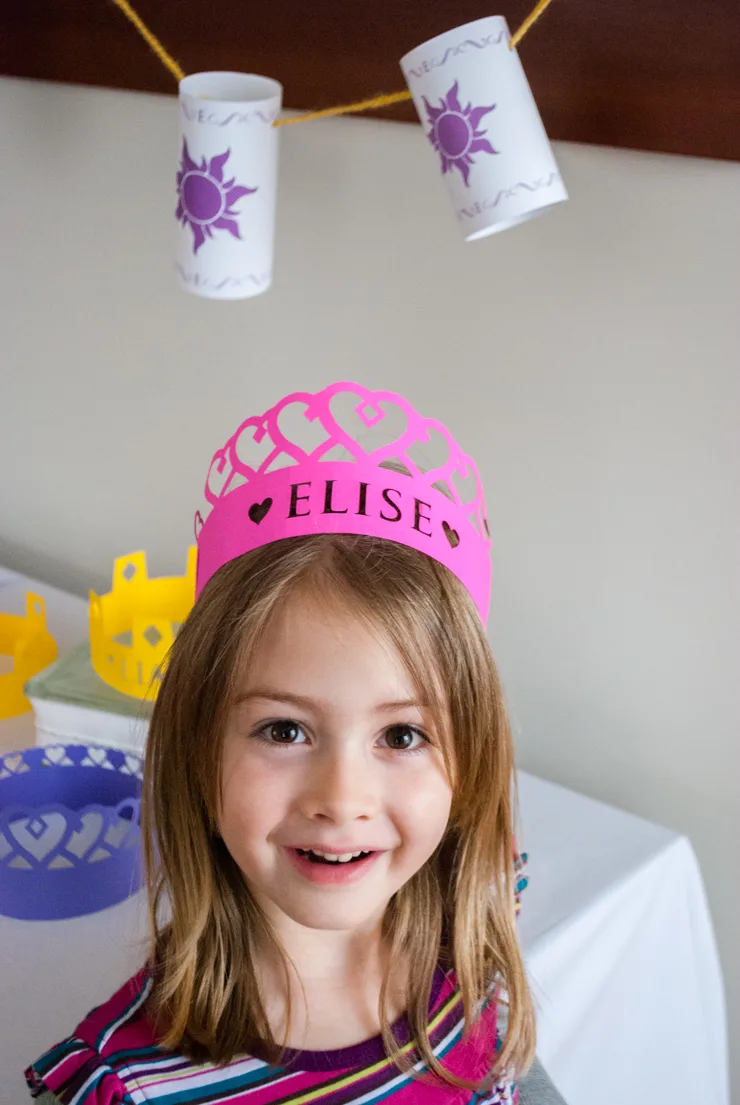
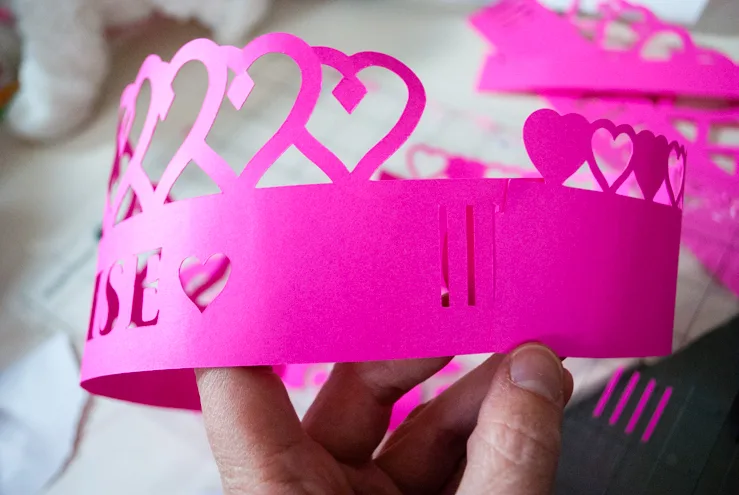
See how cut-out names show up even more when it’s worn? I thought about putting a piece of contrasting colored paper behind the name but there was no need – the wearer’s hair makes the names pop. The birthday girl loved it!
Supplies for making DIY Personalized Crowns for a Princess Birthday Party:
- Colored card stock (I like Astrobrights because the colors are amazing)
- Silhouette Portrait, Silhouette Spatula, Silhouette Scraper, Silhouette Cutting Mat
- 3D adjustable crown
- 3D adjustable heart crown
—
How to make DIY Personalized Crowns for a Princess Birthday Party:
OK, I’m going to be very specific for Silhouette newbies like me. Open up the Silhouette Studio app on your computer. Go to File…Silhouette Design Store and purchase the two crown designs. They will download to your Library. Then you can double click them to add them to your work space.
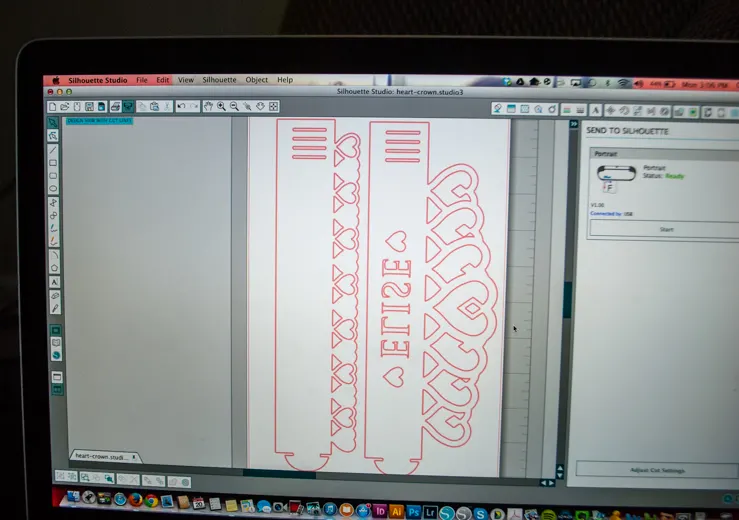
Initially your cutting mat is going to be too sticky for card stock. I cannot emphasize this enough – it is crazy sticky at first and you will need to break it in. You can dab a clean t-shirt on it to get off some of the tack. I also see that there is a Light Tack Cutting Mat and I think I’ll try it for future paper projects.
I added names using the Trajan Pro Bold font which I read is close to the Frozen font.
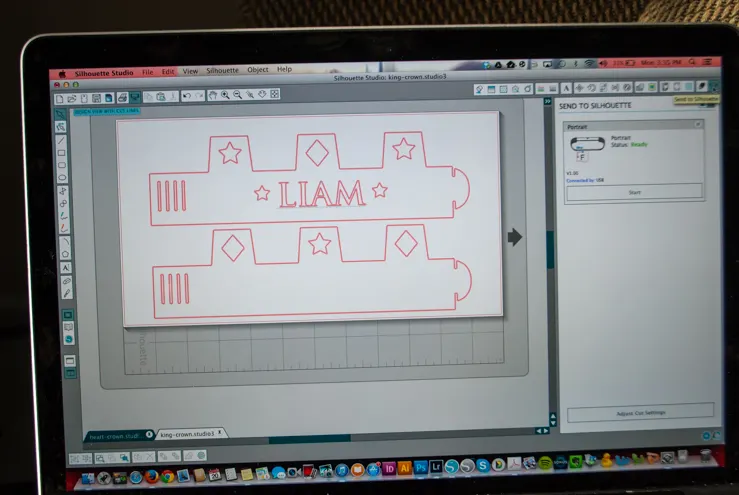
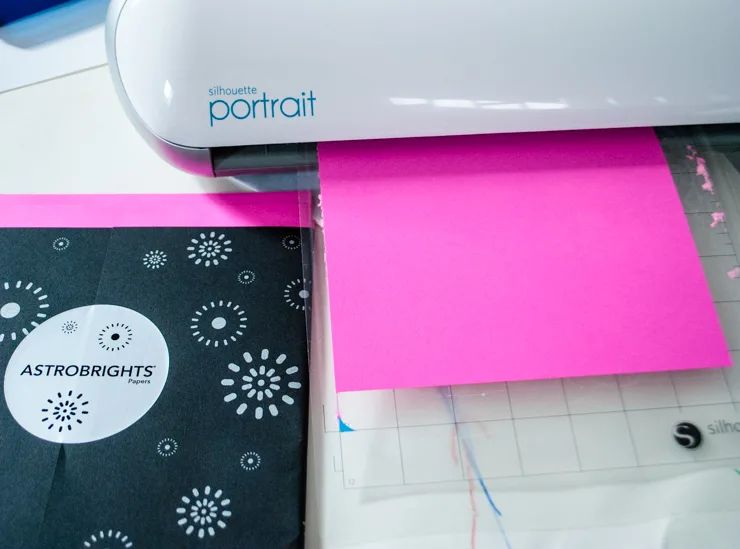
Load your paper onto your mat. Here’s a tip: Cut the paper down to size BEFORE you cut it. What I mean is, instead of feeding a letter-sized piece of card stock into the machine, cut it down to 9″ wide or whatever. Your scraps will be flatter that way and you can keep them for future projects.
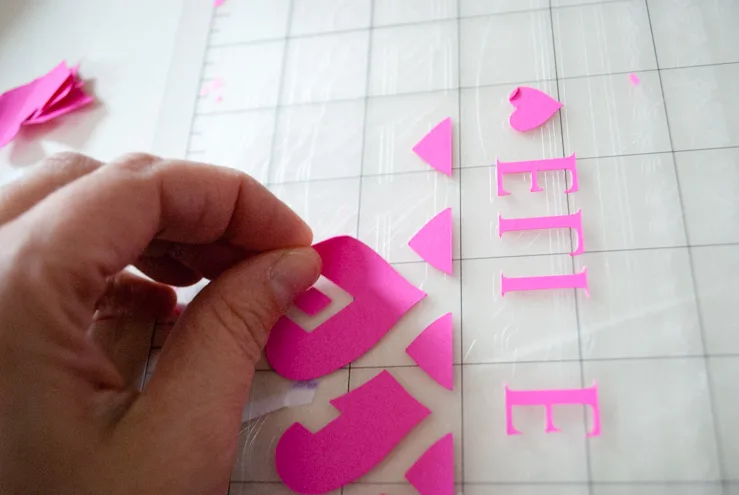
Also, wherever the Silhouette Portrait rollers roll over the paper, it’s harder to get it off of the mat. You’ll see on the far right that I started to get sloppy removing the tiny pieces between crowns. (Also, I recommend Astrobrights paper – it has awesome colors).
Here’s a tip: I noticed that because my new cutting mat was sticky, the crown curled as I pulled it up from the mat. This is why I reversed the name text as you can see in the photo above. This way, because my crowns curled a bit, they would actually be curved the proper direction to fit around the head. You can do it by going to “Object…Mirror…Flip…”
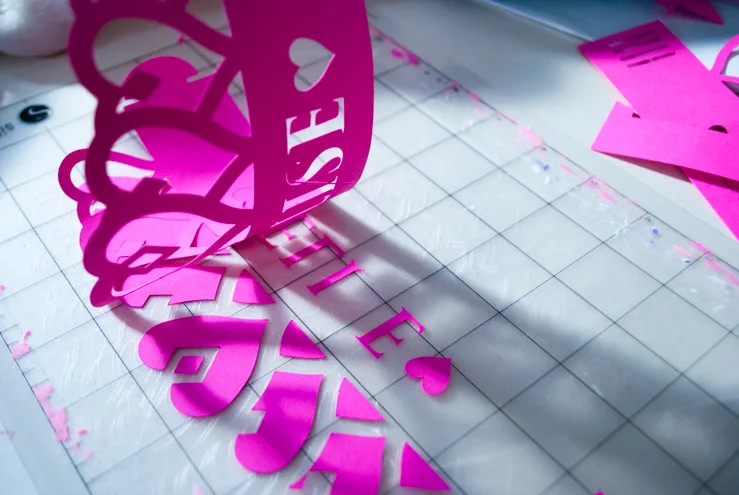
See? Just like that. Now you can attach the crown fronts and backs using the adjustable slots on the sides to fit the wearer’s head.
Now peeling up these little pieces on the cutting mat by hand is tedious. Do yourself a favor and buy a Silhouette Scraper. It would be nice if it came with the machine; it is a must-have accessory!
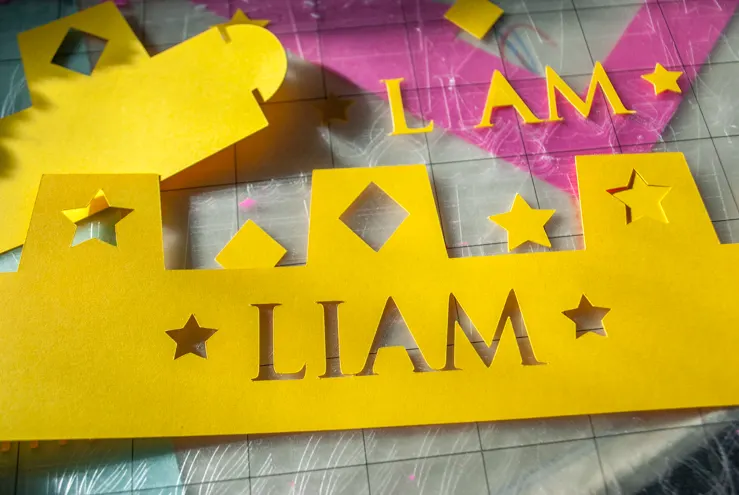
The middle of letters like “A” will punch all the way through but I kind of like the look so I went with it.
And that’s it! Tell me, do you have any Silhouette Portrait tips to share with newbies like me?
******
For more royally cute princess birthday DIYs:
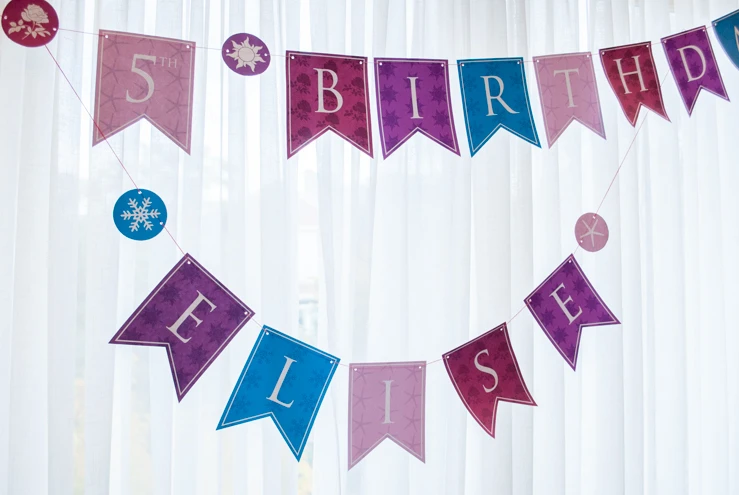
‘All The Princesses’ personalized printable happy birthday birthday princess banner. There are snowflakes for Anna and Elsa, starfish for Ariel, Roses for Belle and Aurora, and suns for Rapunzel. Print one color or mix and match like I did.
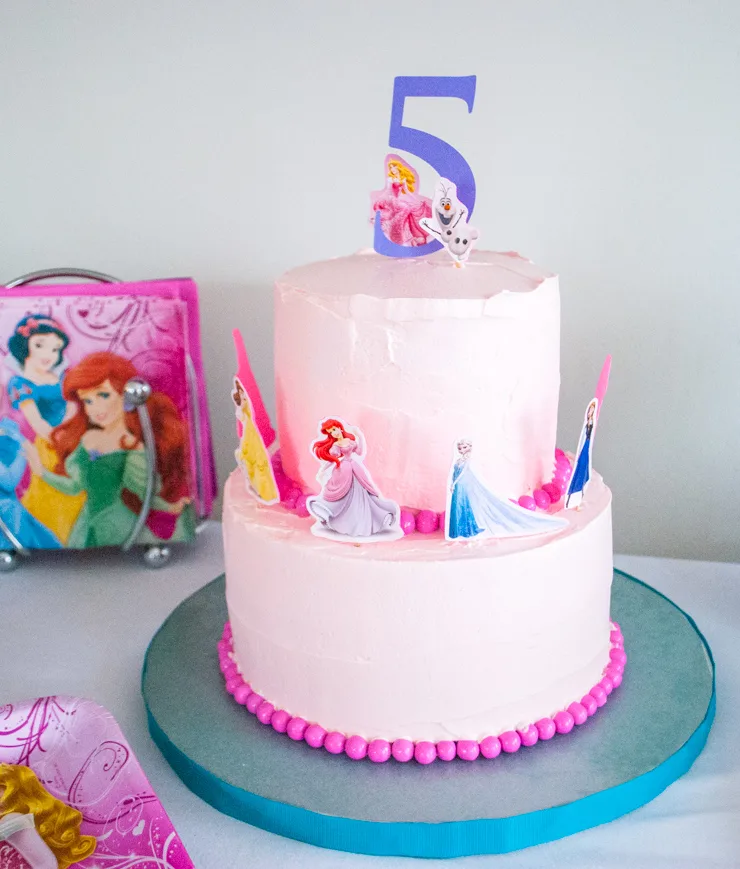
Easy DIY Princess Birthday Cake Using Stickers (Yes, Stickers):
—
Like it? Share it!
The nicest way to say you like it is to pin it on pinterest, post a comment, follow Merriment Design on Facebook, twitter, pinterest, Google+, instagram or sign up for monthly emails. Enjoy! 🙂
Copyright stuff: You’re more than welcome to use this free project and tutorial for personal use. Contact me for commercial use and etsy sales.

Meghan
Sunday 8th of February 2015
what size did you make them? did you have to use an extra piece and glue? i'm looking to make them for two year olds. thanks :)
Gabriela
Wednesday 28th of January 2015
Love theae crowns, can I also make them with the Silhoutte cameo.? Tks!