
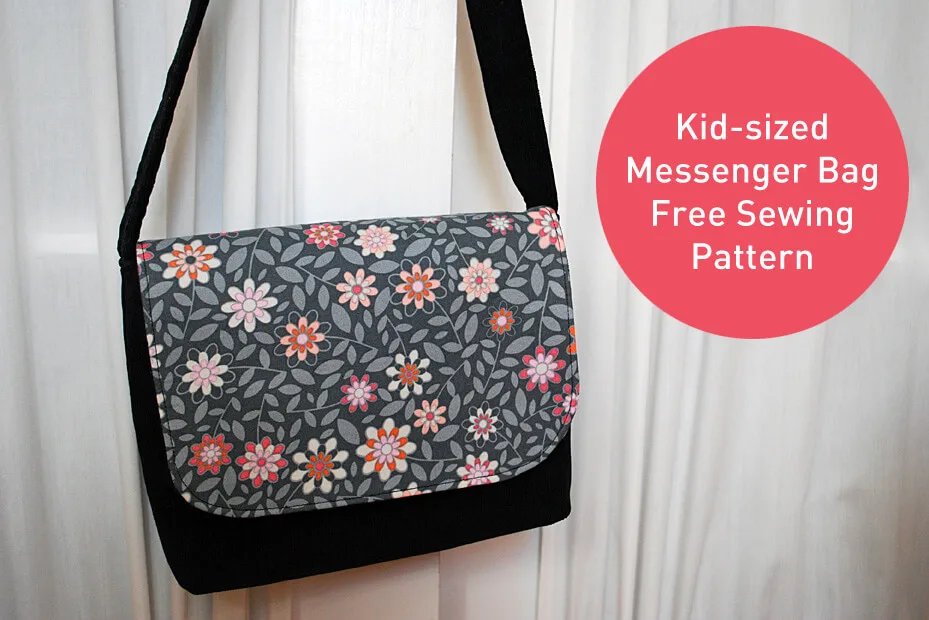
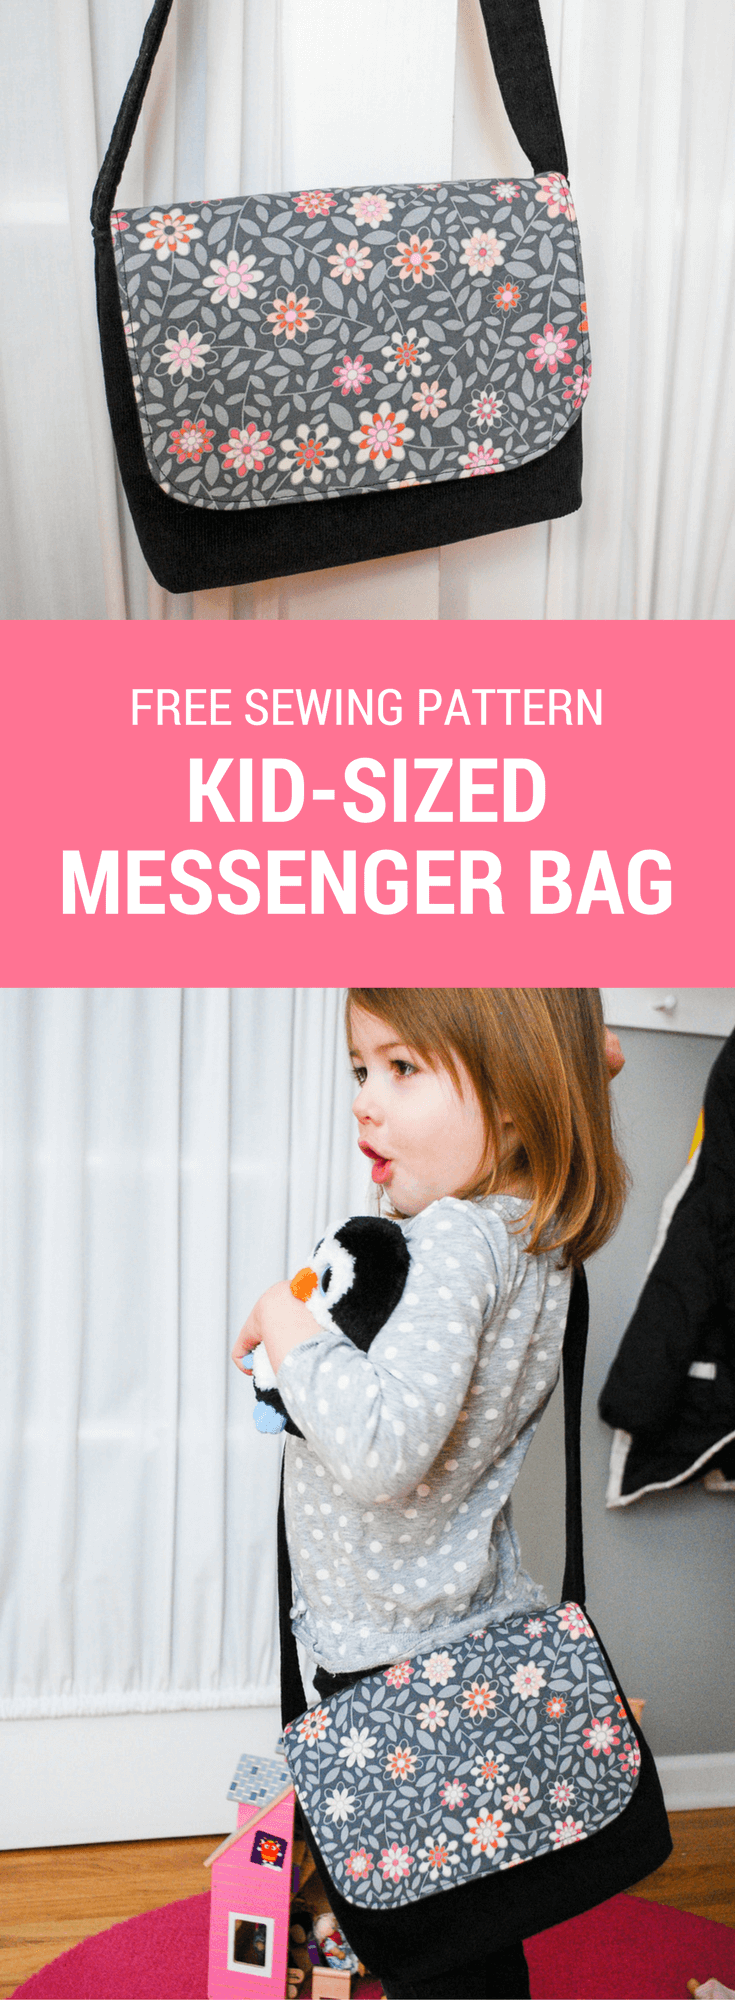
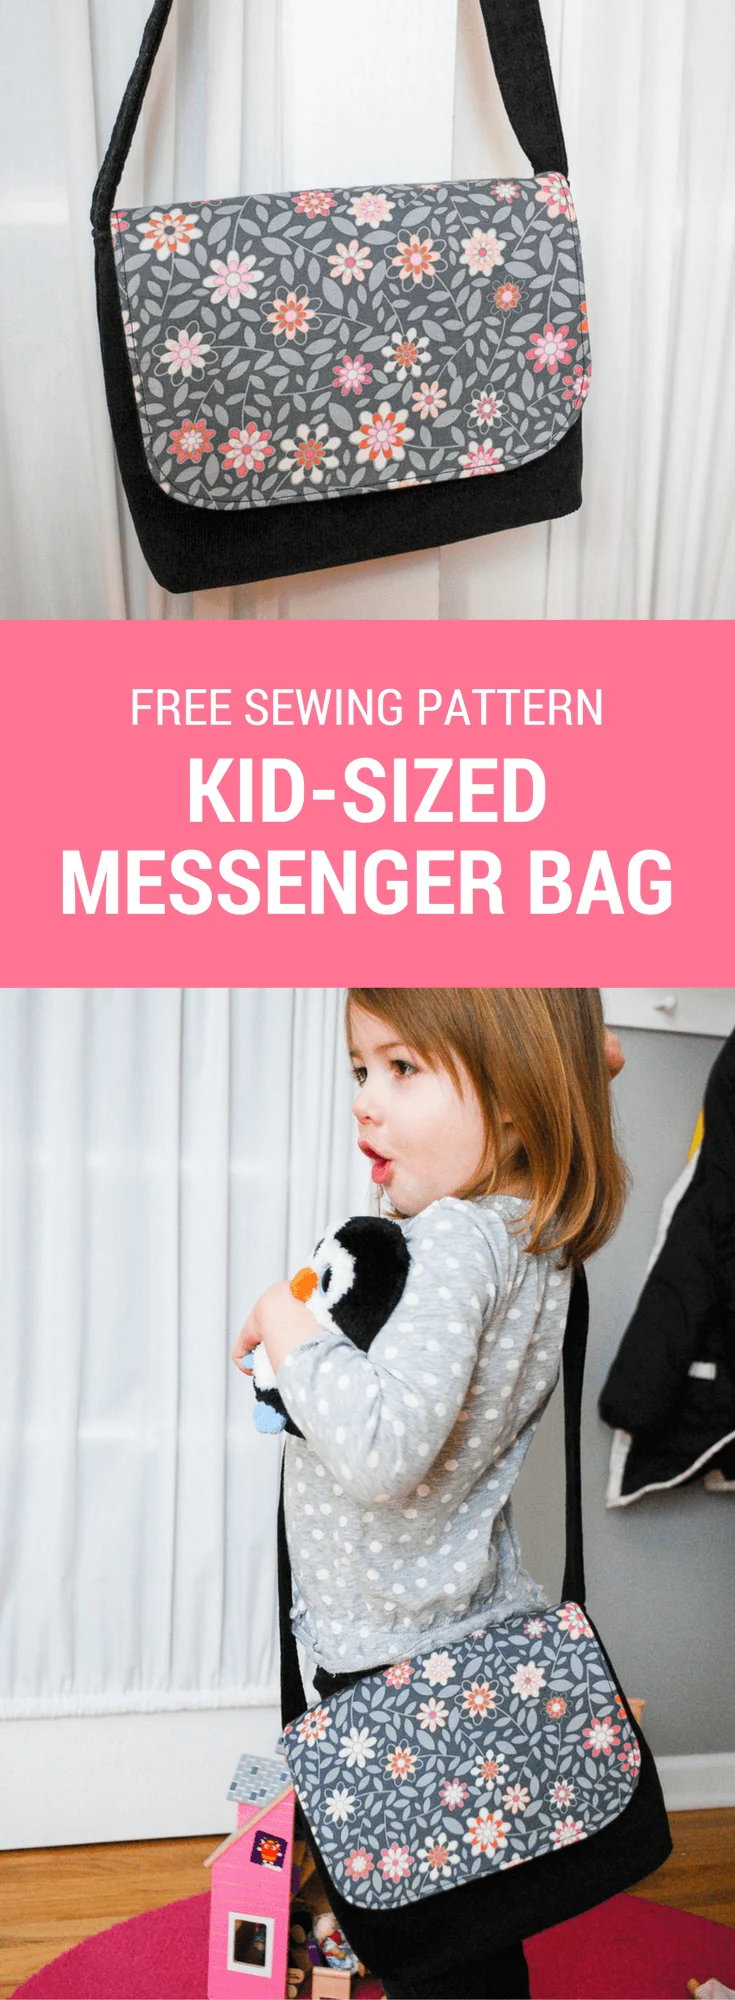
My free child-sized messenger bag pattern is the perfect shrunken size for the special kid in your life. You can make my easy DIY kids messenger bag pattern in a couple evenings. Keep reading to get my free kids messenger bag sewing pattern!


A mini messenger bag sewing pattern that’s sized for kids
My kids messenger bag free sewing pattern is a variation of my free bridesmaid’s handbag sewing pattern and my free shoulder handbag sewing pattern with the bird silhouette. I was pressed for time so left out interior pockets and such but if your kid wants a couple of interior pockets in the messenger bag I can show you how to add those in too.
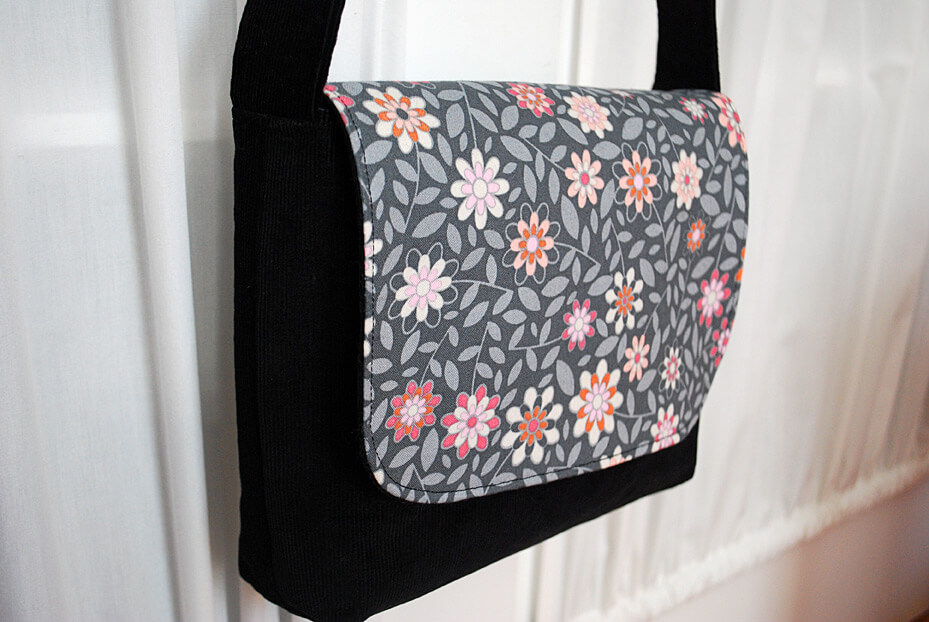
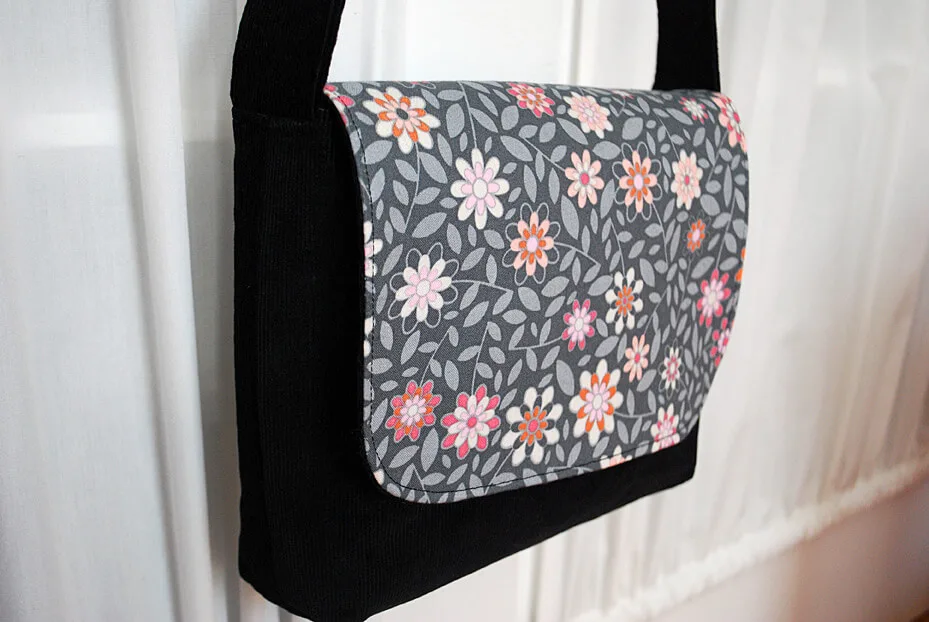
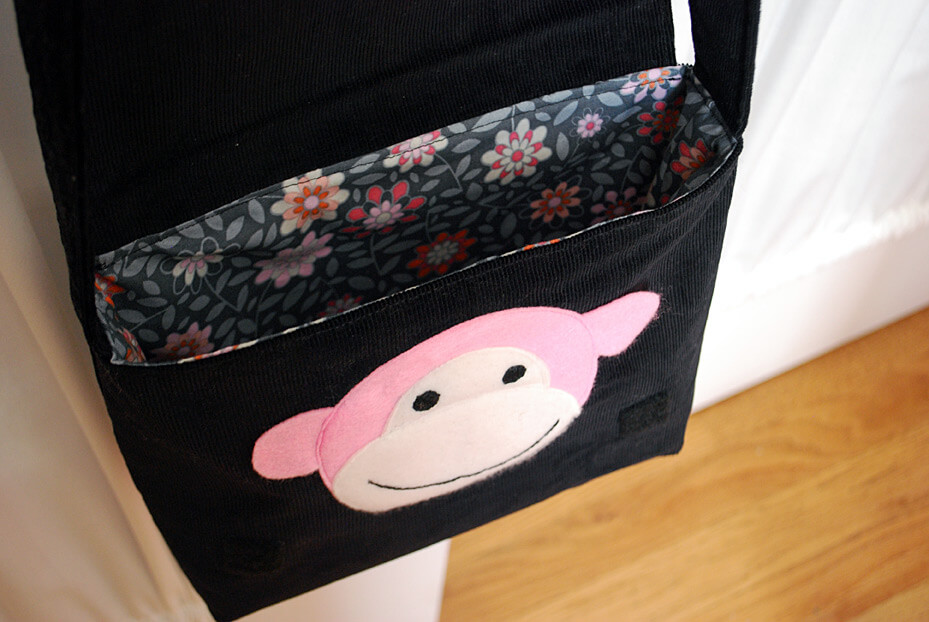
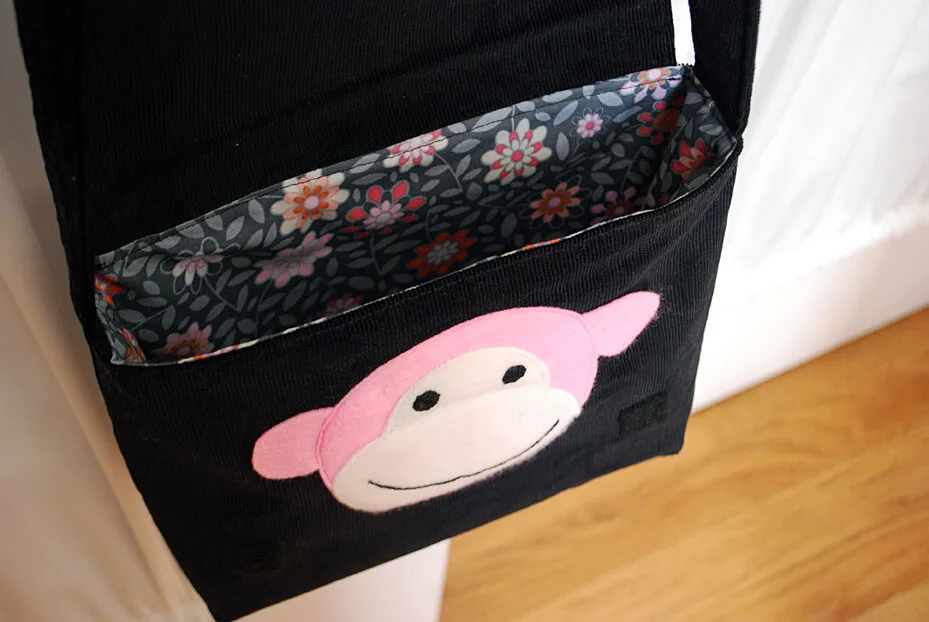
I made the kid’s messenger bag outside in black corduroy with a floral flap and lining. And you know that I like to add a little whimsy in my patterns here and there so I made peek-a-boo mini-portrait of Elise’s beloved pink monkey under the flap. Elise loves lifting the flap and seeing the homage to her best pal.
I used to sew handbags. A lot of handbags. Sold them with my friend Heather at Chicago boutiques and craft fairs out of recycled t-shirts and my precious vintage linen calendars. And then I burned out. I didn’t want to be saddled to just handbags. And I realized that my favorite part was actually dreaming up and figuring out the bag patterns …not sales and production. So I gave it up and started merrimentdesign.com and shelved all my handbag patterns in the back of my craft closet.
But here and there I’m dipping back into my old handbag stash and I will share my bag sewing patterns here at Merriment Design for free. What type of bag pattern would you like to see next?

++++++
Supplies for sewing my kids messenger bag free sewing pattern (final measurements are 9 inches wide x 7 inches tall x 2 inches deep):
- 5/8 yard fabric for outside
- 1/3 yard fabric for inside lining
- Iron-on interfacing
- Thread
- Disappearing ink fabric marking pen
- Good fabric scissors
- Glass head pins
- Rotary fabric cutter, clear plastic ruler and self-healing mat
- Iron and ironing board
- Sewing machine
How to sew a messenger bag for kids (final measurements are 9 inches wide x 7 inches tall x 2 inches deep):
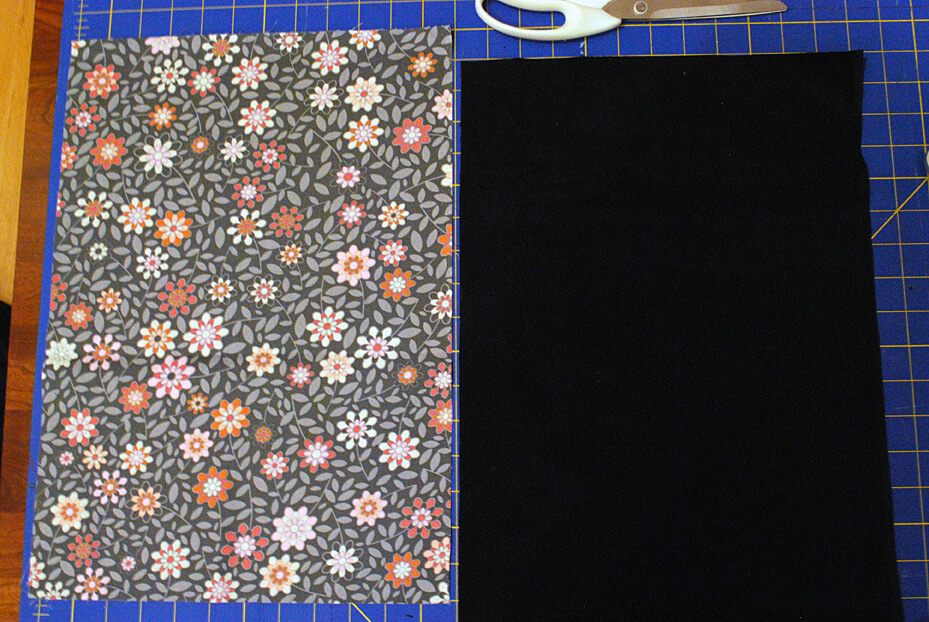
Step 1: Cut mini messenger bag pattern pieces and assemble bag outside and lining
Fabric:
- One 12″ X 17″ rectangle for bag outside
- One 12″ X 17″ rectangle for bag inside lining
- Two 9.5″ X 8.5″ rectangles of fabric for the flap
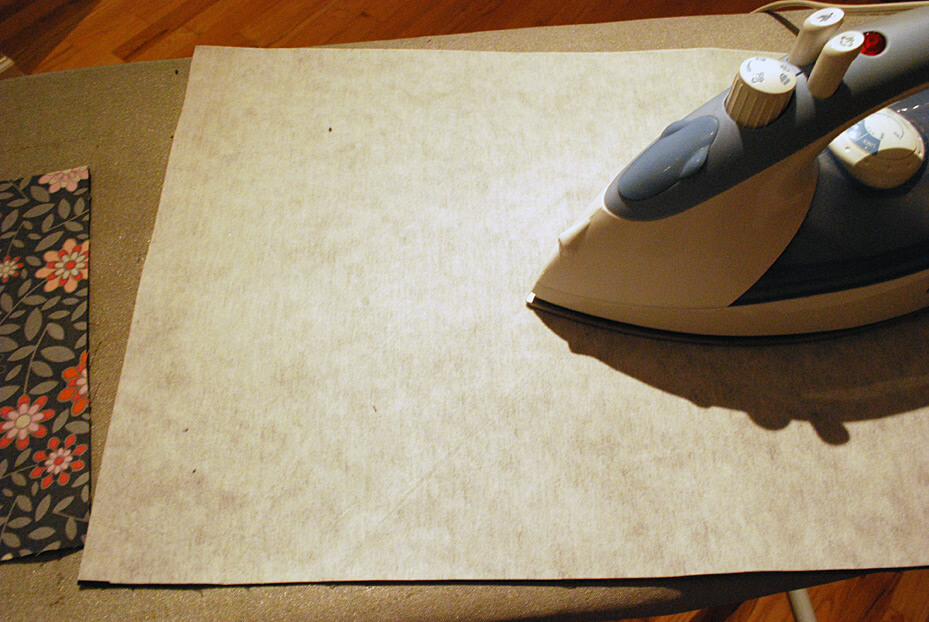
Interfacing:
- One 12″ X 17″ piece of iron-on interfacing for bag outside
- One 9.5″ X 8.5″ piece of iron-on interfacing for flap

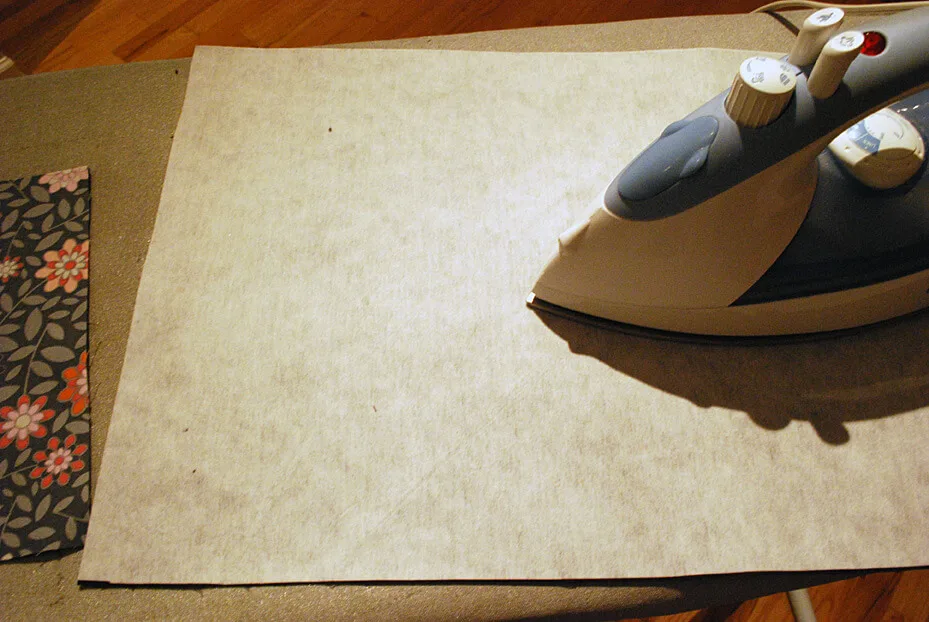
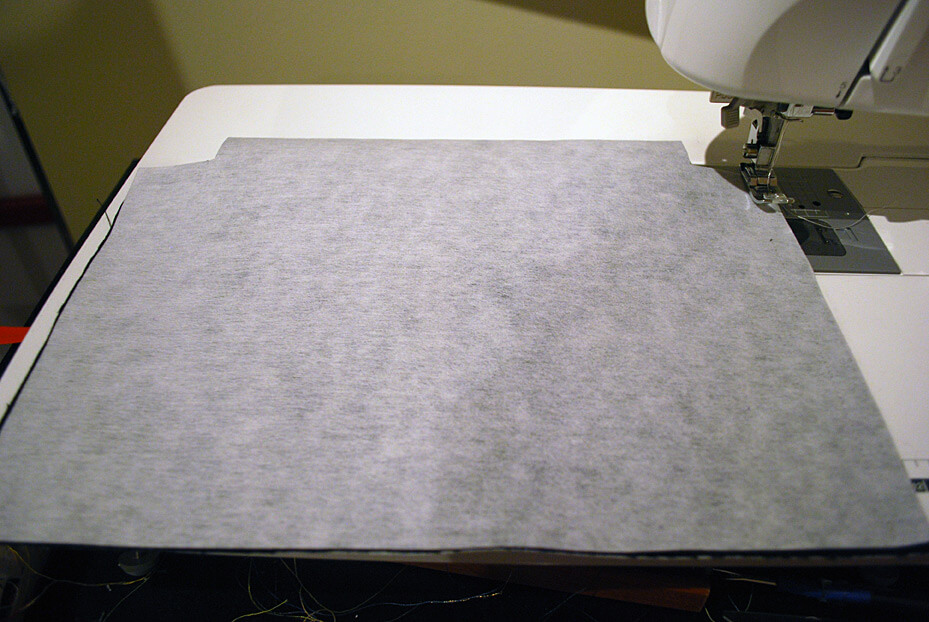
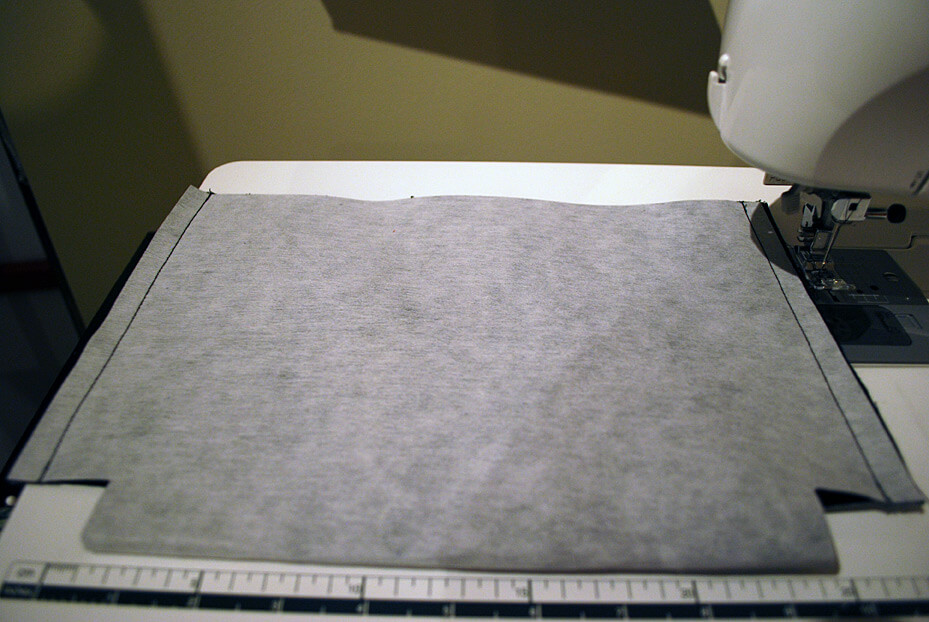
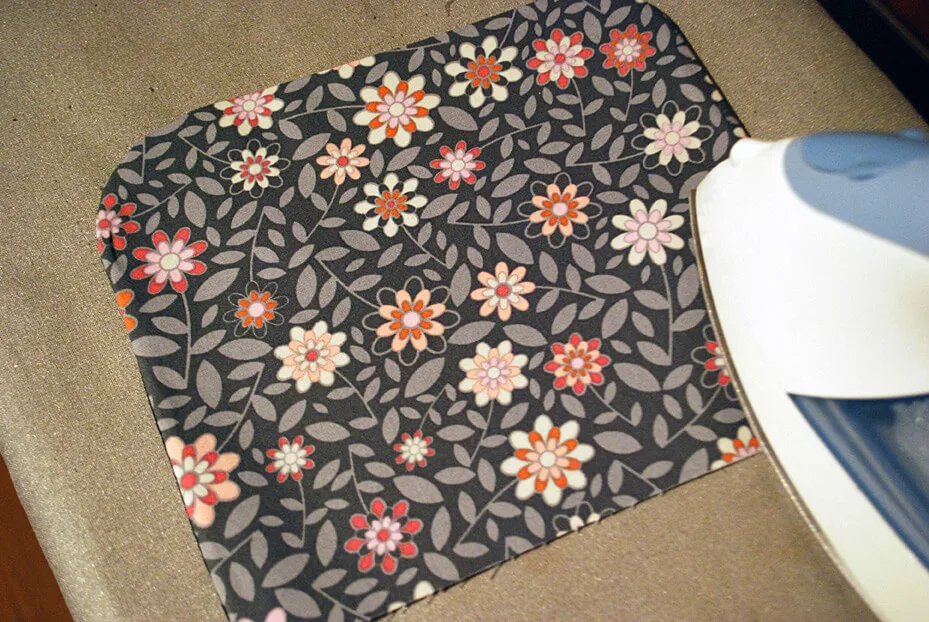
Iron on your interfacing to the wrong side of the bag outside.
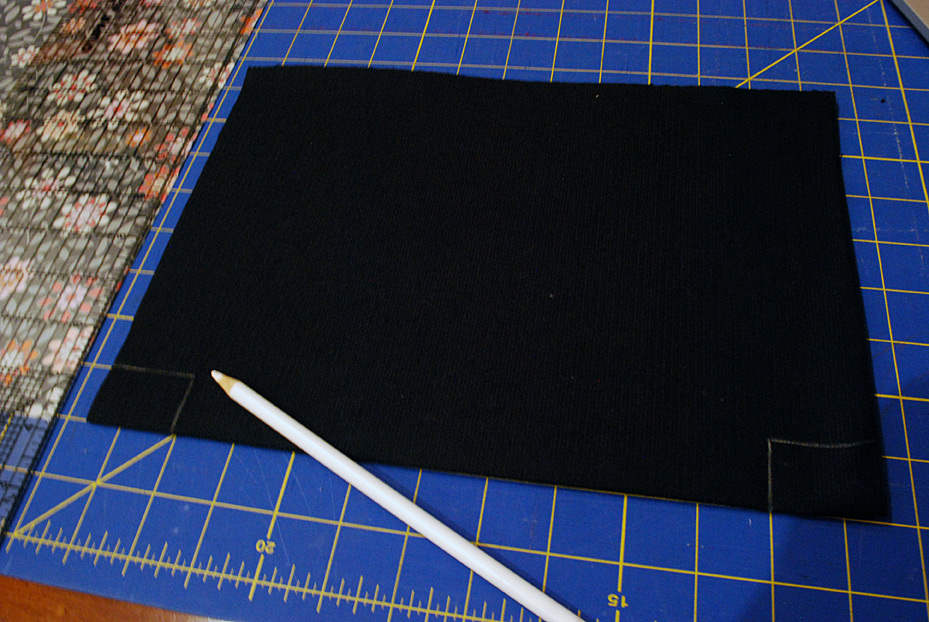
Fold your bag outside piece in half to make a rectangle. Draw teeny rectangles in each corner along the fold, 1″ tall by 1-1/2″ wide. This is going to make your messenger bag bottom.

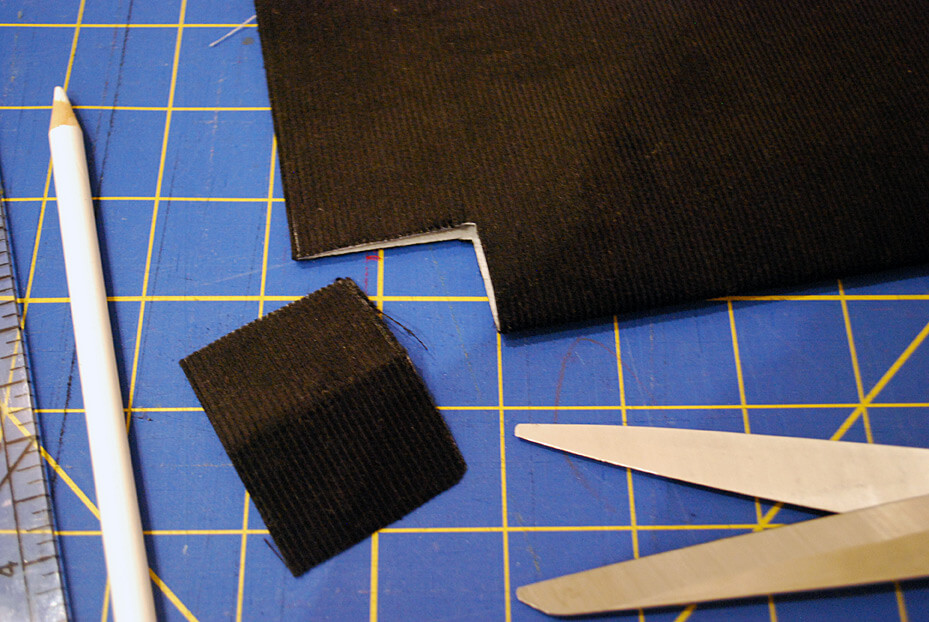
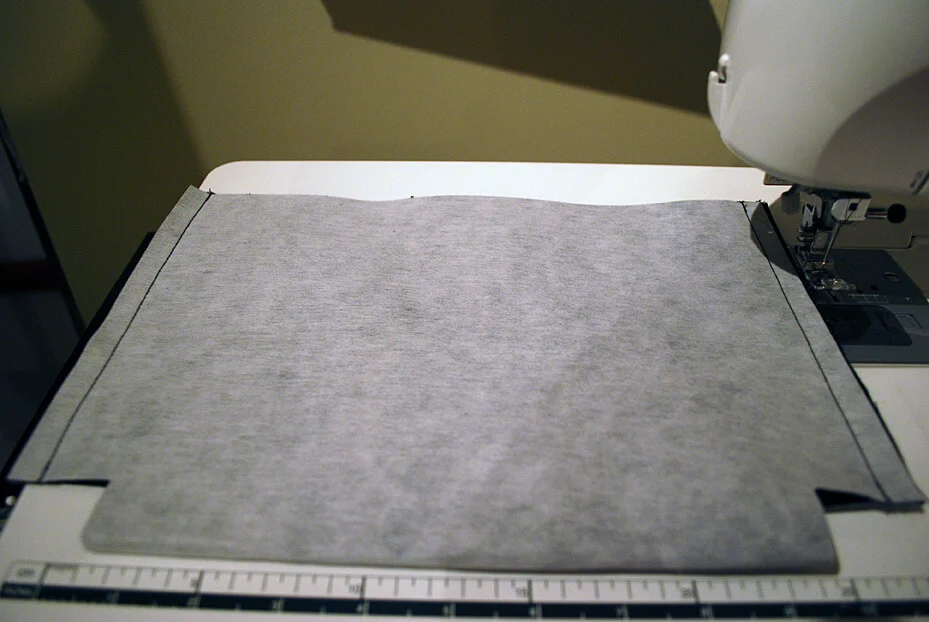
Carefully cut out the marked rectangle from each corner (which is actually a larger rectangle because you’re cutting across the fold).
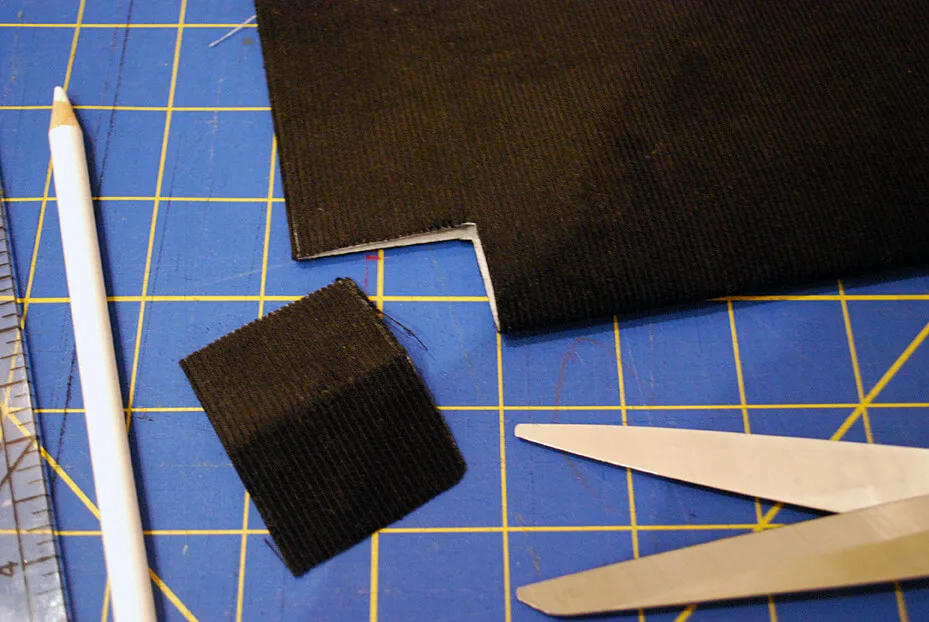
Repeat the folding, marking, and cutting on the lining piece of your kid’s messenger bag.


Step 2: Sew the lining of the kid’s messenger bag
Now if you’re going to add an interior pocket, this is the time to do it.
Go to my bird handbag tutorial to add any interior pockets. Any questions, let me know.
Now let’s sew up the lining.

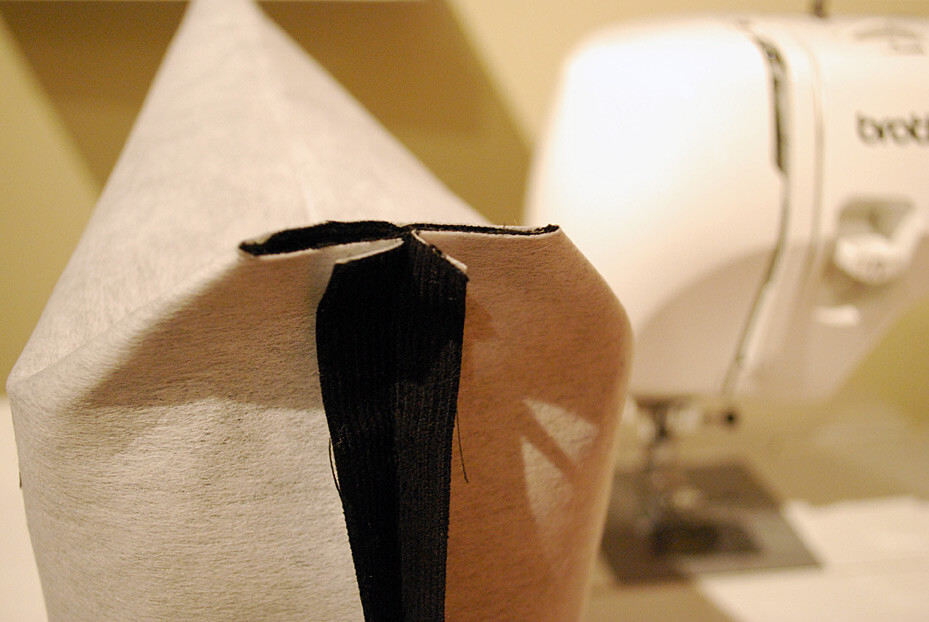
Sew the left and right sides of the lining using 1/2″ seams, making sure to leave both the cut out rectangles at the bottom and the top of the messenger bag lining unsewn.

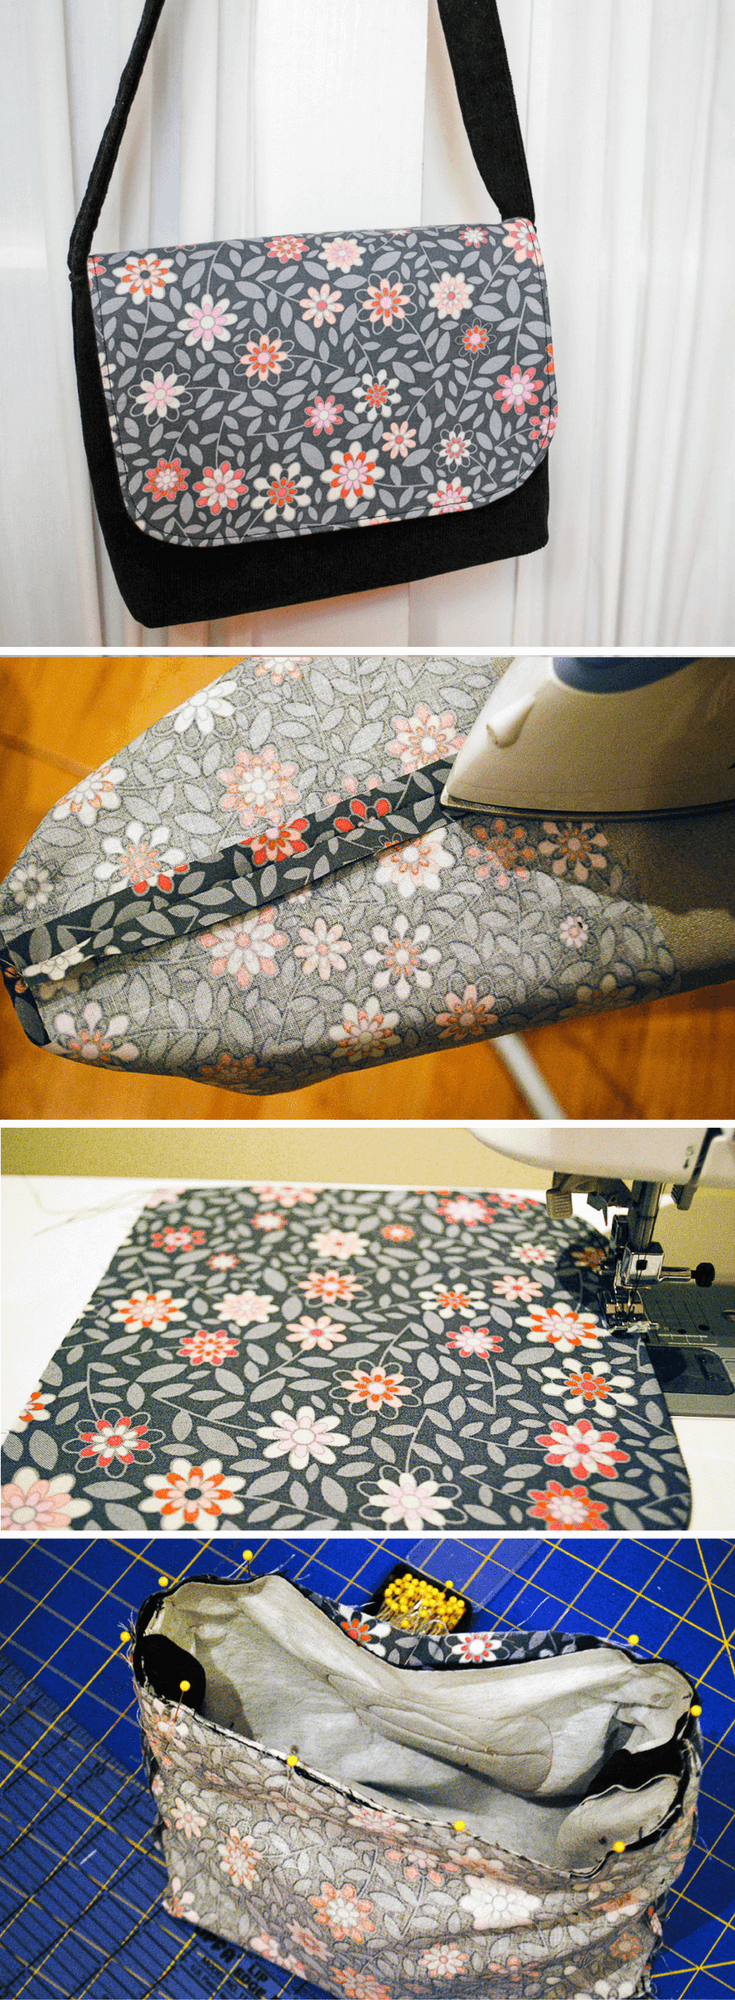
Iron the seams open. Pretty.

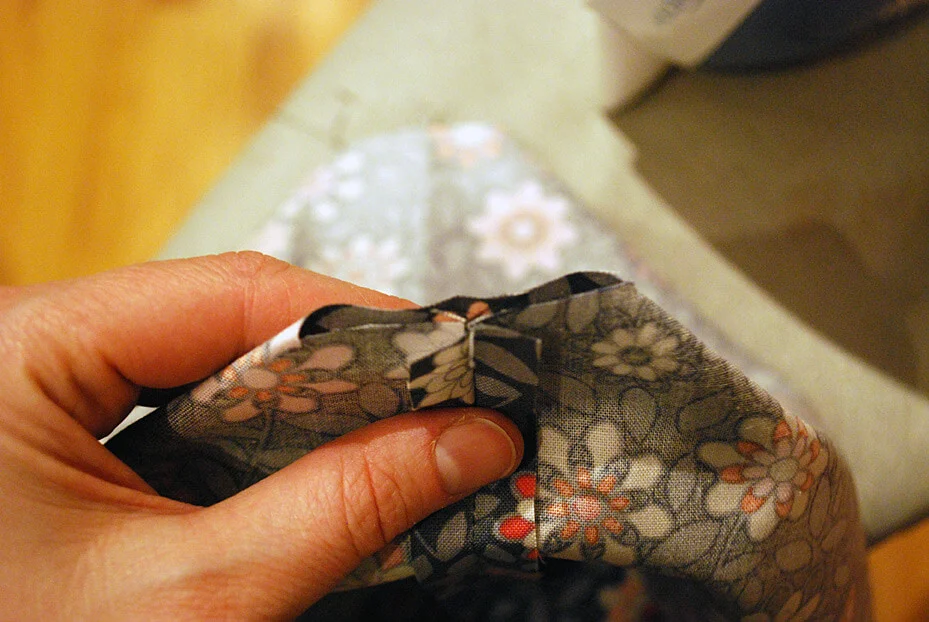
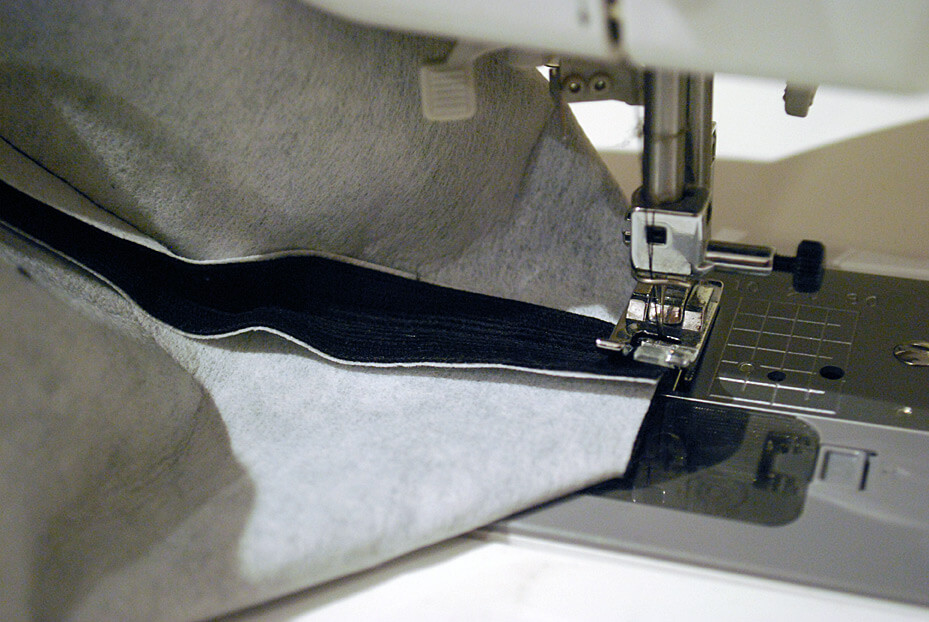
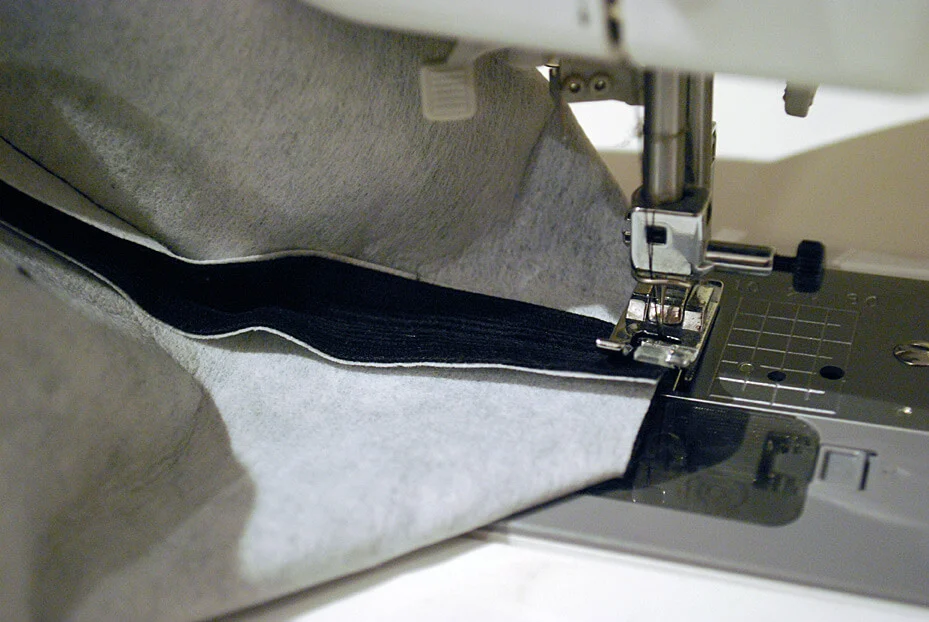
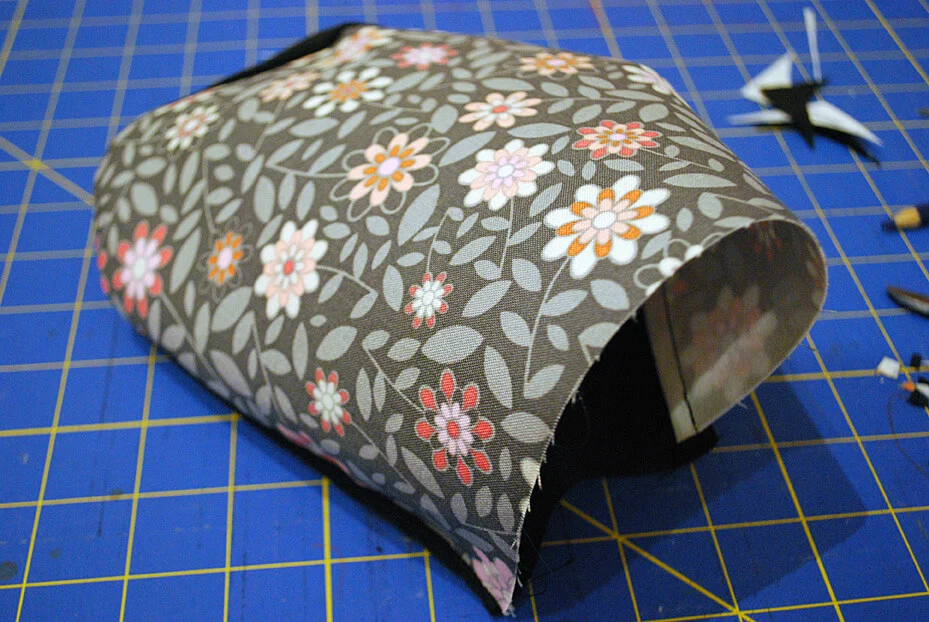
Now this is the magic part. Squeeze the unsewn corner rectangles into a flat sandwich with the seam in the middle. See how it’s making a bottom?

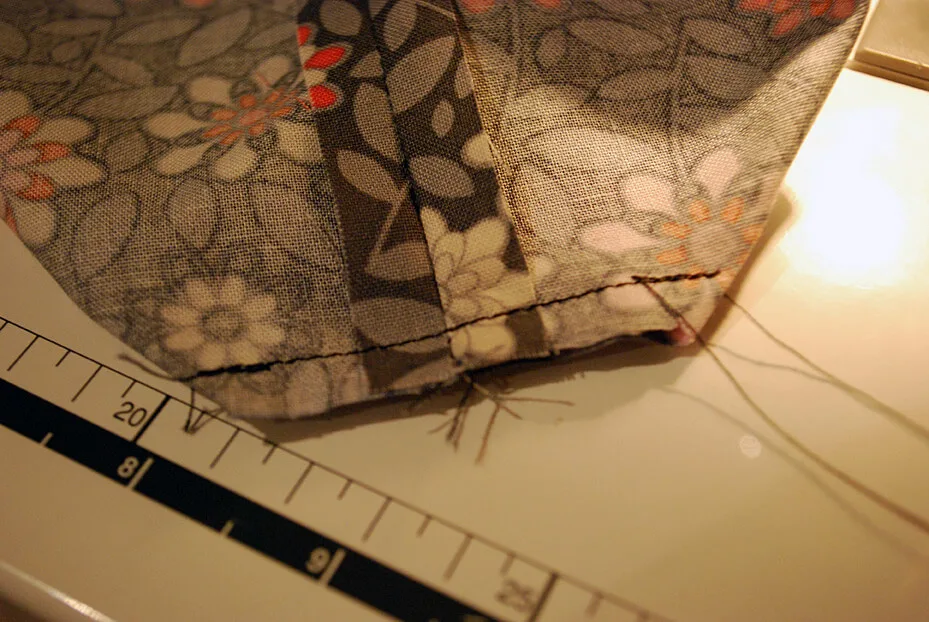
Sew 1/2″ from the raw edge to secure. Repeat on the other side.

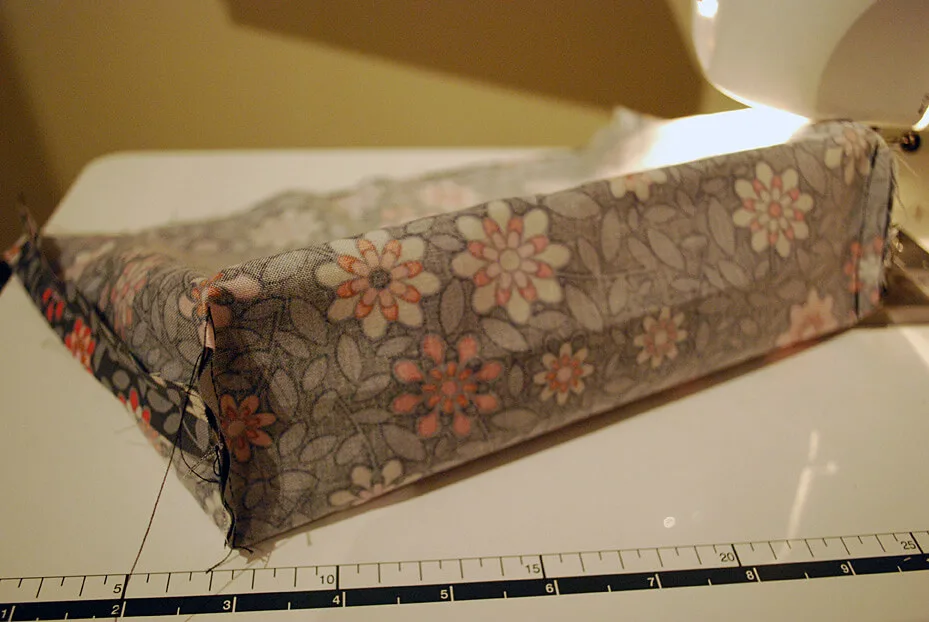
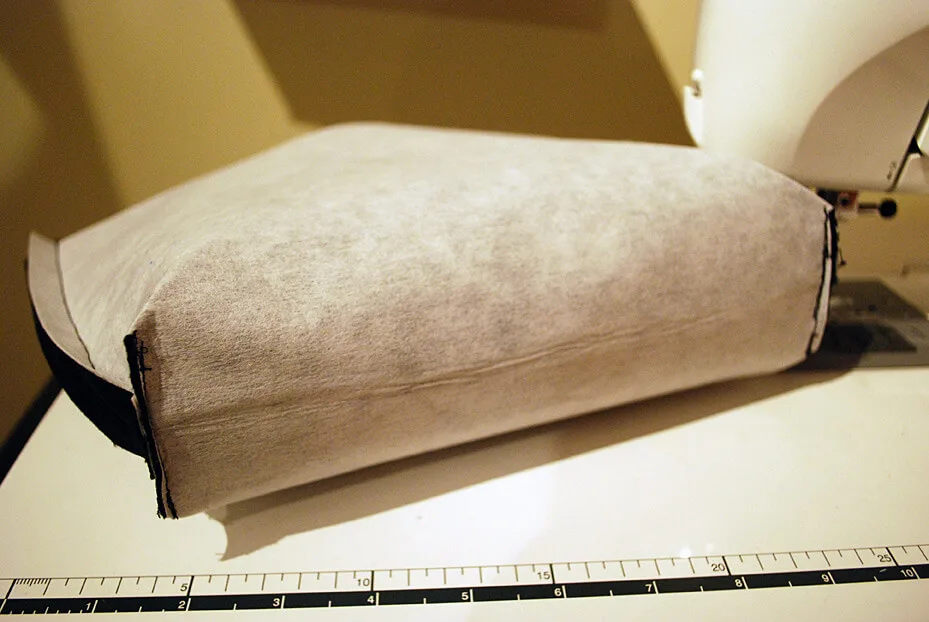
And here is your lining bottom. Let’s move to the messenger bag outside …but first, I’m going to add in a surprise for Elise.
Step 3 (Optional): Add a special peek-a-boo friend

Here’s how to make an optional peek-a-boo monkey or any other special friend that your kid would like to see. Now alternatively, you could put an exterior pocket here if you’d like, just see my medium shoulder handbag free sewing pattern to see how to make a pocket.
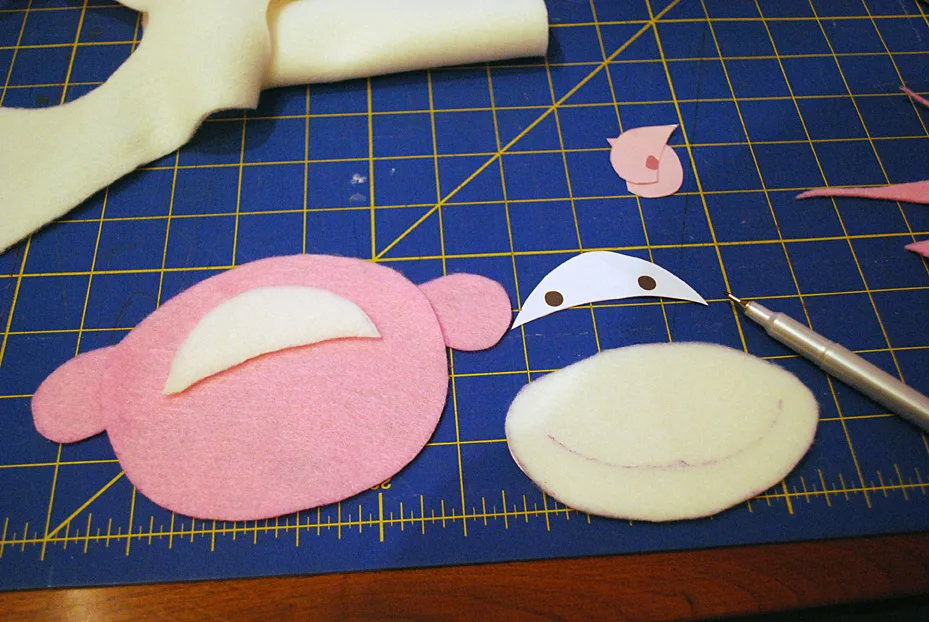
Cut out your special friend from felt. Mark the mouth and use embroidery thread to make a smile.
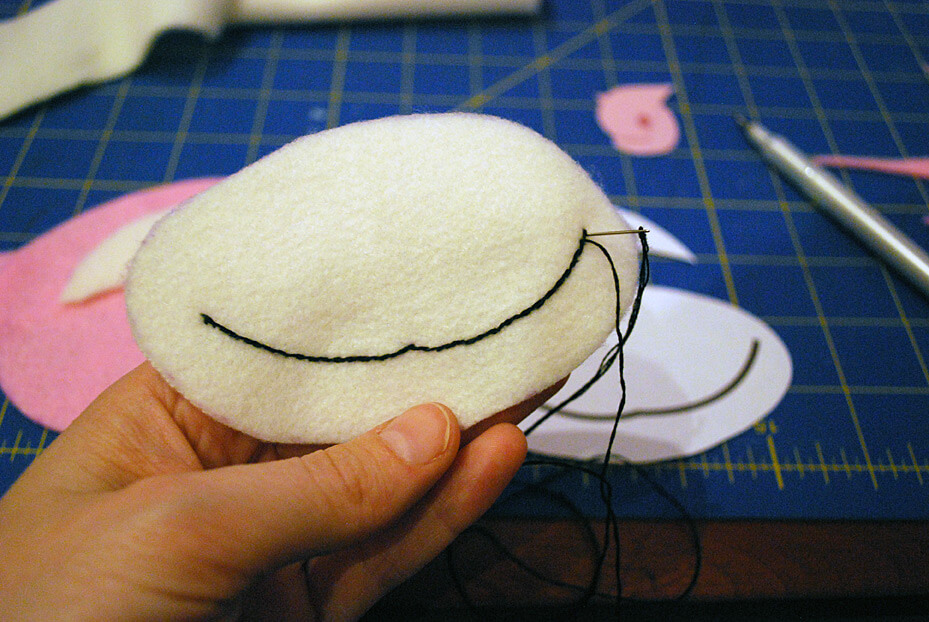
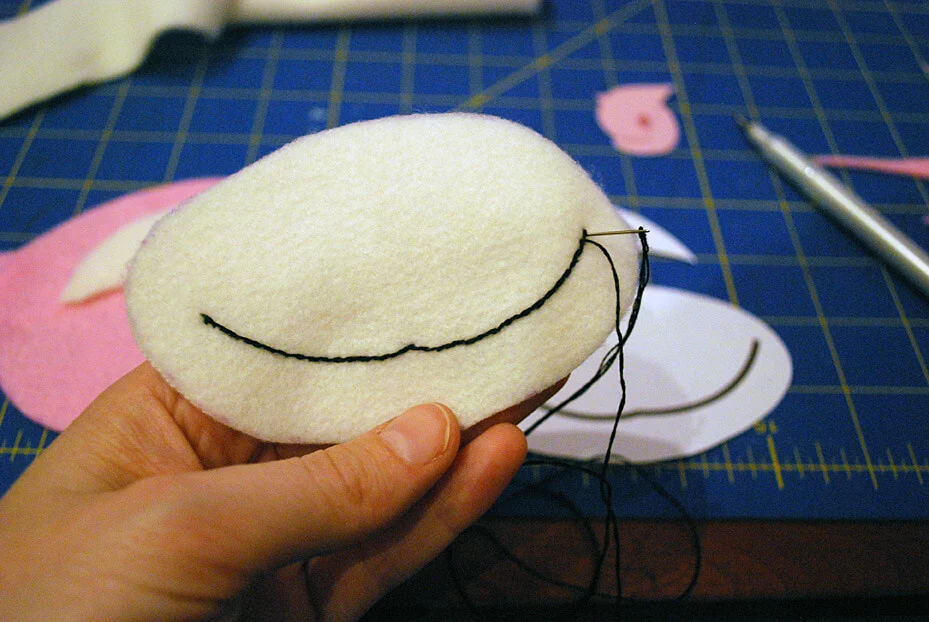
And fill in the eyes using embroidery thread like I did here and also on my Halloween no-sew felt and VELCRO One-Wrap bracelets.

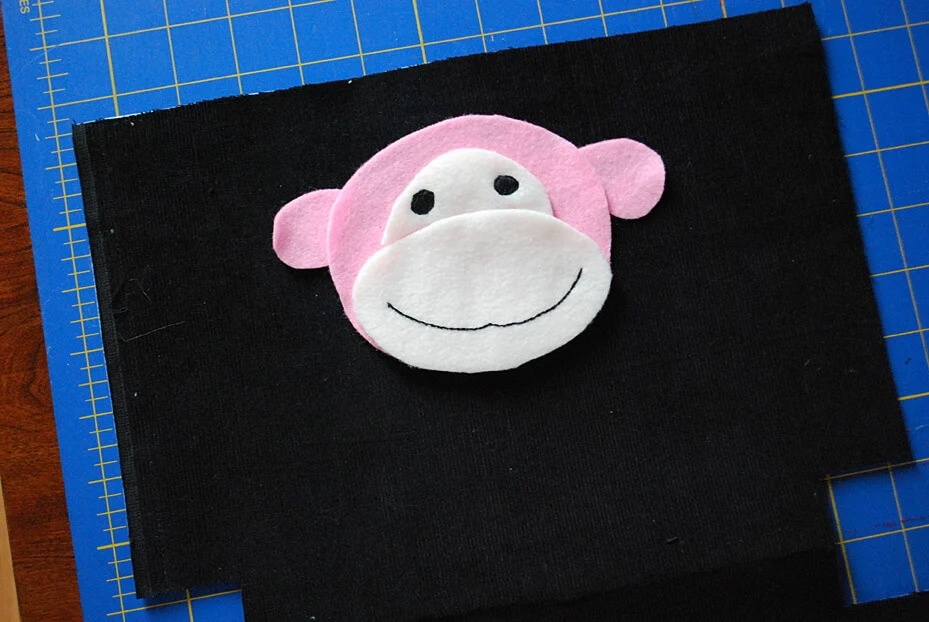
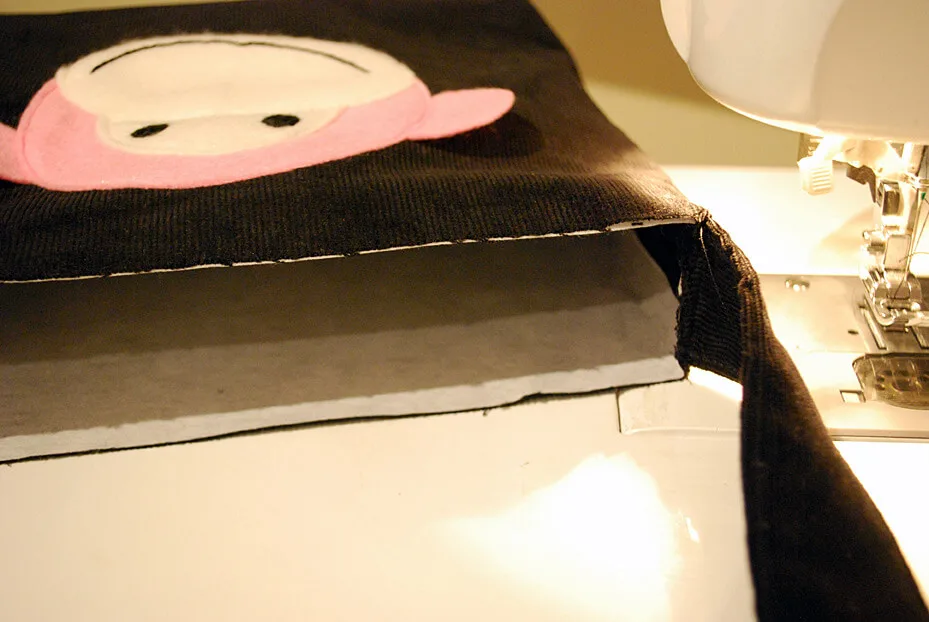
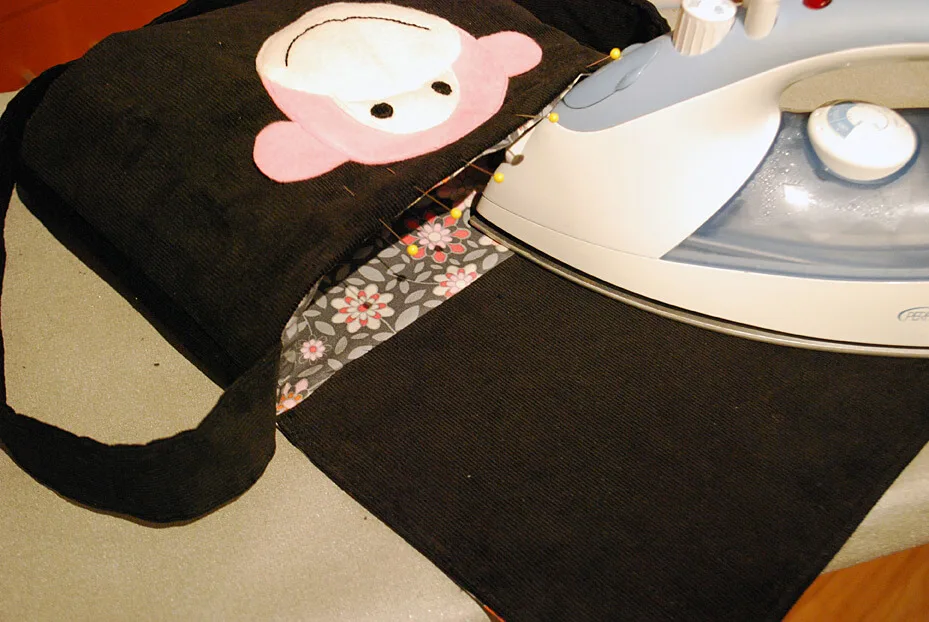
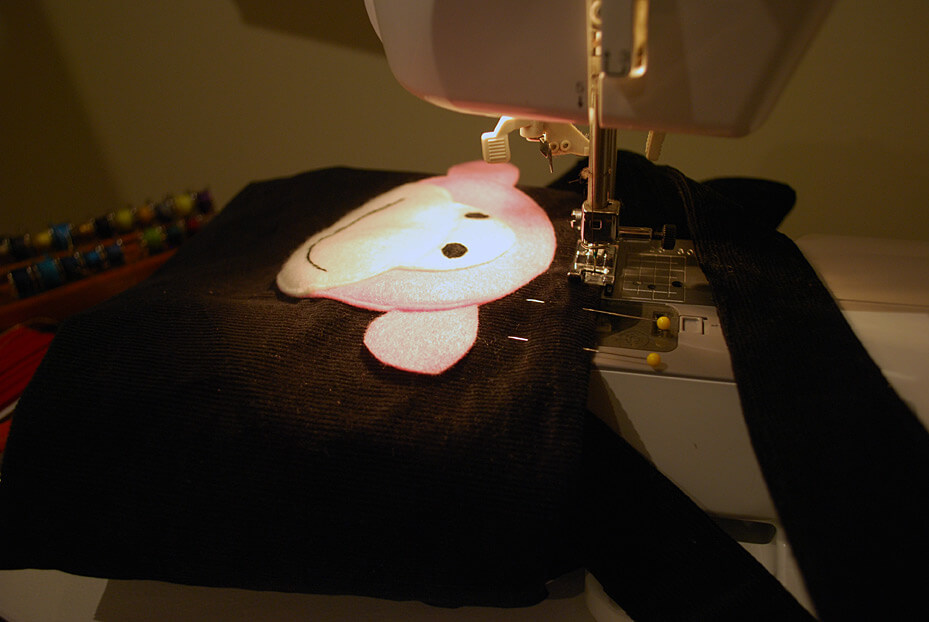
Place it centered on the bag outside piece about 1″ or 1-1/2″ from the top edge.

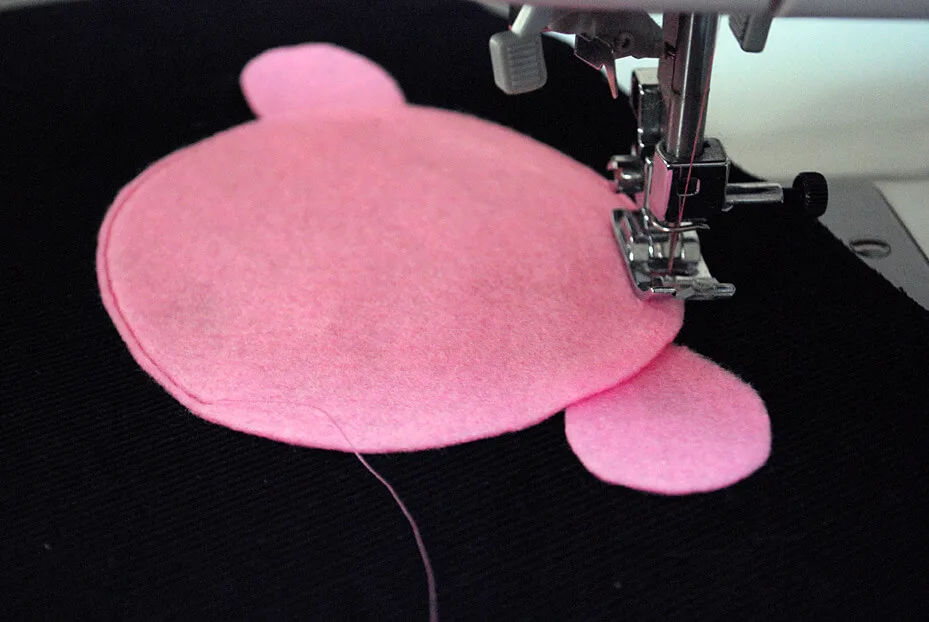
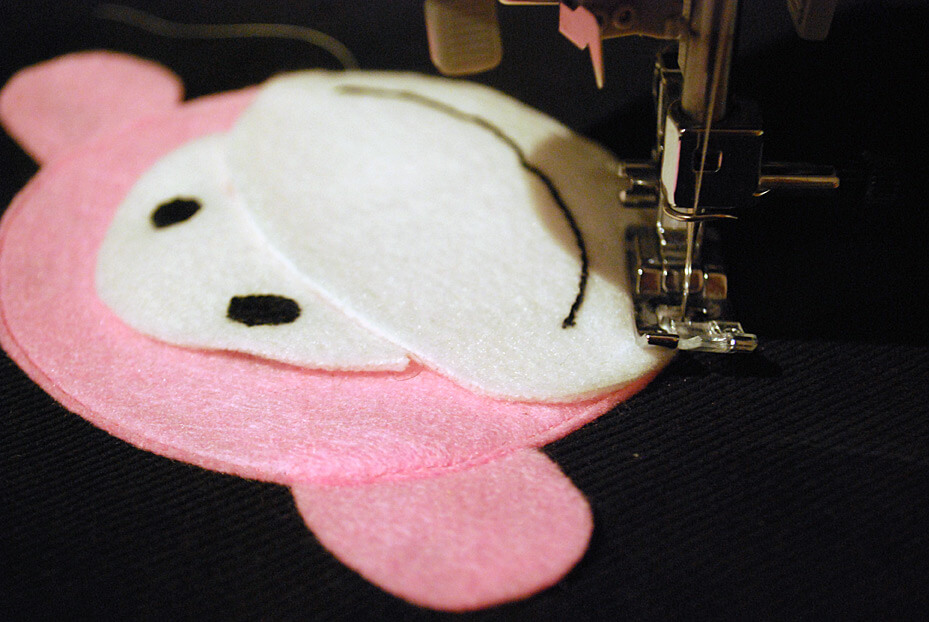
Sew close to the edge of the felt pieces to secure them to the bag outside. I left the monkey ears loose on the sides.

Step 4: Sew messenger bag outside
Now fold the handbag in half right sides together.

And sew 1/2″ seams making sure to keep the cut rectangles and messenger bag top unsewn. Iron open the seams. Sounding familiar?
Pinch the cut rectangles together with the ironed seam in the middle.

And sew to close the messenger bag bottom.
And here’s your handbag bottom.

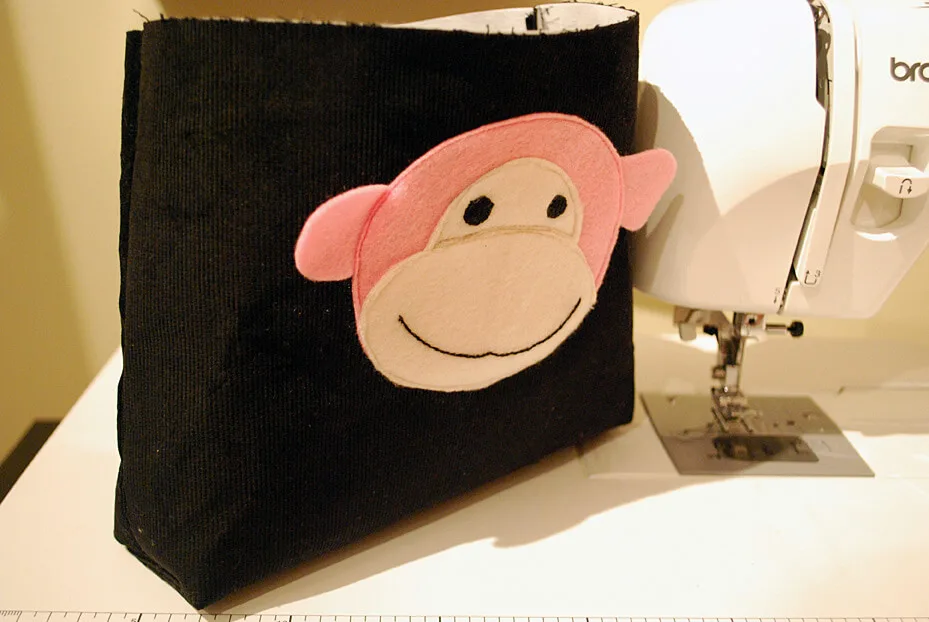
Turn it right side out. Hi little Pink Monkey!

Step 5: Sew messenger bag strap
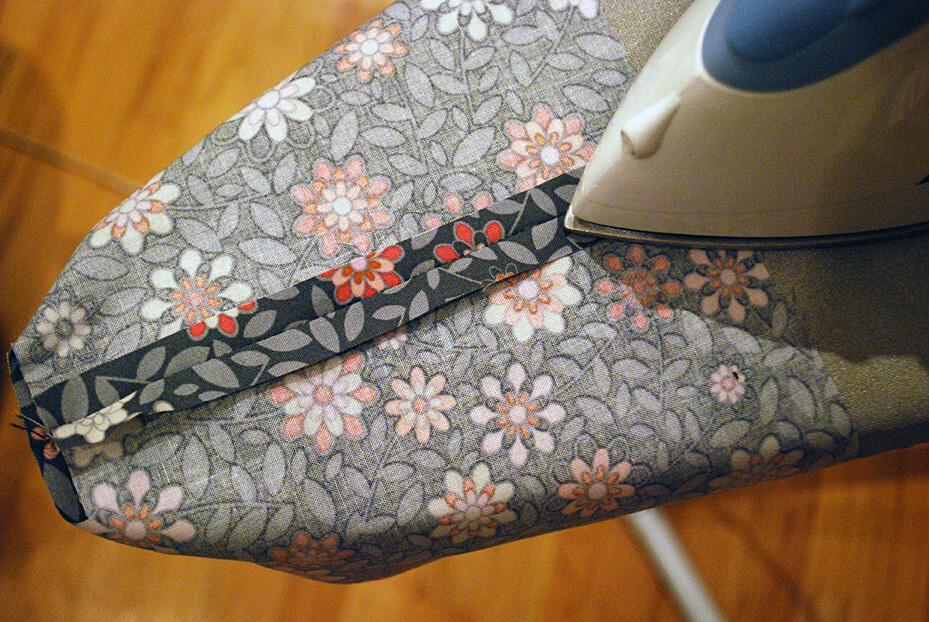
Cut one 26″ x 8″ long rectangle for the strap. (NOTE: Measure your child and add or subtract strap inches as needed). Fold the strap piece together length-wise and iron. The strap piece is 8″ wide so after you iron it you’ll have a 4″ width piece.
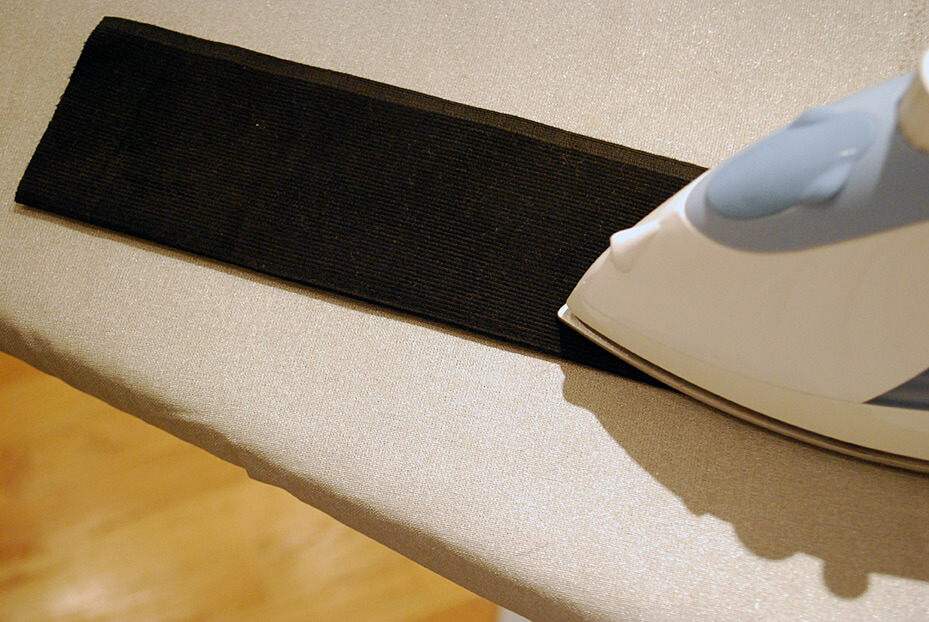

Now open up the ironed edge and carefully fold the sides in half again. This will make a 2″ strap.

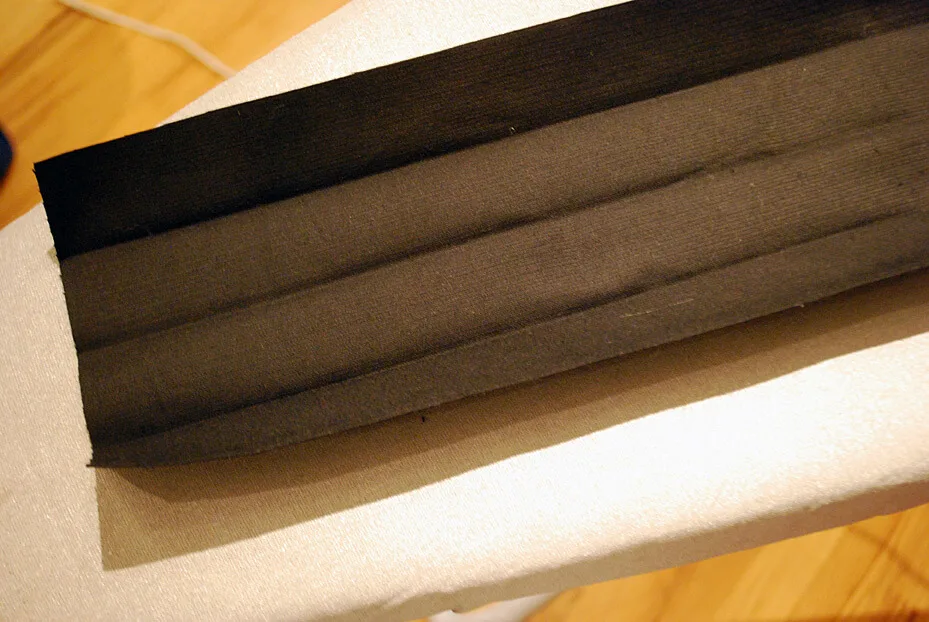
Iron it all as flat as you can.

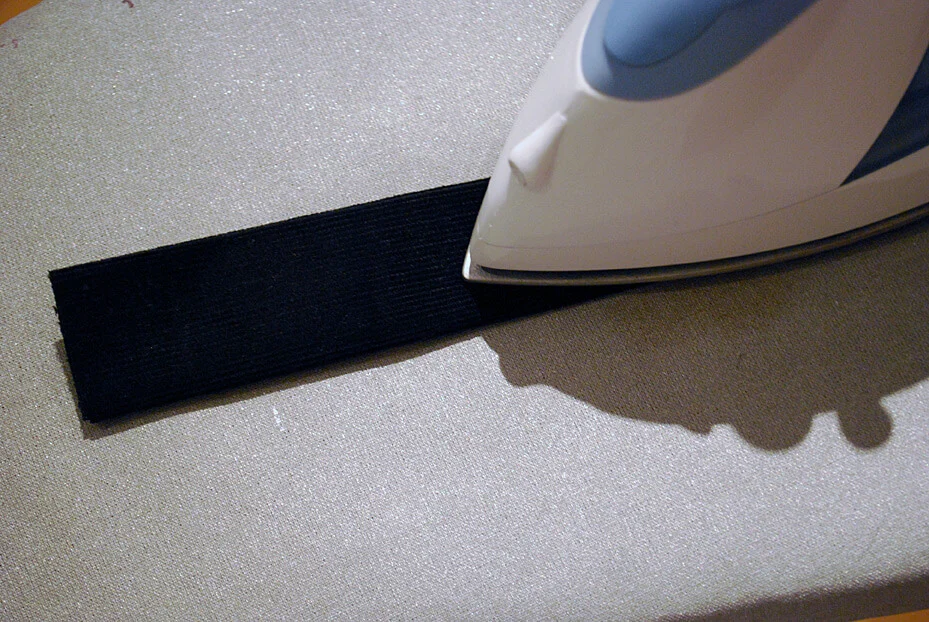
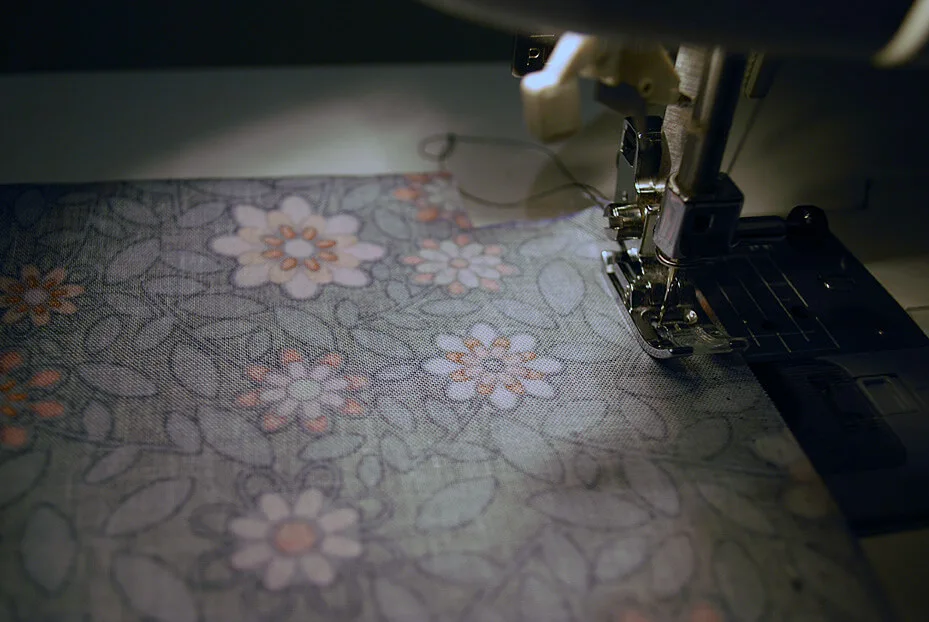
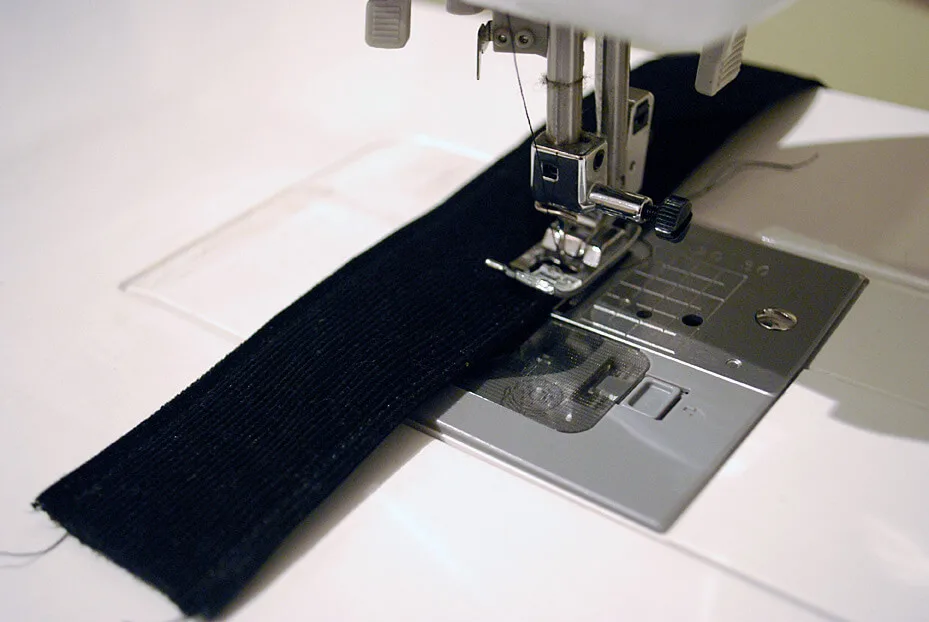
And topstitch close to the edge all sides around the messenger bag strap.

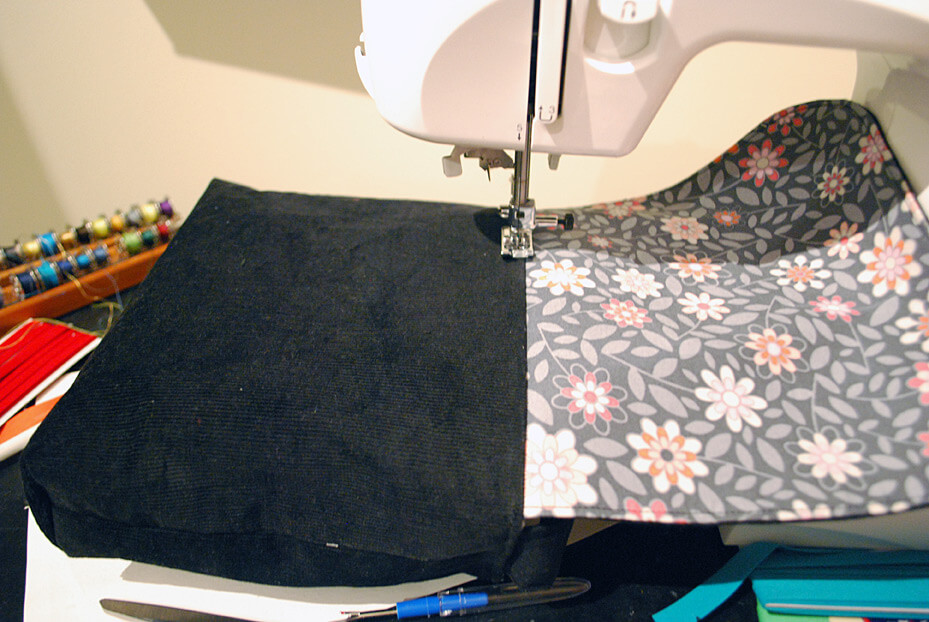
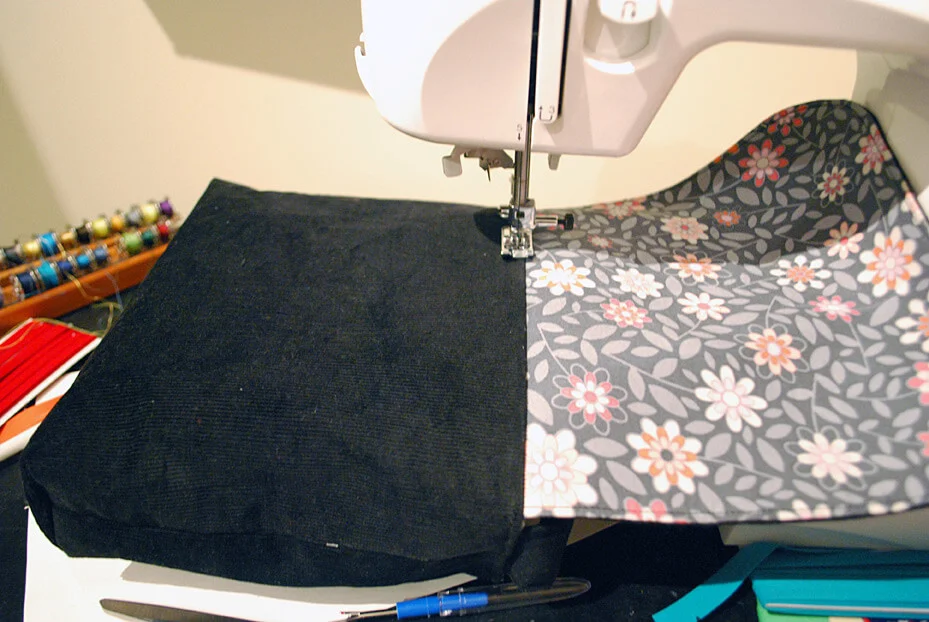
Now you’re going to attach the strap to the bag. Line up the raw edge of the messenger bag outside together with the raw edge of the strap, with right sides together (just pick on of the strap sides to be the right side), and pin. Sew 1/4″ close to the edge back and forth a number of times to make sure it’s really secure. Repeat on the other side.
There’s a better photo of this on the “Make Straps” step of my Baby Bird Silhouette Handbag tutorial as I forgot to take a photo for this bag.
Step 6: Sew and attach messenger bag flap
Cut two 9.5″ X 8.5″ rectangles of fabric and one 9.5″ X 8.5″ piece of iron-on interfacing for flap. Iron on interfacing onto the outside piece of the flap. Put the flap piece onto your cutting surface.
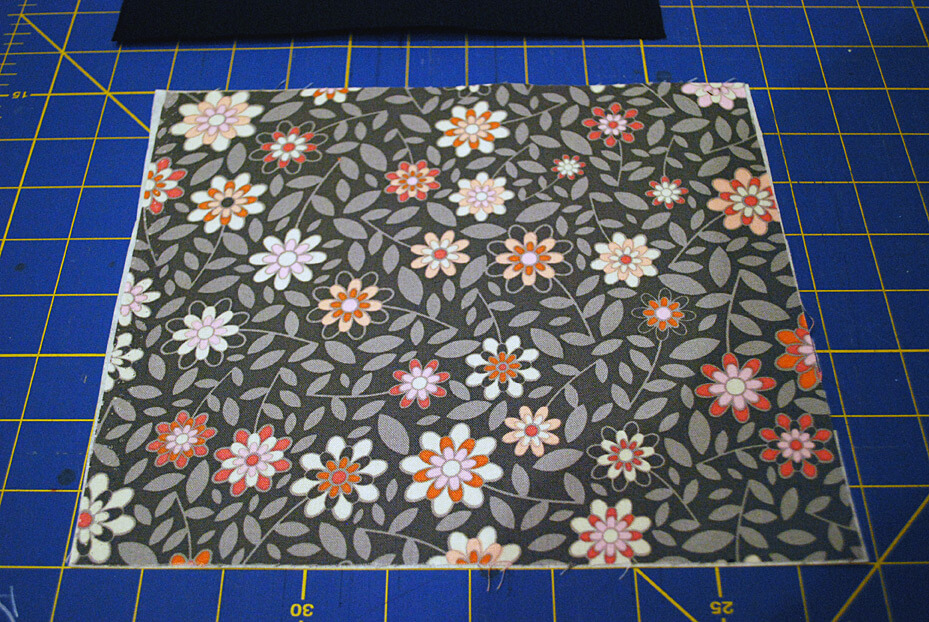

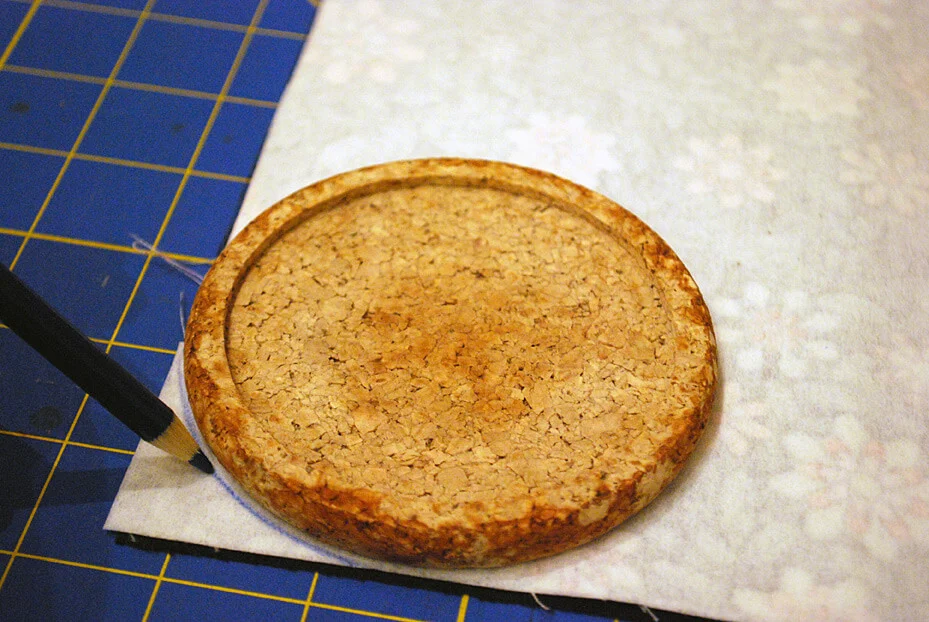
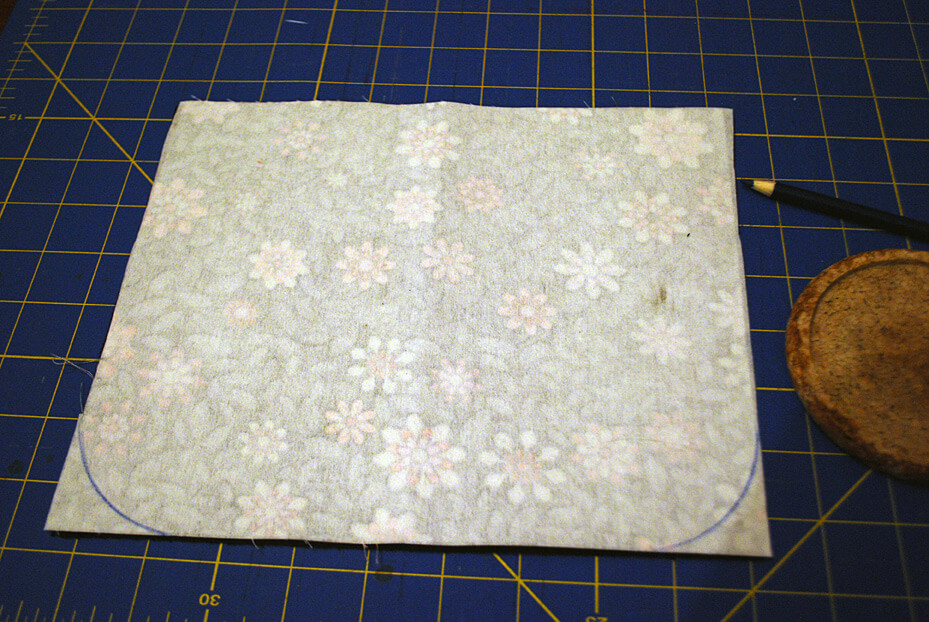
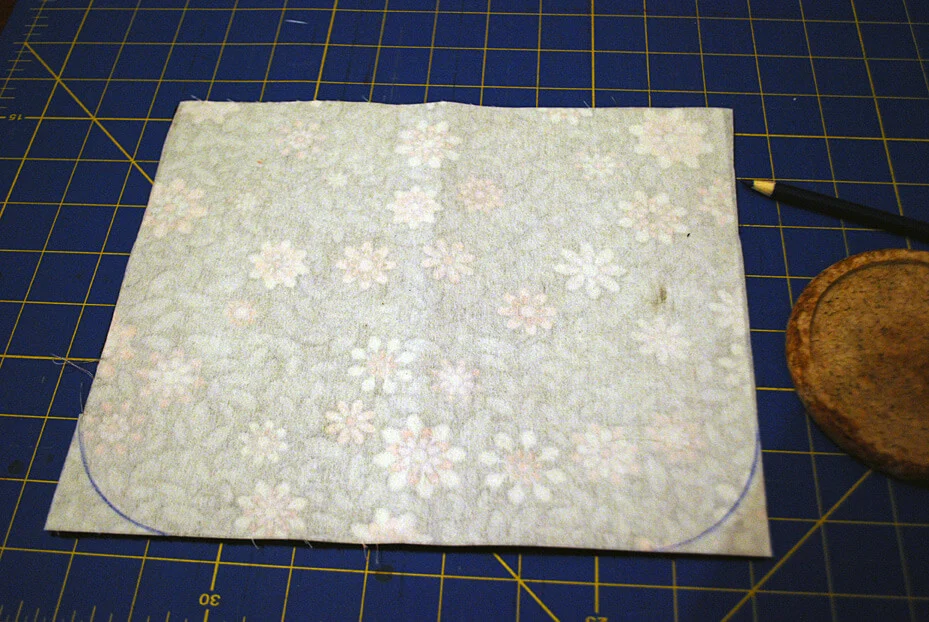
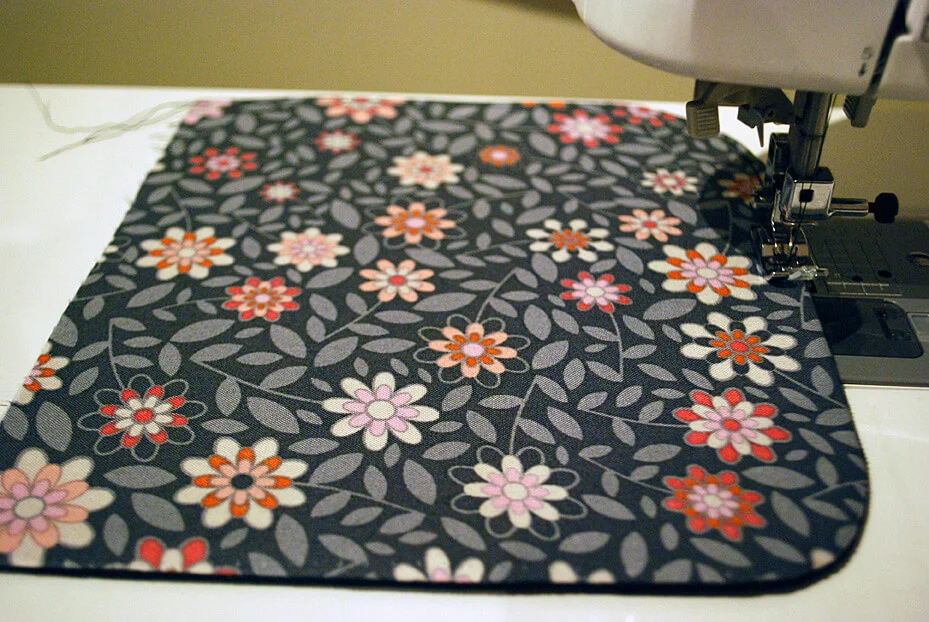
I rounded off the corners for my flap like I did on the corners of my free apron sewing project but you can leave them as corners if you’d like. If you do want rounded corners like mine, place a coaster or a glass on the bottom corners and trace the curve.

Cut off the corners and repeat on the other flap piece.
Place the flap pieces together, right sides together, and sew 1/2″ inch seams (making sure to leave the top edge unsewn so you can turn it) and clip the curves.


Turn the messenger bag flap right-side out.
And iron it flat.

Top stitch close to the edge.

Place the right side of the flap against the back of the messenger bag. Sew the flap to the back side of the messenger bag 1/4″ from the raw edge.

Step 7 (last step!): Attach lining to the bag
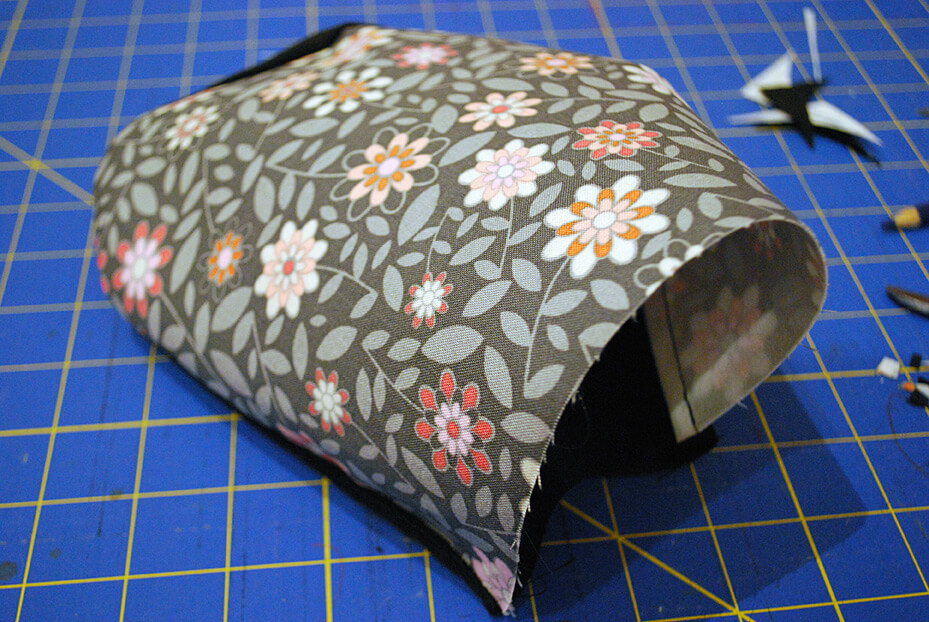
With the lining inside out, slip the outside messenger bag/straps/flap *inside* the lining so that there right sides are together. I know, it sounds weird. It’ll look like this:
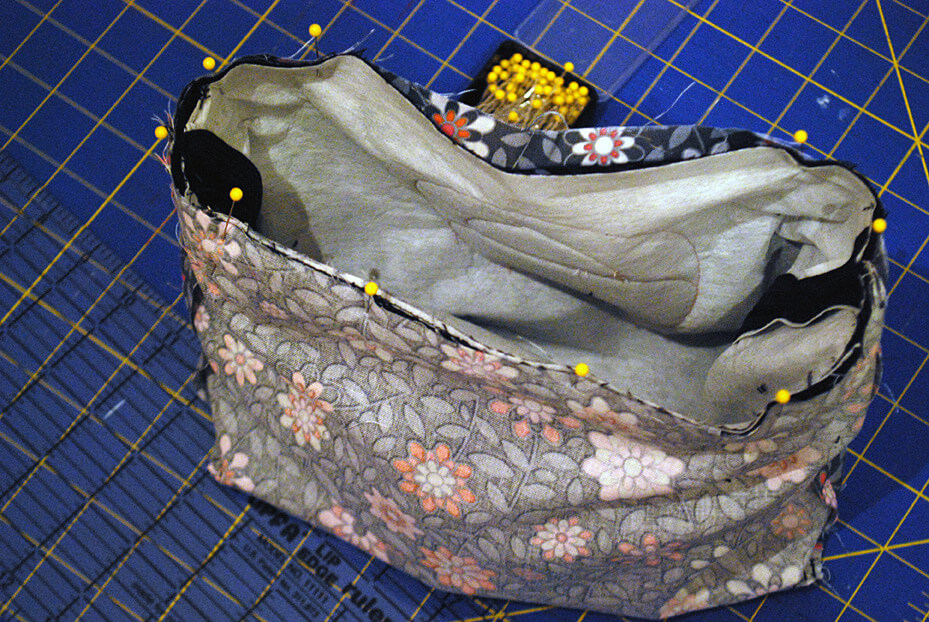

I followed this tutorial from mmmcrafts for how to do this “connect the flap” part. She has illustrations that are easier to follow than my photos so go check them out.
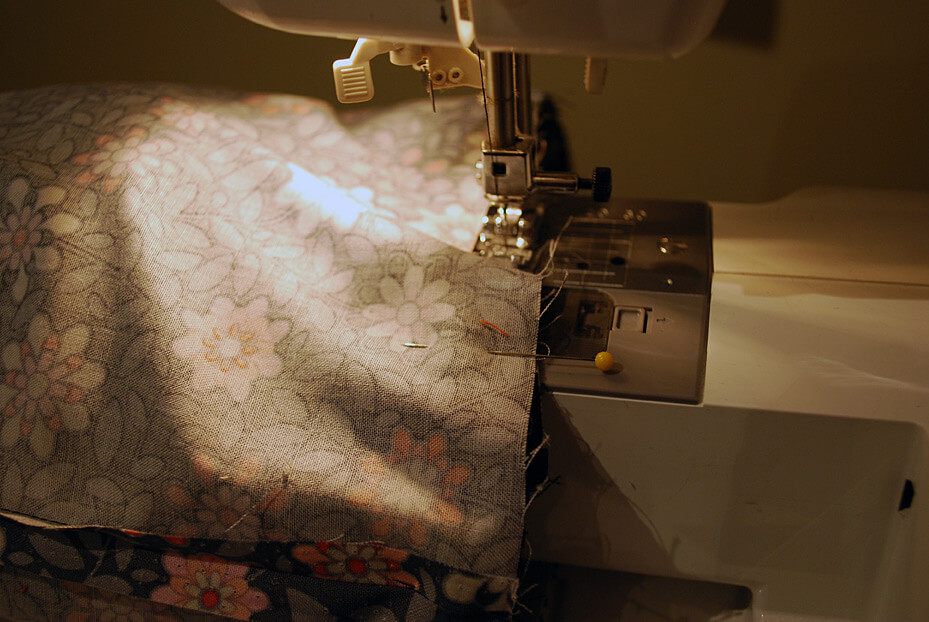
Sew around the lining 1/2″ leaving about 6 inches open to turn the messenger bag right-side out in a minute. Again, check out the illustrations here for a good visual.

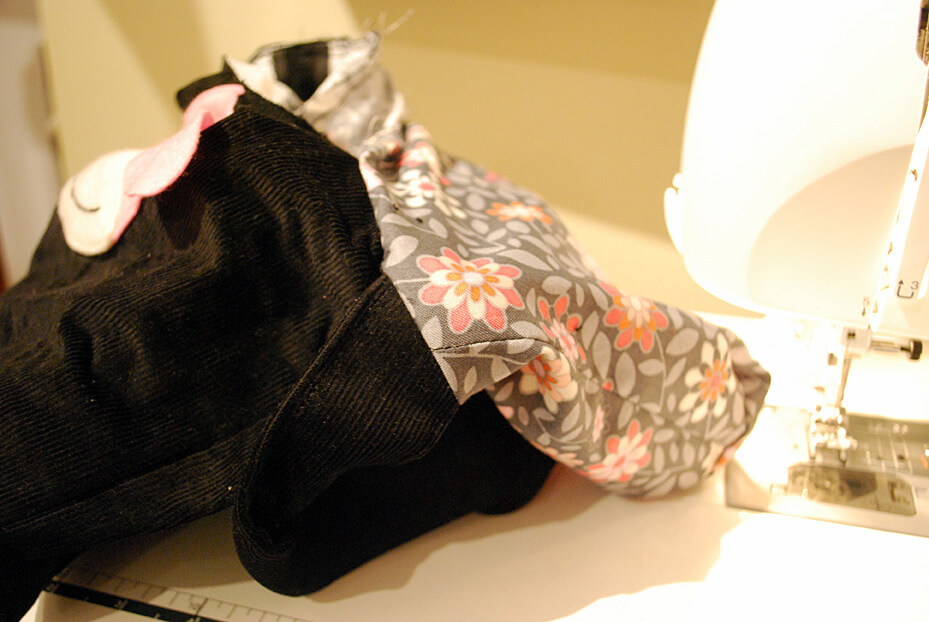
Now turn it through the open gap.

Pin the open gap shut…
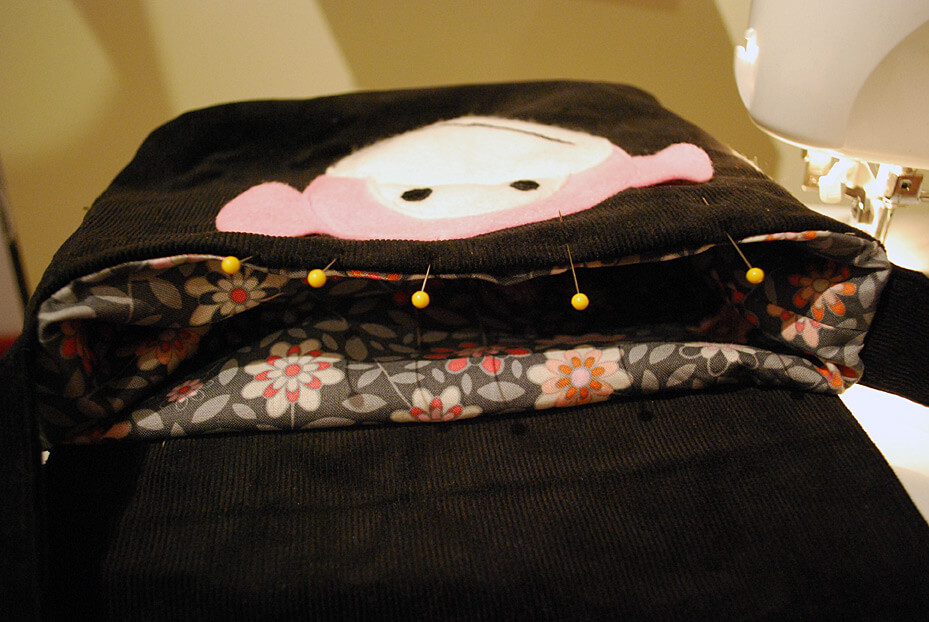

…and iron (or vice versa).

Topstitch around the messenger bag edge which will close your open gap…

…and also reinforce the flap a bit more.
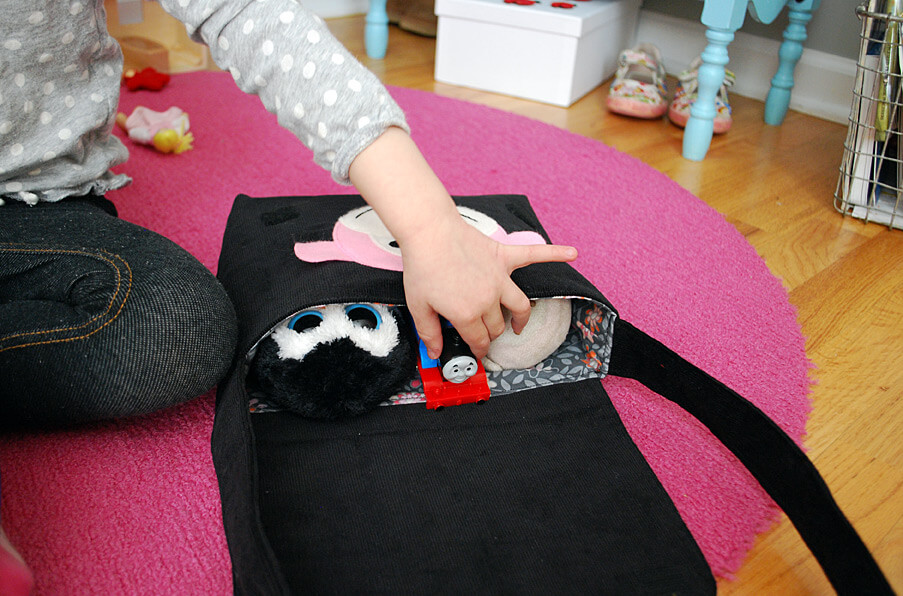
I added some VELCRO Brand Fabric Adhesive fasteners (if you want to use the sew-on fastener then you can affix those earlier when you’re making the bag outside and flap). Now it’s ready for your kid to fill with Thomas the Train and other take-along treasures.


Be sure to pin it for later.
And here’s a longer step-by-step pin:

—
Like it? Share it!
The nicest way to say you like it is to pin it on pinterest, post a comment, follow Merriment Design on Facebook, twitter, pinterest, Google+ or sign up for monthly emails. Enjoy! 🙂
Copyright stuff: You’re more than welcome to use this free project and tutorial for personal use. Contact me for commercial use and etsy sales.
RMiller
Saturday 10th of November 2018
Thanks so much for this tutorial. I was looking for a pattern or instructions to make a child-sized messenger bag to hold art supplies. Now I can get started!
Kathy
Wednesday 14th of November 2018
That's great to hear! Happy sewing!
Krystal
Tuesday 6th of November 2018
Do you recommend using corduroy for the outside of the bag, or will cotton work just as good?
Kathy
Tuesday 6th of November 2018
Hi Krystal! Cotton would be great for this bag. You may want to add some interfacing to the outside cotton piece. My favorite interfacing is actually blackout drapery lining that you treat like sew-in interfacing (basically, just layer it behind your cotton and pretend the two pieces are just one piece. Drapery lining gives a good, non-crunchy feel that works really well for bags ...or you could use iron-on kind too. Happy sewing!
Joyce Check
Monday 18th of June 2018
I can't find where to print pattern for kids messenger bag
Kathy
Thursday 9th of August 2018
Hi Joyce, I see that you were asking about printing a pattern. Currently, I just have measurements to cut your own rectangle shapes rather than downloading printable pattern pieces, but adding an actual paper pattern is a good idea and I'll work on that. Thanks for visiting, and happy sewing!
Cari
Saturday 20th of January 2018
Hi there! I'm a new sewer and working on this bag. I can't figure out where to do the straps! is it on the sides (where the side seams are, or more in the back? I've turned the bag (finished it,) but the straps are trapped! :)
Thanks! Cari
Kathy
Sunday 21st of January 2018
Hi Cari, I emailed you too but for future readers: the straps go on the sides with the seams. I loved seeing your bag so much! Thanks a bunch for sending me a photo :)
Joanna Barile
Monday 4th of September 2017
I made this for a little girl... thank you for your clear instructions...