

This curved baby burp cloth free sewing pattern is reversible, recycled, and super easy to make — you’ll be able to knock out this DIY burp cloth pattern in no time flat.
During my nesting frenzy before our son Liam was born, I rummaged through all our towels (among other things) and set aside the ones that had seen better days. This gray one had frayed edges but was softly broken in and I still liked the shade. So I put the towel into my “keep” pile to think about what I could make with it.


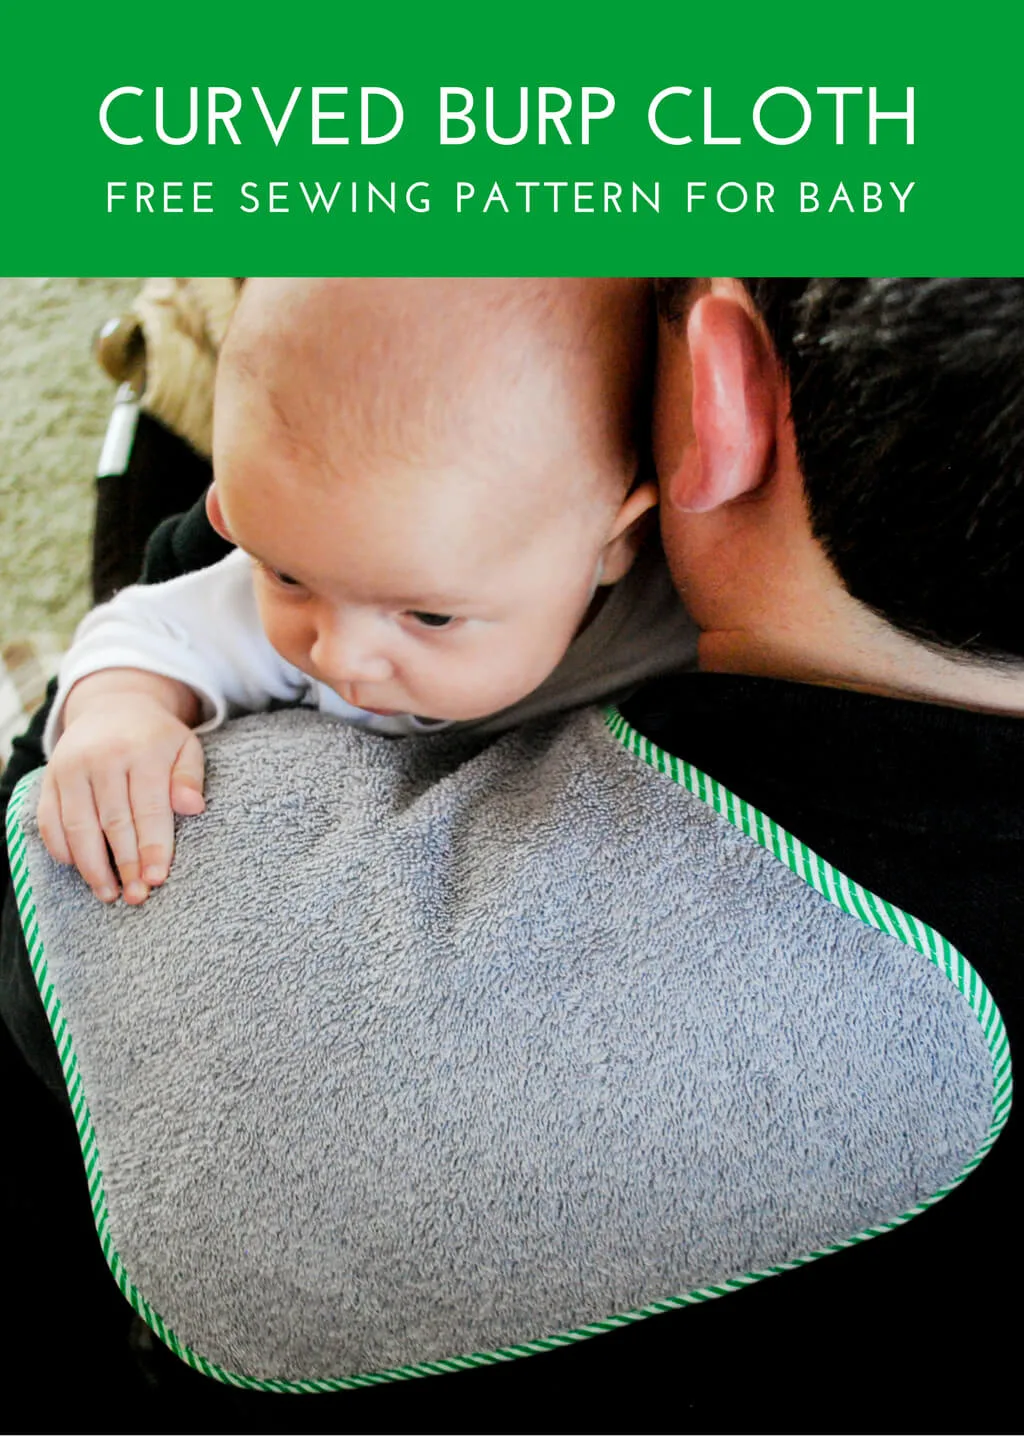
Meanwhile, I saw these curved burp cloths at a local baby boutique. Hmm, all of Elise’s burp cloths are not only pink but also rectangular (including the burp cloths that I made with loops for holding toys or binkies and my Planes, Trains and Automobiles burp cloths). I liked the idea of a curved, reversible baby burp cloth pattern that would fit nicely on my shoulder without bunching at my neck. So I sketched out this curved free baby burp cloth pattern using myself as a model.


You can either use recycled towels and bias tape like I did or just substitute cute cotton fabric on the front and either muslin or terry cloth on the back.


And the curve on these burp cloths works great for protecting chests and backs! I wish I would have made even more. Hmm, maybe I’ll have to fray some more towels on purpose…


WANNA MAKE IT? Keep reading for my free sewing pattern, step-by-step tutorial and supply list for making curved baby burp cloths –>


Supplies for making a curved baby burp cloth (with affiliates):
- Kathy’s free curved burp cloth sewing pattern (PDF)
- Recycled towels or organic terry cloth fabric (or substitute with cotton fabric on the front and muslin or terry cloth on the back)
- Air soluble fabric marking pen
- 1/2″ double fold bias tape or 1/4″ double fold bias tape (or make your own using the Simplicity Bias Tape Maker) – note, if you’re using a really thick towel or substituting cotton/muslin/terry then definitely use 1/2″ double fold bias tape
- Glass head pins
- Thread
- Good fabric scissors
- Sewing machine


How to make a DIY curved baby burp cloth:


Print my free curved burp cloth pattern (PDF) and assemble – print one middle and two front/back and tape together. Place on the top of your towel — I weighed mine down with Shane’s beer stein collection, a poor-man’s pattern weights. Trace around the pattern using an air soluble fabric marking pen.


Cut out the curved burp cloth using good fabric scissors. Now if you’re substituting a cotton fabric front and muslin or terry on the back, cut out one front and one back, wrong sides together.
Now it’s a good idea to follow my detailed “how to sew bias tape tutorial — no measuring or pinning required” to get the full instructions. I’ll just paraphrase here but do click over to the full instructions especially if you’re new to sewing on bias tape.
Open up the double fold bias tape and fold down the corner. I love the stripes, yes?


Sew along the fold. Now you don’t need to pin or measure up-front as long as you generally have enough bias tape to get around the burp cloth.


Sew around the curves. Should be a pretty easy sew.


When you reach the beginning again, overlap the bias tape an inch or so.


And cut.


Now flip the bias tape.


You can use barrettes instead of pins especially if you’re using 1/2″ double fold bias tape.


But if you’re using 1/4″ double-fold bias tape like I was, as well as a towel, it’s probably easiest to pin. I used a combination – barrettes along the straight sides and pins where it got curvy.


I even had to trim up the towel around one of the curves because I had sewed the bias tape too far away. No shame in fixing it a little first, yes?


Sew down the bias tape close to the edge, making sure to catch the backside.


And voila! A cute reversible, functional, curved and contoured burp cloth from a recycled towel.


++++++
Be sure to pin this DIY curved burp cloth free pattern for later:

—
Like it? Share it!
The nicest way to say you like it is to pin it on pinterest, post a comment, follow Merriment Design on Facebook, twitter, pinterest, Google+, instagram or sign up for monthly emails. Enjoy! 🙂
Copyright stuff: You’re more than welcome to use this free project and tutorial for personal use. Contact me for commercial use and etsy sales.
rosa marchiano
Wednesday 7th of January 2015
Gracias por el tutorial!! muy bueno!
Kay Sherwood
Saturday 22nd of February 2014
Great idea I will be making a few of these and taking them to Hong Kong when I get to meet my new granddaughter, Thank you
Claire
Monday 21st of January 2013
I am really out of touch with what things are helpful to parents and babies, but am surrounded by friends with children. This looks like a great project. Thank you!
Ana
Monday 16th of July 2012
Very cute! I love that bias tape.
Kathy Beymer
Tuesday 17th of July 2012
Thanks! Yeah, I think a patterned bias tape is the way to go on this project.