
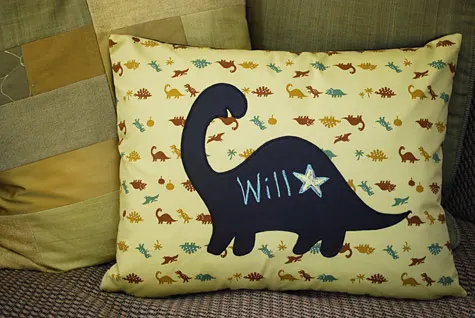
UPDATE: Dinosaur and Birdie Chalkboard Pillows are now for sale at UncommonGoods! Great gift for kids.
So when I first invented chalkboard pillows I handmade the chalkboards out of plastic, a knife, drill and chalkboard spray paint. Yeah, it took a long time.
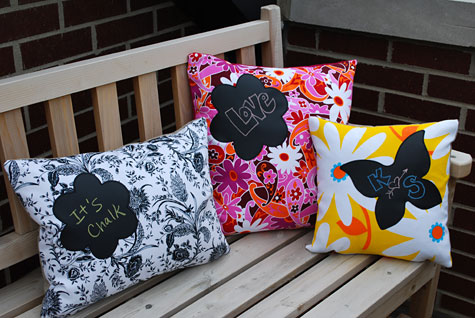
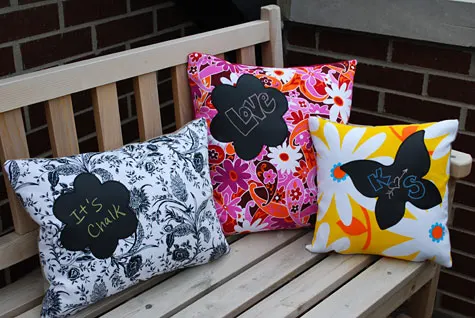
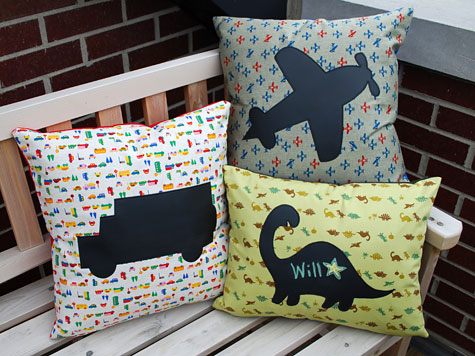
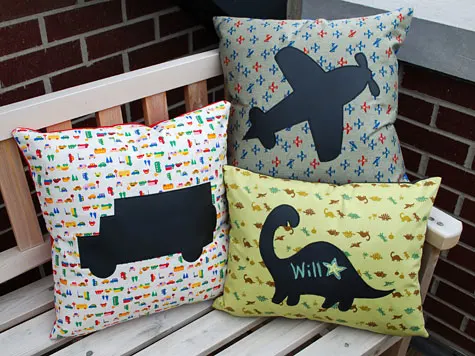
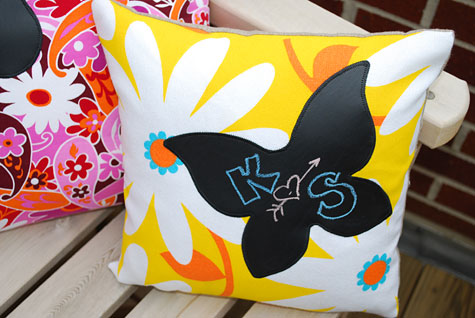
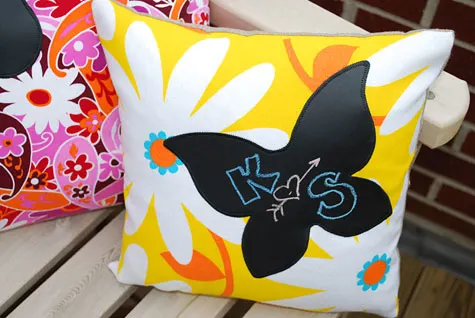
But now I’ve discovered the joys of chalkboard cloth fabric which has allowed me to make shapes galore for adults and kids – trucks, airplanes, butterflies, dinosaurs and flowers for the kids and rectangles for adults. And I think they look just as cute blank as doodled.
And when you use the special Chalk Ink no-smudge, non-toxic markers your drawings stay put until you remove them with a wet cloth.

COPYRIGHT NOTE: You’re more than welcome to use this project and pattern for your own personal use. Please post a comment below or email me if you use this project so I can smile when I see that it’s being created. Craft and pass it on!
Supplies (for the 16″ x 16″ pillow):
- 16″ x 16″ pillow (I used 10/90 down-feather blend pillows)
- 17″ x 17″ fabric square for front
- 17″ x 17″ fabric square for back (I used lovely wool gabardine)
- Two squares 17″ x 17″ heavyweight sew-in stabilizer
(optional but highly recommended to add weight and crispness)
- Truck chalkboard template or Dinosaur chalkboard template (PDF, use if desired or cut your own shape, or ask me and I’ll post the butterfly, flower or airplane)
- Chalkboard cloth
(this stuff is super cool)
- Chalk Ink no-smudge, non-toxic markers
– stays put until you remove with water (or plain old regular chalk if you don’t mind smearing)
- 12″ or 14″ zipper
- Good fabric scissors
- Thread
- Rotary fabric rotary cutter
and self-healing mat
- Xacto knife set
(optional but recommended to help cut the chalkboard fabric)
- Sewing machine
Create chalkboard front

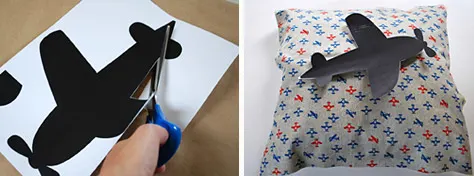
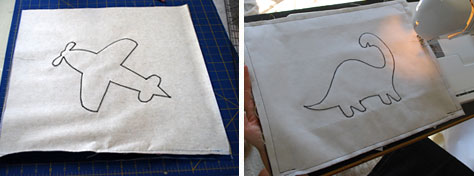
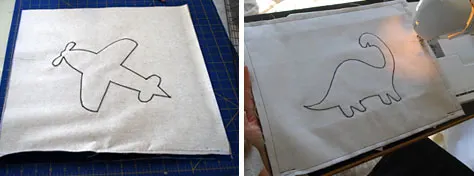
Print and cut out one of my free templates or make your own shape. Cut your 17″ x 17″ front and back pieces and two pieces of stabilizer using your rotary cutter, ruler and self-healing mat. Place the front piece and pattern on top of your pillow to make sure you like the size (you can re-print to shrink it if you’d like).
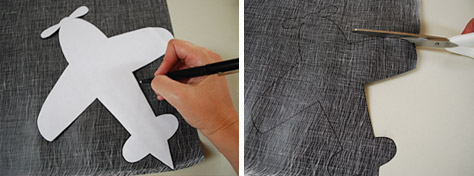

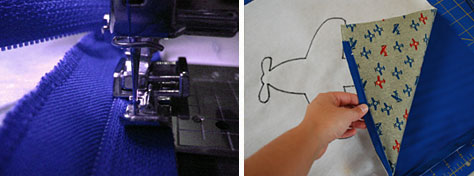
Place the right side of the template face down on the wrong side of the chalkboard cloth fabric. Trace it using a black pen. Cut using good fabric scissors, using the Xacto knife on any tight corners.

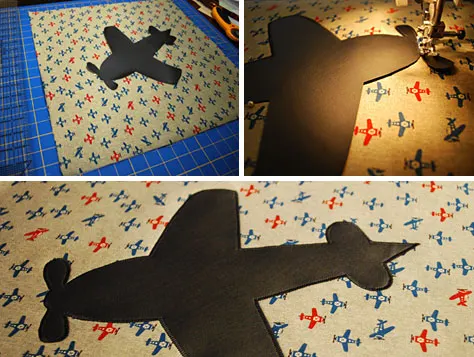
Put one of your stabilizer interfacing pieces of underneath the front fabric square (it helps you sew a smoother applique). Center your cut chalkboard shape on the front fabric square, placing straight pins on the sides to mark placement. Zigzag stitch the shape onto the front fabric square. Remember to backstitch.
Put in your zipper
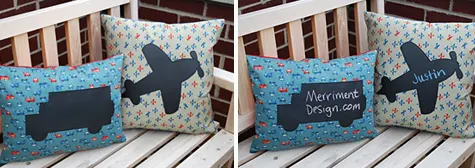
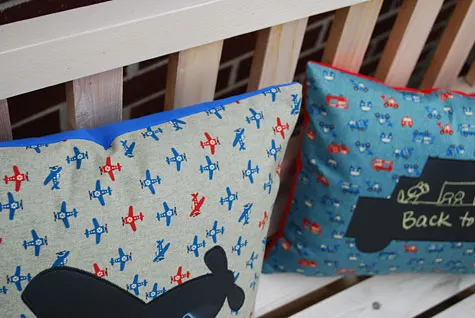
Zippers can be scary sometimes but I really like having zippers in pillows so that I can take over the cover if needed. First, take your front chalkboard piece and zigzag down the side that you want to put the zipper on (like the side with the bottom of the plane) to attach the stabilizer to the front of your pillow (left photo below). Repeat on the back of your pillow by stitching along the edge to attach the back stabilizer to the wrong side of the back of the pillow. This zigzag step makes it easier to work with and your seam finish is nicer.
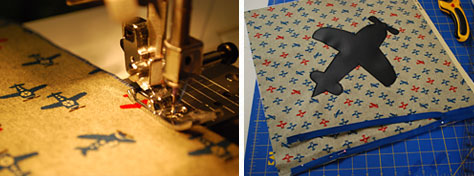

Now open your zipper and lay it face down onto the right side of the front of your pillow, centering the zipper along the bottom of the pillow front (see right photo above). Pin the bottom side of the zipper to the pillow front. Leave the top of the zipper free (you’ll be sewing that to the back of the pillow).
Change your presser foot by putting your zipper foot on your sewing machine (you can sew it on with the regular foot but the zipper foot lets you sew closer to the zipper teeth). Sew a straight stitch down the zipper as close to the teeth as you can. Remember to backstitch.

Put the right side of your bottom on your table. Lay your pillow front on top of your back piece, right sides together, matching up zipper tops and bottoms to be sure that your zipper will close straight. Pin the unsewn side of the zipper to the back of your pillow. Your zipper will be face down on the right side of your pillow back. Sew a straight stitch down the zipper as close to the teeth as you can. Remember to backstitch. Now your zipper is in.
Sew pillow front to pillow back
Line up the pillow front to the pillow back, right sides together. Pin. Be sure the zipper is open. Now sew 1/2 inch seam around the pillow. On the bottom where the zipper is I sew about 2 inches on each side (don’t sew across the entire zipper side).

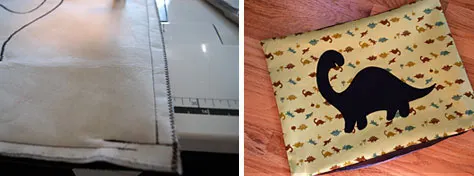
Finish your seams by zigzagging around the three sides of the pillow (not the zipper side). Cut any stray threads. Turn right side out. Stuff your pillow with your pillow form.
Start doodling! I strongly recommend using the special Chalk Ink no-smudge, non-toxic markers because drawings stay put until you remove with a wet cloth. If you use regular chalk, be sure to rough up your chalk using a piece of sandpaper to avoid permanently etching the chalkboard.

COPYRIGHT NOTE: You’re more than welcome to use this project and pattern for your own personal use. Please post a comment below or email me if you use this project so I can smile when I see that it’s being used. Craft and pass it on!
JoAnn
Saturday 13th of July 2024
Love this idea. Where can I get these shapes for a quilt I would like to make? Thank you in advance for your help.
brie
Thursday 30th of October 2014
Hi therei would love the airplane template!!! So nice. Great work :)
jesica
Tuesday 8th of July 2014
can you post the airplane pattern please
Cooper
Thursday 12th of June 2014
Love your chalkboard pillows! Could you post an airplane template? Thanks!
Sarah S.
Tuesday 27th of August 2013
Wonderful ideas. Thanks for sharing!