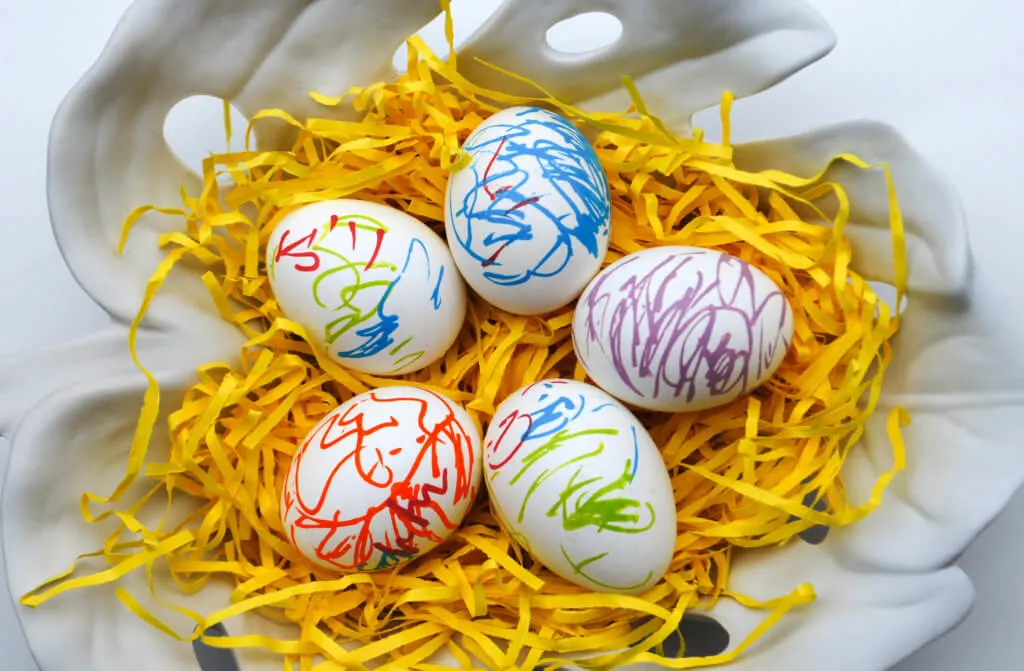
Try this Easter Egg painting idea with paint pens – it’s a fun and easy DIY for kids and adults! These paint pen Easter eggs are so pretty that this Easter we’re totally passing up PAAS and decorating all of our eggs with paint pen markers.
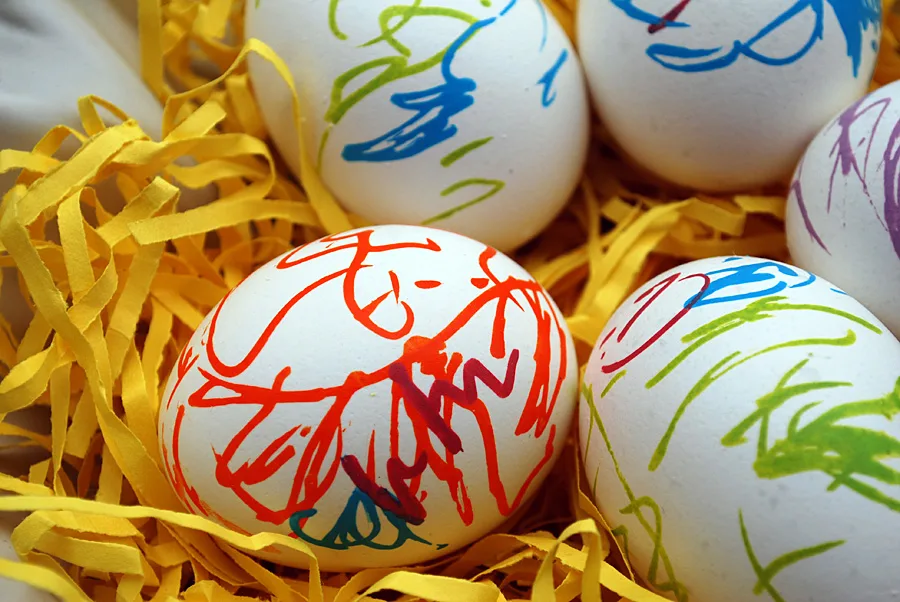
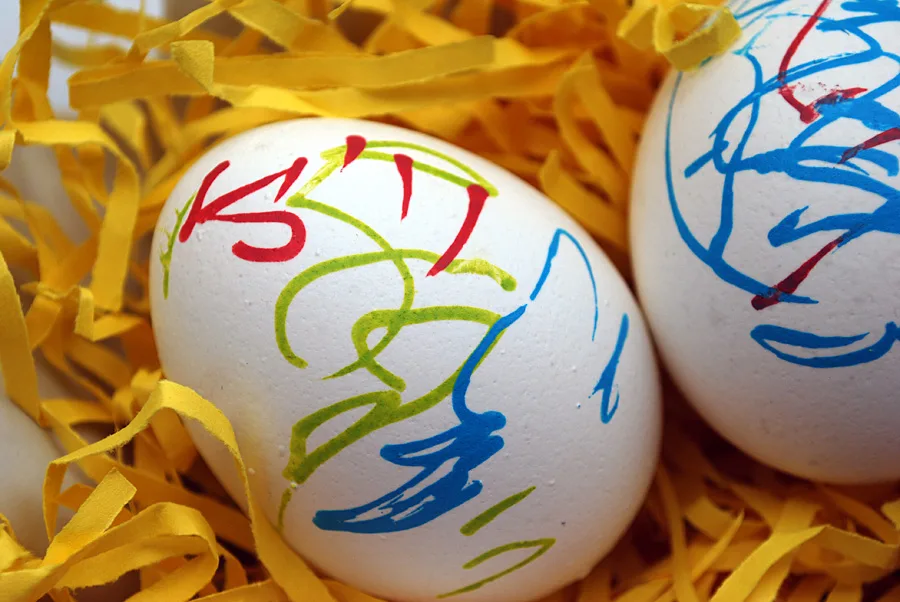
My three-year-old (and budding contemporary artist), Elise, decorated this set of Easter eggs using paint pens. Yes, she’s only three and they turned out this cute.
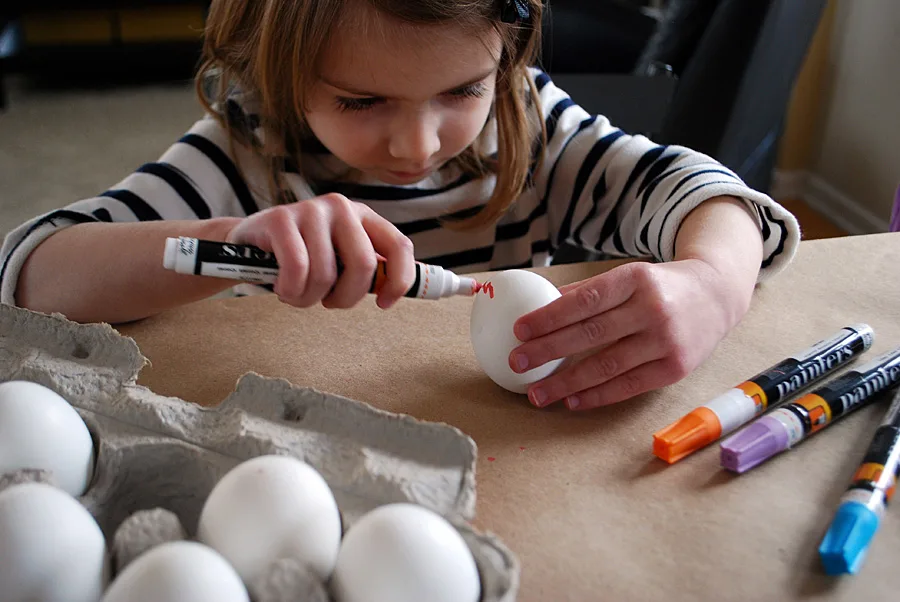
Easy Easter Egg painting idea with paint pens
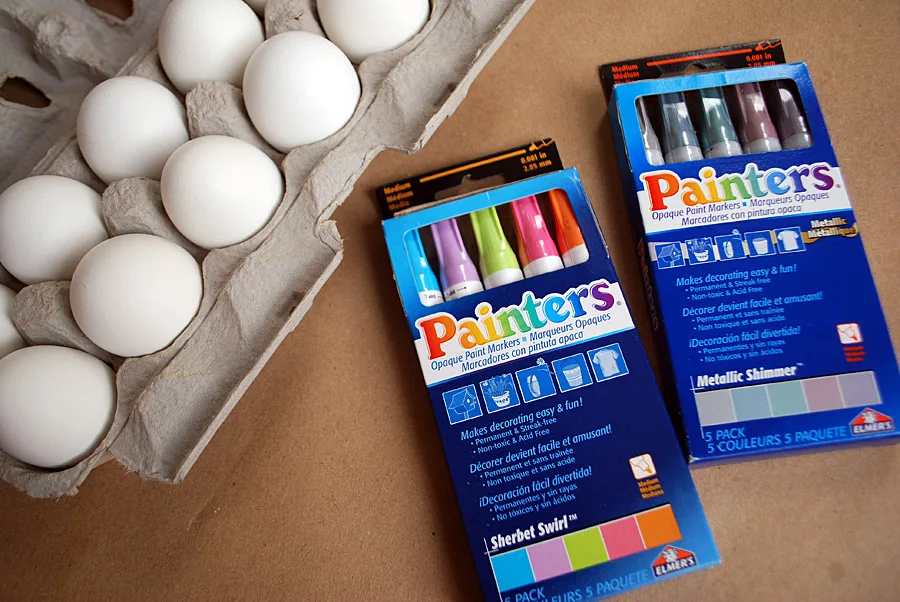
This free Easter craft idea for kids is sponsored by Elmer’s. Thank you to the sponsors who help support Merriment Design! I only work with brands that I love and recommend. To celebrate National Craft Month, Elmer’s sent me Painters® Sherbet Swirl Paint Markers and Painters® Metallic Shimmer Paint Markers just in time for Easter, so I thought that maybe we could try them out on hard boiled eggs? Elise liked the pretty pastel colors so we opened up that set first, but I’ll be trying the metallic version for our Easter egg hunt batch, and I’ll paint numbers that correspond with her prizes.
I have such a total soft spot for paint pens. In college, paint pen gifts were de rigueur and I spent many an evening personalizing plastic photo frames with sorority letters. But even I wasn’t prepared for how well Painters® Paint Markers would work on eggs! Keep reading for my free step-by-step tutorial and supply list for making Easter eggs using paint pens.
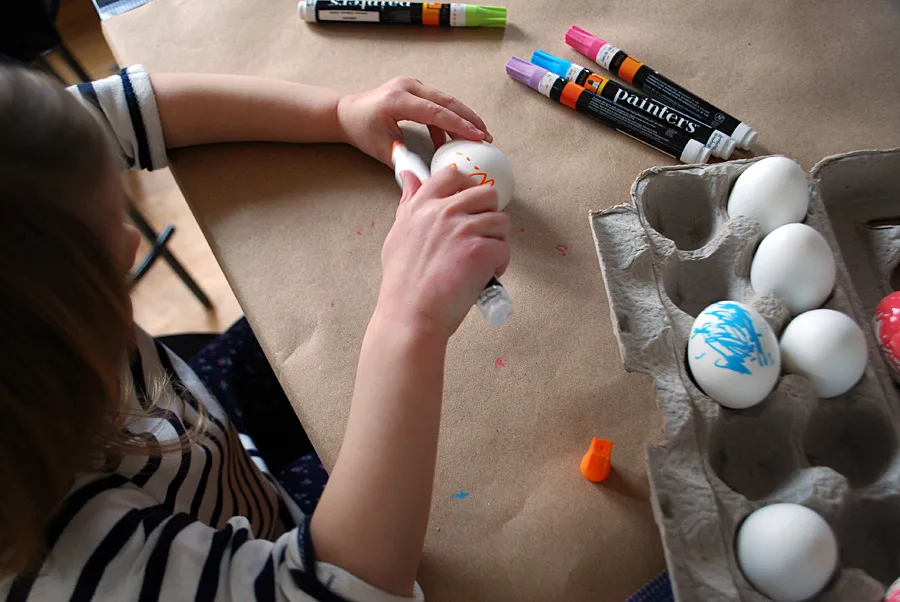
What a fun twist on egg decorating, and so throwback rediscover paint pens. And I’m happy to pass the fun onto Elise. Get more Painters® Paint Markers inspirations on the Elmer’s Craft It! Facebook page. How will you use your paint markers?
Craft supplies for decorating Easter Eggs with paint pens
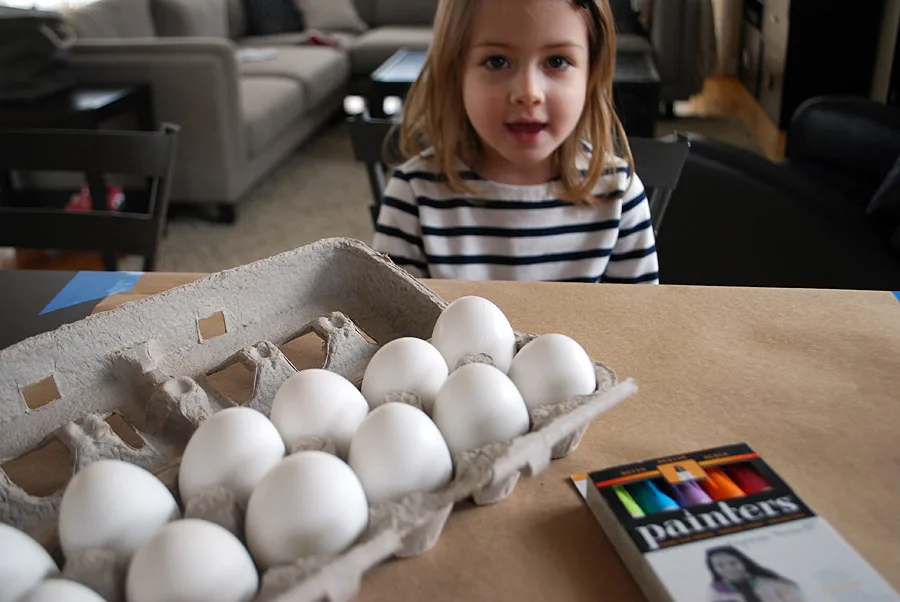
- Painters® Sherbet Swirl Paint Markers or Painters® Metallic Shimmer Paint Markers or Painters® Neon Paint Markers
- Hard boiled eggs
—
How to decorate Easter eggs using paint pens
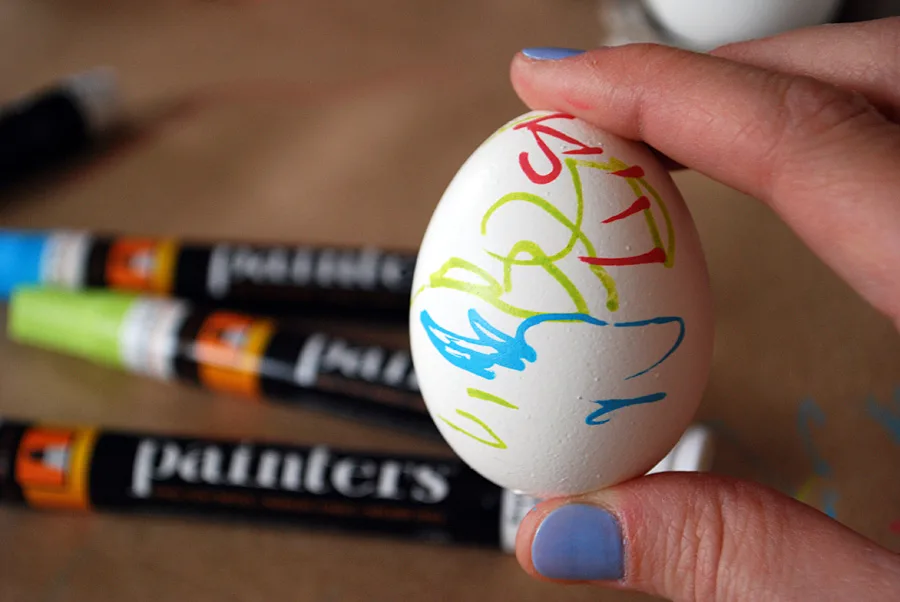
Hard boil a dozen eggs. Gather Painters ® paint pens in fine tip, medium tip, or chisel tip. We used medium.
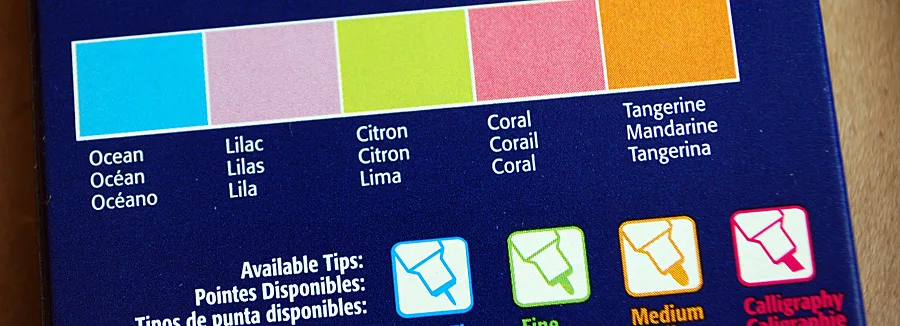
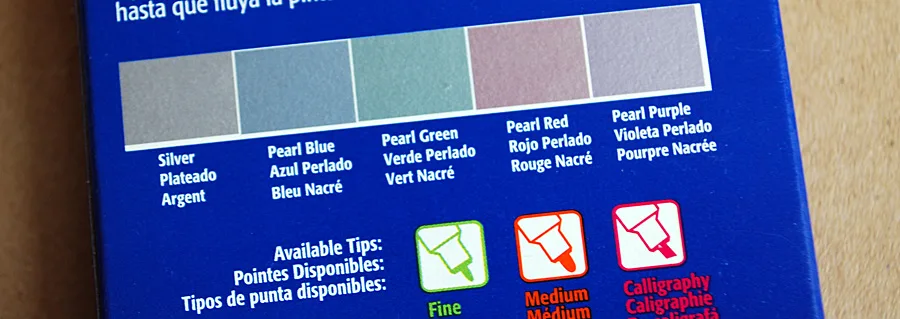
Here are the colors in the Painters ® Sherbet Swirl Paint Markers set.
And here are the colors in the Painters® Metallic Shimmer Paint Markers set.
Cover your working surface with paper to avoid paint where you don’t want it to be.
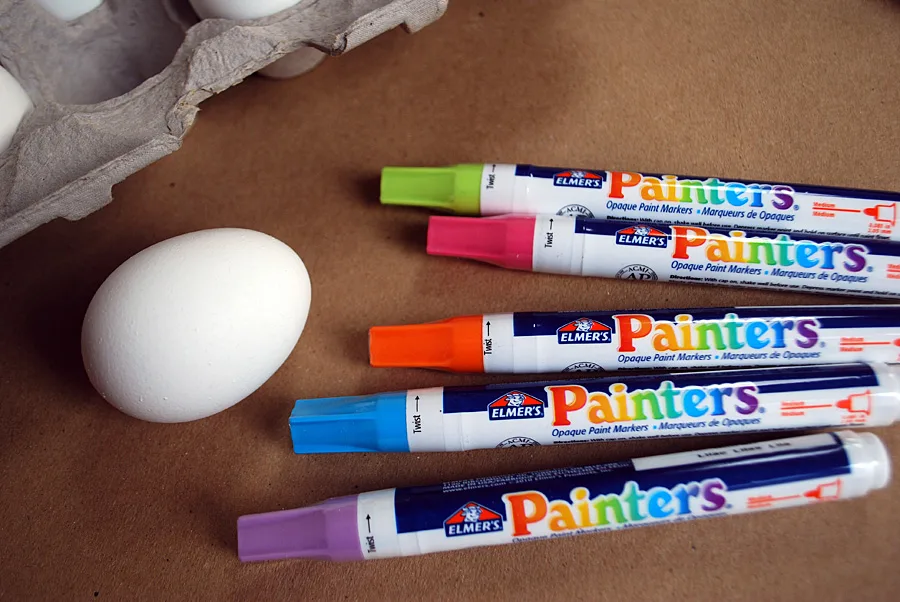
Follow the package instructions to prime your pen and get painting!
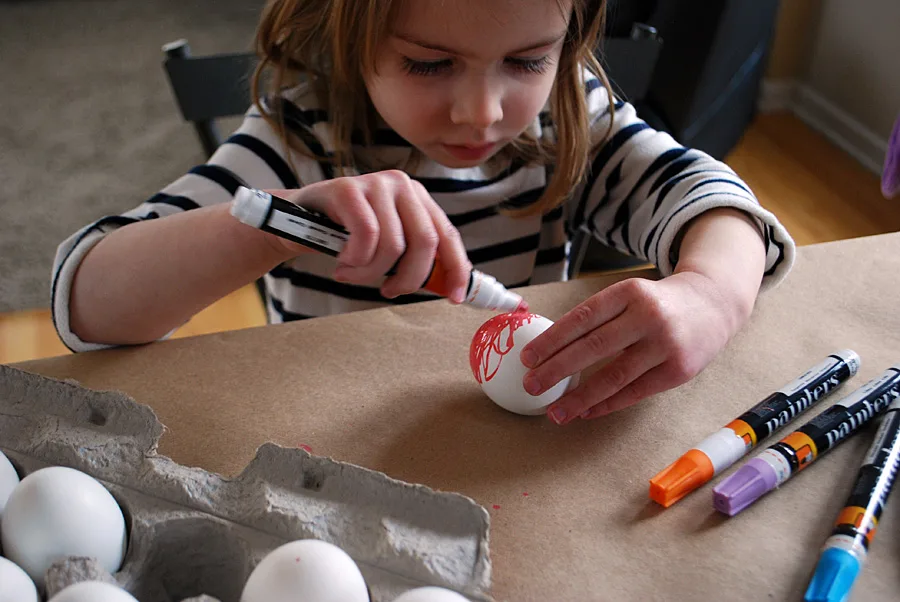
Let the egg dry between colors. You can see Elise’s tiny fingerprints on the pink egg which I had forgotten to warn her about. Good thing about paint pens is that once dry you can just color on top of it again, no mistakes here!
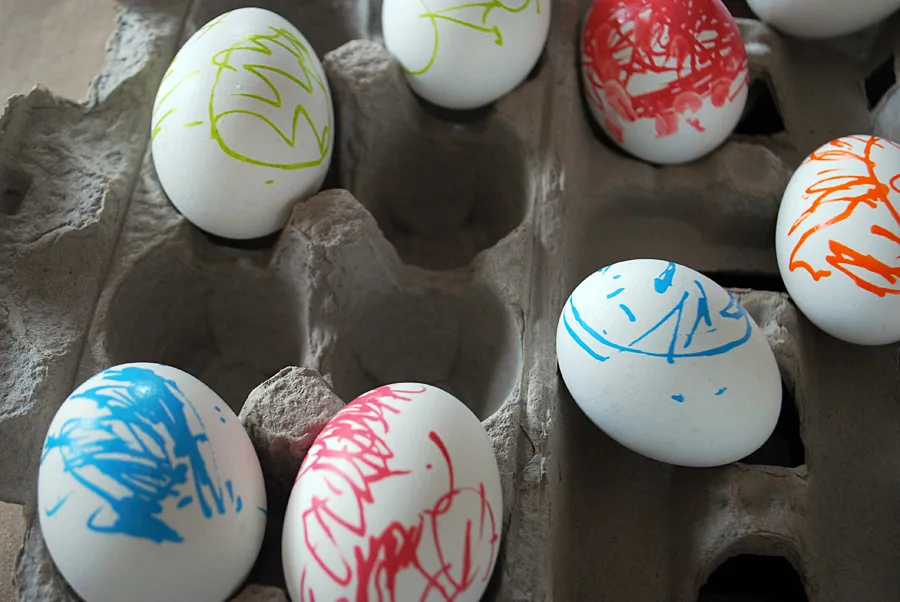
Layer on more colors.

And let them dry between coats.
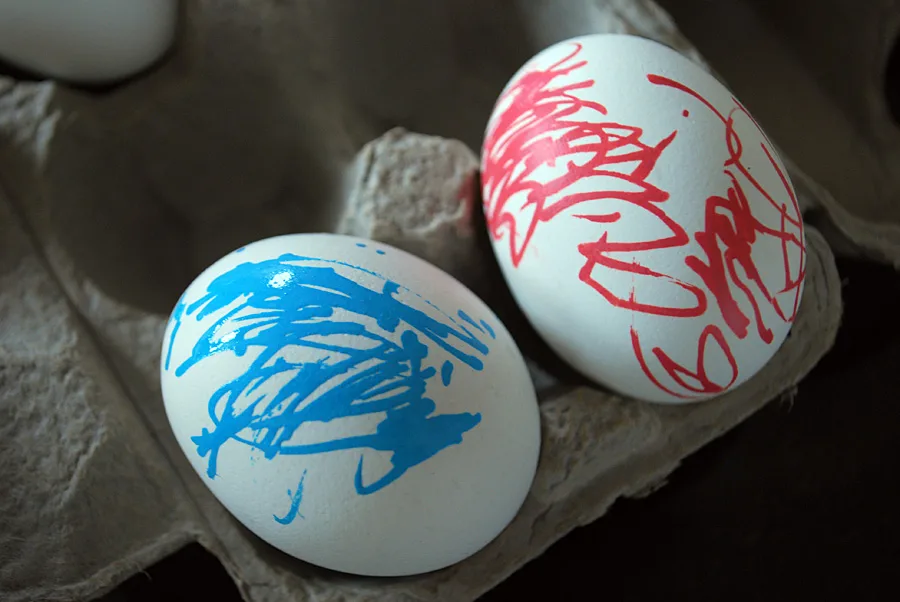
Enjoy (or hide!) your masterpiece.
++++++
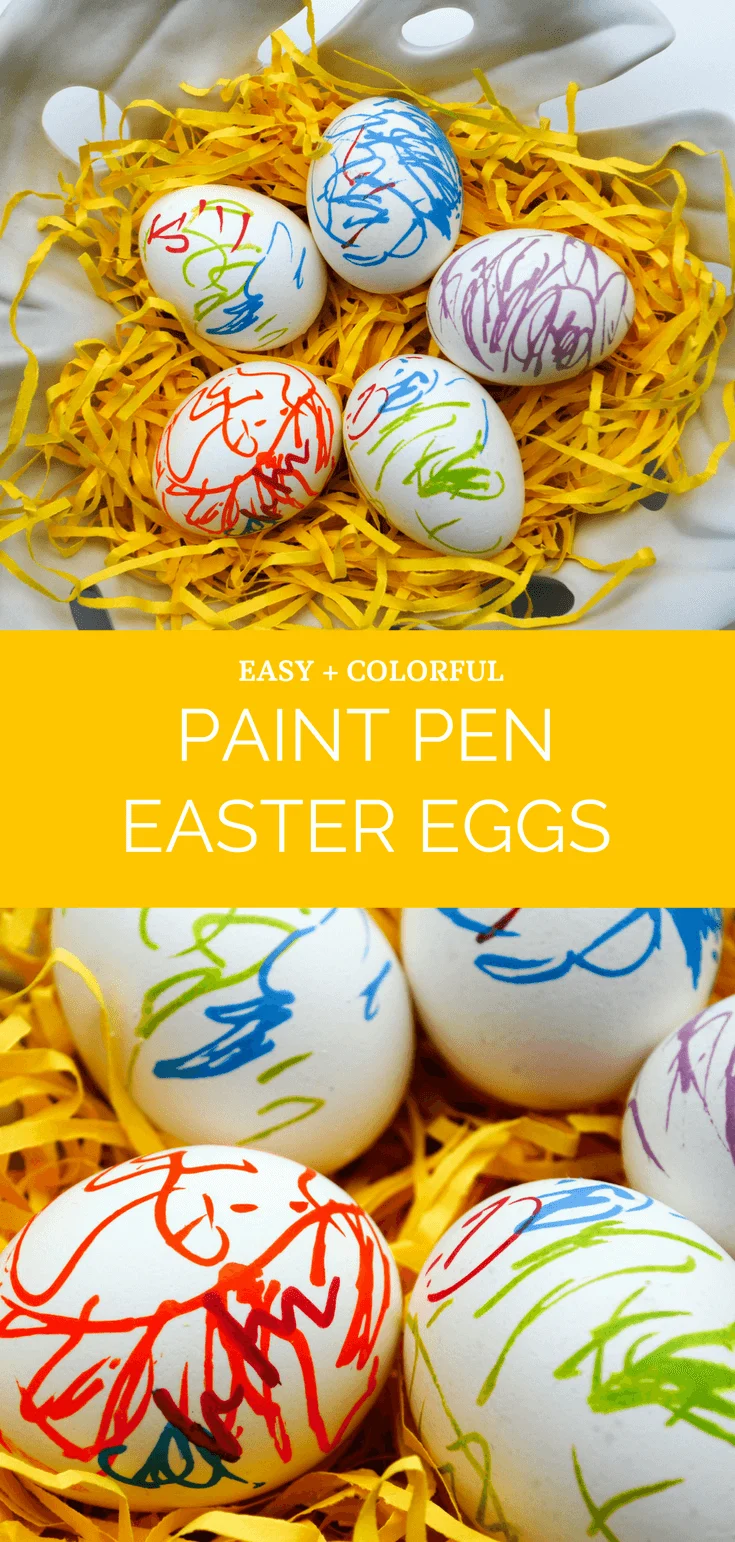
Be sure to pin my easy Easter egg painting idea with paint pens
—
Like it? Share it!
The nicest way to say you like it is to pin it on Pinterest, post a comment, follow Merriment Design on Facebook, Pinterest or sign up for monthly emails. Enjoy! 🙂
Copyright stuff: You’re more than welcome to use this free project and tutorial for personal use. Contact me for commercial use and Etsy sales.

Natalie
Saturday 30th of March 2013
I love the designs! My only concern would be if the paint is non-toxic. Egg shells aren't very thick and they're also pretty porous, so I'd be concerned with the chemicals from the paint getting into the eggs.
Kathy Beymer
Monday 8th of April 2013
Hi Natalie, that's a good point. I double checked the paint pens and yes, they are non-toxic. I usually don't eat our decorated eggs because ours end up sitting out so long but I agree that it's worth considering if you plan to eat them. Hope you had a nice Easter!