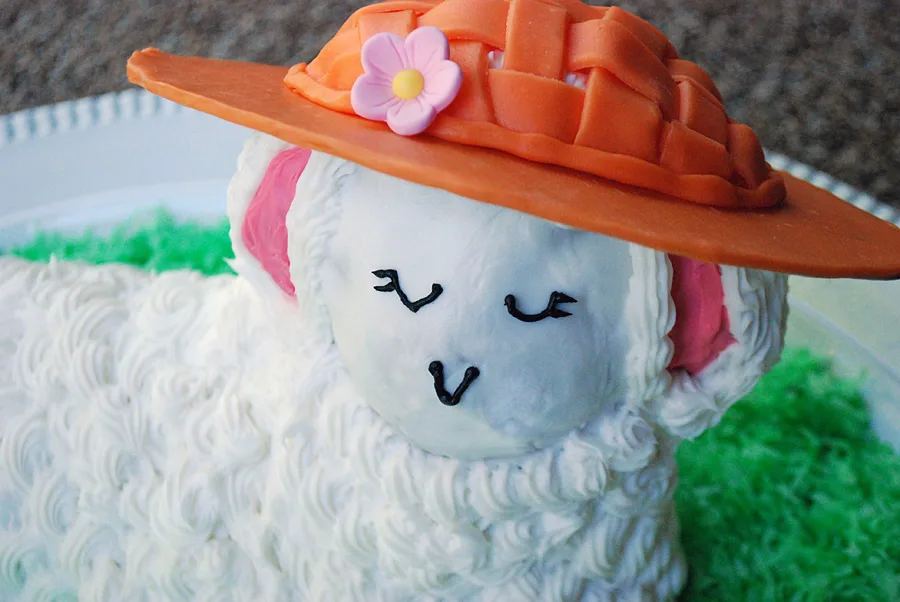
Make a charming (and edible!) chocolate candy melt Easter bonnet with all the frills upon it to add a little fashion sense to an Easter lamb cake. I’ve shown how to bake and cool your lamb cake using this lamb cake recipe and then how to decorate the lamb cake with icing and coconut grass. Now you’re ready to make the edible Easter bonnet.
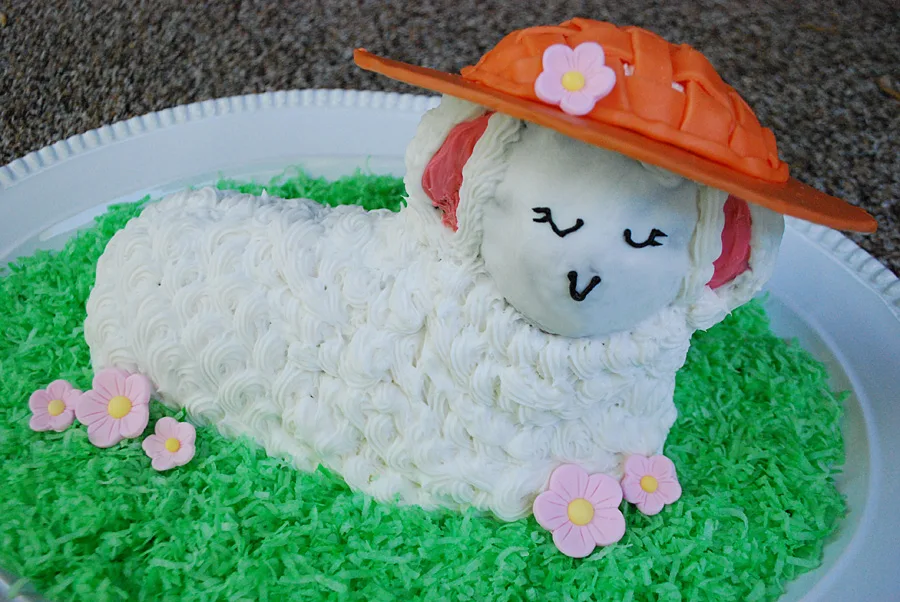
As you know, my friend Meg Wolff hosts an annual Lamb Cake Throwdown contest. I came up with an idea to add an Easter bonnet and fiddled around with candy clay which is basically a Play-Doh-esque consistency made from chocolate candy melts.
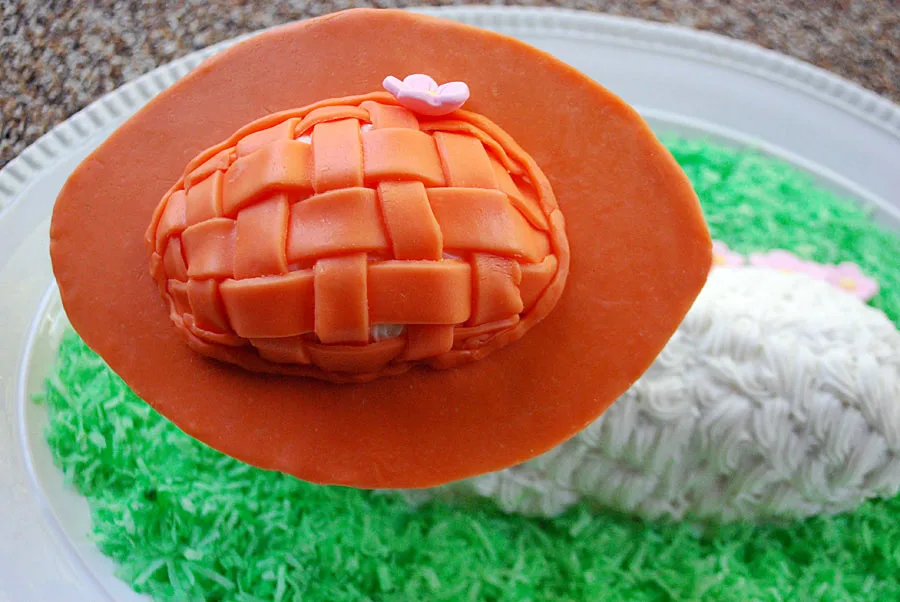
All it takes is a little over / under weaving.
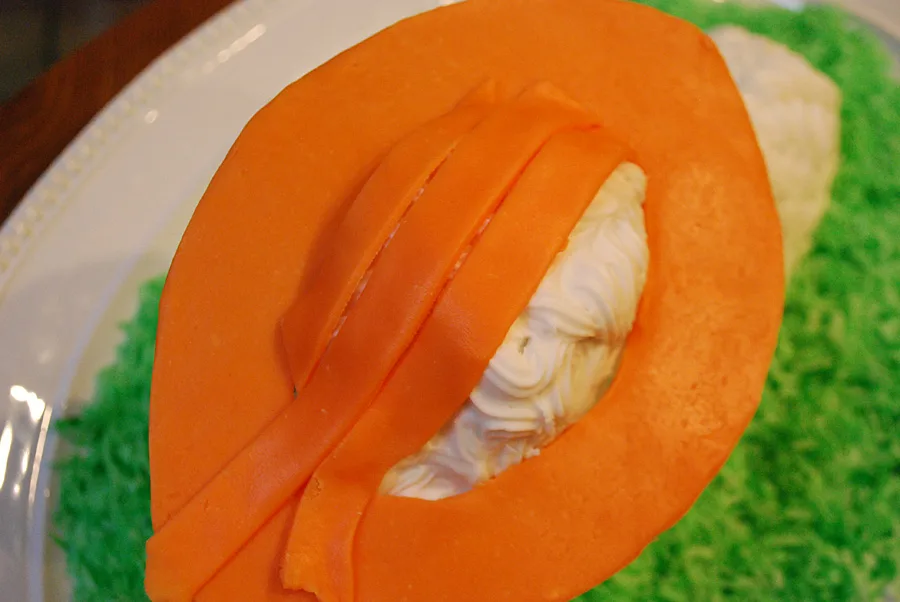
I’m a very beginner cake decorator and even I was able to pull this off so grab a bag of chocolate candy melts and let’s get started.
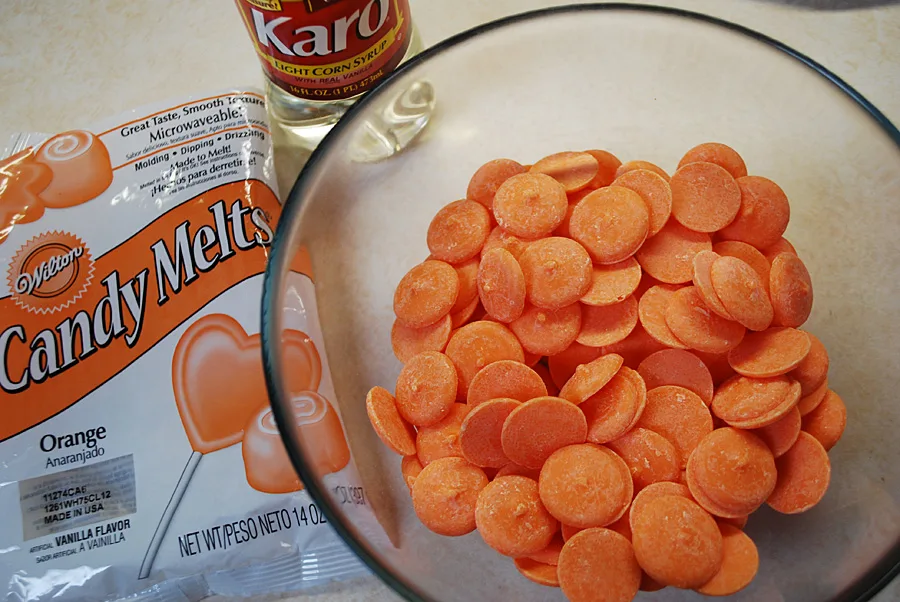
Supplies for making an Edible Easter Bonnet for a Lamb Cake: (includes affiliate links)
1 bag of candy melts
Karo syrup
Pizza cutter
Paper plate
Scissors
Knife
Wax paper
Rolling pin (I want this adjustable rolling pin)
—
How to make an Edible Easter Bonnet for a Lamb Cake:
First bake and cool your lamb cake using this lamb cake recipe and then decorate the lamb cake with icing and coconut grass. Using your lamb cake mold pan, cut a paper pattern out for the hat brim. I freelanded a football-shaped brim. Then I cut slits in the center to make a hole and then slipped it onto my metal cake pan to ensure it would fit.
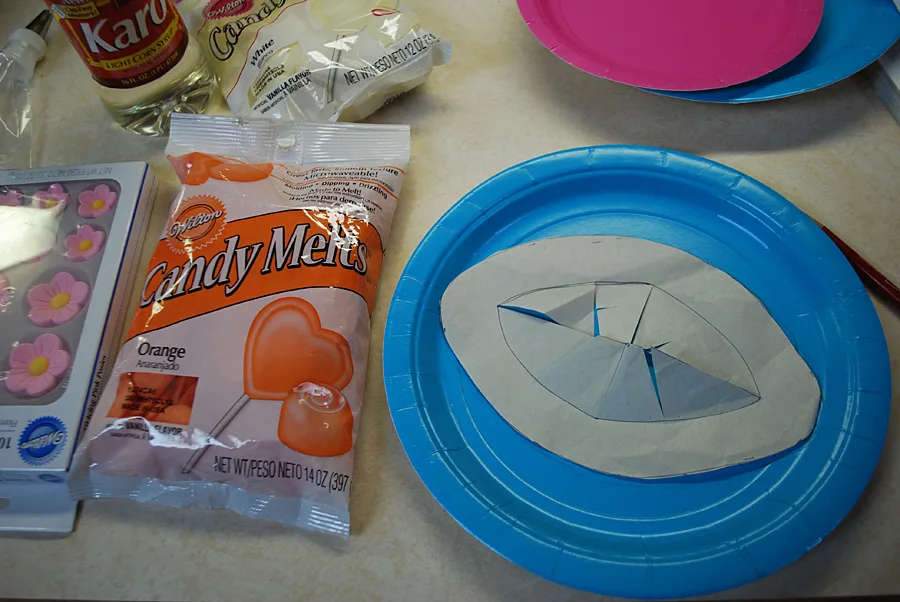
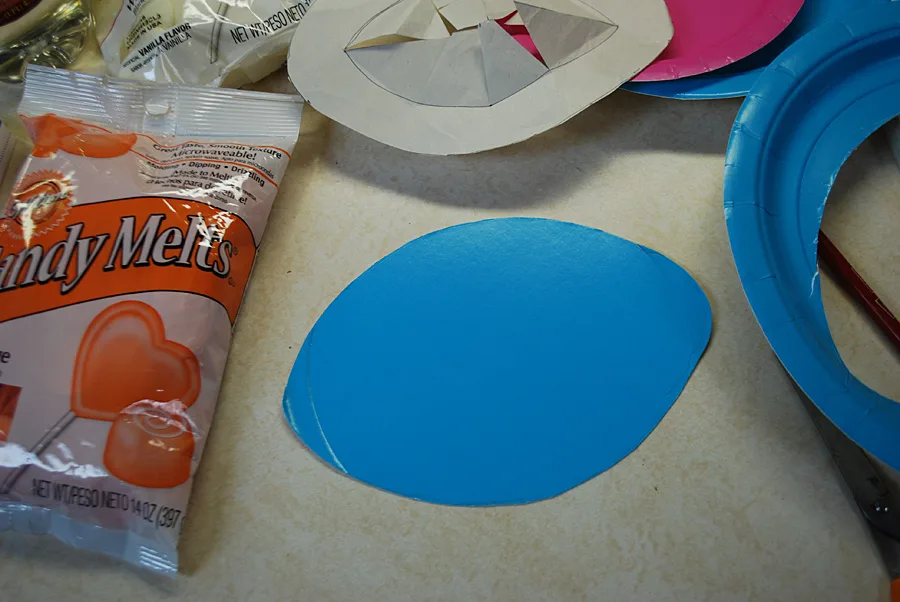
Cut the shape out of a paper plate. This is going to stabilize the brim. Cut the center out too and set aside.
Make your candy clay which is kind of like edible Play-Doh which you can also see on Elise’s Buzz Lightyear Birthday Cake. Place 1 bag (12 oz) of orange candy melts in a medium glass bowl.

Microwave on high, stopping to stir every 20 seconds or so, until the candy is melted and smooth, about 1 minute (it is important to not overheat).
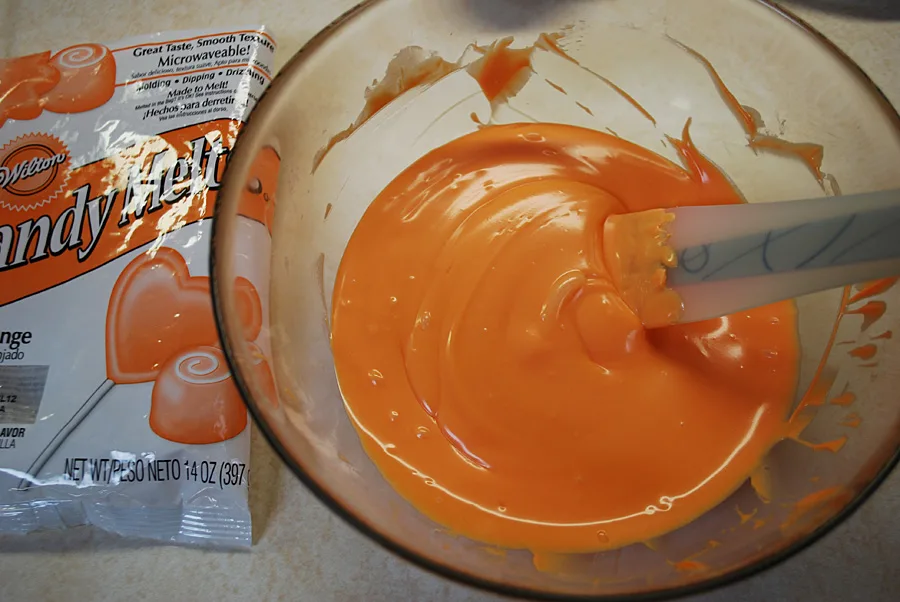
Measure 1/2 cup Karo light corn syrup. I hope my friend Heather isn’t reading this. Add the corn syrup and stir with a rubber spatula until well combined.
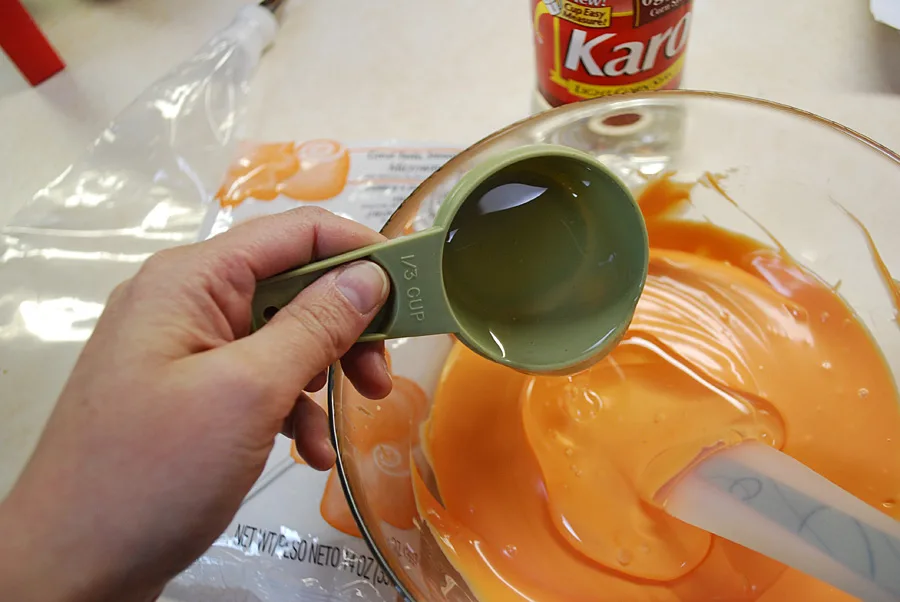
It will get kind of stiff and look kind of grainy like this. From the book Cupcakes, Cookies & Pie, Oh My!: “Cover tightly with plastic wrap and let stand at room temperature for at least 3 hours to firm up. The candy clay can be made up to 4 days in advance and stored, covered, at room temperature.” Yes, this seems kind of weird to me but I did it and ate it and everything was fine.
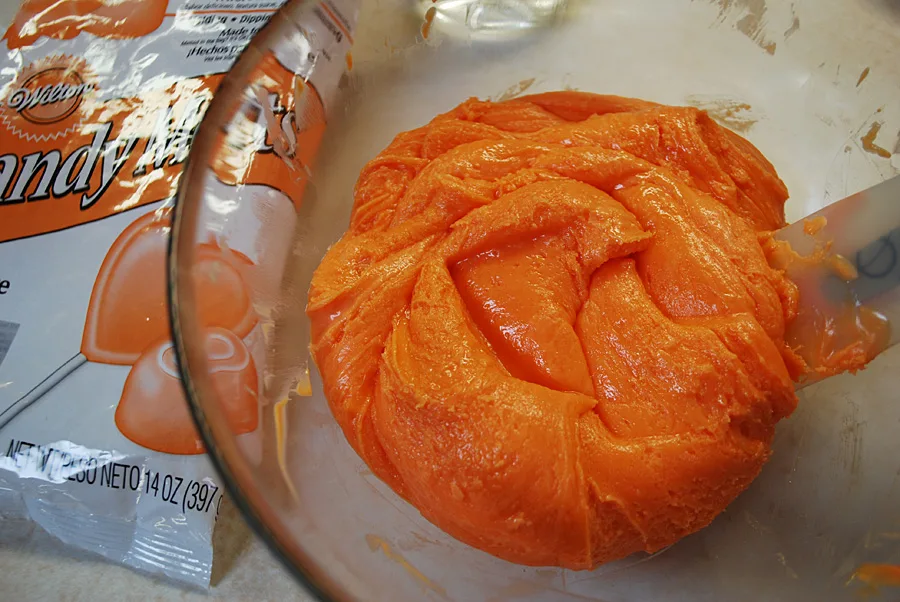
I let mine sit overnight. The next morning, take a ball and put it between two sheets of wax paper. It really does feel like clay!
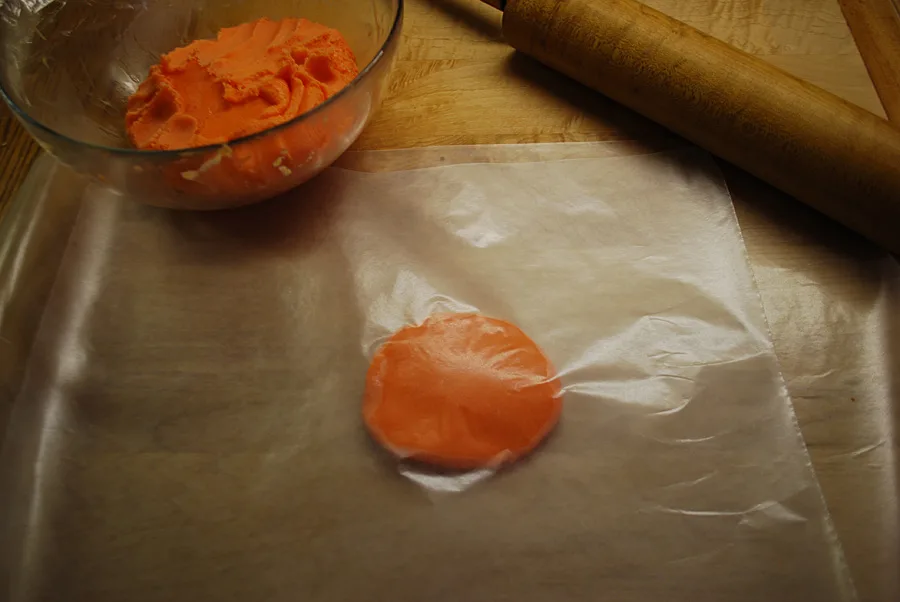
Roll it out about 1/4″ thick, then peel off the top layer of wax paper.
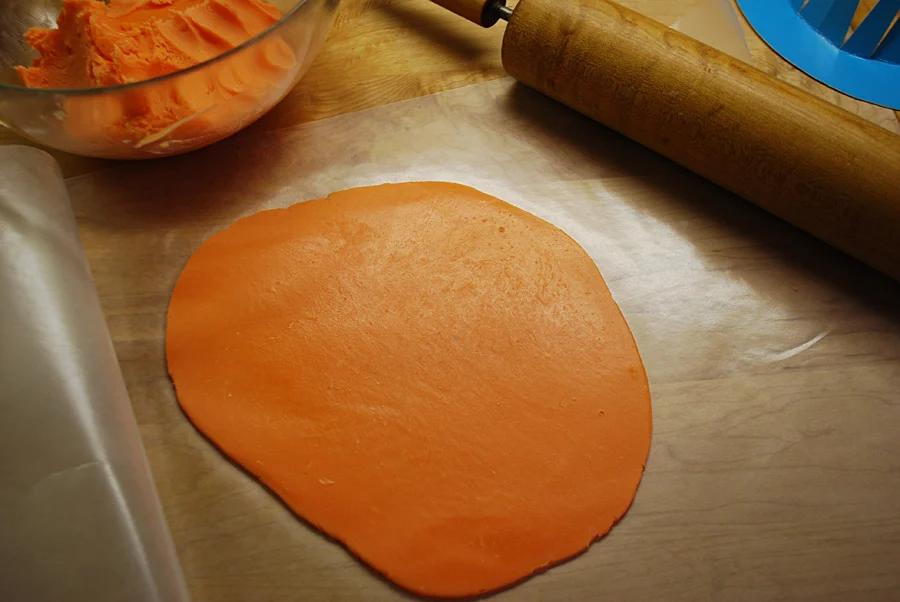
Place your football shape on top.
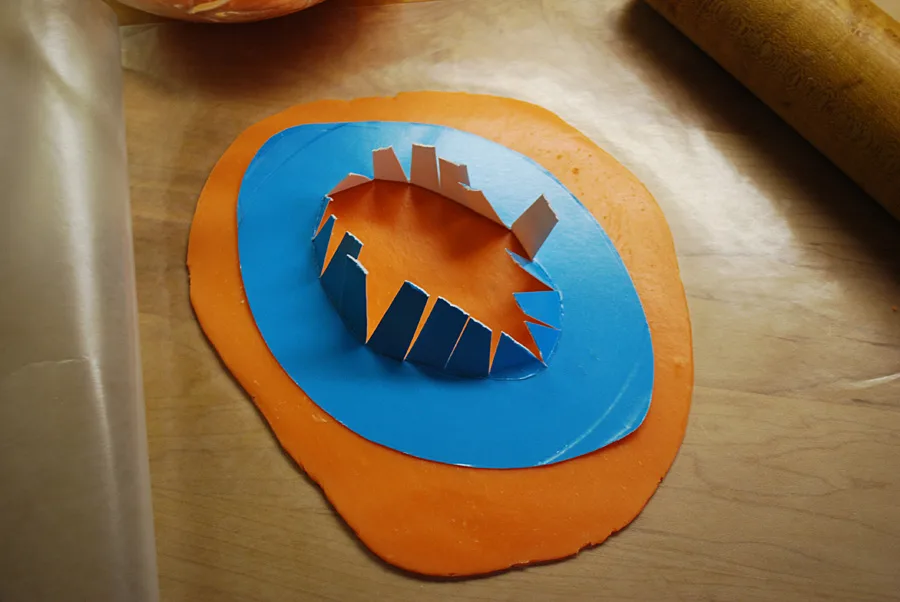
And cut out the shape using a knife, peeling away the extra candy clay.
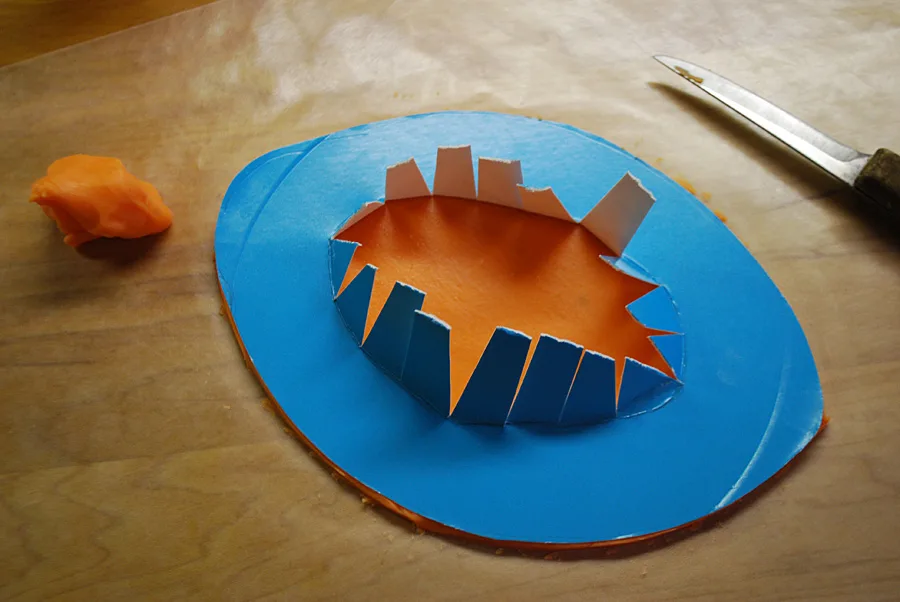
Now I was playing around with this step a bit so it looks a little different than the photo above. I took off the paper plate pattern and cut out the center. Then I flipped it so that it the white showed on the bottom. Cut out the center with a knife and peel away the center. This way, you have a paper plate base to hold your hat firm once it’s on the lamb cake, or else it would fold up like an envelope.
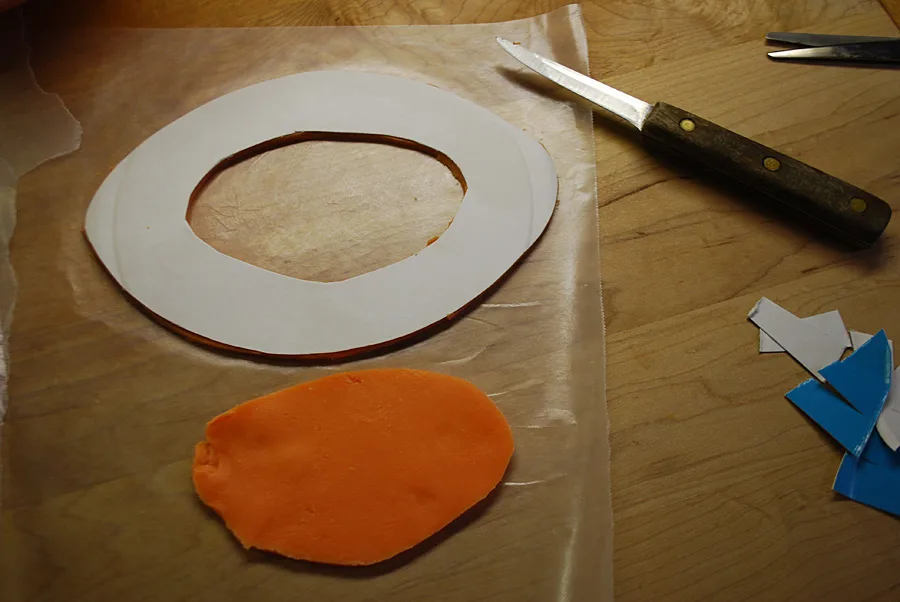
Flip it over and smooth a bit.
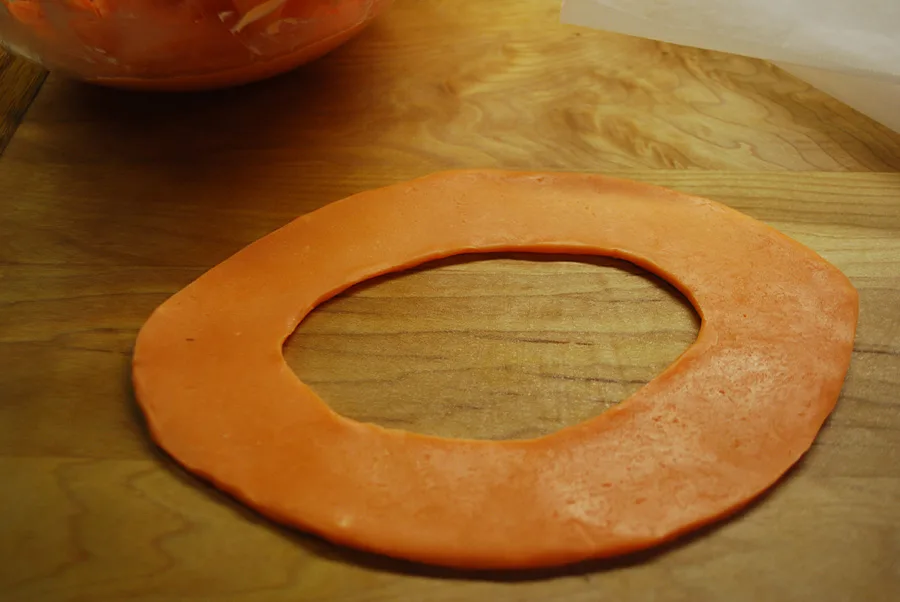
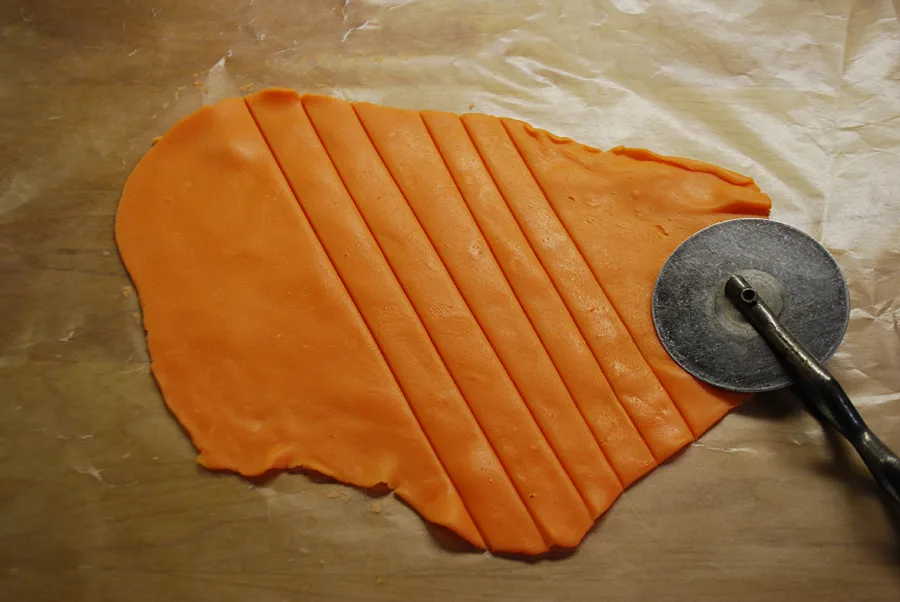
Roll another ball of candy clay between two sheets of wax paper and cut strips using a pizza cutter or knife. I freehanded the widths, it’s not perfect by any means.
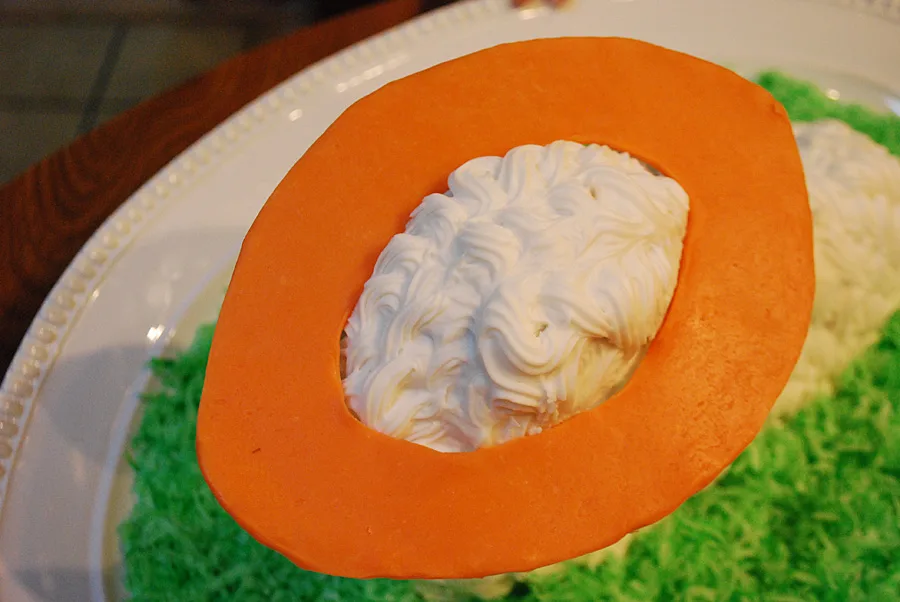
Carefully place the brim on top of the cake. It helps if you frost the cake the day before so that the frosting on the cake is a little dried and so then more firm. I did this at night so the photo looks a little dark here.
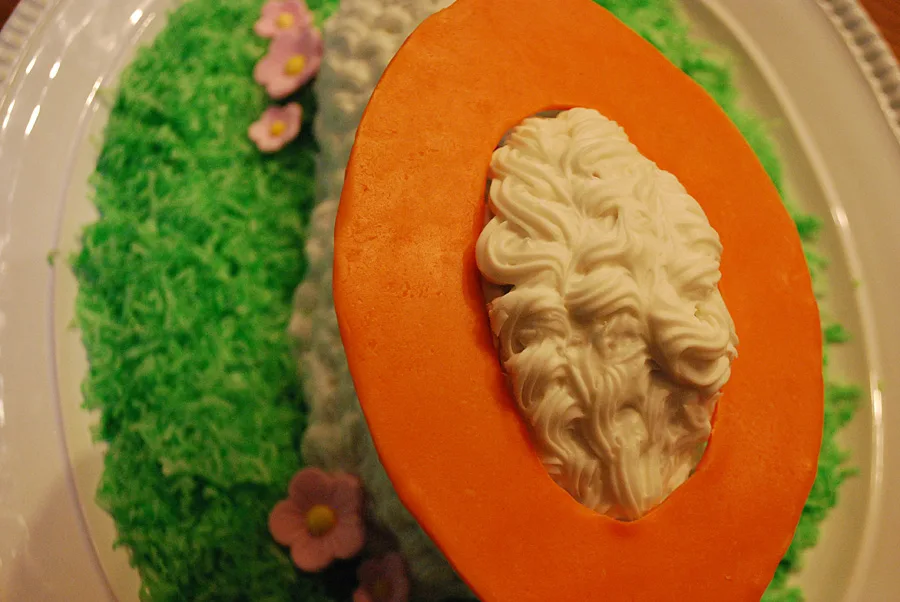
Here’s another angle.
Now lay the latticed hat pieces lengthwise across the hat trimming using kitchen scissors. Don’t trim it too close yet, wait until you weave it.

Keep going all the way across.
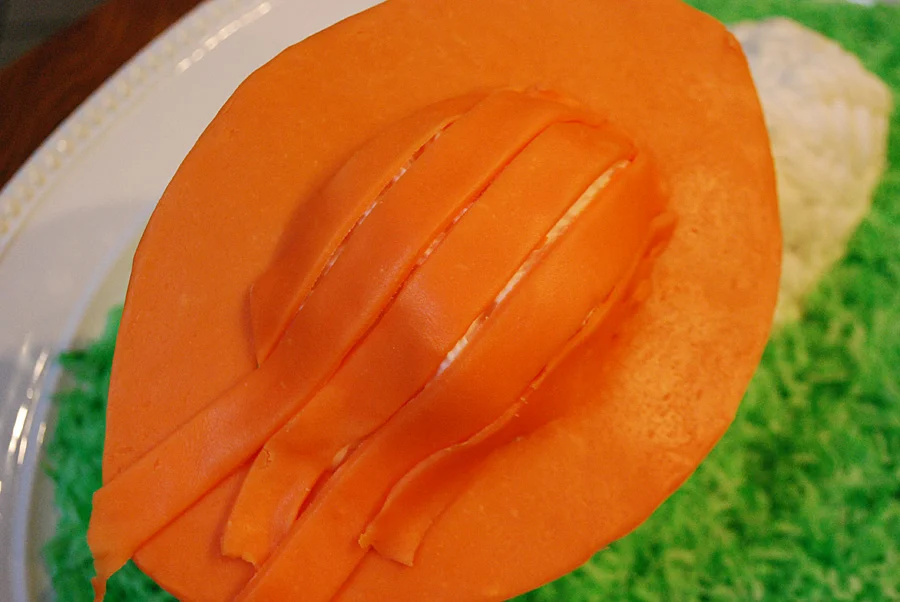
Now weave the cross pieces over and under and trim using kitchen scissors.
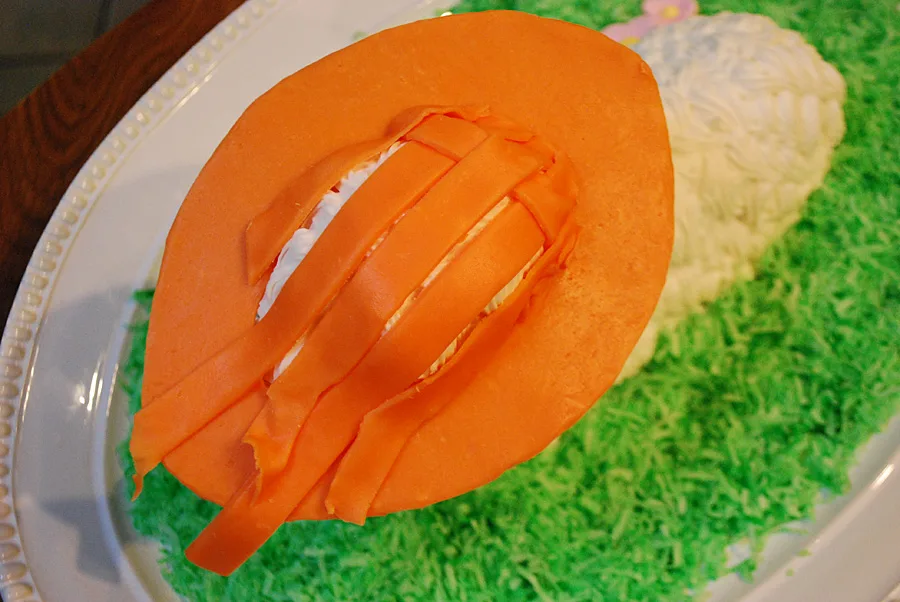
Keep going like so.
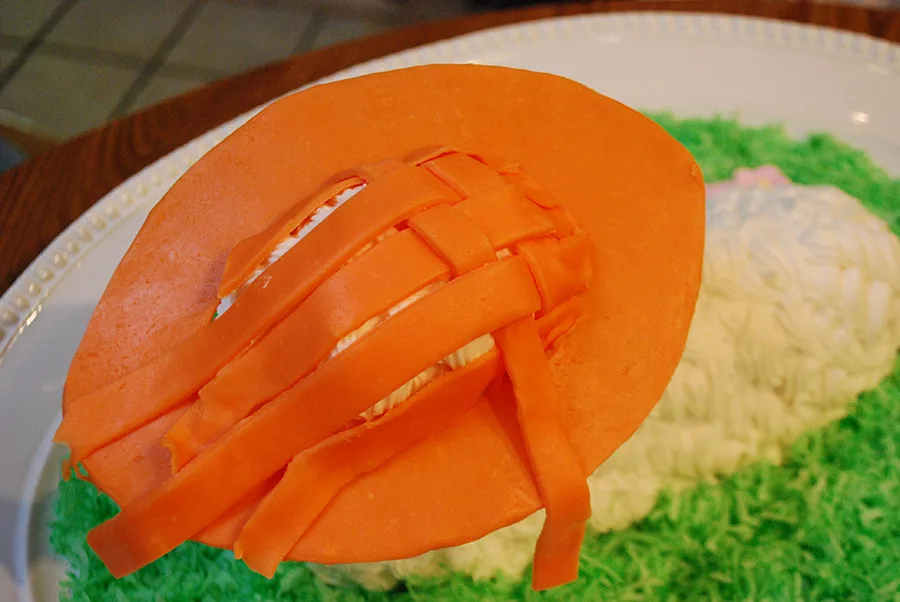
And going, alternating the weaving so that it looks like a basket.
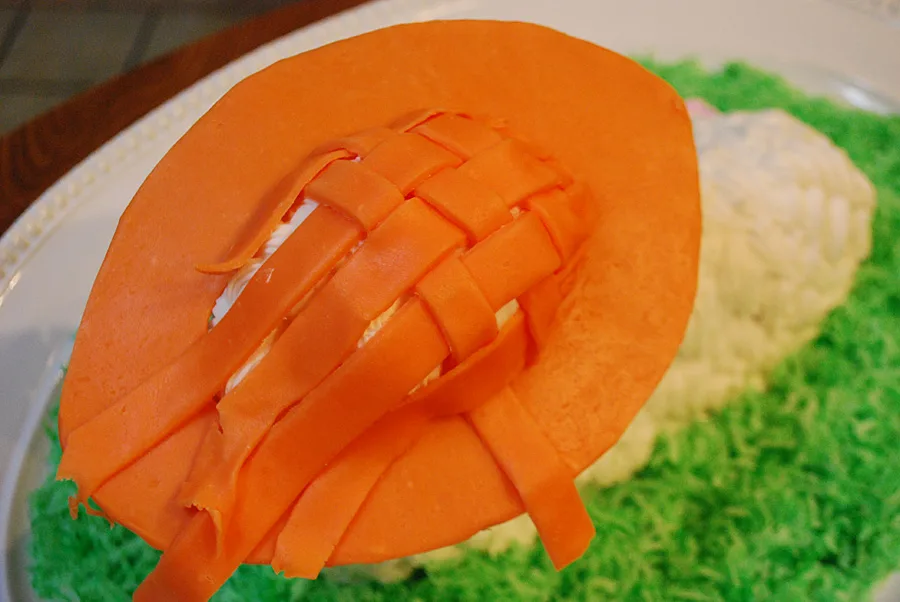
And one more.
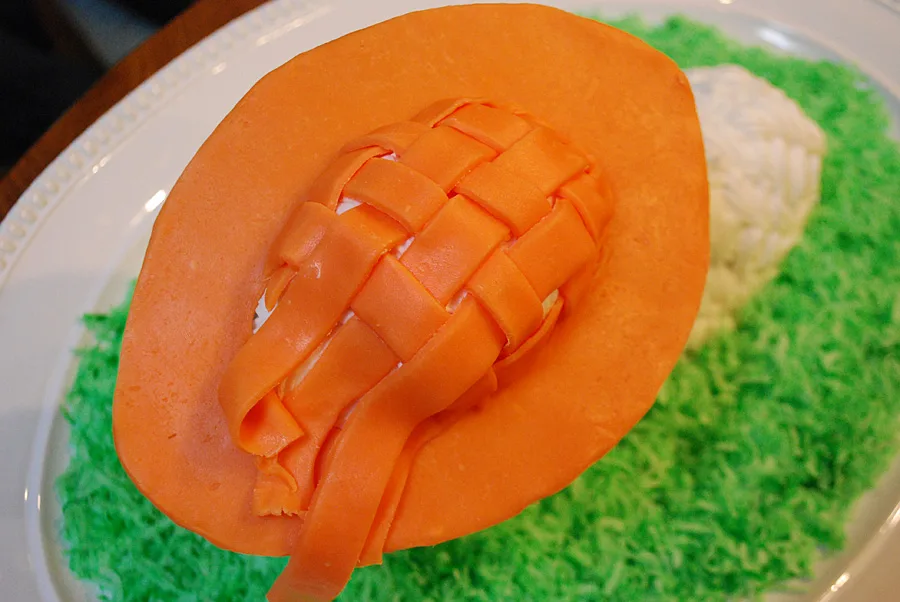
Now it looks a little messy here. Just trim it up with kitchen scissors. I ate the cuttings. Don’t tell anyone.
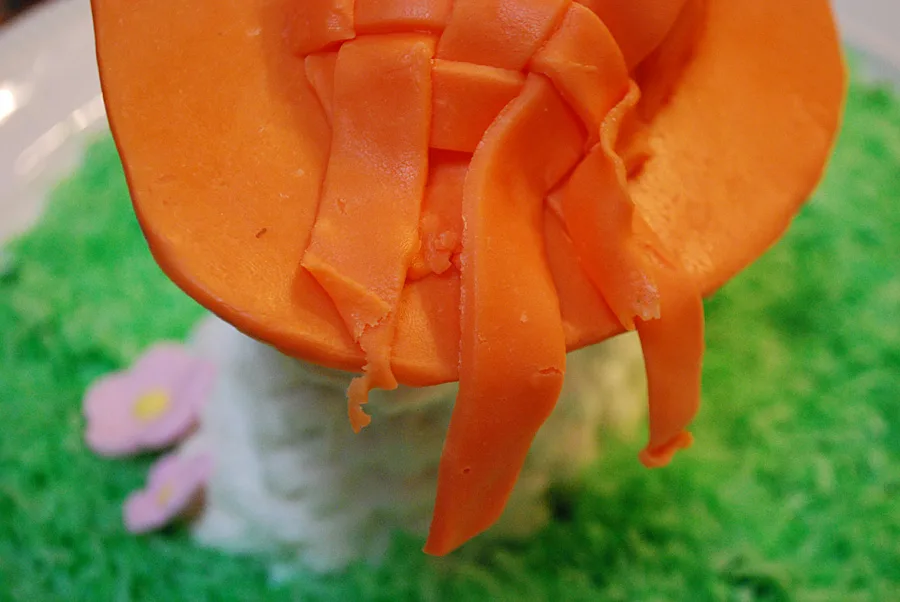
So now it’s all cleaned up like so.
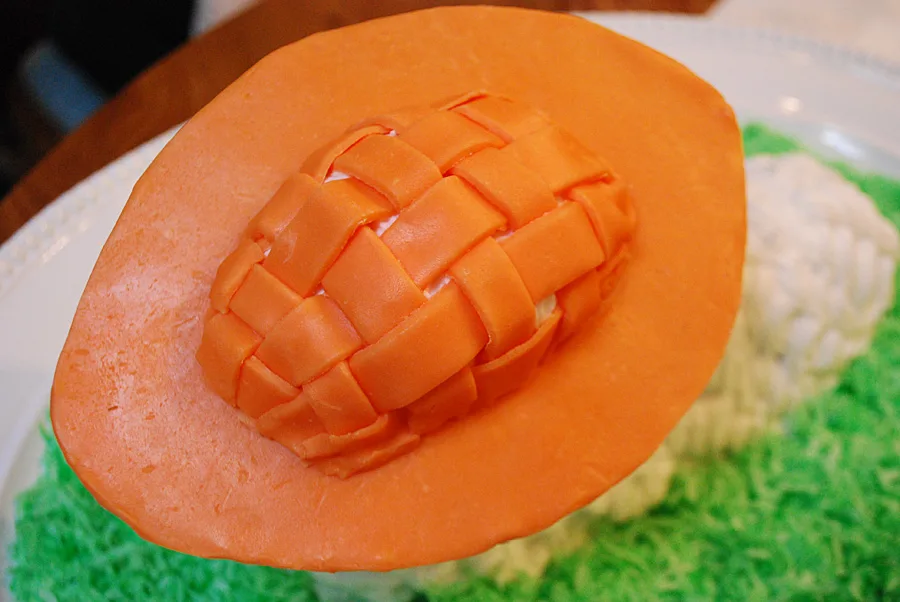
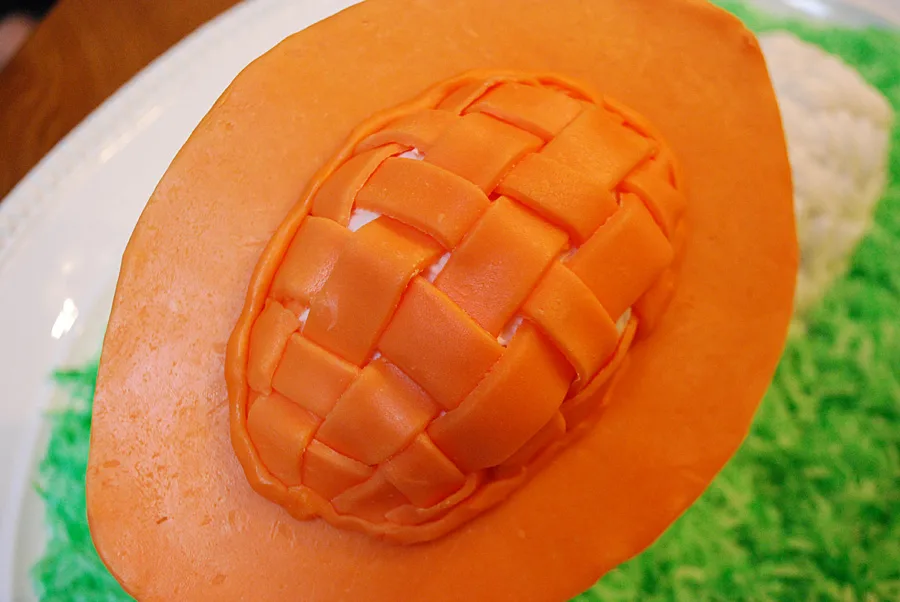
I added a rolled piece of candy clay around the bottom to hide the seams a bit. I think it would be cute to do this in a contrasting color. Now you can add purchased candy flowers with a dab of icing to your edible Easter bonnet.
—
Like it? Share it!
The nicest way to say you like it is to pin it on pinterest, post a comment, follow Merriment Design on Facebook, twitter, pinterest, Google+ or sign up for monthly emails. Enjoy! 🙂
Copyright stuff: You’re more than welcome to use this free project and tutorial for personal use. Contact me for commercial use and etsy sales.
Save


Kelli
Monday 26th of January 2015
There's definately a great deal to learn about this topic. I love all of the points you made.
vintage wedding car
Friday 16th of January 2015
If you would like to improve your know-how only keep visiting this website and be updated with the hottest information posted here.