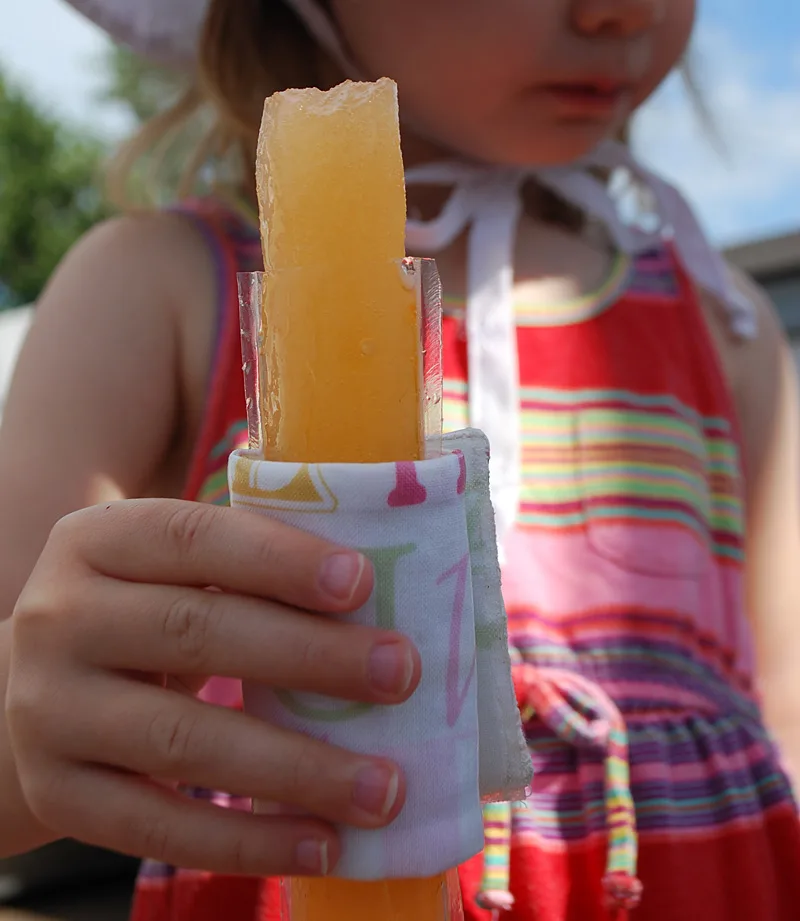
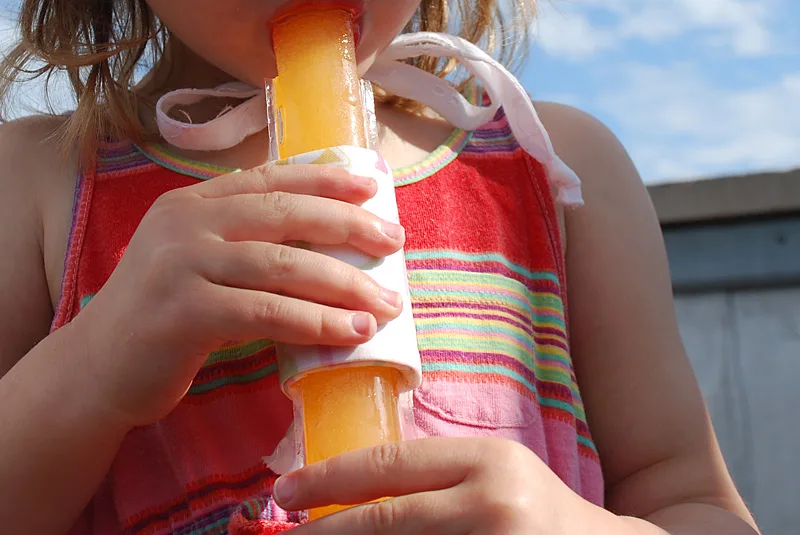
Cold tiny hands no more! Elise loves stick popsicles and frozen yogurt tubes. Truly, she’s a junkie. But she doesn’t like it when her hands get cold, which means I don’t like it when she sets the sticky treats on the table (or ick, on the floor) to take a temperature break.

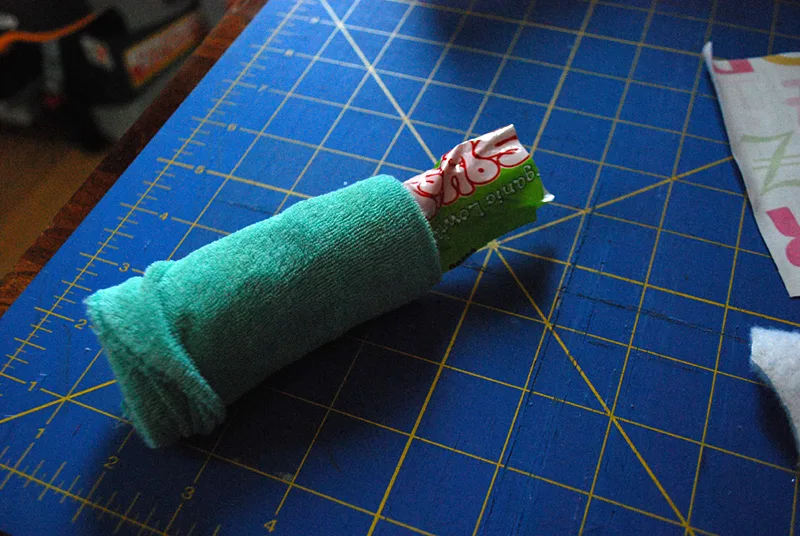
My short-term fix was to wrap a baby washcloth around the frozen tube like so. It works OK but it’s a bit too WT.
So using a teeny bit of insulated batting from my free oven mitt sewing pattern, some laminated cotton for easy wipe down, and VELCRO Clear Sticky Back fastener I came up with a free pattern for a Popsicle and frozen yogurt tube insulated holder.
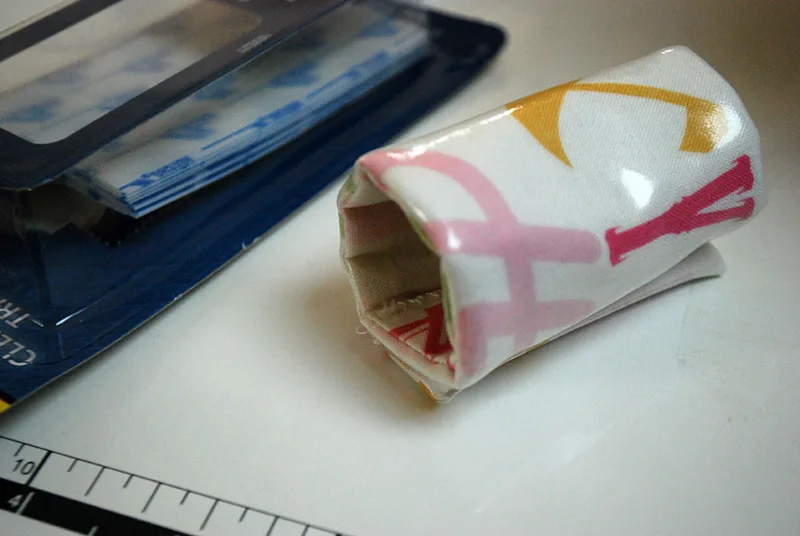
This insulated Popsicle and frozen yogurt holder uses fabric leftovers and is super quick to make. And with laminated cotton on the outside it’s also easy to wipe down. No more cold fingers and popsicles that stay frozen longer on hot Chicago summer days.

Keep reading for my free sewing pattern, step-by-step tutorial and supply list for making my DIY insulated holder for stick popsicles and frozen yogurt tubes.
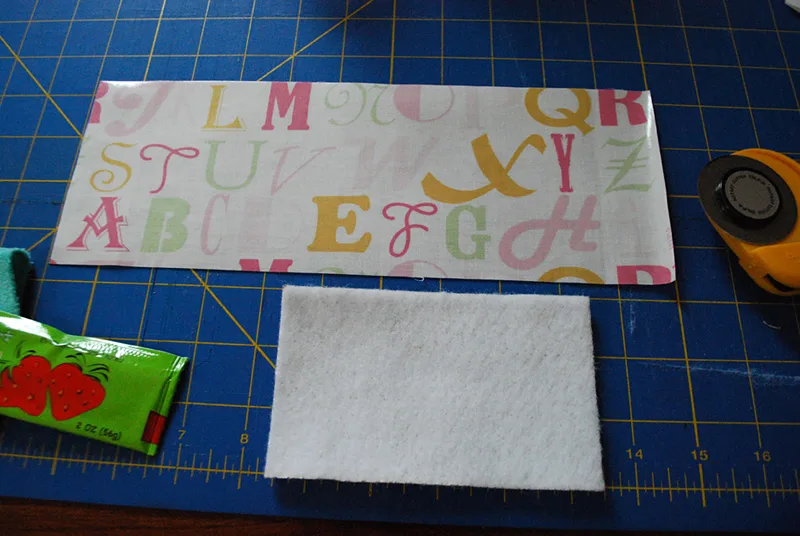
Supplies for making an insulated holder for stick popsicles and frozen yogurt (finished size is 5″ x 2.5″):
- Bit of laminated cotton fabric
- Bit of Insul-Bright Insulated Lining
- VELCRO Sticky Back clear transparent fastener strips
- Rotary fabric cutter, ruler and self-healing mat
- Thread
- Good fabric scissors
- Sewing machine
—
How to make an insulated holder for stick popsicles and frozen yogurt:
Step 1: Cut pattern pieces for an insulated popcicle holder.
Cut a 10.5″ x 3″ rectangle from laminated cotton and a 4-7/8″ x 2-3/8″ rectangle from insulated batting using your rotary fabric cutter, ruler and self-healing mat.

Step 2: Sew insulation to the outside fabric
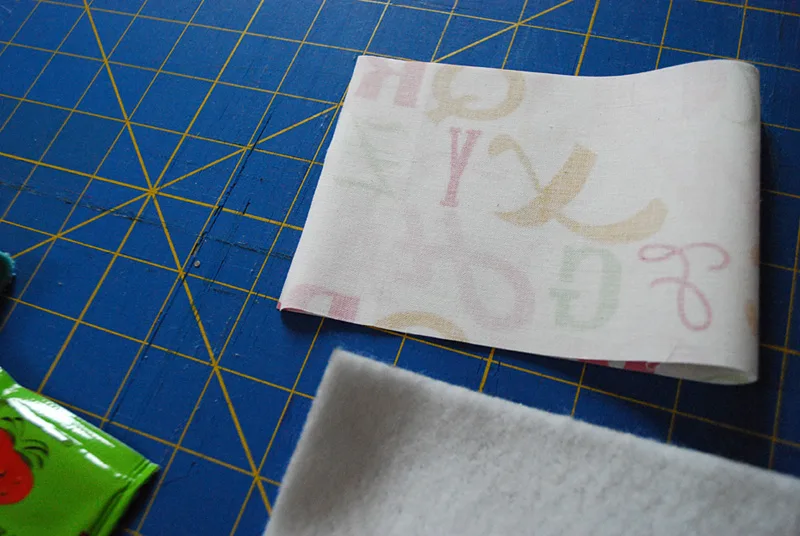
Fold the laminated cotton piece in half right sides together.

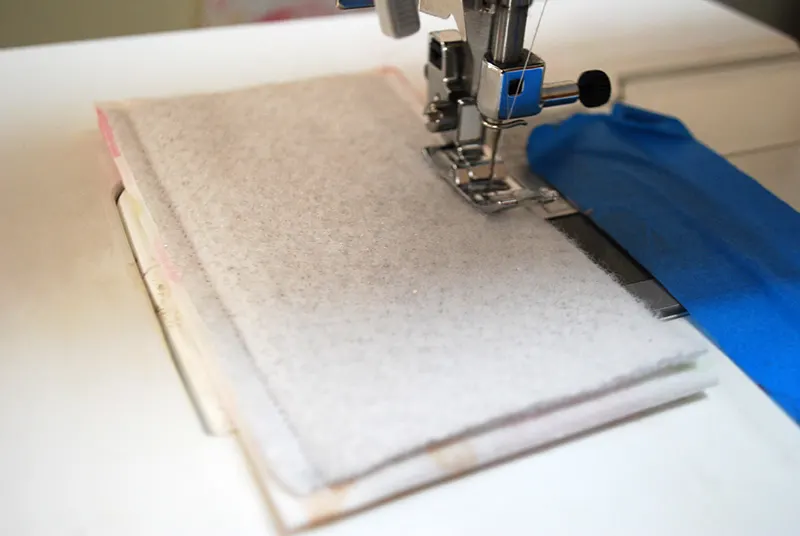
Stack the insulated rectangle on top sewing 1/4″ seams on left and right long sides (leaving the short side on the end open).

Step 3: Turn the insulated popcicle holder rightside out.
Trim corners and turn right side out. Push out the corners as best as you can.
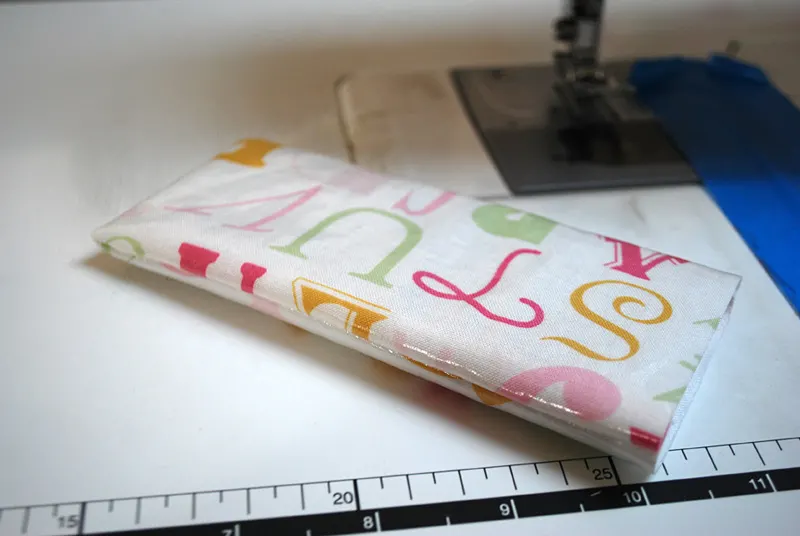
Fold the open side under a bit and secure with a barrette (see my sewing tip on using barrettes for laminated cotton, oil cloth and oil canvas).
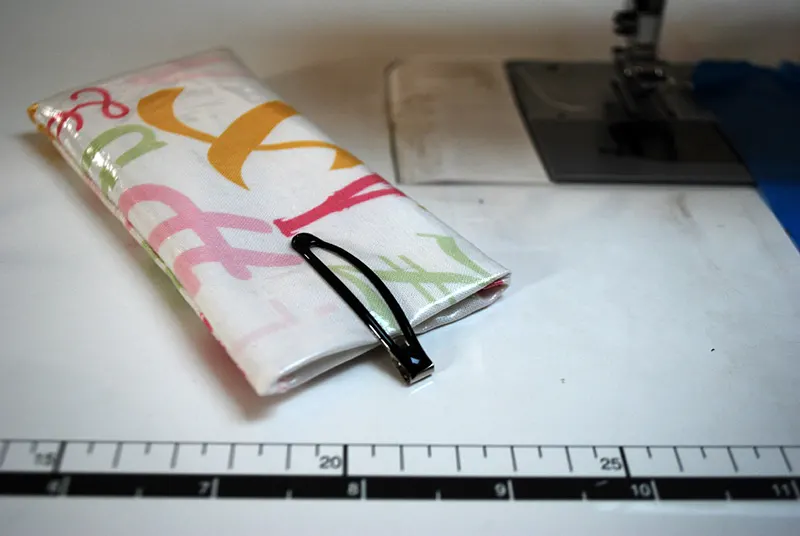
Step 4: Sew the end of the popscicle holder shut
Now here’s a cheat to make it a little easier to sew laminated cotton: stick a piece of thin white paper underneath whatever you’re sewing so the laminated cotton doesn’t stick to the base of your sewing machine. Or you can use a walking foot on your machine.
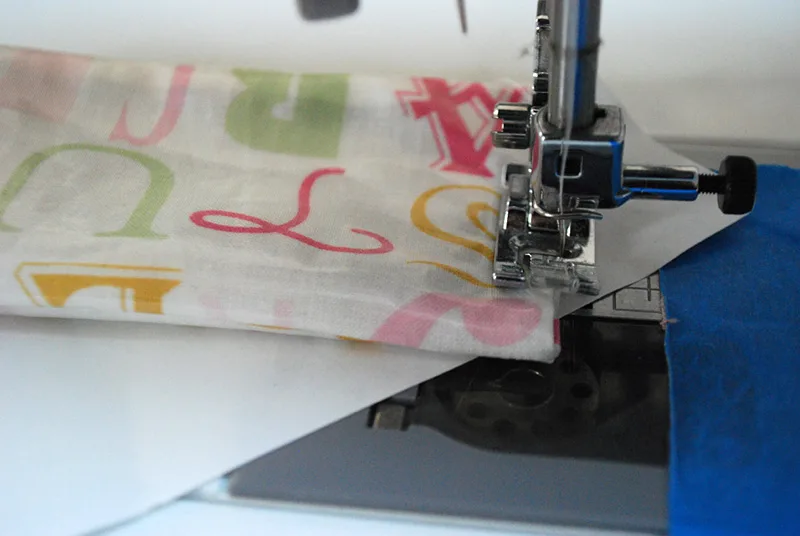
Zigzag or straight stitch the edge shut, sewing through the fabric and the paper.
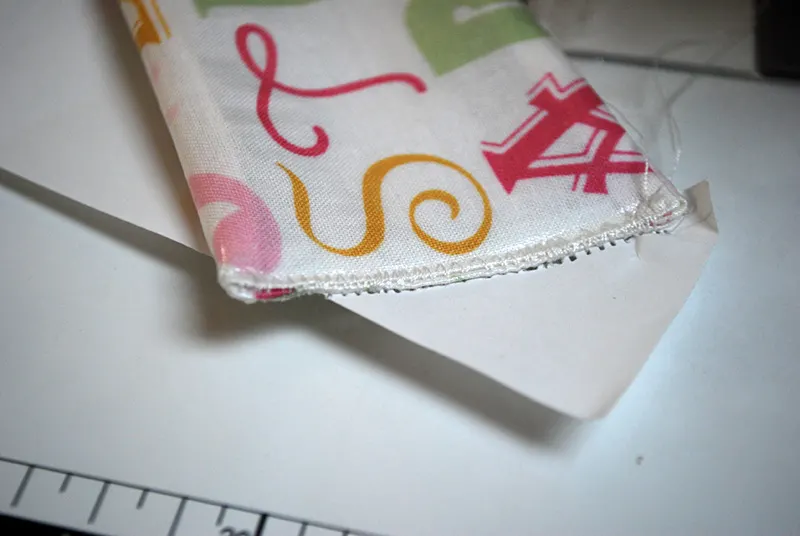
And then tear the paper away. Well, the whole paper-tear-away technique works better with a straight stitch but I only have so much nap time free so I didn’t redo it so let’s plow forward…
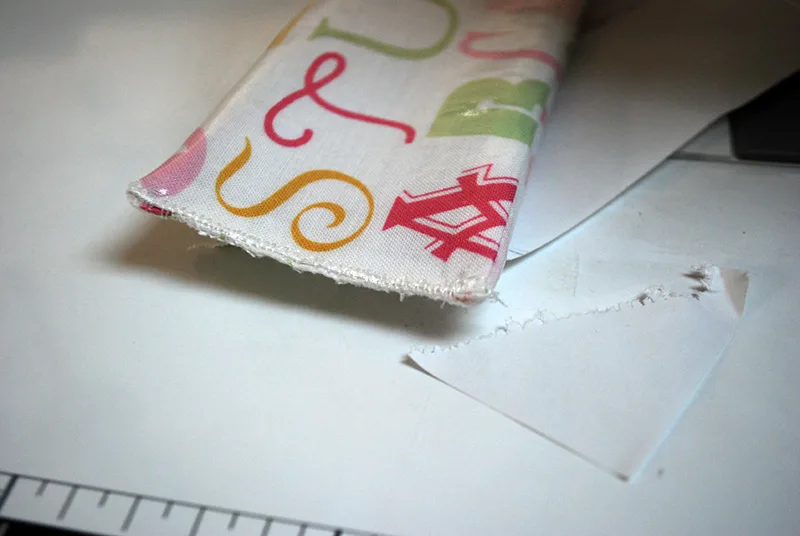
Step 5: Add a VELCRO brand fastener closure
Take a strip of VELCRO Clear Transparent Sticky Back fastener.
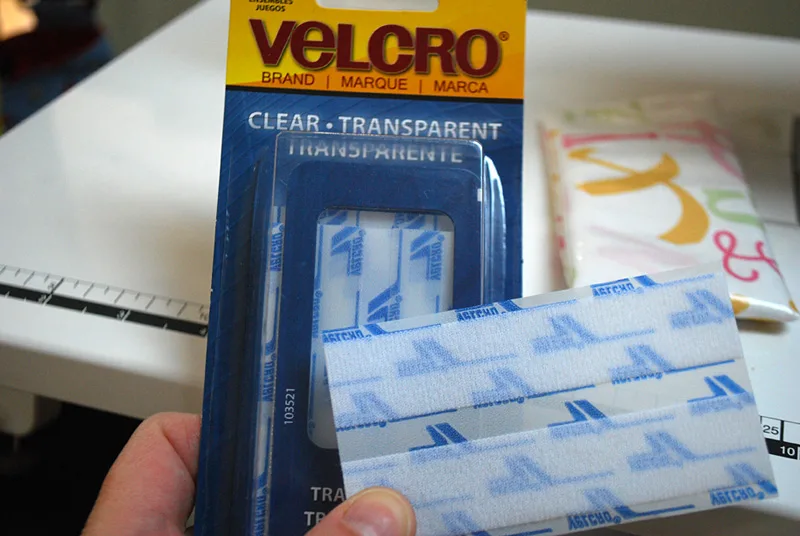
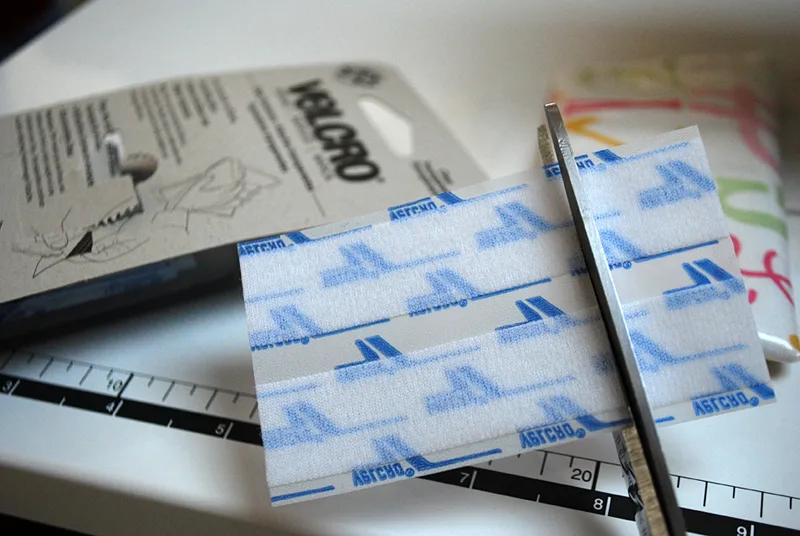
Cut one loop (soft) strip and one hook (scratchy) strip to 2-1/4″.
Stick the hook (scratchy) strip to the sewn end.
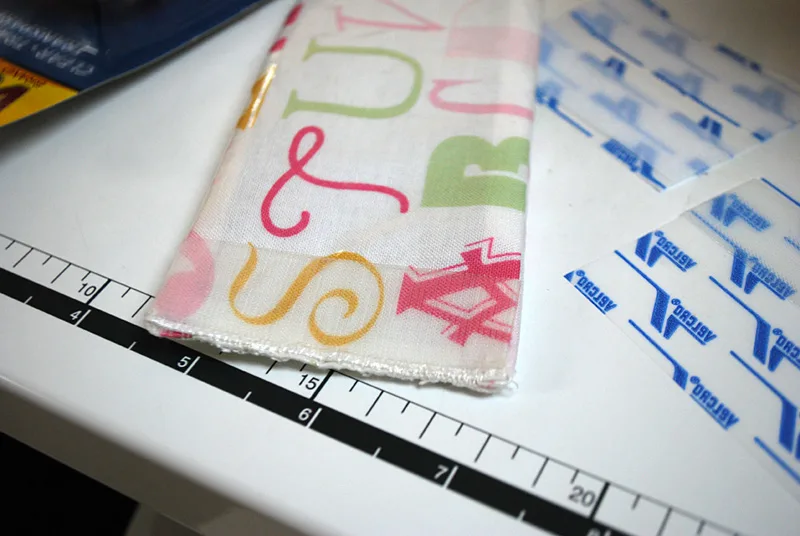
Flip the holder over. Now peel the hook (soft) end…
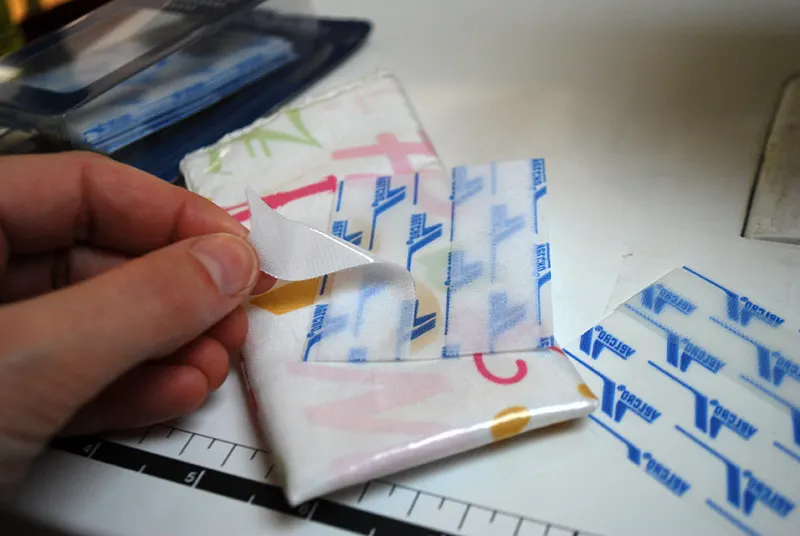
…and place it on the folded side.
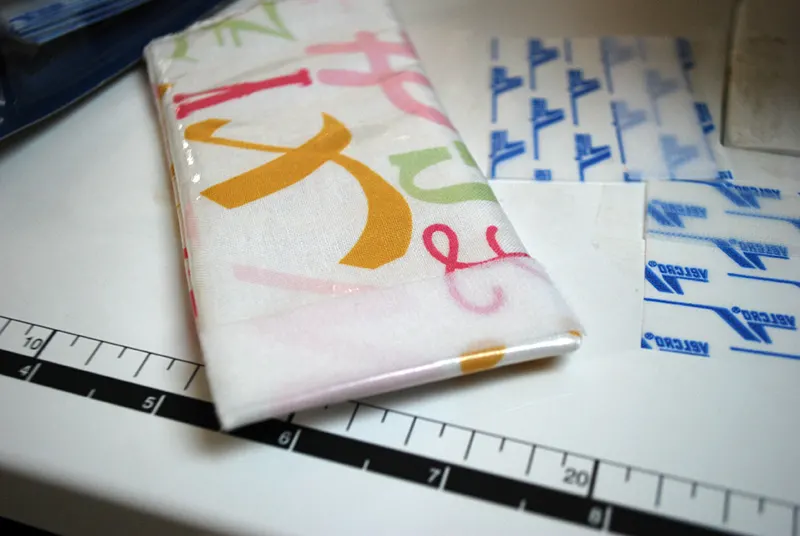
VELCRO brand fastener adhesive will be strongest if you wait 24 hours here. (Disclosure: Of course I didn’t wait that long and the VELCRO Sticky Back strip did pull off a bit when I took the holder apart after Elise’s snack time but it easily stuck back on.)
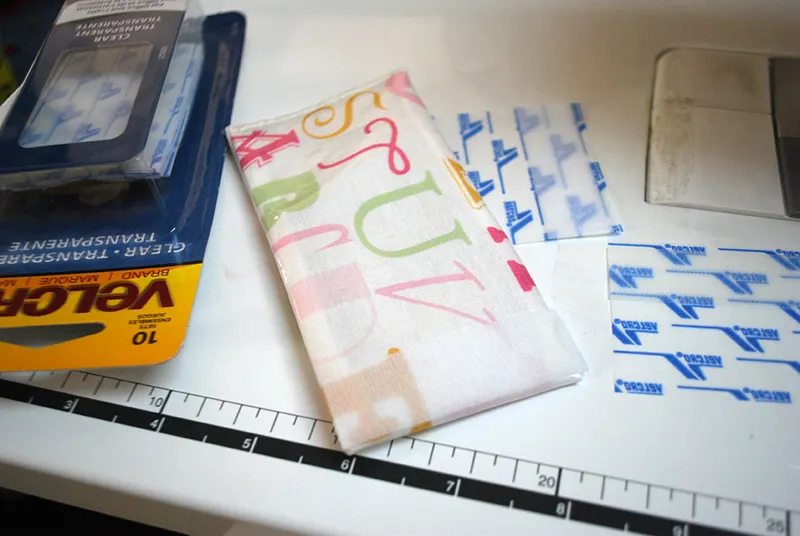
Now wrap it around a frozen yogurt tube or a stick popsicle and enjoy!

Did you make it? Please post a comment and let me know how this craft idea works for you. And see more easy sewing projects.
COPYRIGHT NOTE: You’re more than welcome to use free pattern and how to step-by-step tutorial for your own personal use. Contact me for any commercial use – this includes etsy sellers.
