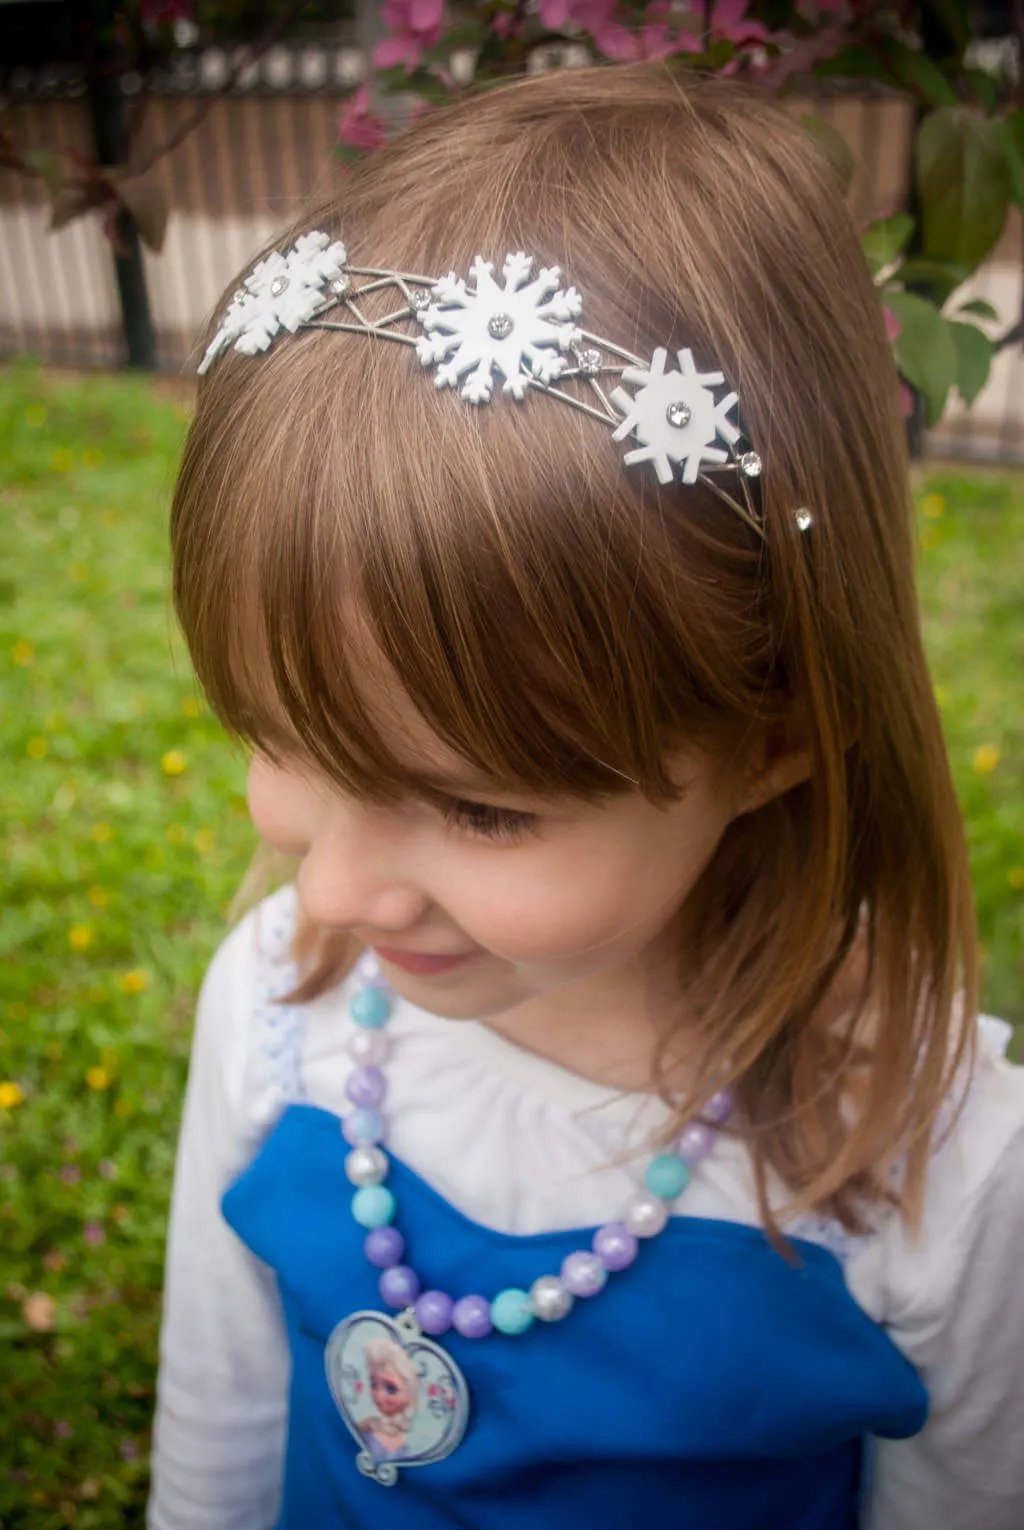
Let it go! Here’s a DIY Frozen-inspired snowflake headband to make with your own little Elsa. This delicate-looking headband adds a simple and pretty look to kids hair. This also makes a fun Frozen kids activity; Elise and I made it together. Get my free printable template below to make this snowflake headband for your own DIY Elsa Frozen costume.
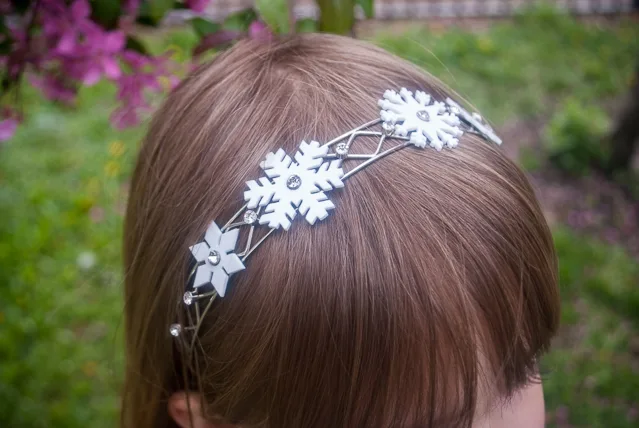
Elise and I made this Frozen-inspired snowflake headband together to help complete her handmade Elsa dress up costume. It’s finally spring in Chicago yet Elise is still in full-on Snow Queen mode.
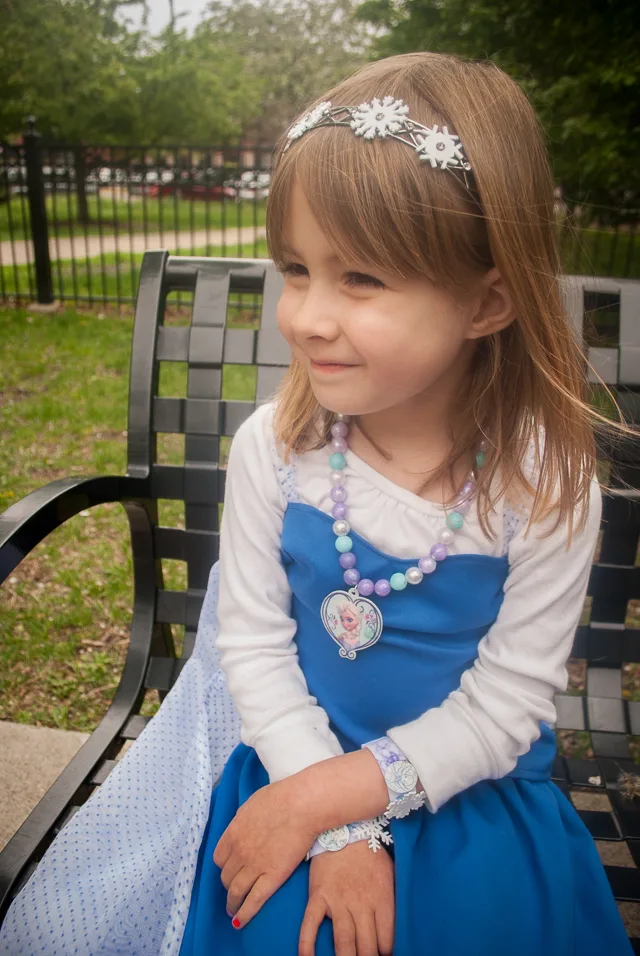
Like lots of kids right now, Elise loves pretending to be Elsa, singing Let It Go in the kitchen and pretending to create an ice palace from couch cushions. Elsa had the power to create ice and snow so I thought, how about Shrinky Dink snowflakes on a princess-esque headband for my city-girl-Snow-Queen?
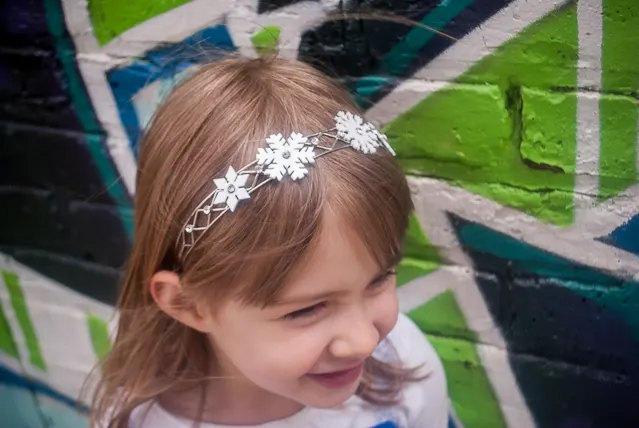
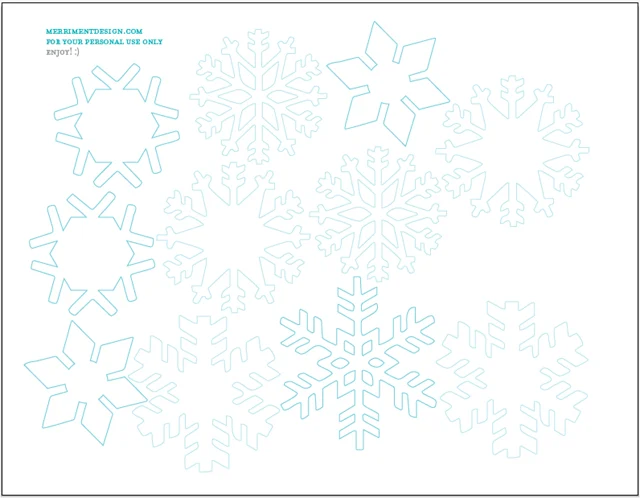
Shrinky Dinks are one of my all-time favorite craft supplies so I jumped at the chance to try my hand at shrinking some snowflakes. You can get my free snowflake printable below to cut out your own.
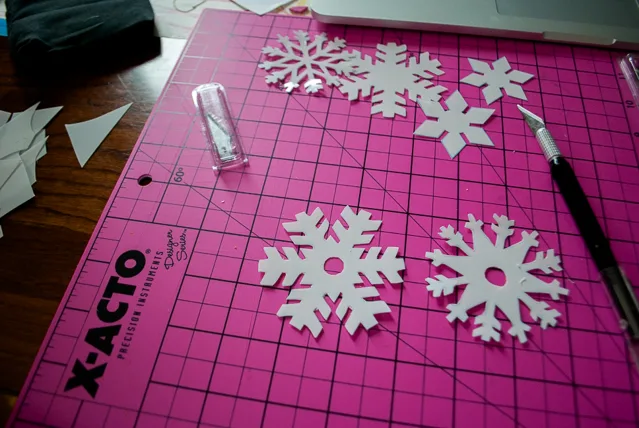
And what kid doesn’t like watching Shrinky Dinks twist and flatten and shrink to 1/2 their size?
*****
This Frozen craft activity is dedicated to a special 5-year-old named Meera who is totally obsessed with Frozen. Meera, my friend Emily’s daughter, was diagnosed with a malignant brain tumor when she was 3 years old. Meera recently wanted a Frozen headband for her birthday which is what first inspired me and Elise to make this craft. Pediatric brain tumors are the second leading cause of cancer-related deaths in children and are fatal for almost half of those diagnosed. Yet, only $1 million is given annually for pediatric brain tumor research by government agencies – the rest must be raised by volunteers.
If you like this craft — Please consider donating a dollar or two to help fight pediatric brain cancer in honor of Meera. All donations are tax deductible. With your help, more children battling brain tumors can receive the best healthcare possible and the opportunity to reach their greatest potential. Thank you!
*****
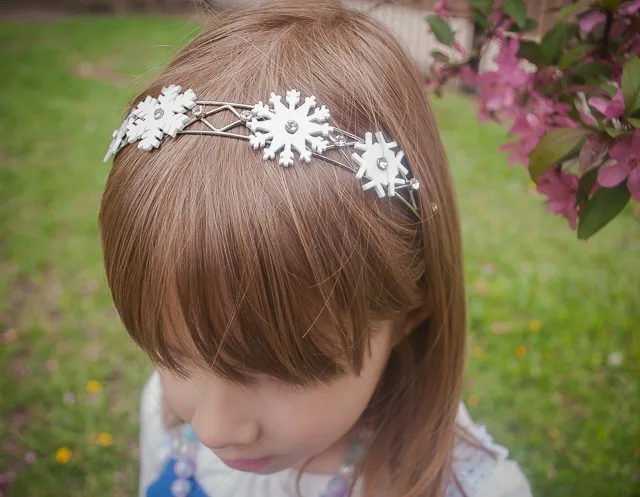
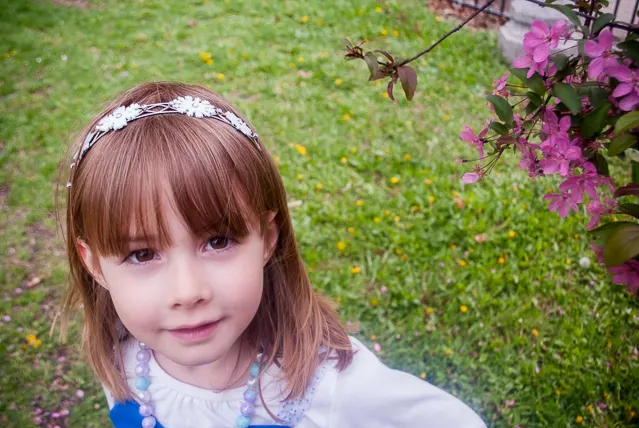
I love how this Shrinky Dink snowflake headband turned out.
And the fears that once controlled me can’t get to me at all.
++++++
Supplies for making a DIY snowflake headband for Elsa dress up costumes, Elsa Frozen Costumes and Frozen birthday party activities:
- Kathy’s free printable snowflake template for Shrinky Dinks (PDF)
- Ink Jet printable Shrinky Dink film (or other shrink film)
- Hole punch
- Scissors, an X-Acto knife and self-healing mat
- Baking sheet and oven
- Two pieces of paper and a heavy book
- Strong glue (I used Gorilla Glue super glue)
- Headband – I used the Conair Sophisticates Headband Jewel and also these kid’s headbands
++++++
—
How to make a Frozen-inspired headband for Elsa dress up costumes or a Frozen birthday party activity:
Print my free Frozen snowflake PDF onto letter-sized shrink film following the package directions. The free printable includes full snowflakes as well as blank ones with the centers that can be punched. Use the ones that will look best on your headband.
Cut them out using scissors and an X-Acto knife with a self-healing cutting mat. I’m not going to lie, this part isn’t for the kids as it’s a bit involved. It took me an evening of multi-tasking while watching TV to cut them out but I tell you, it’s worth it.
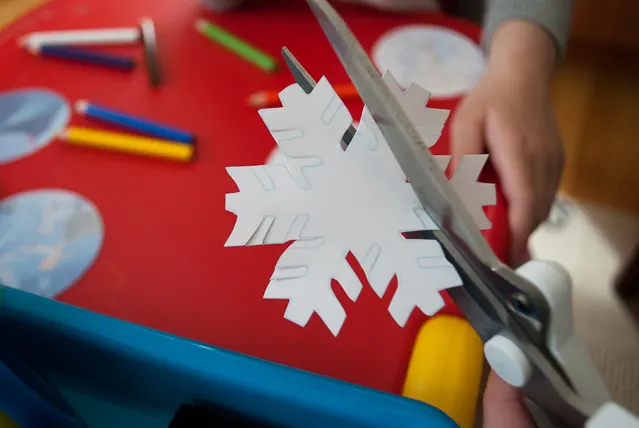
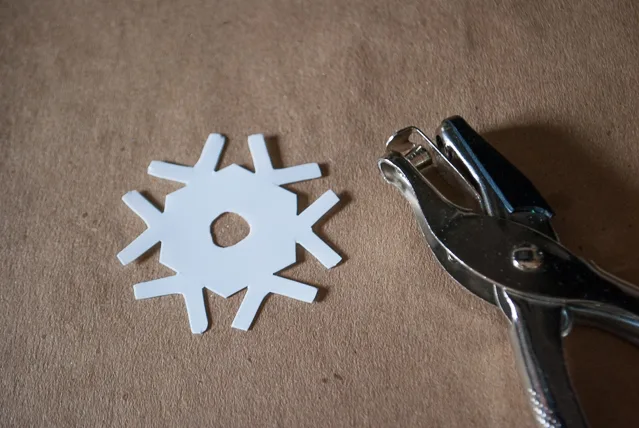
Put a piece of paper on the baking sheet and then put the snowflake on top. Punch out the centers using a hole punch. Remember that the hole is going to shrink too, so punch the hole slightly larger than a standard 1/4″ hole by punching it multiple times (I did 4) or making the 1/4″ hole bigger using a craft knife after it shrinks (harder to do but it works).
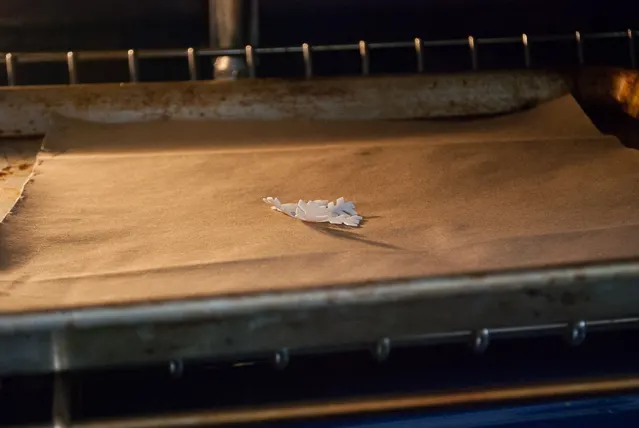
Now the best part! Bake it at 325 degrees for 3-5 minutes or according to your shrink film package directions. Watch it shrink and flatten. Take it out of the oven, pull off the paper and put on the counter, put a piece of paper on top and put a book on top to flatten it.
Slip them on the jewels of the headband. I skipped two jewels between each snowflake. If you need to make the snowflake holes a bit larger to fit onto the jewels, then just use your craft knife to shave off a bit. Put the craft knife in the hole and turn it in circles to shave it.
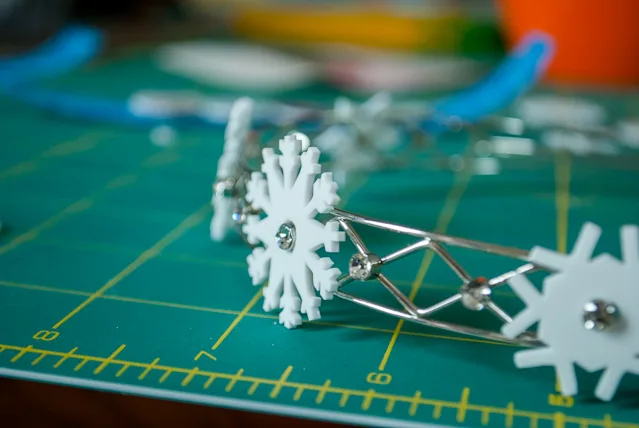
Use strong glue to attach the snowflakes to the headband. I used four snowflakes per headband. I used Gorilla glue super glue, and I leaned it up against Liam’s sippy cup until it was dry.
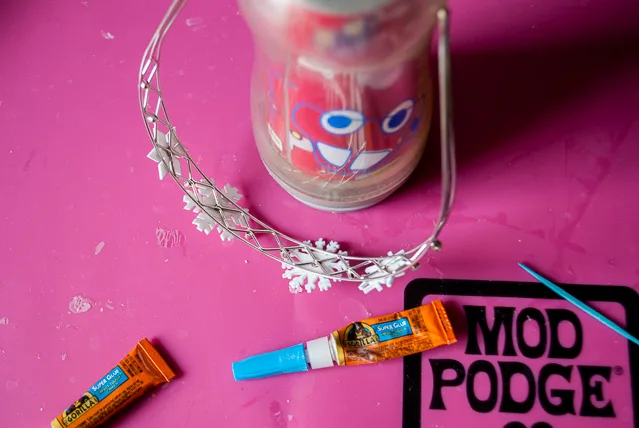
Let the storm rage on!
++++++
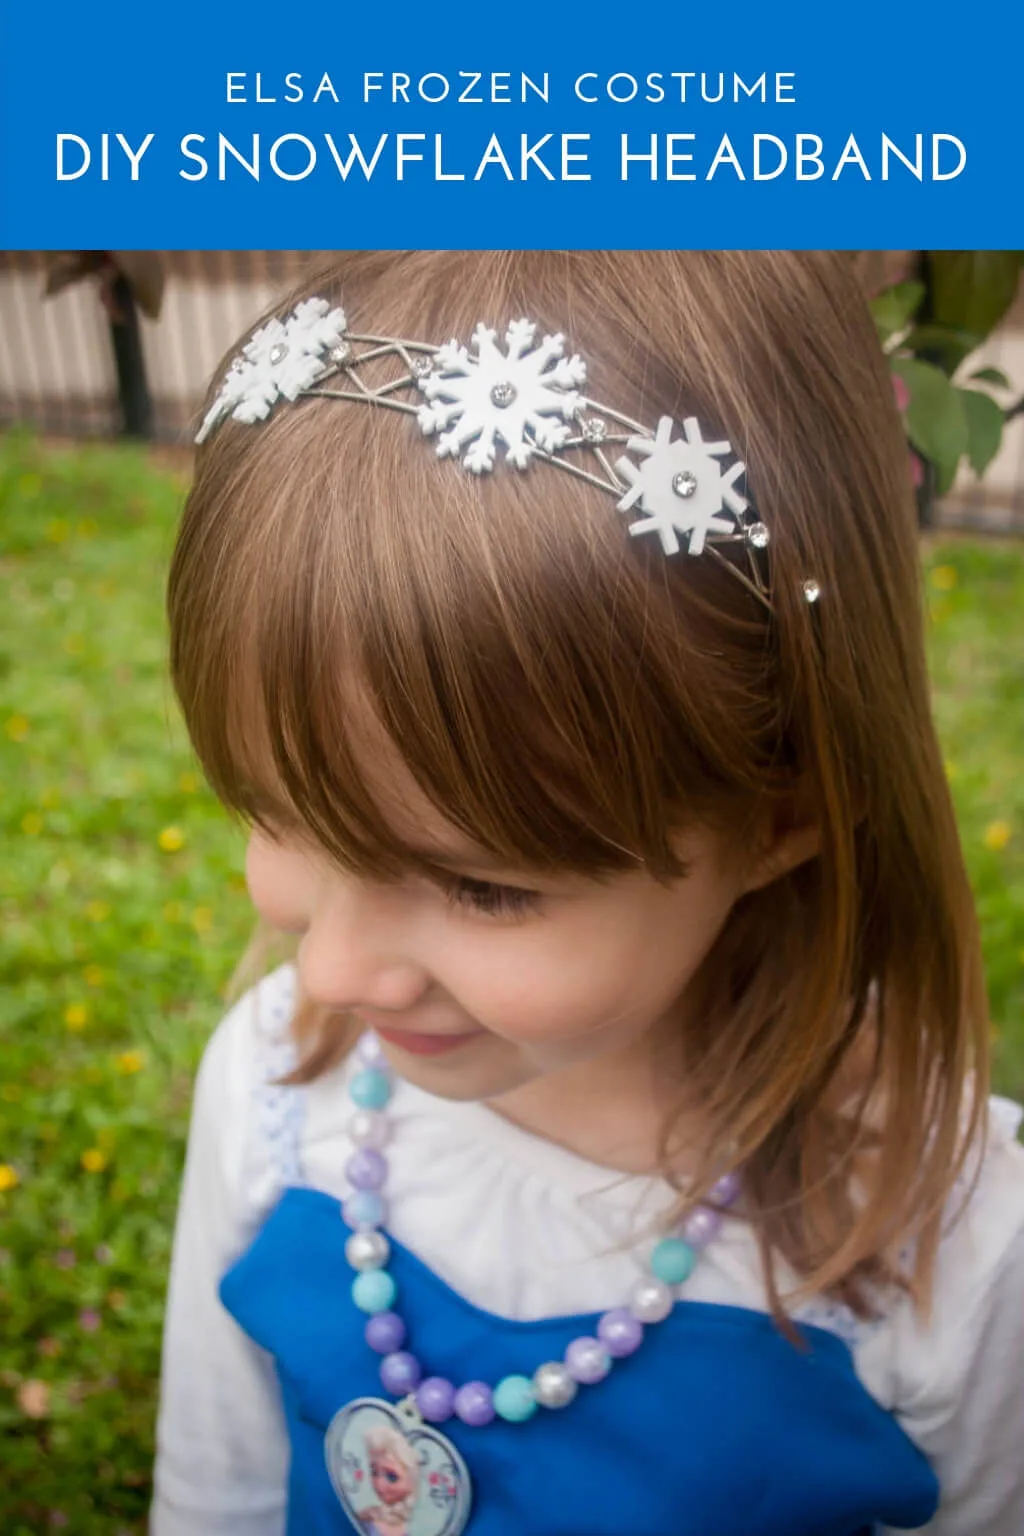
Be sure to pin this DIY snowflake headband for later
—
Like it? Share it!
The nicest way to say you like it is to pin it on pinterest, post a comment, follow Merriment Design on Facebook, twitter, pinterest, Google+ or sign up for monthly emails. Enjoy! 🙂
Copyright stuff: You’re more than welcome to use this free project and tutorial for personal use. Contact me for commercial use and etsy sales.


Nguyen
Tuesday 24th of November 2015
Memories Ribbon covered foam Christmas Trees from Little Birdie Secrets Yarn Christmas Trees from Living Locurto Magazine Christmas Tree from Blog a la Cart Gumdrop Christmas Tree from Make and Takes Pearl
Amy Anderson
Wednesday 4th of June 2014
So cute! And such a little you :D
Rachel @ Architecture of a Mom
Wednesday 4th of June 2014
this is so beautiful!!!
Erin @ DIY on the Cheap
Monday 2nd of June 2014
This is adorable! Love it!
Mary Beth @ Cupcakes and Crinoline
Monday 2nd of June 2014
Such a pretty headband! I wish I had a little girl to make one for.