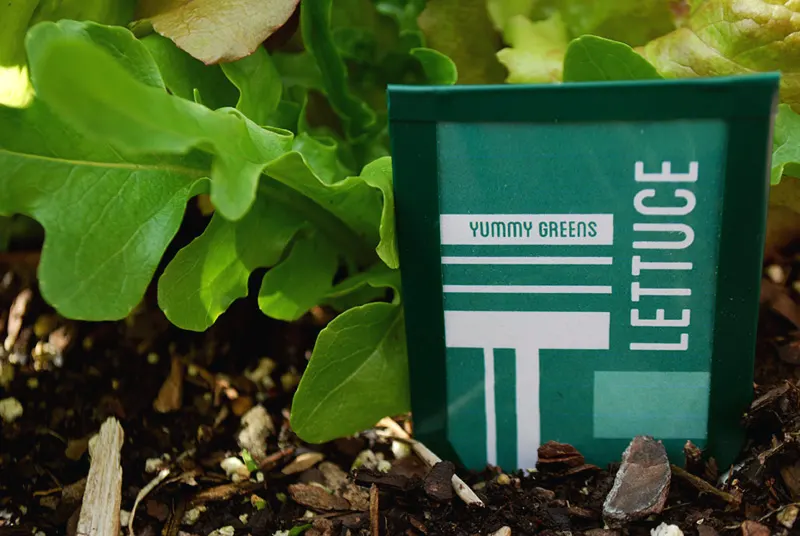
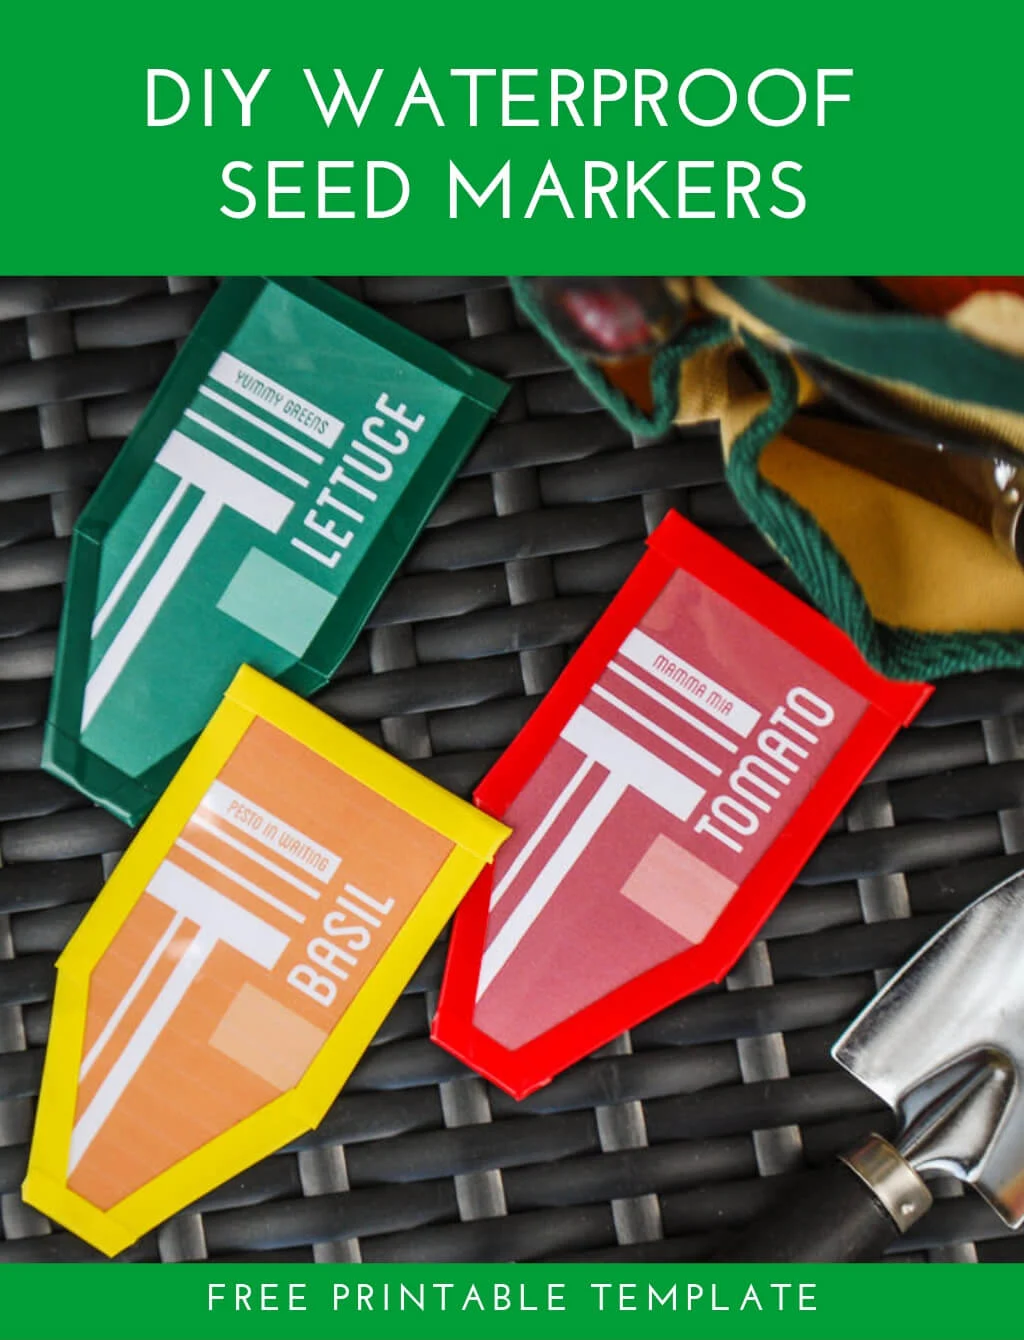
Looking for a creative way to repurpose your plastic salad containers? Make my free DIY garden plant markers that transform your trash into practical, weatherproof plant markers for seedlings in your garden.
My free DIY printable garden seed markers are made from recycled plastic salad containers. The packrat in me always kinda feels bad about throwing these clamshell salad containers away so thought I’d try to make something useful from them. And aha! I thought that the salad container plastic could make a great waterproof outer case for garden plant markers for seedlings.
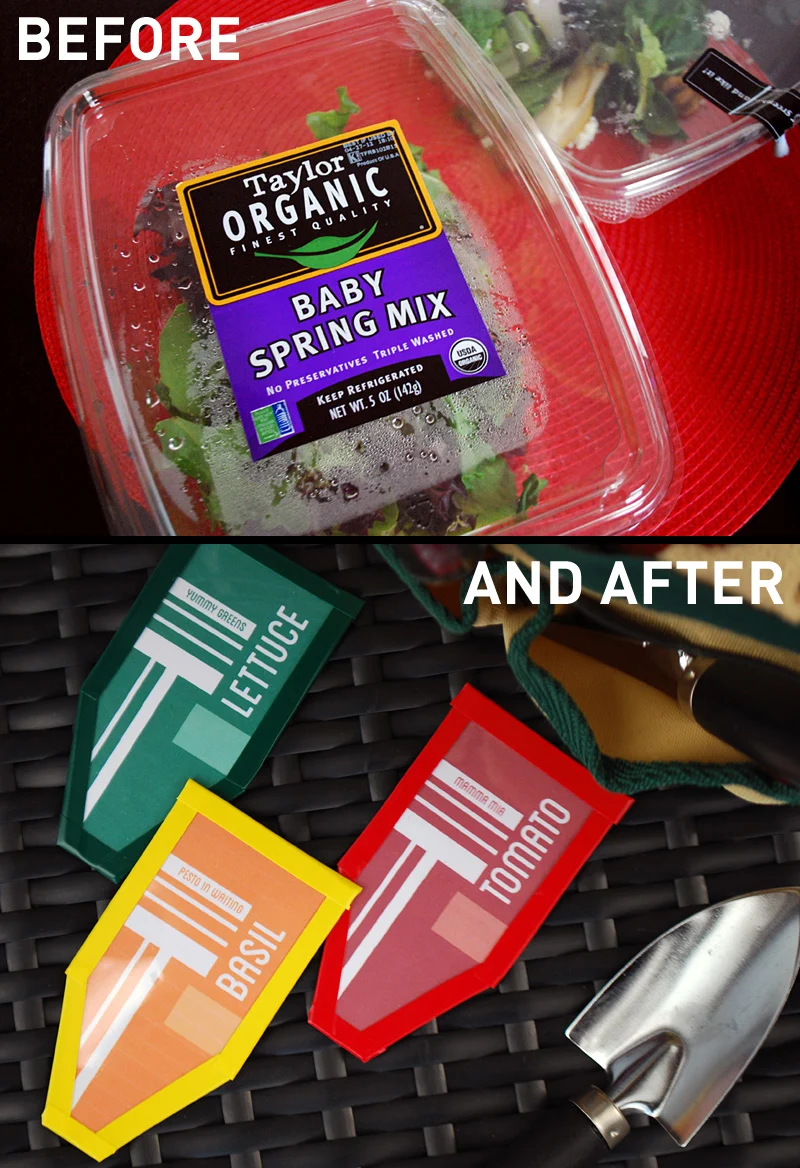
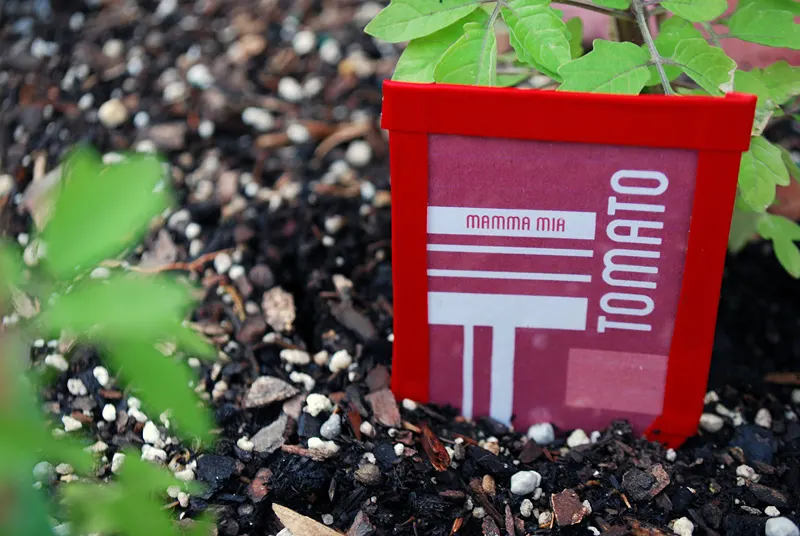
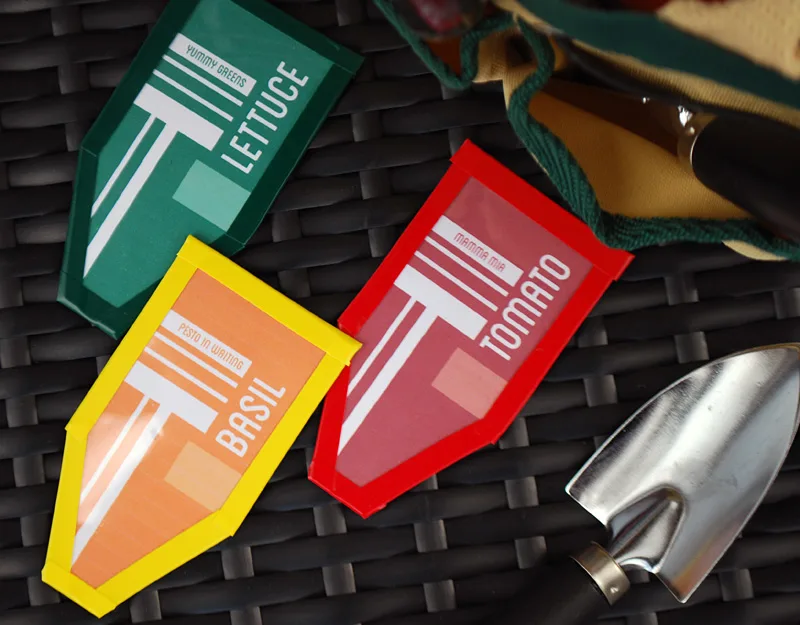
DIY plant markers for seedlings from plastic clamshell salad containers
This year we decided to 86 buying flowers for our deck and instead just grow vegetables and other edibles. So far Elise and I have planted tomato seeds, lettuce, and basil.
See also: ‘DIY Geometric Planter’ »
These seed markers not only help you keep track of which seeds are what but they also show plant maintenance and care including watering instructions, thinning distances, and harvesting guidelines.
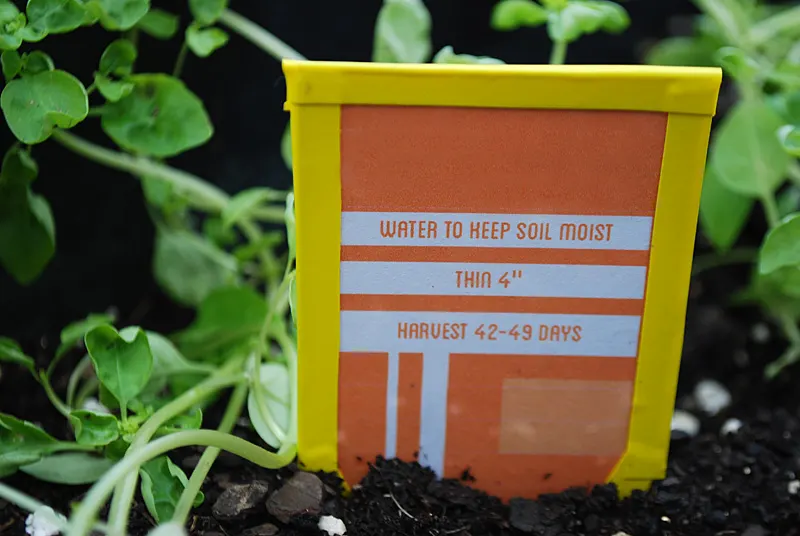
The geometric design was inspired by these pretty graphic patterns that I first saw on design*sponge and uses the super cool font Blanch from the Lost Type Co-op.
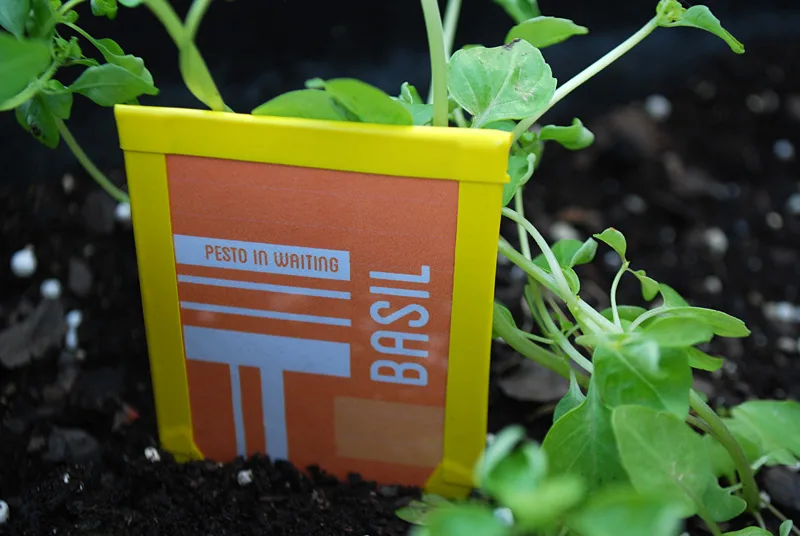
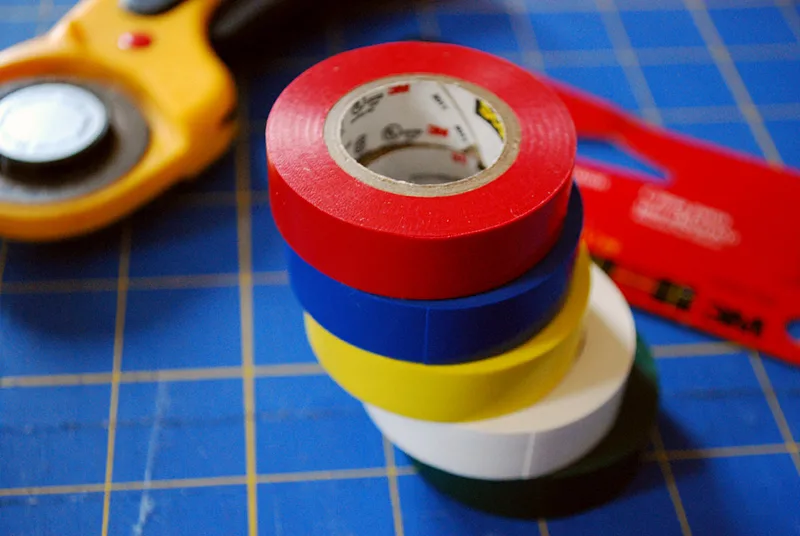
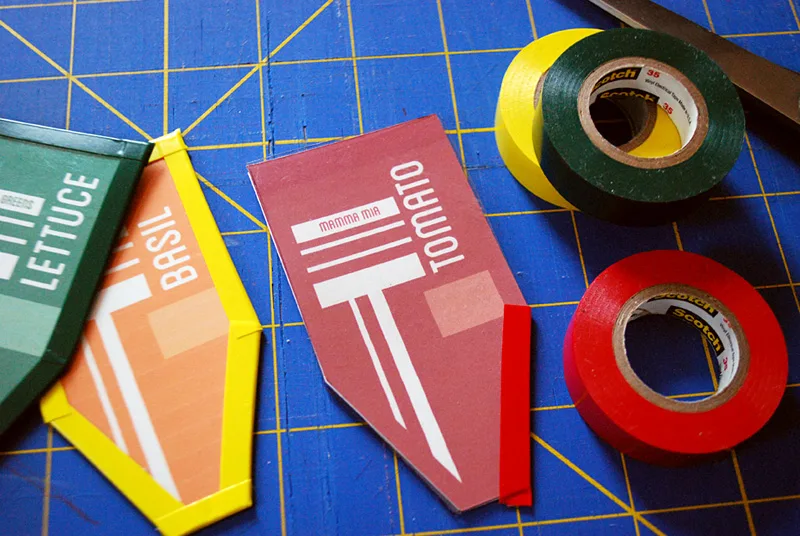
And bonus! This project gave me an excuse to use one of my favorite hardware store materials: colored electrical tape. I love love love colored electrical tape. It’s kind of like washi tape but more flexible and also waterproof.
Hopefully, we’ll have a good growing season in Chicago. And with our budding lettuce crop, Elise and I will hopefully have to buy a lot fewer plastic salad containers this summer.
WANNA MAKE IT? Keep reading for my free printable template, step-by-step tutorial instructions, and supply list for DIY garden plant markers for seedlings from recycled plastic salad containers.
++++++
Craft supplies for making DIY plant markers for garden seedlings using weatherproof recycled plastic salad containers:
- Kathy’s free DIY garden seed markers template (PDF) — contains tomato, basil and lettuce — any burning requests for other seeds just let me know.
- Empty plastic salad container, spinach container, or other disposable plastic container
- Goo Gone
- 1/2″ colored electrical tape (electrical tape comes in several widths; I used 1/2″ wide)
- Ultra-fine Sharpie pen
- Xacto knife, metal ruler and small self-healing mat
- Good scissors
- White cardstock paper
—
How to make DIY garden plant markers for garden seedlings from recycled plastic salad containers:
Step 1: Clean the recycled salad container
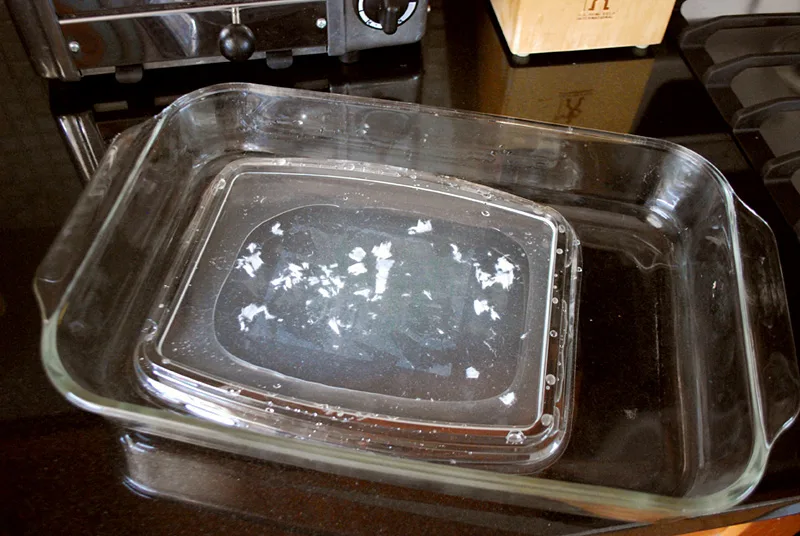
Wash and dry an empty salad or spinach container. You can also use carryout clear plastic containers from restaurants such as the ones from Homemade Pizza Company. Peel off the labels as much as you can. Then give it a soak to remove the rest of the paper bits, dry it off and then use a little bit of Goo Gone to get the rest of the sticky part off. Dry the clean plastic salad container and set aside.
Step 2: Print and cut garden plant markers
Download my free DIY garden seed markers printable (PDF) and print them onto white cardstock paper.
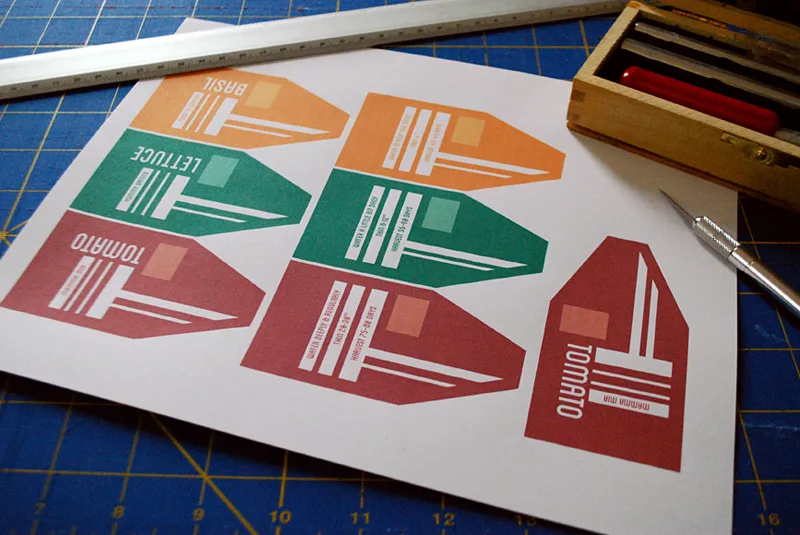
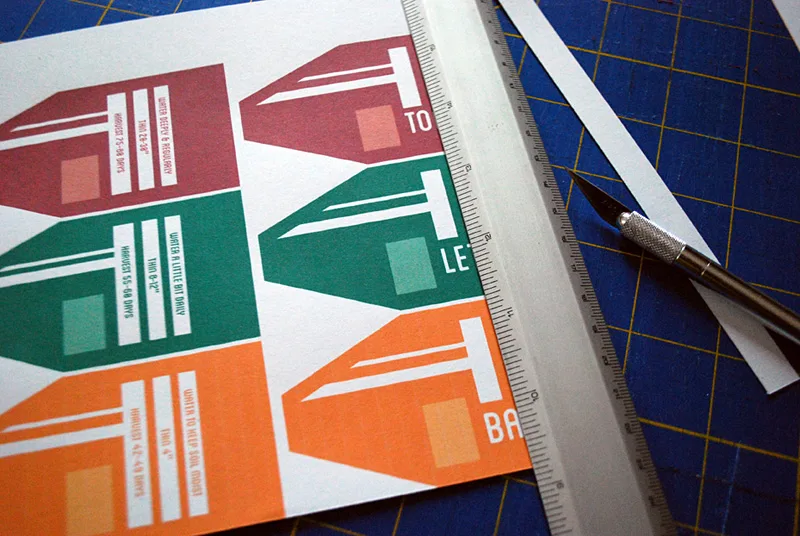
Cut out the seed marker fronts and backs using scissors or an Xacto knife, metal ruler and small self-healing mat.
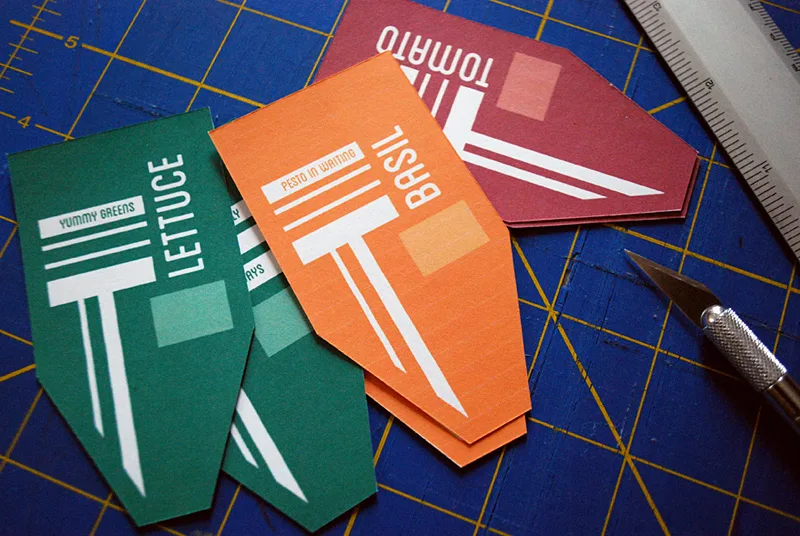
Here are all of the cut out garden seed markers, fronts and backs.
Step 3: Cut plastic fronts and backs for waterproof DIY plant markers
Lay out the garden seed markers on your salad container and trace with a Sharpie pen. I was able to get five pieces from the salad container top and cut the sixth from the bottom.
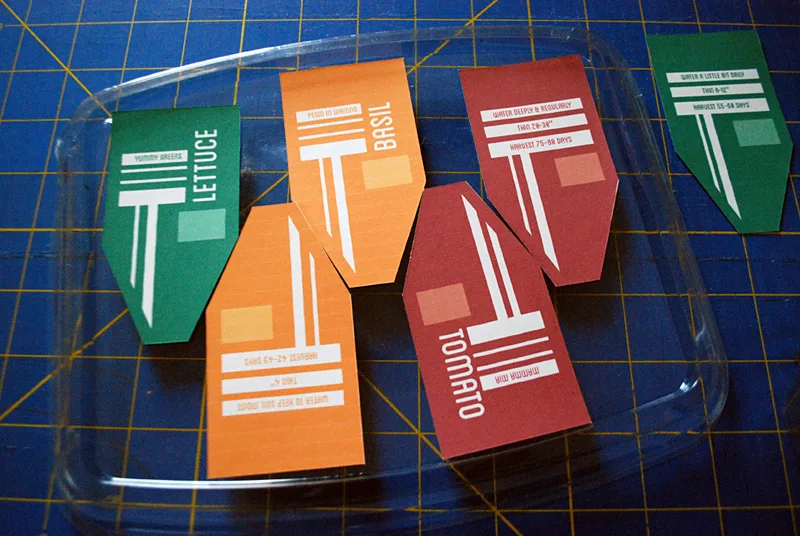
Cut out the garden seed marker front and back from the plastic salad container lid.
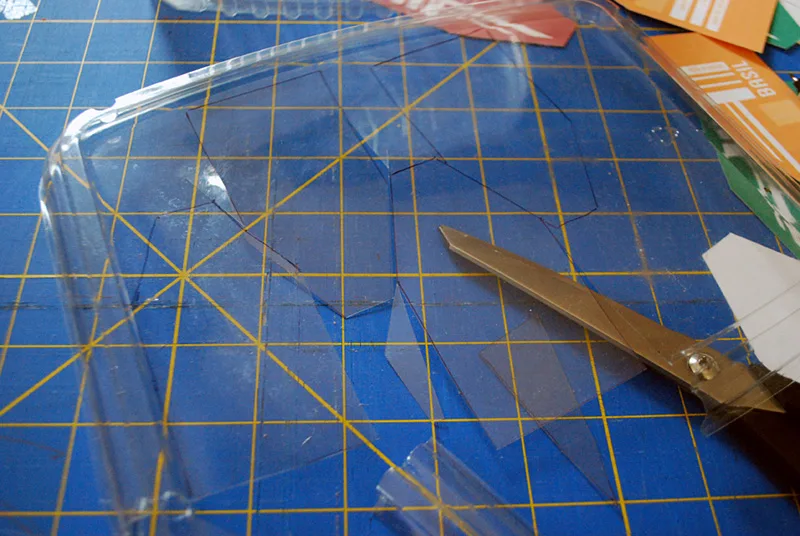
I was lazy and left a little bit of the Sharpie on the sides. But I didn’t really notice it later once it was covered in electrical tape so I think it’s OK to be a bit sloppy with it.
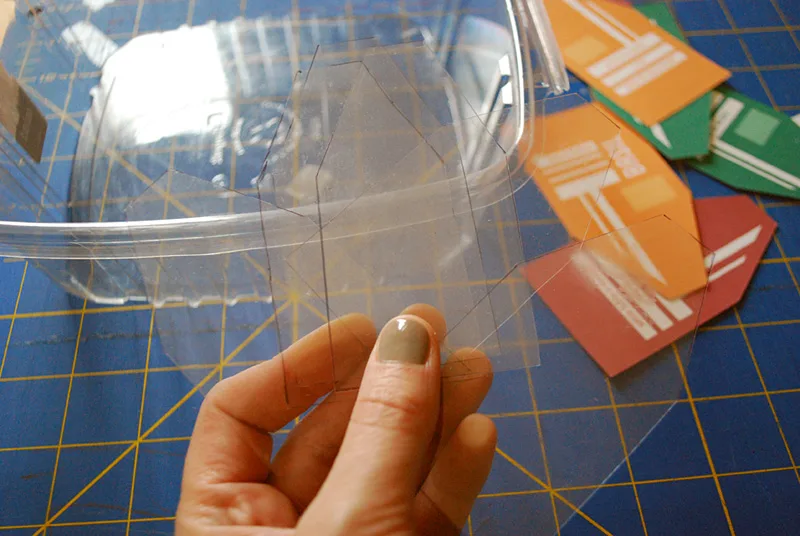
Step 4: Sandwich paper between plastic to make waterproof seed markers
Put the blank sides of the garden seed marker front and backs together.
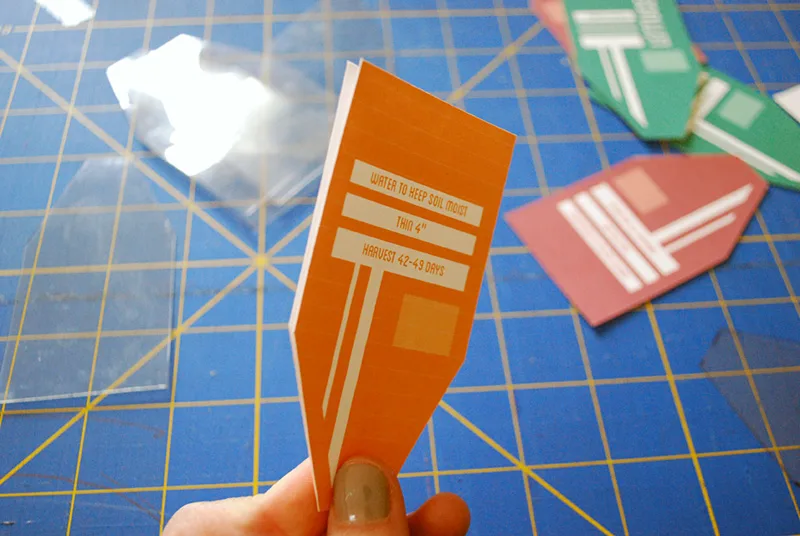
Sandwich them between clear plastic sheets on the front and back.
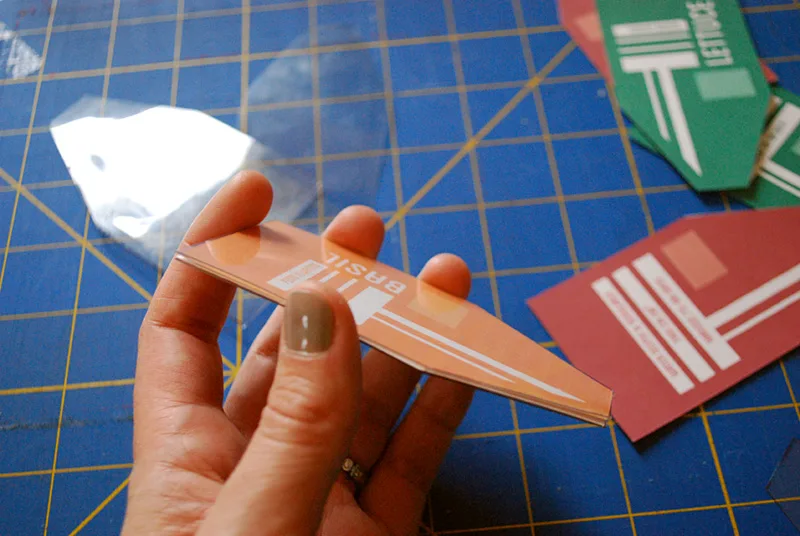
Step 5: Cover sides with waterproof electrical tape
Now for the electrical tape! Start with the lower edge, placing the tape half-way lengthwise on the front. Cut the tape.
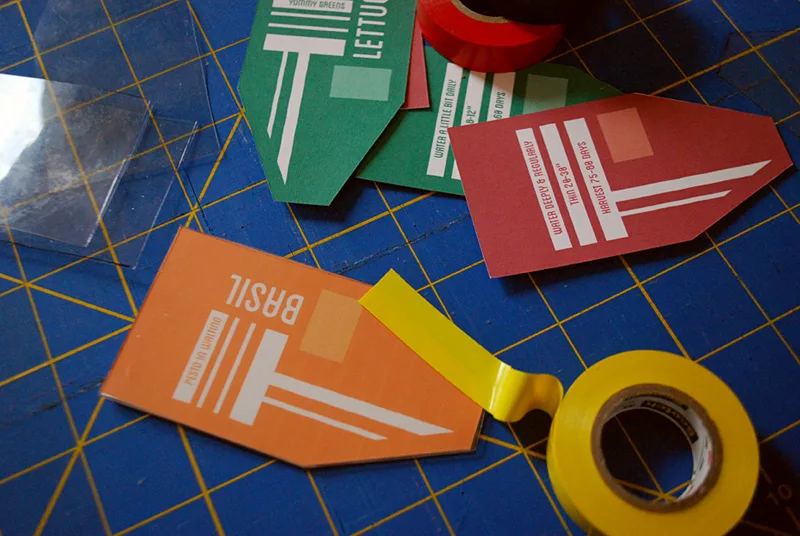
Wrap the other half of the tape around to the back. Repeat on the other side. Then tape the bottom up so it’s nice and water tight.
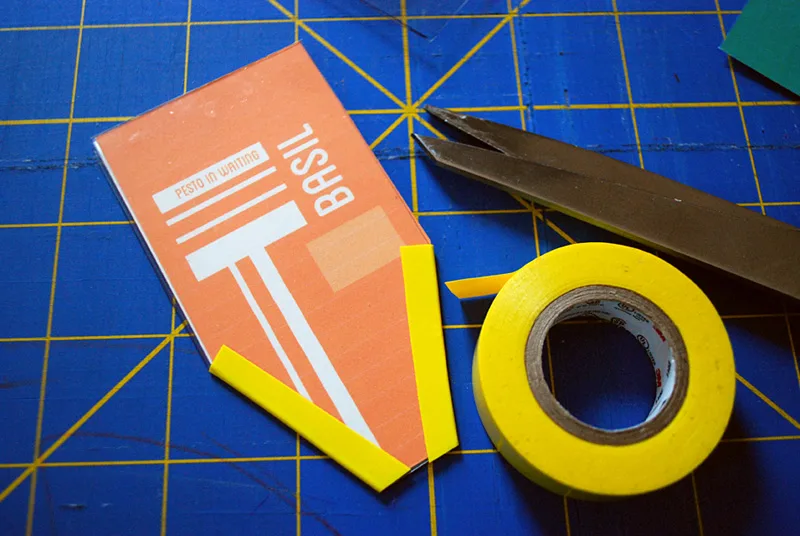
Move your way up, taping the left and right sides again so the tape wraps around the garden seed marker lengthwise.
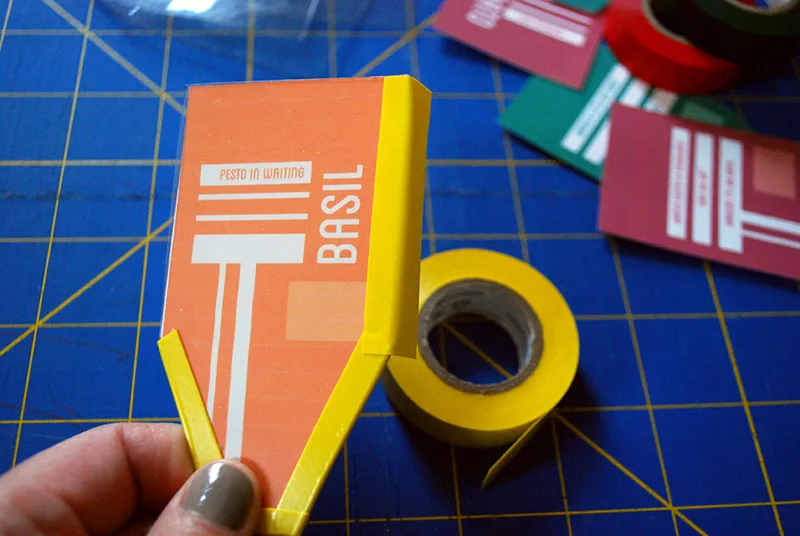
Repeat on the other side of the garden seed marker.
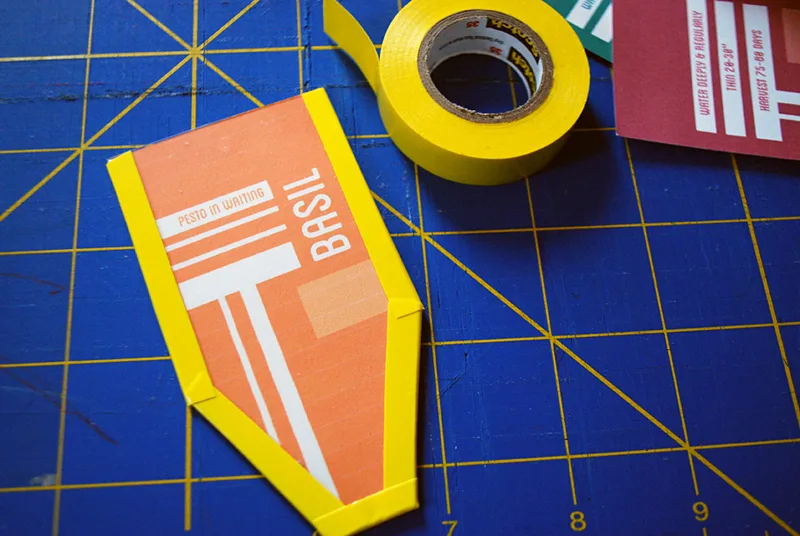
Now tape up the top of the seed marker to seal it all up from the elements.
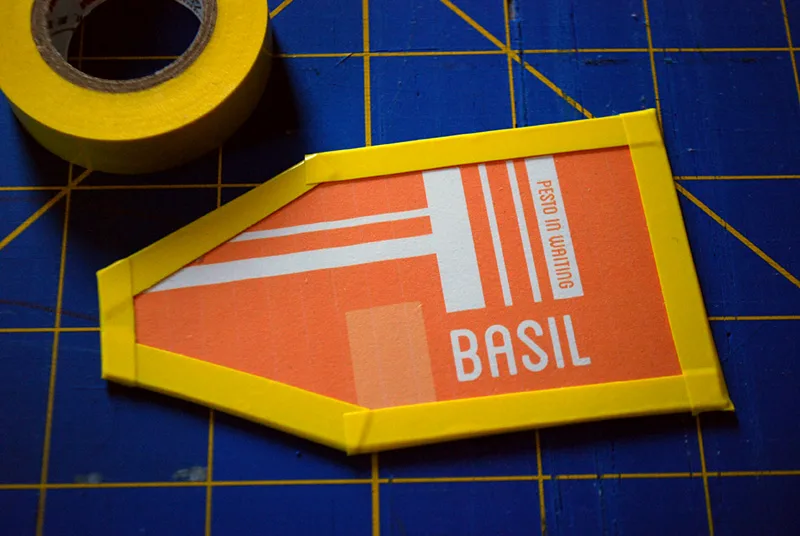
Repeat the plastic salad container sandwiching and electrical taping for your other garden seed markers. Then off to the garden!
++++++
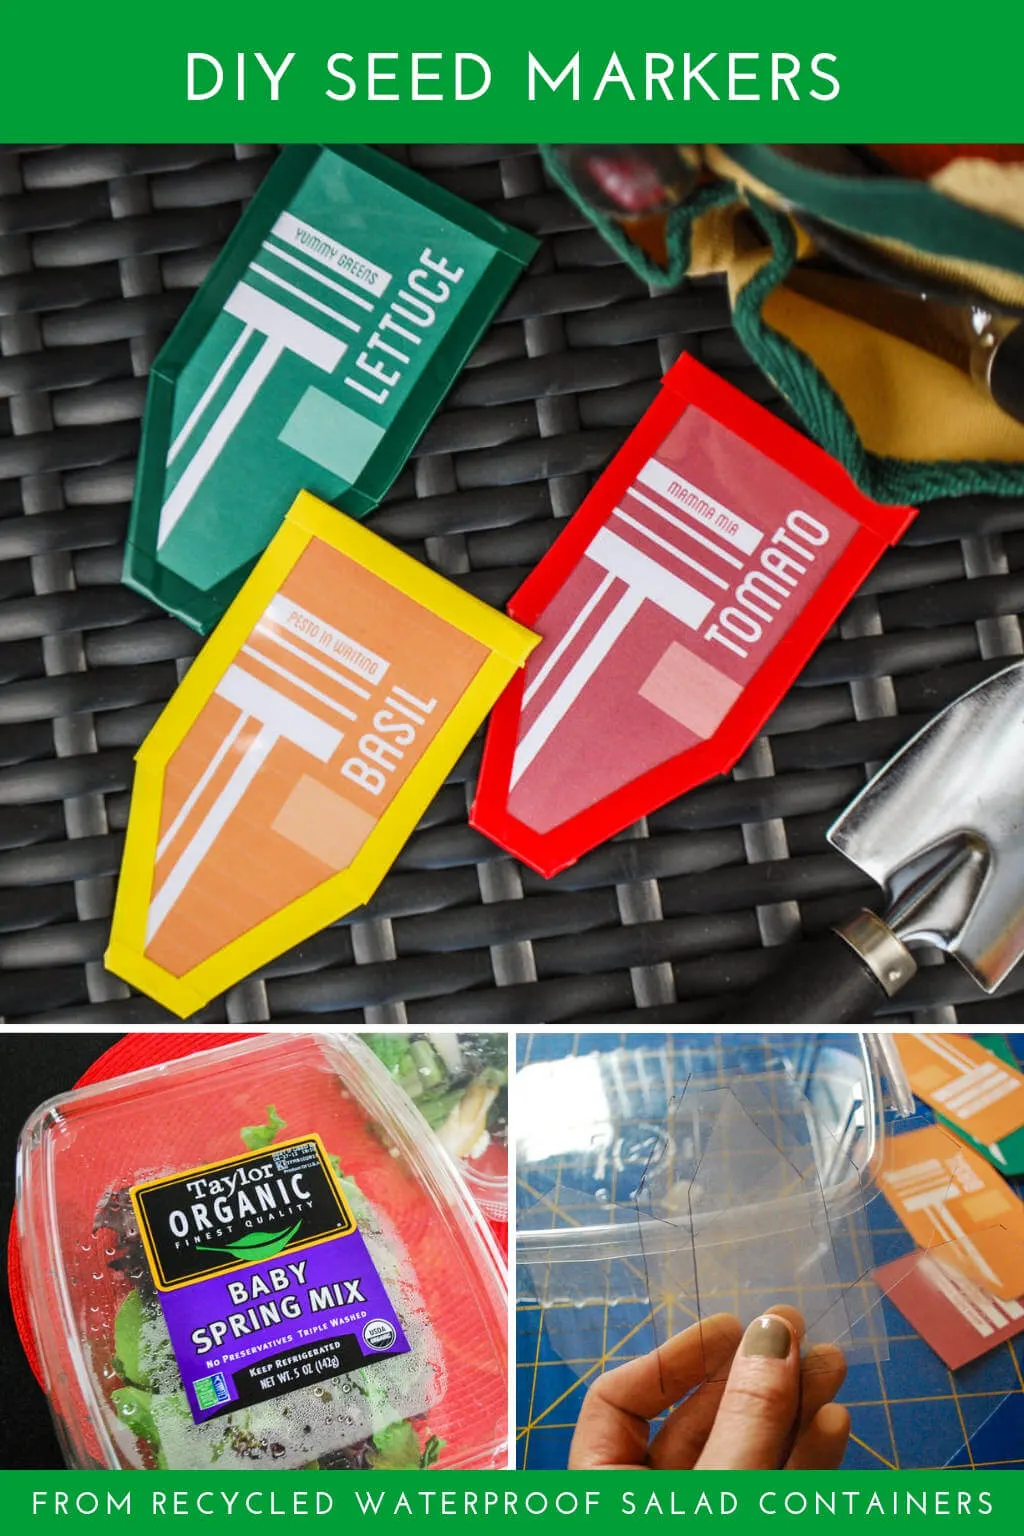
Be sure to pin this project for later:
++++++
And be sure to see more recycled craft ideas for Earth Day like this DIY ring holder made from egg cartons and these fabric DIY napkin rings made from cardboard tubes.
—
Like it? Share it!
The nicest way to say you like it is to pin it on Pinterest, post a comment, follow Merriment Design on Facebook, Pinterest, Instagram or sign up for monthly emails. Enjoy! 🙂
Copyright stuff: You’re more than welcome to use this free project and tutorial for personal use. Contact me for commercial use and Etsy sales.

Lucy Beck
Friday 7th of March 2014
Great Idea! You could make them even better by inserting Popsicle sticks or even longer wooden dowels so they are higher and not getting buried in the foliage.
Kathy Beymer
Saturday 8th of March 2014
Hi Lucy, great suggestion! Gotta try that.
Sandi
Tuesday 5th of June 2012
Kathy, Thank you for the cute idea concerning the garden markers. It's nice to be able to reuse the plastic containers instead of just taking them to the recyclers.