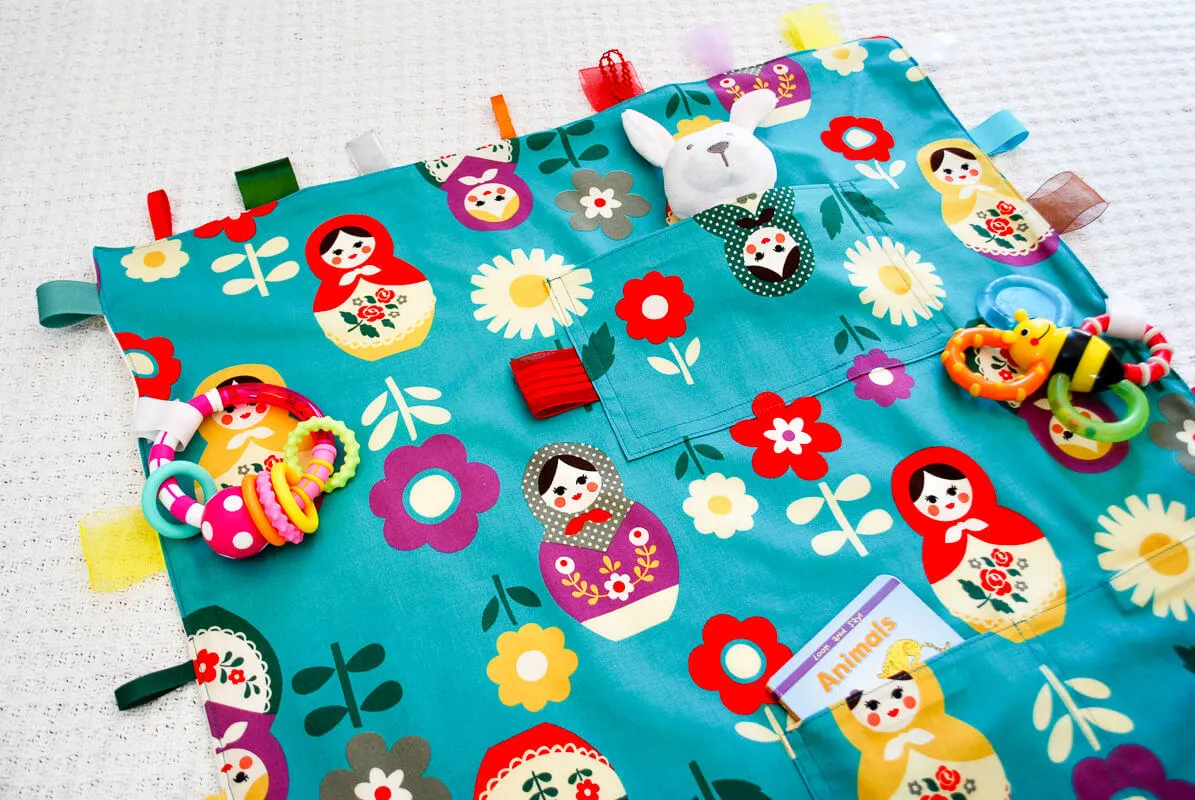
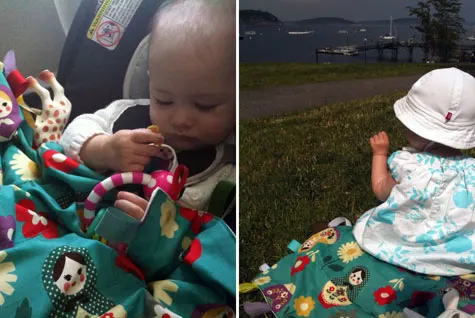
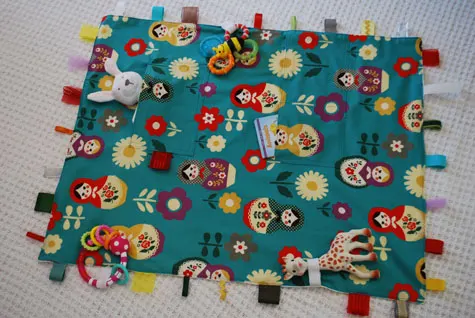
I made this toy travel blanket for Elise’s first plane flight. We were flying to Maine and I wanted any toys she dropped to stay in our seats rather than fall into the filthy abyss of the airplane floor.
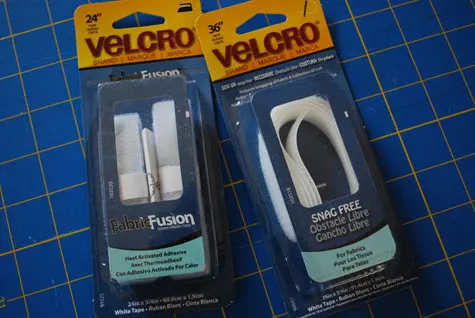
Check out the Snag Free VELCRO loops on the blanket border to attach toys. Instead of using traditional VELCRO fasteners that come in two pieces, I used just *one* piece of VELCRO Snag Free Sew On Tape that I found when I went to buy VELCRO.
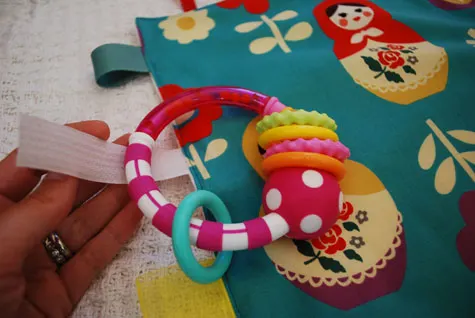
All you do is close it and it sticks to itself like so…
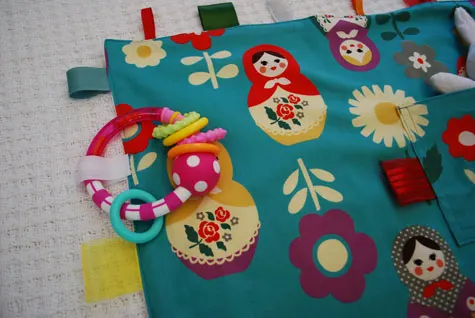
So clean. And no snag is a huge plus for something that I’ll be carrying close to my own clothing.
I added some recycled ribbons and vintage ric rac to keep Elise occupied while confined in her window seat …she loves to pick at things with her fingers and the different ribbons – sheer/solid, grosgrain/satin, tulle/ric rac – lets her experience different textures. But honestly, the best part is the Velcro for the toys so you could easily skip the ribbons entirely.
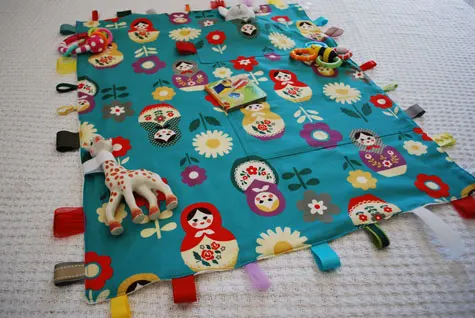
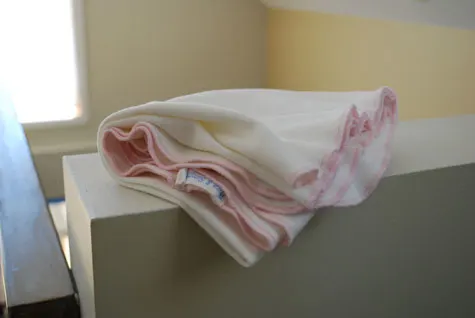
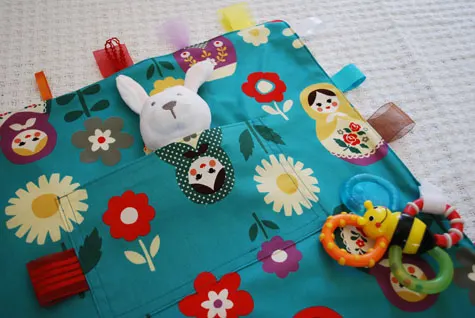
I finally got to use this super cute Russian matryoshka dolly fabric that my friend Heather bought me on one of her famous roadtrips, and I recycled one of Elise’s super soft old swaddling blankets for the back…
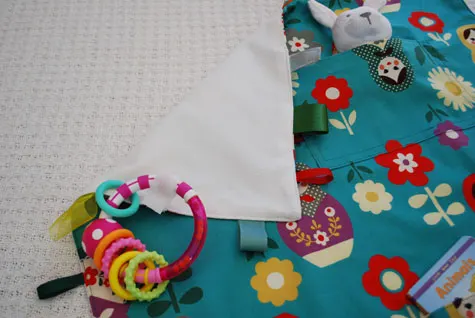
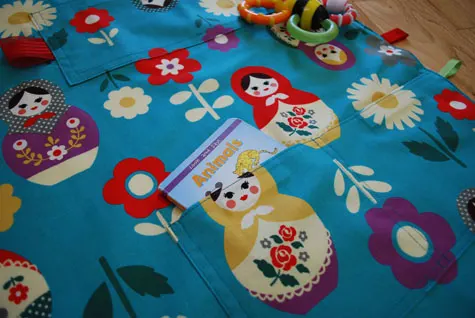
…and added two pockets to store small books and toys using VELCRO® Brand Fabric Fusion Iron On Tape to keep them safe.
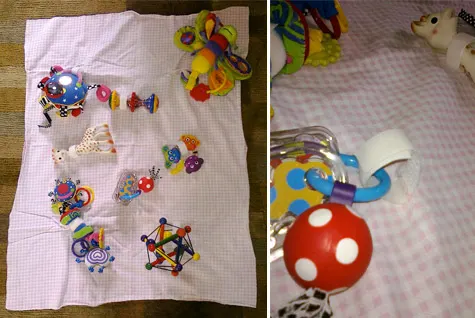
My friend Macki Cayloma West, traveling mom extraordinaire, inspired the kid’s toy travel blanket. Macki created her original toy travel blanket by sewing traditional two-piece Velcro loops on a flannel receiving blanket. Then she attached toys onto the blanket like so:
I like the VELCRO® Brand Snag Free Sew On Tape on the perimeter because the VELCRO is there when you need it and out of the way when you don’t. VELCRO® Snag Free Sew On Tape feels softer and stays clean of threads and other gunk. But you can really use either type of Velcro – placed in the middle or on the border or both – and get a good blanket.
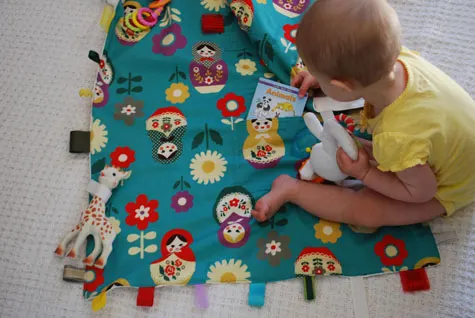
Whether you make a simple travel blanket or more elaborate version, toys you take on trips are more likely to join you on the way back!
WANNA MAKE IT? Keep reading to see how to create a kid’s travel toy blanket with VELCRO® Brand fastener loops –>
Supplies (for finished size kid’s travel blanket 23″ x 29″):
- 3/4 yard patterned fabric (I used Russian dollies)
- VELCRO® Brand Snag Free Sew On Tape
- VELCRO® Brand Fabric Fusion Iron On Tape
- Assorted ribbons – I collect ones from gifts, boutique purchases, etc. in my ribbon drawer
- Vintage ric rac or new ric rac
- An old rectangle swadding blanket – mine was 24×30 (alternatively, 3/4 yard of flannel fabric or polar fleece fabric)
- Good fabric scissors
- Pins
- Thread
- Good iron and ironing board
- Sewing machine
- Rotary fabric cutter, self-healing cutting mat and clear acrylic ruler
—
Create blanket front and pockets
Select an old swaddling blanket that you no longer use. Mine was 24″x30.” If you’re using fleece/flannel, cut one piece 24″x30″.
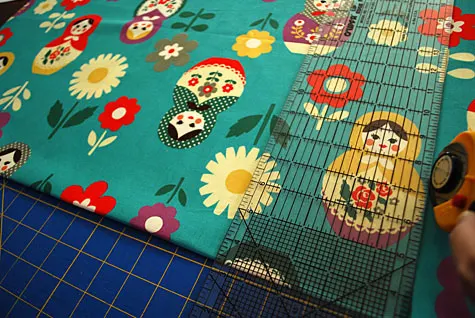
Cut your patterned fabric the same size as your swaddling blanket using your rotary fabric cutter, self-healing cutting mat and clear acrylic ruler. Again, mine was 24″x30″.
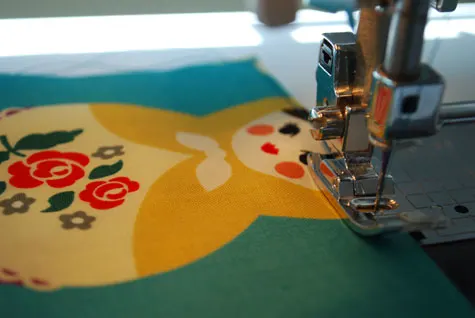
Next, cut your pockets. Elise’s small books are 3.5″ x 3.5″ so I designed these pockets with that in mind. Cut one pocket 6-1/2″ x 14″ and a second pocket 6-1/2″ x 10″. Starting with the 14″ wide pocket, turn down the top edge 1/4″ and press. Turn down again 1/4th” and press. (NOTE: I did 1/4″ because I didn’t want to cut off her eyes; you can turn down 1/2″ and 1/2″ if you’d like.)
Topstitch the top of the pocket down close to the edge.
Turn down the left side and bottom of the pocket and press. Place a pin at 4″. Cut two pieces of VELCRO® Brand Fabric Fusion Iron On Tape (mine were 2″ and 3″ long).
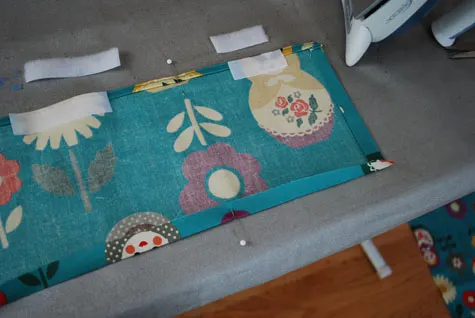
Follow package directions to adhere the VELCRO® Brand Fabric Fusion Iron-On Tape.
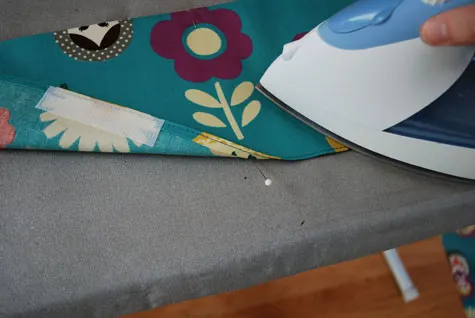
Place the second side of the VELCRO® Brand Fabric Fusion Iron-On Tape on your pocket so you can be sure to place the VELCRO in the right place.
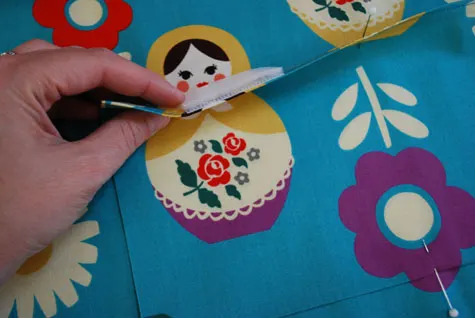
Iron following the VELCRO® Fabric Fusion Iron-On Tape packaging directions to adhere.
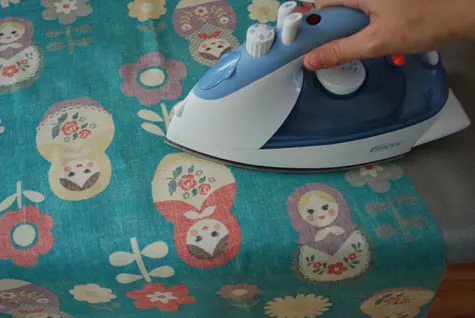
Pin your pocket in place wherever you want it to be on the blanket, matching patterns. Notice that this pocket is pinned all the way to the seam, which is why you didn’t need to turn down the right side of the pocket. I love pockets that run into seams 🙂
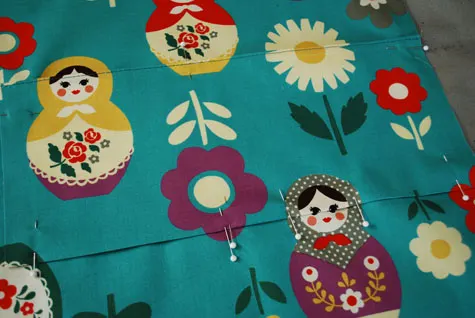
Sew two rows of stitching, one very close to the edge and one 0.5″ inside. Sew two rows of stitching through the middle of the pocket to create two pockets from the one piece of fabric. Mine was 5-1/2″ from the left side.
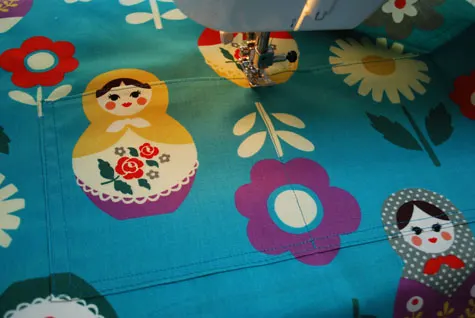
Repeat these steps with your other pocket but this time turn down both sides of the pocket. Also, this pocket is smaller so no need to sew down the middle.

I tucked a ribbon loop into the left side seam of the second pocket because I thought it looked cute. Follow the steps above to sew two rows of stitching around the pocket and iron on the VELCRO® backing.

Create ribbon, ric rac and Velcro® border
Collect or buy an assortment of ribbons and ric rac – satin, grosgrain, tulle, metallic, sewn, patterned, go nuts! I hoard ribbons from gifts, shopping, etc. and my friend Susan gave me vintage ric rac so I recycled quite a variety for this blanket.
Here are some current vintage ribbon auctions on ebay:
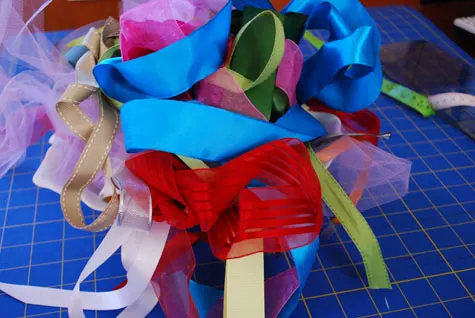
Cut enough so that you have ribbon, ric rac or VELCRO® fasteners every 3-4 inches. This means for each 24″ side you’ll need 6-8 ribbons/VELCRO® fasteners, and for each 30″ side you’ll need 8-10 ribbons, for a total of about 28-36 ribbons. Cut ribbons into 4″ pieces each.
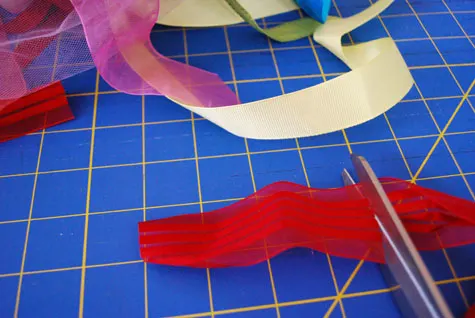
You’ll notice below that I stacked ribbons and ric rack together in some places to add textural interest, so you should cut even more ribbons if you plan on combining them.
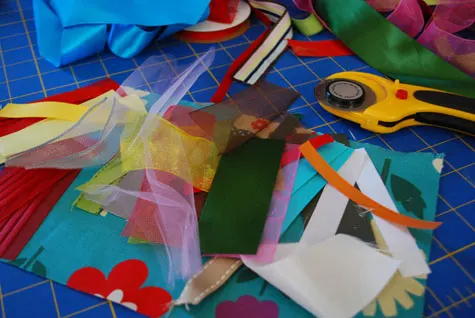
Cut 4-6 pieces of VELCRO® Brand Snag Free Sew On Tape 6-8″ long each depending on the toy that you want to put on the Velcro. Elise’s are pretty small so 8″ worked, but be sure to adjust for your child’s toys. You can always cut longer and trim down later if needed.
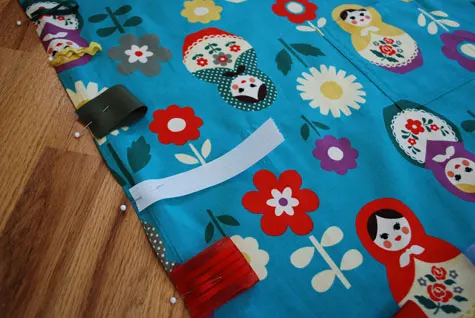
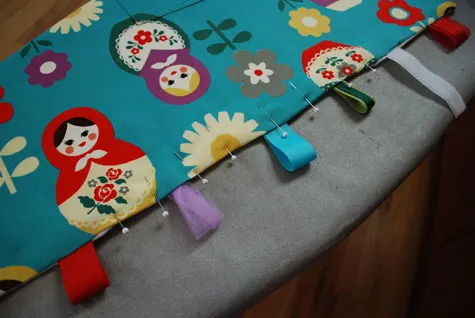
Pin the ribbons, ric rac and VELCRO® fasteners around the blanket around 3-4″ apart. Stack ribbons together where you want to add some interest.
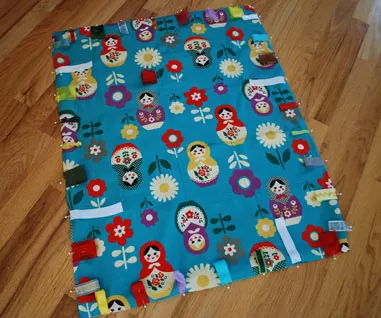
Here’s what it looks like pinned all the way around.
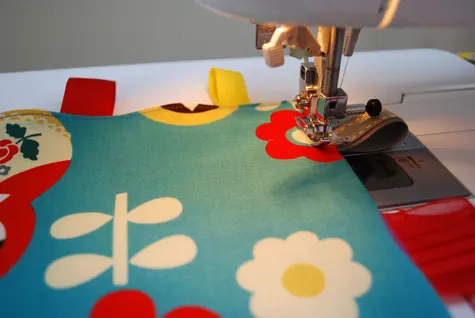
Sew around the blanket 1/4″ to affix the ribbons, ric rac and VELCRO® fasteners. I stitched back and forth when I came to a ribbon to make sure it was sewn on there good.
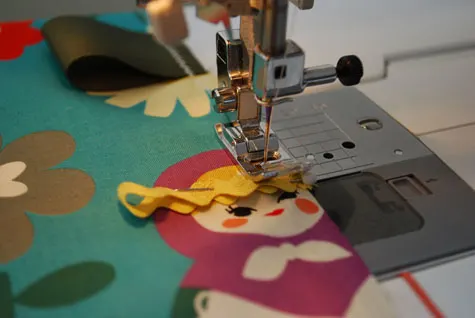
Your blanket should look like this now…
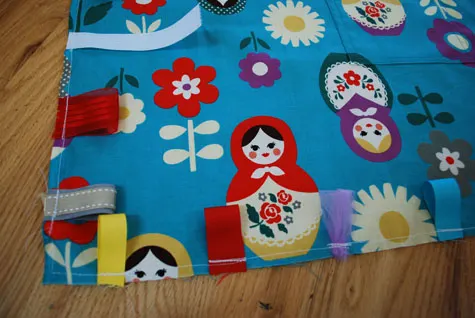
With right sides together, pin the front fabric to the swaddling blanket, sandwiching the ribbon/Velcro between the layers.
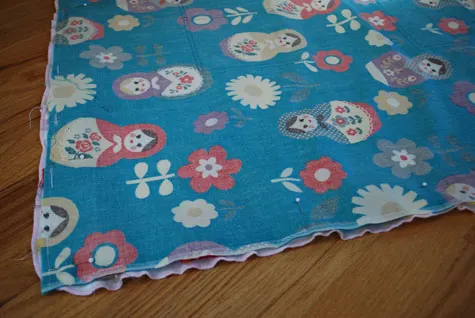
Sew around the blanket using 0.5″ seam, making sure to leave 12″ on the bottom open so that you can turn the blanket right-side-out in a few steps.
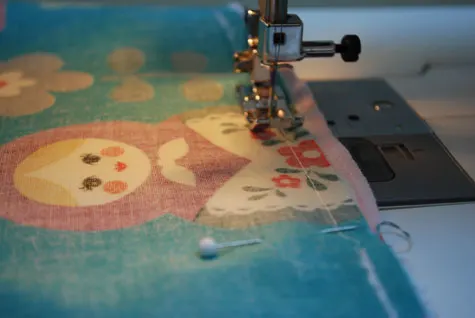
Trim your corners up a bit so they’ll lay flatter when turned.
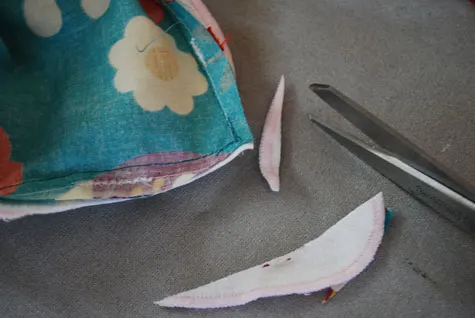
Turn your blanket right-side-out through the bottom hole. Fiddle with the corners until they’re nice and smooth.
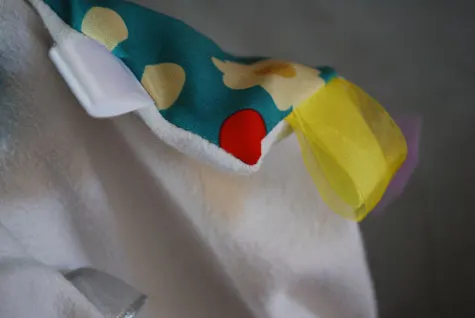
Press your blanket perimeter to get it ready for topstitching. This is a good shot of how I stacked vintage red ribbon on top of wide sheer ribbon to add a bit of playfulness.
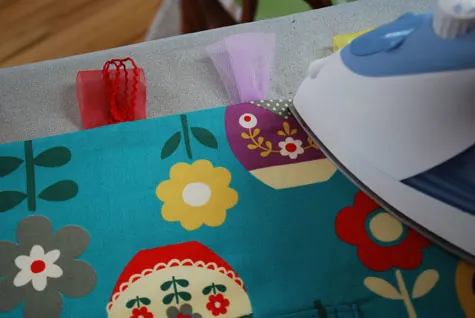
Turn down the bottom opening so raw edges are inside.
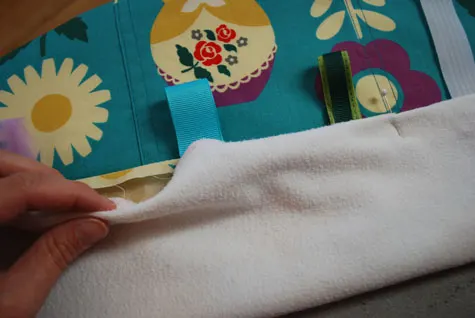
Pin shut. Man, I used a whole lotta pins here. You can use a lot fewer.
Sew around the entire blanket close to the edge. This will topstitch the sides which looks nice and at the same time you’ll be sewing your blanket shut.
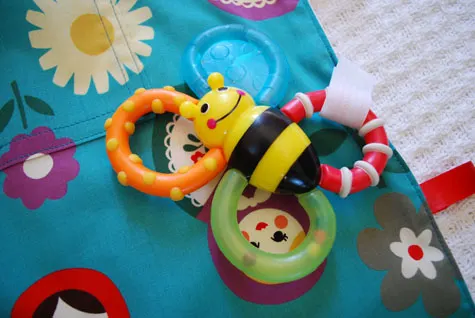
Attach toys…
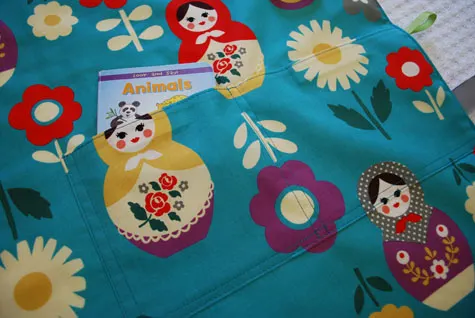
And add books. Happy travels!

Do you like it?
Be a peach and Tweet about it, Pin it, share it on Facebook and/or comment below. And I love seeing your own finished project photos so do share!
Copyright stuff: You’re more than welcome to use this free project and tutorial for personal use. Contact me for commercial use and etsy sales.

G
Monday 14th of April 2014
Thank you so much for this nice tutorial. I just made such a blanket for my daughter as a Easter gift... Think she will like it very much during long driving hours. Best regards from Germany!
Kathy Beymer
Tuesday 15th of April 2014
Thanks so much for the nice note! Totally made my day. Would love to see it if you have any pictures! You can post at facebook.com/merrimentdesign if you'd like.
Sam Sharp
Saturday 27th of July 2013
This is just adorable!
Dale blackburn
Saturday 23rd of February 2013
Hiya just Found this and it's amazing will defo be using this an will share in Facebook when I learn how to thanks for a lovely easy to follow tutorial can't wait to start xxxx
sarah
Wednesday 2nd of January 2013
I would really like to print this tutorial without all the pictures. I can often do this with recipes. Any ideas? TIA PS Really looking forward to this project on my Christmas gift sewing machine!!!!
Cleveland Browns Jerseys
Thursday 20th of September 2012
"thankful"