

Make these cute DIY Halloween luminaries out of recycled supplies that you probably already have in your home. These cute Halloween decorations riff off the traditional Halloween paper lanterns, luminary bags and mason jar luminaries — but mine recycle baby formula cans.
It’s well-documented that I’m a pack rat when it comes to items I think could have another life. When Elise transitioned from breast milk to formula, I was amazed at how we flew through cans of formula! True to form, I stashed some away in my craft closet and now they are being transformed into cheap Halloween decorations.


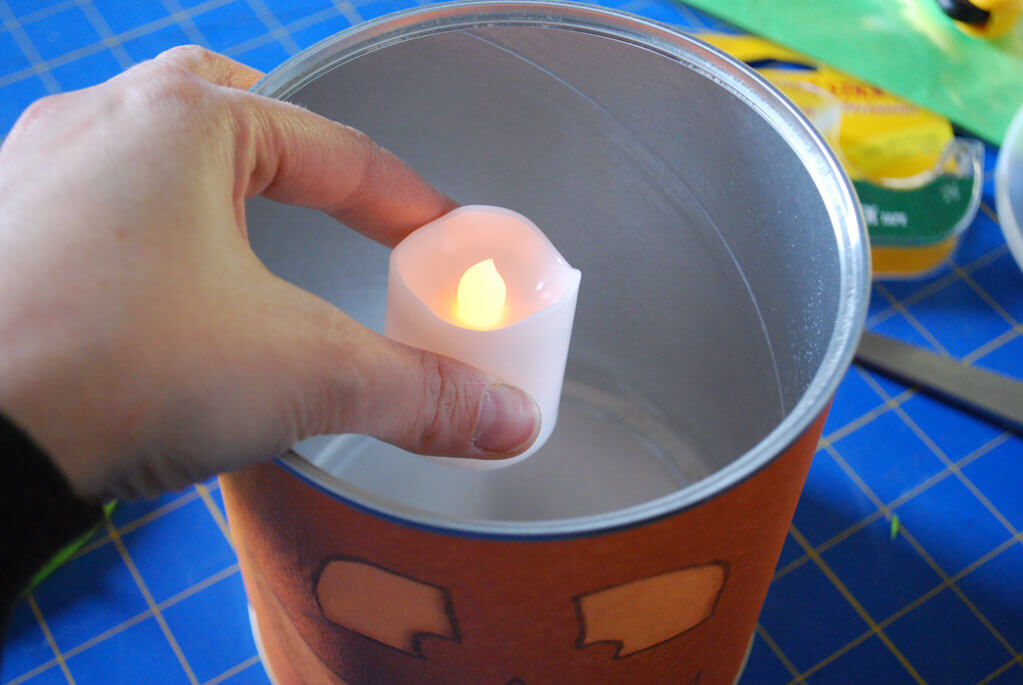
I tucked in one flameless battery-powered votive candle inside each DIY Halloween luminary and it’s such a pretty glow.
See also: ‘Eek Bats! Printable Halloween Party Decorations’ »
I whipped up these no-flame DIY Halloween luminaries from flameless battery-operated flickering votive candles, empty baby formula cans, oatmeal containers or other cardboard cans, tissue paper, Sharpie markers and a craft knife in less than 30 minutes. You could also use oatmeal containers or other cardboard cans to make your luminaries. Kids could help too for all steps other than cutting.


My nighttime photos aren’t the best quality but you get the idea. I put these DIY Halloween luminaries in our entry way to greet today’s trick-or-treaters. Next year I think I’ll add more to go all the way down our front stairs. Boo!
++++++
This DIY project contain affiliate links which means that products I recommend may give me a nominal commission at no extra cost to you. Thanks – your clicks help me make more free DIYs!
Supplies for making DIY Halloween luminaries lights from recycled baby formula cans:
- Empty baby formula cans (I used Earth’s Best Organic Infant Formula)
, or you can substitute with oatmeal containers or other cardboard cans
- Flameless battery-operated flickering votive candles
- X-Acto knife
- Orange and green tissue paper
- Rotary fabric cutter, self-healing cutting mat and clear acrylic ruler
- Black Sharpie markers
- Double-sided tape
- Rocks to weight down cans (optional for windy days)
++++++
How to make DIY Halloween luminaries lanterns from recycled baby formula cans:
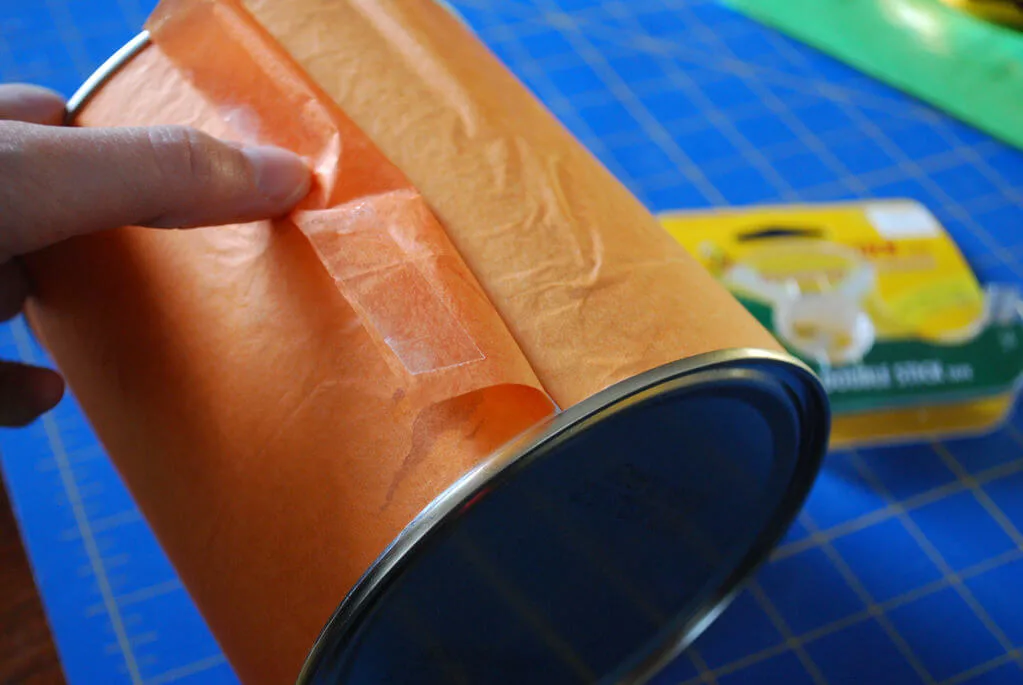
Peel off the label from the empty baby formula cans. There will be some adhesive remaining on the can back which you’ll actually use later. Turn the can so the adhesive is on the back.


Draw a pumpkin face on the Halloween lantern using black Sharpie markers. You can make cute Halloween decorations or scary decorations, totally up to you! My kids are young so I went with cute.


Carefully cut out the face of the luminary using a craft knife. I liked the look of the black highlight, so I cut inside the lines to keep that emphasis, but it’s up to you.
Cut a slice of tissue paper the same width as your formula can. Mine was 5″ wide. Place one side of the orange tissue paper on top of the can’s leftover adhesive, or use double-sided tape.
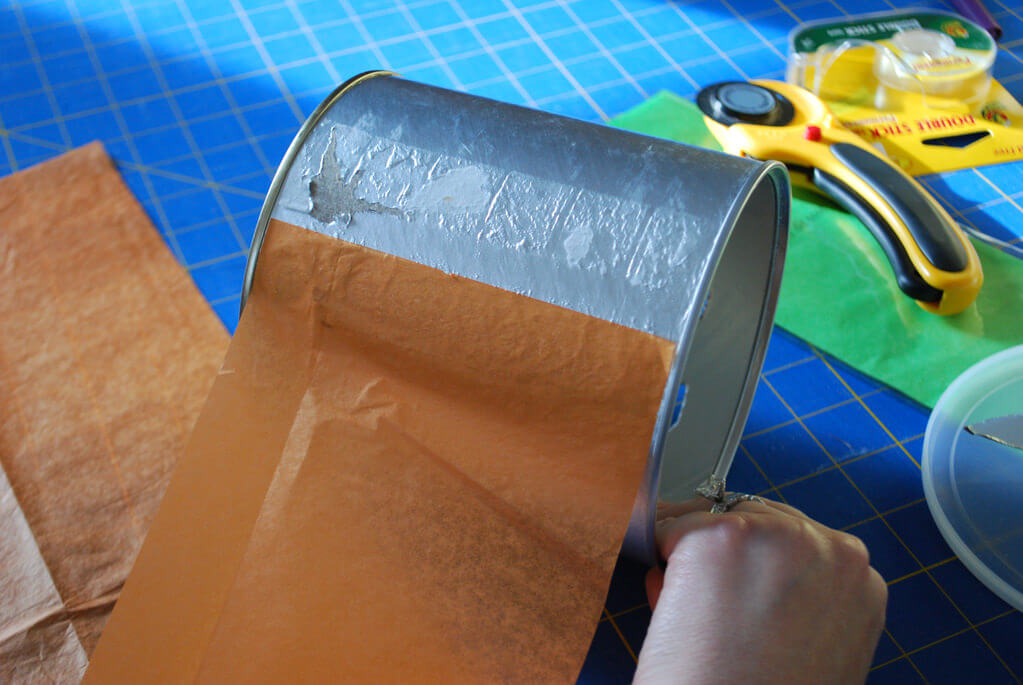

Roll the tissue paper taught around the can. Affix using double-sided tape, cutting off any extra tissue paper.

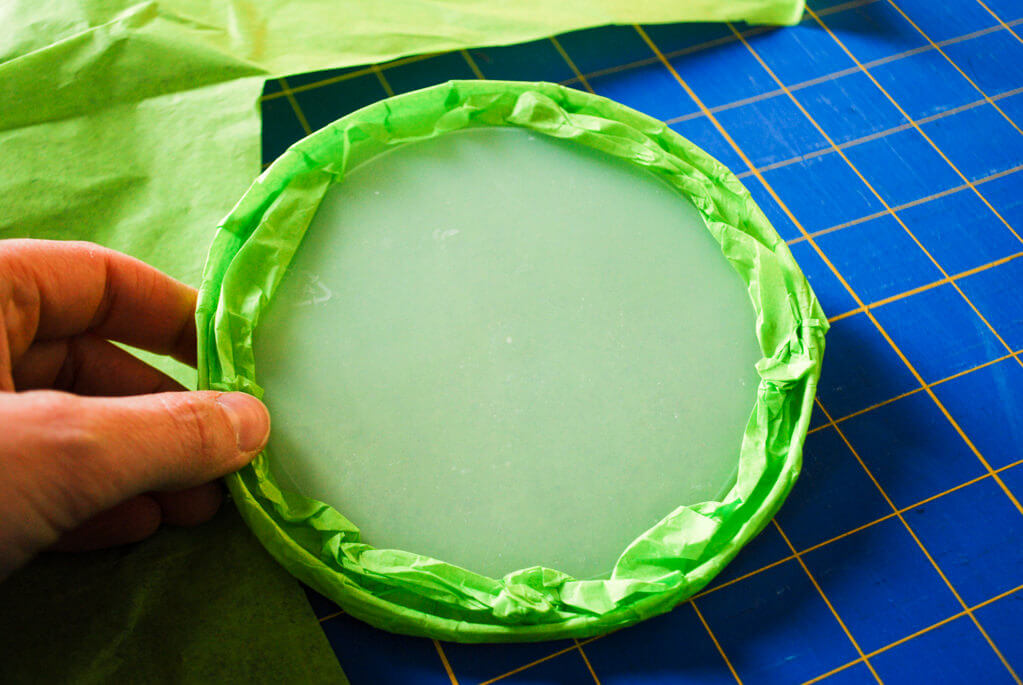
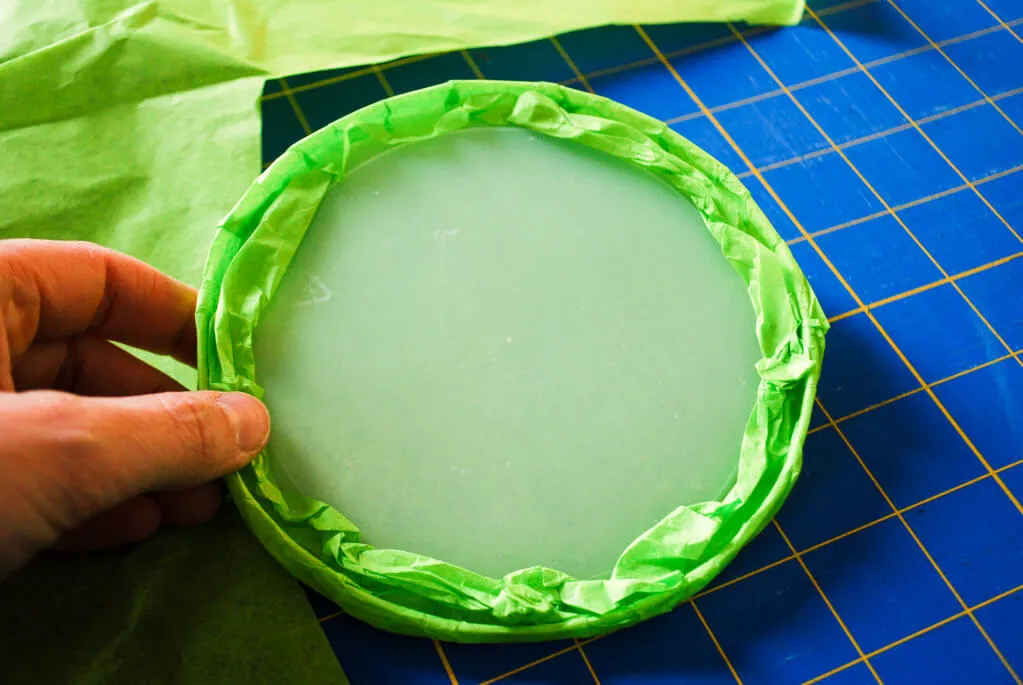
Cut a piece of green tissue paper slightly larger than the lid. Roll the paper inside. Cut off any extra tissue paper from the DIY Halloween luminary. I didn’t even use tape here.
Safety check: Now it should go without saying here that you can’t use a real candle in your DIY Halloween luminary but I’ll say it anyway: Put flameless battery-operated flickering votive candles inside your lantern. You can also put rocks or sand in the bottom if it’s a windy day. Repeat for a bevvy of silly and spooky DIY Halloween luminaries!


—
Be sure to pin these DIY Halloween luminaries for later:


And see more easy DIY Halloween decorating ideas.
—
Like it? Share it!
The nicest way to say you like it is to pin it on pinterest, post a comment, follow Merriment Design on Facebook, twitter, pinterest, Google+, instagram or sign up for monthly emails. Enjoy! 🙂
Copyright stuff: You’re more than welcome to use this free project and tutorial for personal use. Contact me for commercial use and etsy sales.
tracie
Monday 8th of September 2014
Thank you for the GREAT idea, going to do it this year for my walk way, also going to try and get a ghost look by putting on a different face expression and wrapping the can in white.
Kathy Beymer
Tuesday 9th of September 2014
I love that idea! Would love to see the pictures - you can post it at facebook.com/merrimentdesign and I'll share them with everyone :D
Liz B.
Saturday 29th of October 2011
You are SO creative! How do you come up with this stuff? I love this idea--it's easy, fast and reusable.
Kathy Beymer
Saturday 29th of October 2011
Thanks, Liz! BTW, your lentil soup recipe looks delicious...
Heather
Wednesday 10th of November 2010
You amaze me. Every time.
Liz
Saturday 6th of November 2010
very cute!! I wish I saw this before halloween, I still have some of those cans!