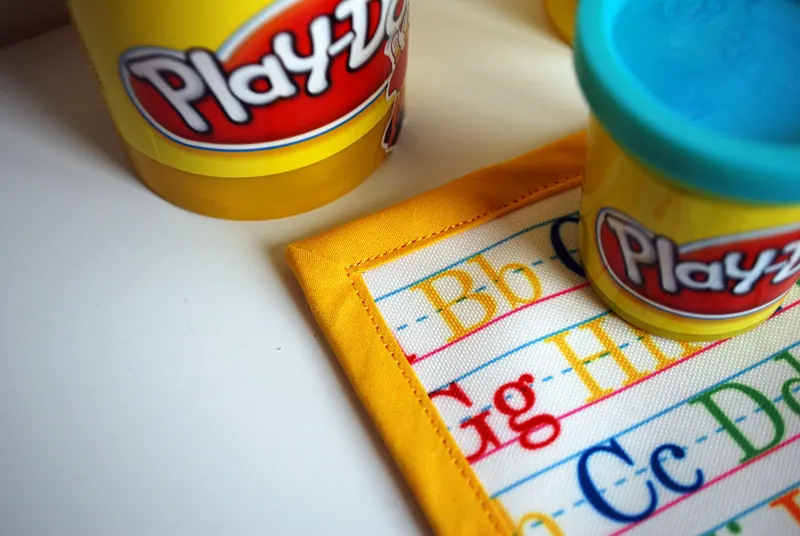
I’m going to show you an easy method for how to sew bias tape around corners (also known as mitered corners) *without* cutting or pinning it all around first. Sewing bias tape around corners can be a little intimidating but I’ve got a few tricks up my sleeves to help you sew really nice, hassle-free professional mitered corners with your bias tape. Oh yeah, oh yeah, crisp and clean corners!
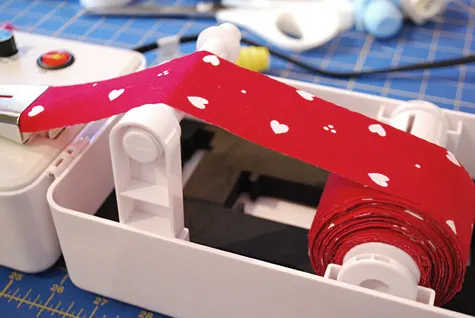
For newbies, bias tape is that lovely folded edging material that finishes seams on aprons, oven mitts, baby bibs, placemats and a ton more. You can either buy bias tape by the package (get the double fold kind to start) or make your own custom bias tape using the Simplicity Bias Tape Maker like I do. {super cute custom bias tape alert below!}
Now I admit that I’ve sometimes, ahem, rounded off my corners to avoid sewing around corners with bias tape (exhibit A: my free apron pattern with secret iPhone pocket, yeah, guilty). But let’s all buck up and give bias tape corners a chance. See how pretty they are edging this dog bed?
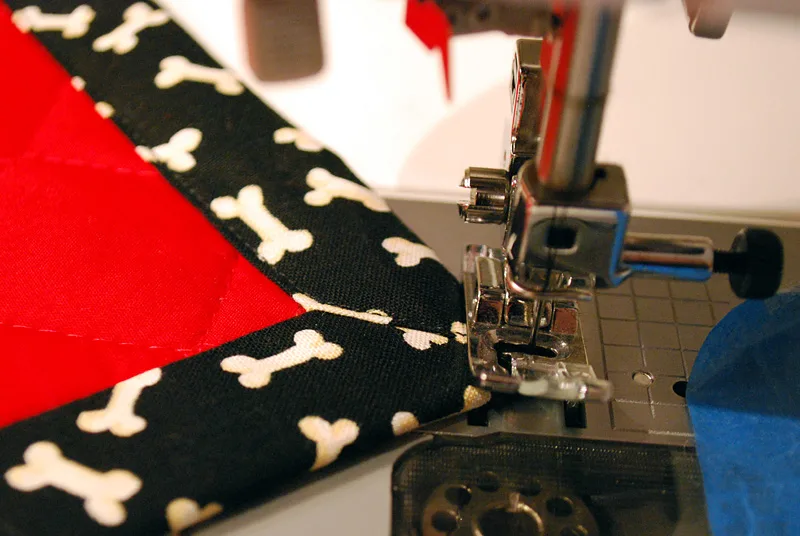
My method is crazy easy. There’s no need to measure and cut your bias tape at the beginning (you cut it at the end …simply ensure before you start that you’ll roughly have enough bias tape to make it around plus some room for the corners), and there’s also no need to pin it all around — you can pin (or not pin) as you sew each straight edge. My easy step-by-step tutorial for how to sew bias tape around corners to make mitered corners starts below…
WANNA MAKE IT? Free step-by-step tutorial instructions for how to sew bias tape around corners –>
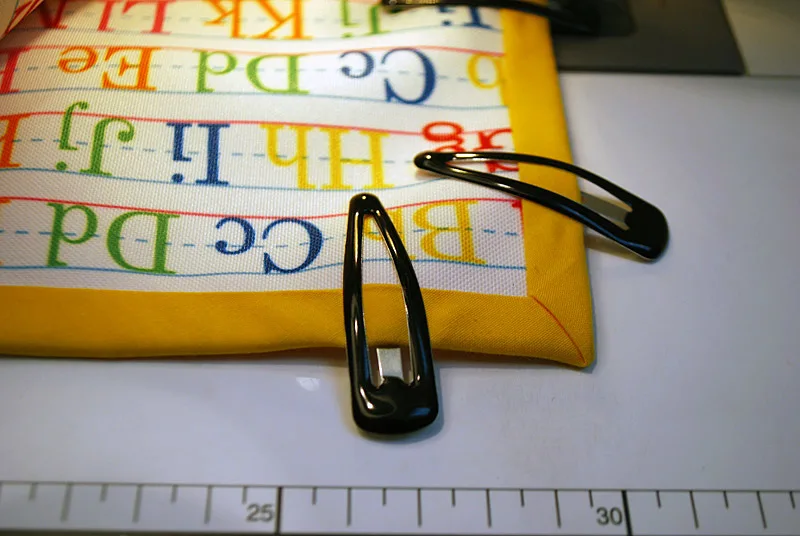
Supplies for sewing bias tape around corners to make mitered corners:
- Fabric to bind (try my apron with secret iPhone pocket or my oven mit free tutorial)
- Bias tape OR make your own using the Simplicity Bias Tape Maker
- Good fabric scissors
- Pins or barrettes
- Sewing machine
Please post a comment and let me know how this bias tape corners sewing tutorial works for you. And share your own bias tape project photos at the MerrimentDesign.com Facebook page, “I made it!” flickr photo gallery or tweet a picture to @merrimentdesign.
How to sew bias tape around corners to make mitered corners)
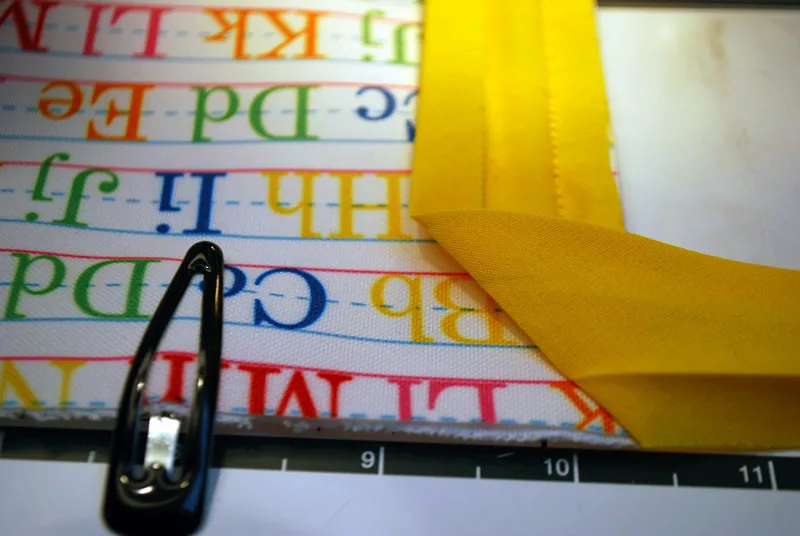
OK first, let’s get the bias tape started. Pick a straight raw edge; I chose the lower right side of my playdough mat. Fold the folded edge of the bias tape down towards your raw edge to make a triangle and pin.
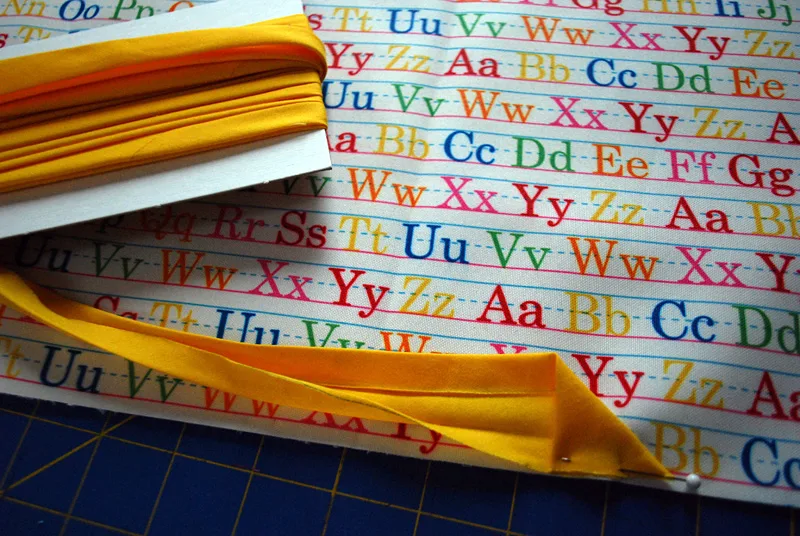
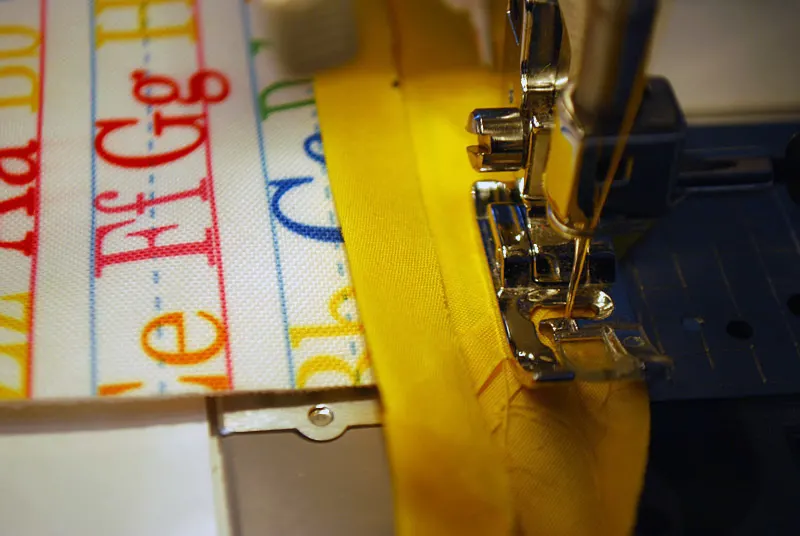
Now start sewing your bias tape onto your fabric by stitching in the bias tape fold that’s closest to the raw edge. You can do this without pins if you’re confident, or you can pin it, or just use barrettes like I tend to do on oil canvas, oil cloth, laminated cotton and PUL fabric.
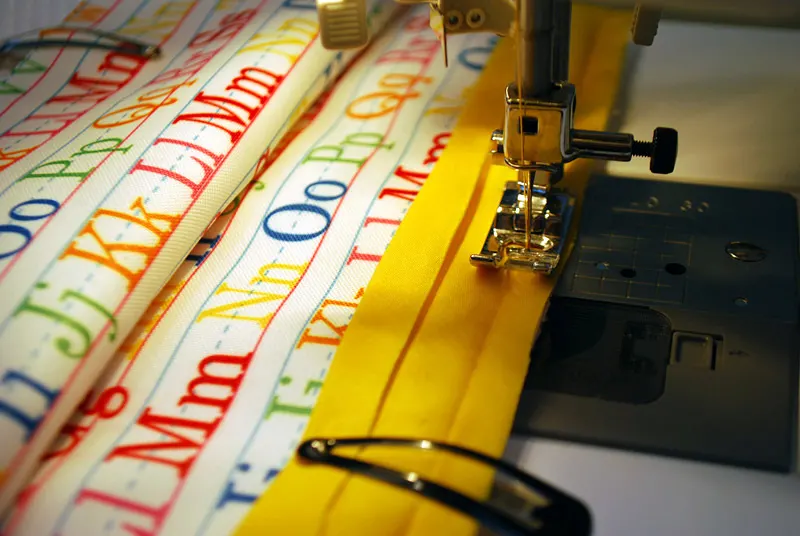
OK, so here we are now approaching a corner so slow down. You’re going to want to stop a little bit short of the corner itself. Specifically, you’ll stop sewing when you’re the same distance as you’ve been sewing along your bias tape (which depends on the width of your bias tape). In other words, if your stitch line is at 1/2″ then stop 1/2″ before you reach the end of the corner, backstitch, and cut your thread.

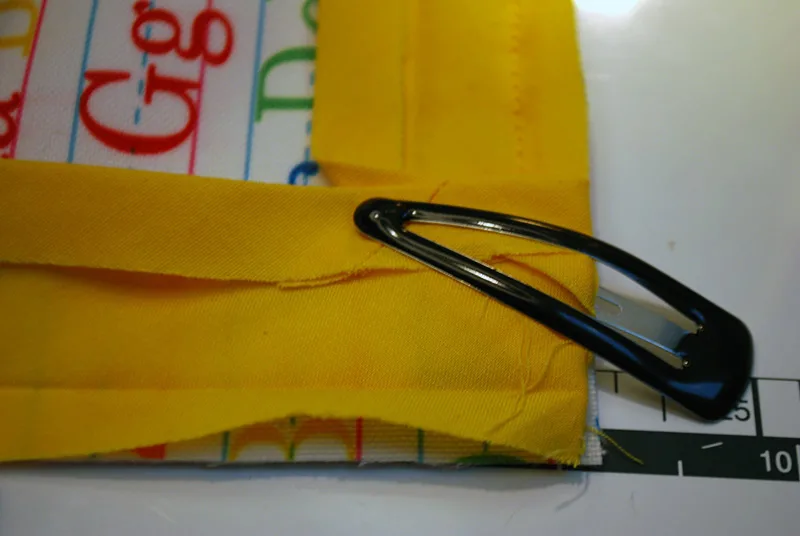
Fold the bias tape to the right, lining up the lower raw edge of the bias tape with the raw edge of your fabric edge. It will make a triangle on the corner. The top edge of your triangle (which is the bias tape’s folded edge) should be perpendicular to the stitched edge that you just sewed. Press the bias tape down with your fingers and make sure the triangle looks nice and straight. (Now you can see why there’s no need to pin down the entire bias tape — I think it’s just easier to pin one side at a time when sewing bias tape mitered corners).

Carefully fold the bias tape back to the left, folding the bias tape edge so it lines up with the fabric edge (on the right in the photo below), and making extra sure to keep your bias tape triangle intact underneath. Line up the bias tape edge with the raw edge of your unsewn raw fabric edge (the bottom edge in the photo below) and either pin or use a barrette. Now start sewing the bias tape edge to your fabric again along the bias tape fold (again, mine was 1/2″ from the raw edge) and you’re off again along a straight edge.

Repeat all of this when you reach the next corner, and the next corner, and the next corner. When you circle back to approach the beginning again, you’re going to want to overlap your bias tape a couple inches and backstitch.
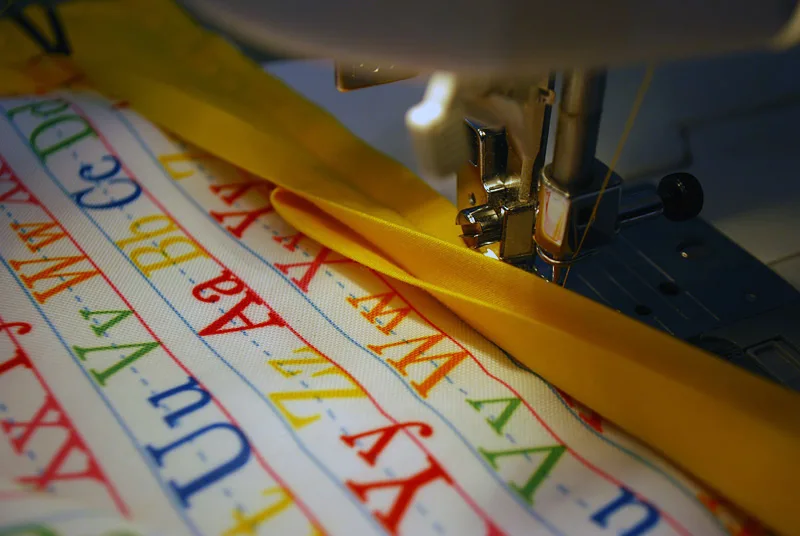
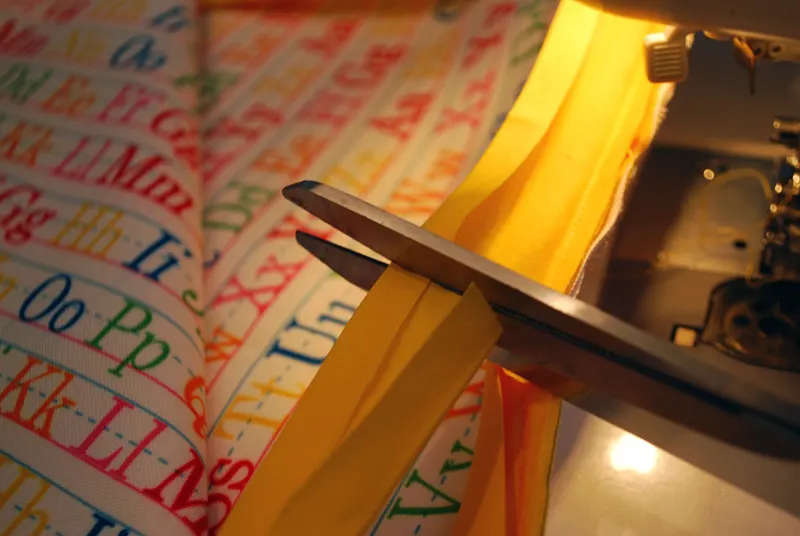
Now cut your bias tape. You can see again why I don’t need to cut my bias tape until the end, and how I can pin as I go instead of worrying about getting it right before starting. Saves a lot of headache …that is, as long as you’re sure you have enough bias tape to make it around your project.
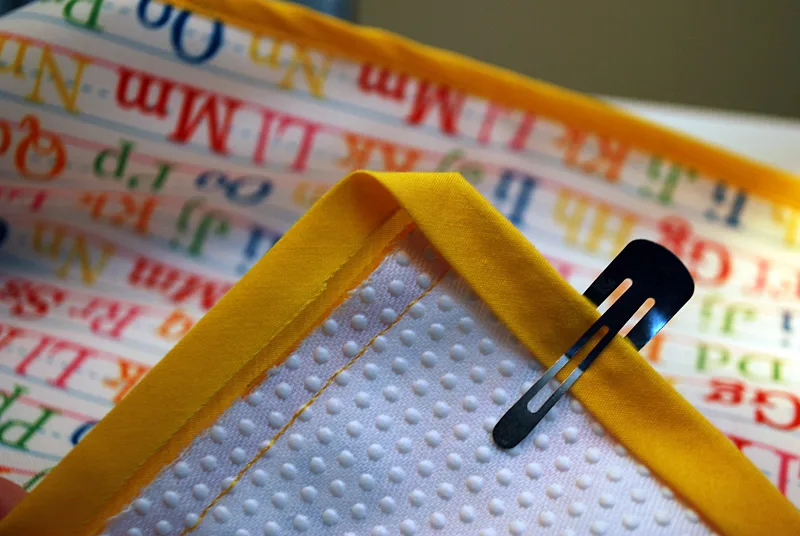
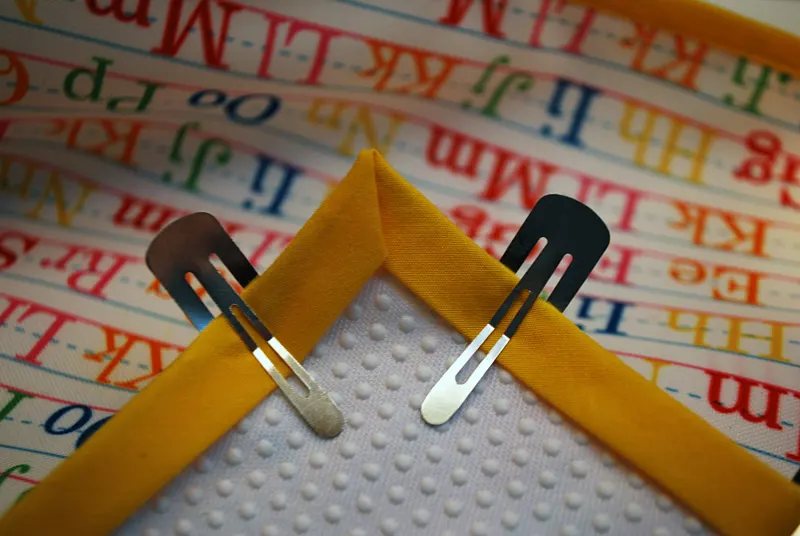
Now turn the folded bias tape edge over your raw edge to the back. I used no-slip grip rubber dot fabric on the back of my playdough mat so you can see that below. Be sure to pull the bias tape tightly so that the bias tape on the back will catch when you sew it from the front. Pin or use a barrette to hold. See how the corner is making a little folded triangle on the end?

Now turn the left side of the bias tape over the fabric making sure to keep that little triangle tucked inside. Looking like a corner, yes? You can iron here if you like – I tend to just finger press it down.

Here’s what it looks like from the front. Hey, nice mitered bias tape corners…

Now all you need to do is sew close to the edge to secure the bias tape on the backside, making sure to catch the bias tape on the back when you sew. Now some people like to stitch in the ditch here (which basically is stitching in the seam between the bias tape and your fabric, which essentially hides the stitching on the front while catching the bias tape on the back). Personally, I kind of like the topstitched look on the bias tape but this is totally up to you.

So let me know if this no-measure, no-pin-up-front method is helpful! Bring on the bias tape…
Did you make it? Please post a comment and let me know how this bias tape corners sewing tutorial works for you. And share your own bias tape project photos at the MerrimentDesign.com Facebook page, “I made it!” flickr photo gallery or tweet a picture to @merrimentdesign.
COPYRIGHT NOTE: You’re more than welcome to use this how to step-by-step tutorial for your own personal use. Contact me for any commercial use – this includes etsy sellers.

anna
Monday 21st of March 2016
Hi Kathy, sorry for my late response, I only now realized you answered! Thanks for your complimenting my blog, makes me smile! I have instagram and pinterest: https://www.instagram.com/sew_anna_f/ and https://www.pinterest.com/afienbork/ I'm fairly new to social media, but will certainly check out your pinterest account too. Thanks, and a wonderfully creative spring to you!
Jon
Monday 29th of February 2016
Hey could you do a tutorial on how to do a 45 degree corner instead of a 90 degree thanks!
Liz
Sunday 20th of December 2015
I just used your tutorial, and it worked real well for me, except I was unsure there I was supposed to put the very beginning at - the corner or along the edge? I am so very rusty at sewing, and this is the first time using this machine, so I really feel like it turned out well. Thank you so much - it is just what I needed!
Kathy Beymer
Monday 21st of December 2015
Hi Liz, thanks for commenting and I'm glad that it turned out well for you! This is good feedback about the corner vs. along the edge -- I'll update my post to clarify that I usually start along the edge. Happy sewing!
Judy watt
Sunday 22nd of November 2015
Thank you so much! Worked great!
Anna
Friday 6th of November 2015
Thanks for this wonderful tutorial! It helped me tremendously, easy to follow and good amount of pictures!
Kathy Beymer
Sunday 15th of November 2015
Glad that the tutorial helped you, Anna! I like your blog ...do you have an instagram, facebook or pinterest that I can follow?