

Tired of untangling necklaces? Make an easy DIY jewelry holder using a piece of wood, cup hooks, decorative paper and Mod Podge in just a couple hours. This cute DIY necklace display uses curved hooks to keep necklaces tangle-free. And I’ll show you how to hang the necklace organizer up damage-free on a wall or dresser using my favorite removable hanging hack: painter’s tape + VELCRO® Brand fasteners. Keep reading to see how to make your own DIY jewelry hooks for your wall or dresser.


I bought Elise 7 necklaces for her 7th birthday. Liam and I picked them out together: a wishing star, a rainbow unicorn, a sweet daisy, a diamond kitty, a heart, a monkey, and the letter E. Thank goodness for Claire’s! But ever since her birthday the poor (un)lucky seven necklaces have existed in a tangled mess on the top of her dresser.


Make a cute and inexpensive DIY necklace holder
I noticed a few DIY hanging jewelry organizers online and thought they looked pretty easy to make. And wouldn’t you know it? Not only was making this hanging necklace display super easy but it also cost less than $10 to make it myself.


I designed this DIY necklace organizer to fit neatly within the beveled side of her Land of Nod dresser but you could choose to hang it on the wall instead.
See also: ‘How to make paper bead jewelry’ »
![DIY Jewelry organizer for tangle-free necklaces. Cover wood with decorative paper, screw in cup hooks and mount. See how to make your own for less than $10! [ Jewelry Organizer - Necklace Holder - Jewelry Holder Wall - Wood Jewelry Hanger - Necklace Storage ]](https://www.merrimentdesign.com/images/easy-diy-jewelry-organizer-for-tangle-free-necklaces_pin-376x1024.png "DIY Jewelry organizer for tangle-free necklaces. Cover wood with decorative paper, screw in cup hooks and mount. See how to make your own for less than $10! [ Jewelry Organizer - Necklace Holder - Jewelry Holder Wall - Wood Jewelry Hanger - Necklace Storage ]")
![DIY Jewelry organizer for tangle-free necklaces. Cover wood with decorative paper, screw in cup hooks and mount. See how to make your own for less than $10! [ Jewelry Organizer - Necklace Holder - Jewelry Holder Wall - Wood Jewelry Hanger - Necklace Storage ]](https://www.merrimentdesign.com/images/easy-diy-jewelry-organizer-for-tangle-free-necklaces_pin-376x1024.png.webp "DIY Jewelry organizer for tangle-free necklaces. Cover wood with decorative paper, screw in cup hooks and mount. See how to make your own for less than $10! [ Jewelry Organizer - Necklace Holder - Jewelry Holder Wall - Wood Jewelry Hanger - Necklace Storage ]")
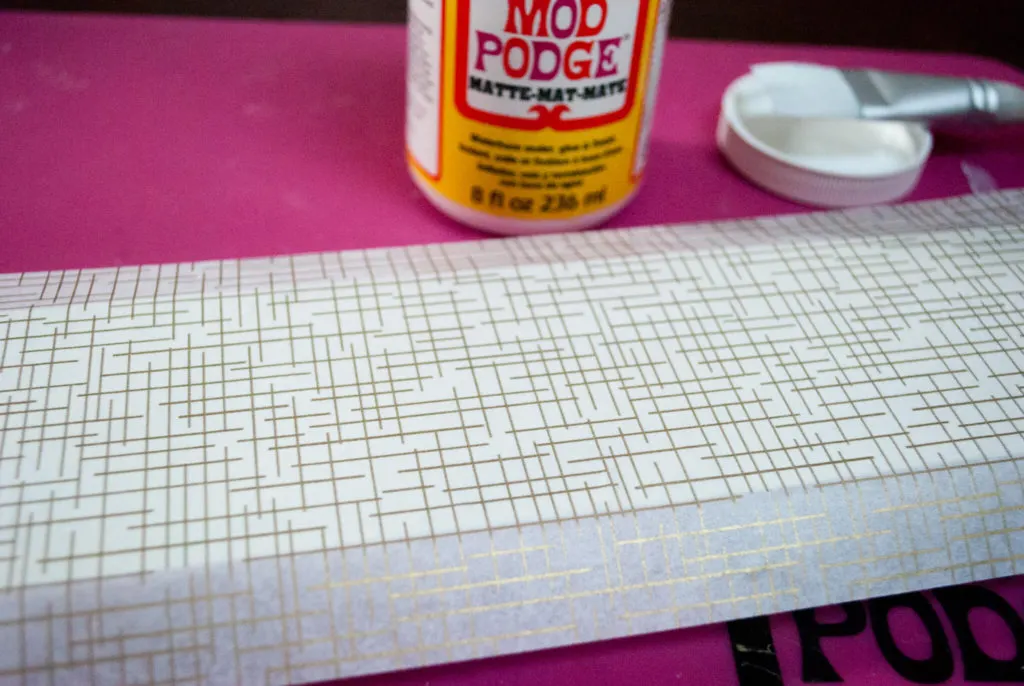
Don’t you love the gold crosshatch patterned paper? It’s from Martha Stewart Crafts and it’s super classy, don’t you think? Elise has other gold and brass accents in her room so this fit right in.


And if you don’t have time to make it yourself, jump to the end of this post to see cute handmade jewelry hangers to buy at Etsy. (I like to buy handmade things too).
This post contains affiliate links which means that products I recommend may give me a nominal commission at no extra cost to you. Thanks – your clicks help me make more free DIYs!
++++++
Supplies for making a hanging DIY necklace organizer for displaying necklaces on a wall or dresser:
- Piece of scrap wood – mine was 12.5″ wide x 2.5″ tall x 3/4″ deep to fit neatly on the side of Elise’s dresser
- Martha Stewart decoupage paper in gold crosshatch
- Mod Podge in matte finish
- Cup hooks in gold or white (this is a great kit to have)
- Good paper scissors or an X-ACTO knife, metal ruler and self-healing cutting mat
- VELCRO® Brand Sticky Back Tape
- Painter’s tape
Optional supplies:
- White craft paint and paintbrush
- Hammer and nail (optional)
—
How to make a DIY jewelry organizer for tangle-free necklaces:
Step 1: Gather supplies to make your DIY jewelry holder
Pick any color, any paper that you like. And the cup hooks come in both gold and white.


Step 2: Paint the wooden board (optional)
I decided to paint my board with a quick coat of white craft paint (with my favorite paintbrush set) because I wanted the translucent decoupage paper in gold crosshatch to be on a super crisp white and clean background. And don’t worry, the coat of paint didn’t end up being this globby and brush stroked 😆 I smoothed it out and let it dry.


Step 3: Cover the board with decorative paper
Measure your paper to include the tops and sides and cut using an X-ACTO knife, metal ruler and self-healing cutting mat (or a good pair of paper scissors.


Brush on the Mod Podge. I used a Matte formula because I didn’t want it to be shiny. If you want to learn how to Mod Podge, go see my friend Amy from Mod Podge Rocks who is the Queen of Mod Podge craft tutorials.


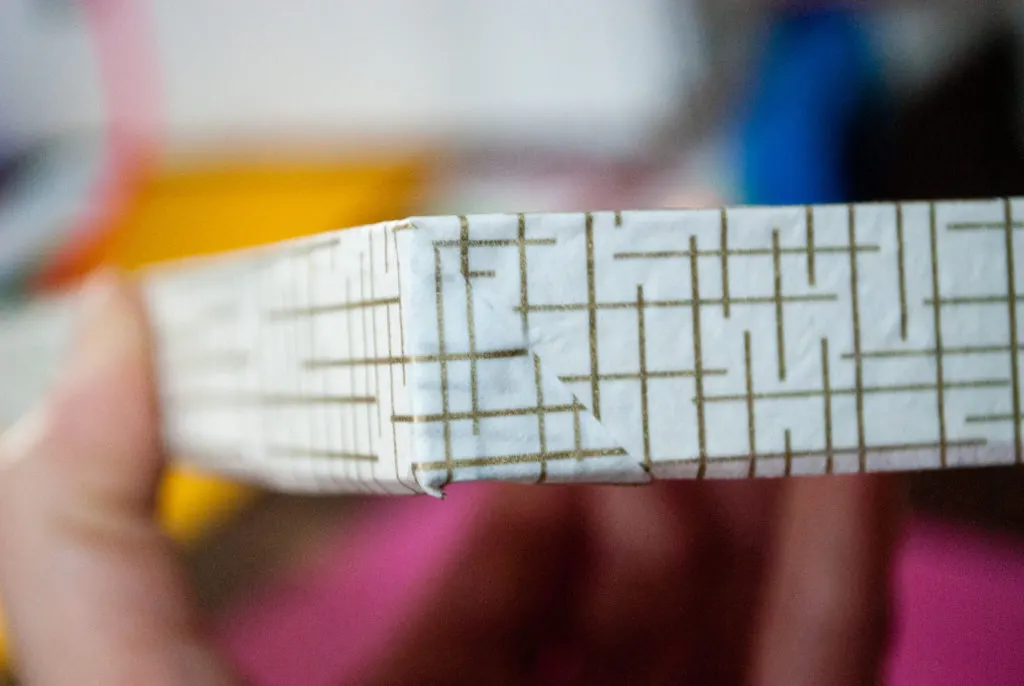
Fold it over the top and bottom and Mod Podge it down.

I folded the corners like a present.


They looked like this. Let the Mod Podge dry completely, overnight is best.

Step 4: Twist hanging hooks into the bottom of the hanging jewelry organizer
It’s easier to twist in the cup hooks if you first make a little starter hole. Tap a nail into the board to just get a hole started, then pull out the nail. I made a paper guide so that my hooks were evenly spaced because misaligned things drive me nuts.


Twist in the cup hooks.


Step 5: How to hang a jewelry organizer on the wall with no damage
Are you ready for my favorite hanging hack? Use a combo of painter’s tape + VELCRO® Brand fasteners. Stick the hook (scratchy) side directly onto the wood. Now you could probably use a little less than I did, like a couple smaller strips; I just wanted to it to really hold tight.


Put a couple of pieces of painter’s tape onto the wall or dresser. Then put the loop (soft) side onto the tape. This hack makes any VELCRO® Brand fastener easily removable with no damage. And it holds great.
Now just stick your jewelry organizer to the wall or dresser. Congrats! Now all your pretty necklaces are on display.


++++++
Be sure to pin this DIY jewelry holder for later:


++++++
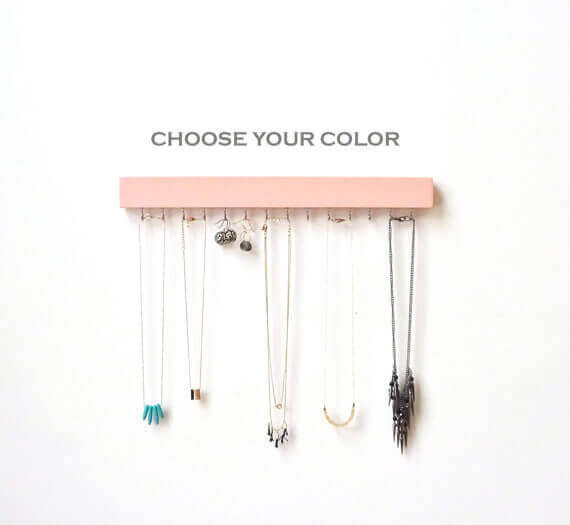
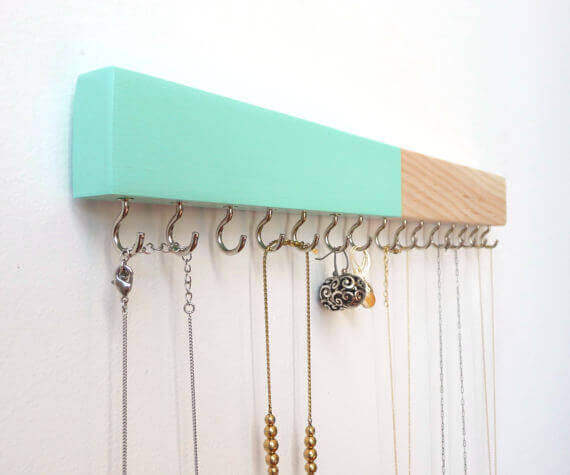
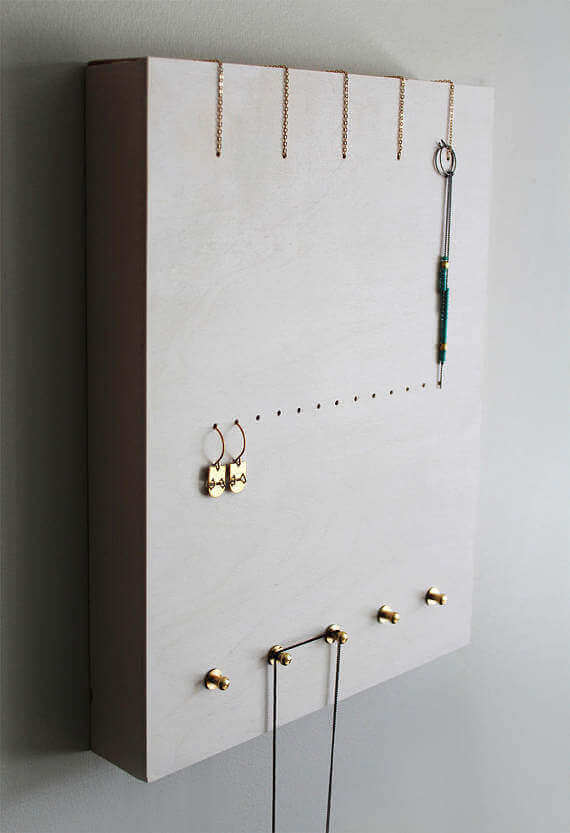
Or if you prefer to buy a handmade jewelry organizer on Etsy…
Sometimes our “DIYs-to-make” list is too long, yes? So if you choose to buy a handmade jewelry organizer, here are a few of my favorites on Etsy:

And be sure to check out my DIY gift ideas.
—
Like it? Share it!
The nicest way to say you like it is to pin it on Pinterest, post a comment, follow Merriment Design on Facebook, Pinterest, Instagram or sign up for monthly emails. Enjoy! 🙂
Copyright stuff: You’re more than welcome to use this free project and tutorial for personal use. Contact me for commercial use and Etsy sales.