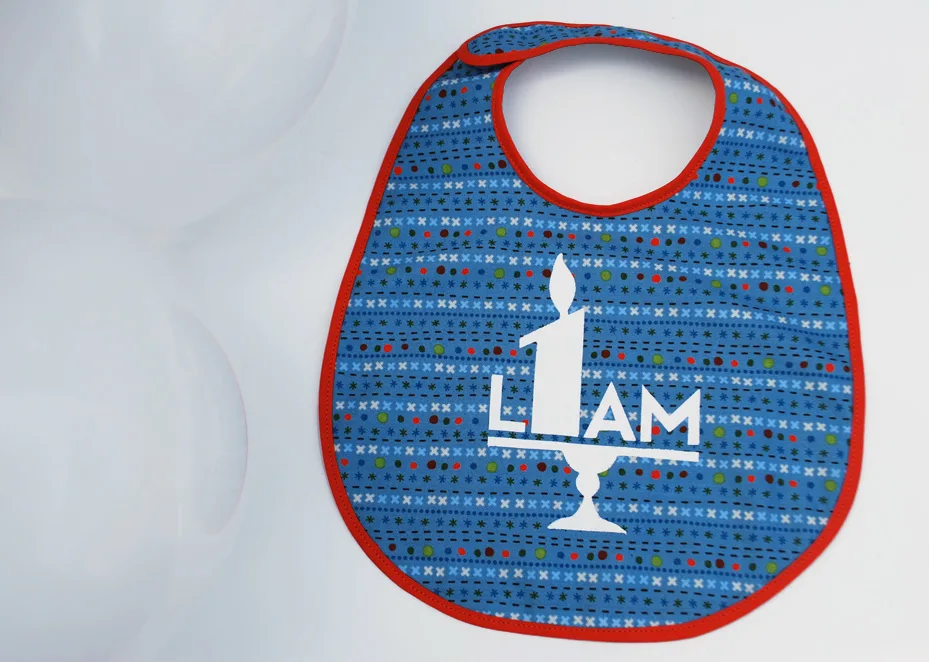
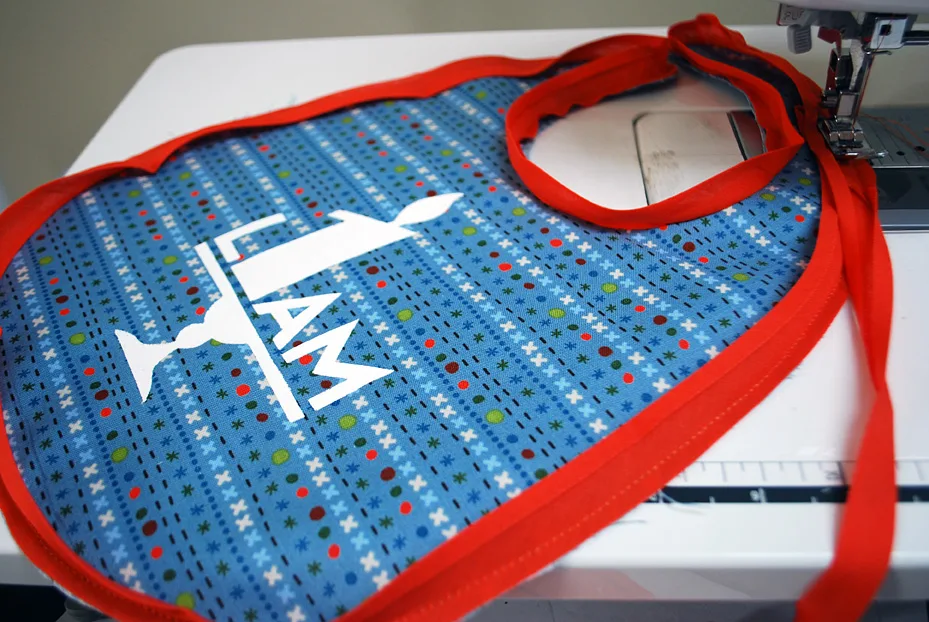
Make a DIY 1st birthday bib for your baby’s 1st birthday party! It’s a cute detail that looks great in 1st birthday photos. I’m loving this DIY 1st birthday bib that I made for Liam using Handmade Charlotte stencils, FolkArt paint, and a little bit of sewing.
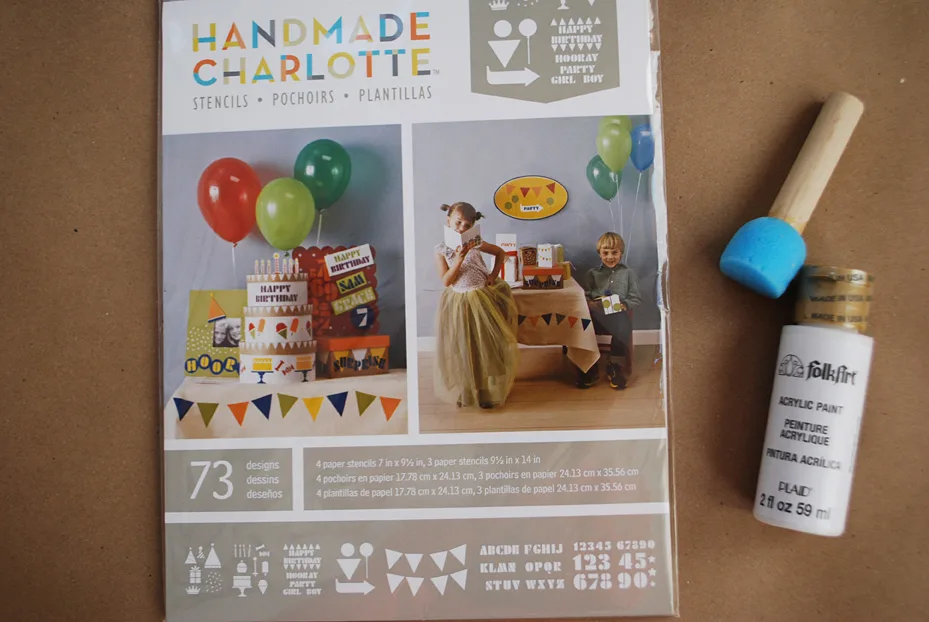
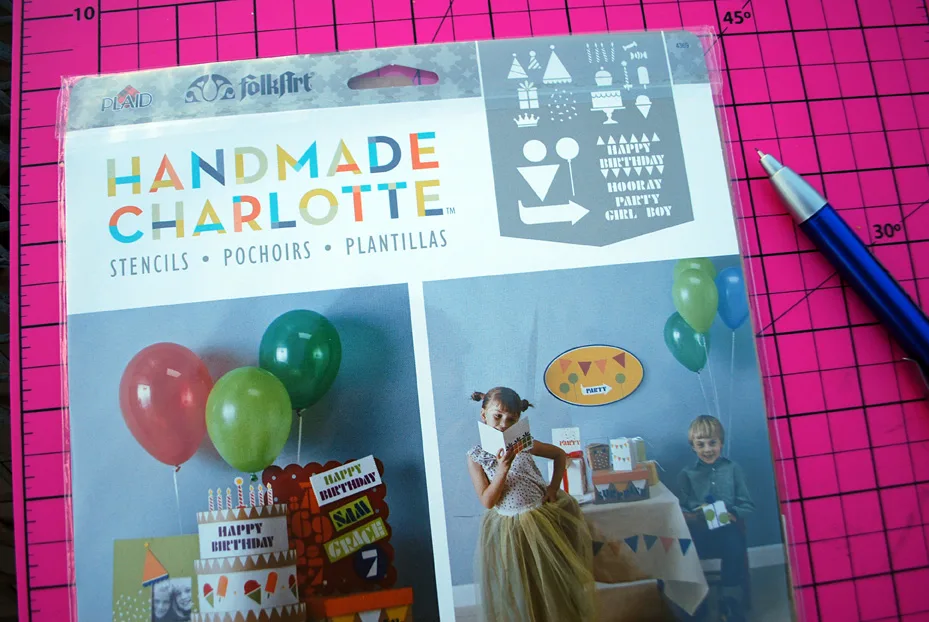
Plaid sent me the Party set from Rachel Faucett’s six new Handmade Charlotte stencils along with a bunch of paint and spouncers and what a coincidence, Liam’s 1st birthday is right around the corner. Thanks so much to both Plaid and Handmade Charlotte for sponsoring this DIY.
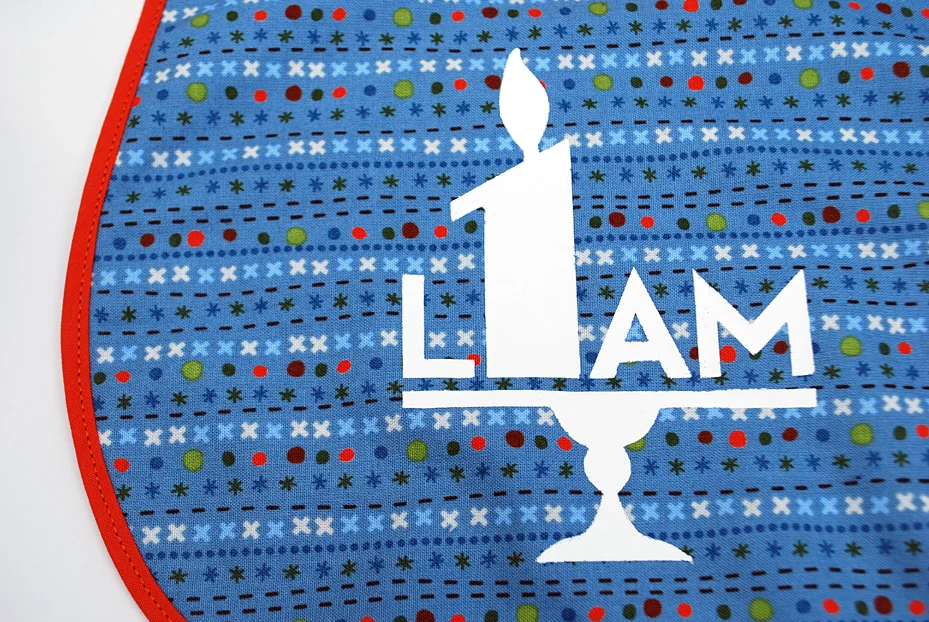
Chances are you may have a baby Liam too but if not, you could use the number “1” candle alone too, or use some of Handmade Charlotte’s other fun birthday-themed stencil shapes.
How to make your own stenciled 1st birthday bib
Making your own stenciled DIY 1st birthday bib is easy. I used freezer paper with these stencils because (1) I wanted to see the whole design and once, and (2) I was too lazy to stencil the letters individually, wait for them to dry before adding the next letter, and sweat over the spacing between letters. It is kind of an extra step but for names, I think stencils plus freezer paper works really well.
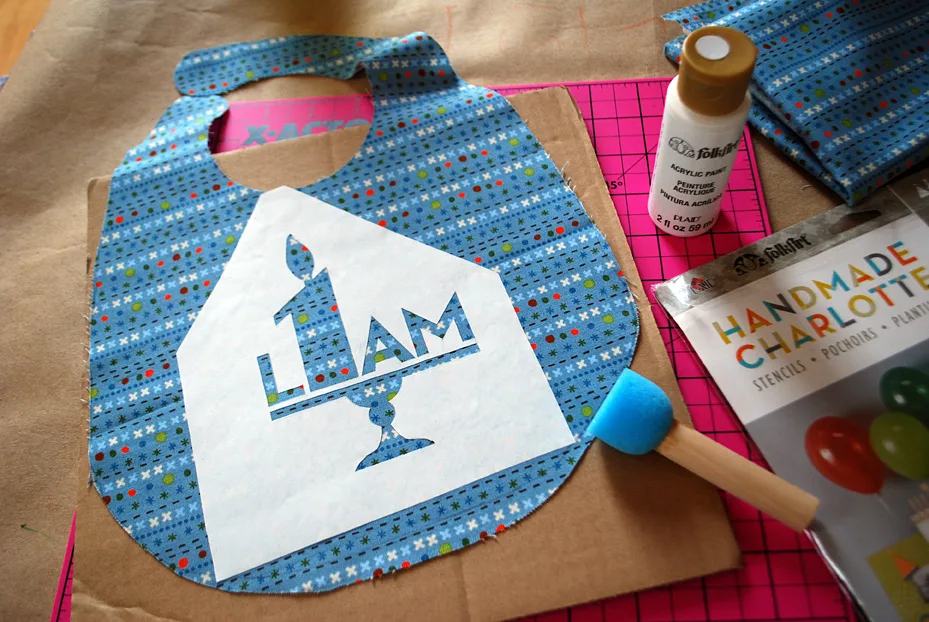
I’ll also show you how to sew it all up into a cute 1st birthday bib. Or, you can stencil onto any purchased baby bib that has a smooth surface.
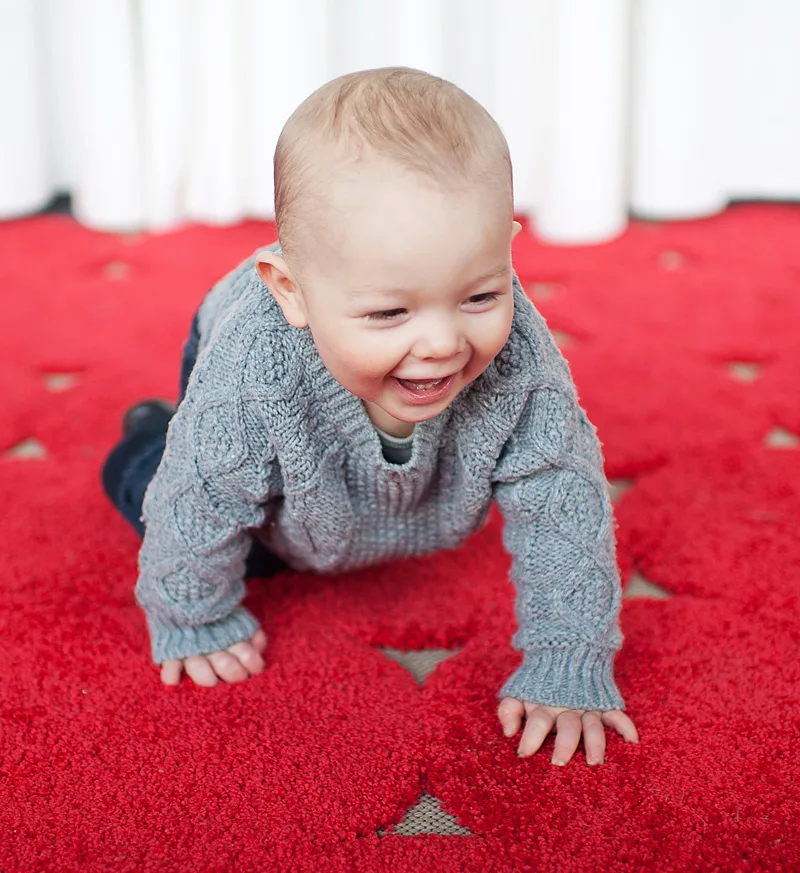
Thanks, Handmade Charlotte and Plaid, for inspiring a keepsake happy 1st birthday bib for my sweet, smiley Liam boy.
I wrote this post as part of a sponsored campaign with Plaid and The Blueprint Social. All opinions in this post are my own.
Supplies for making a DIY 1st Birthday Bib:
- Handmade Charlotte stencils in Party and Labels (This 1st birthday bib design uses shapes from the Party set and letters from the Labels set)
- Folkart Acrylic White Paint
- Folkart Textile Medium (optional but recommended although I skipped it)
- Spouncer
- Freezer paper and pencil
- Fabric, bias tape and thread
- VELCRO brand Fabric Fusion fasteners (or VELCRO Sew-On fasteners)
- Good iron and ironing board
- Sewing machine
—
How to make a DIY 1st Birthday Bib
Punch out your chosen Handmade Charlotte stencils. I used a Party and Labels set combination.
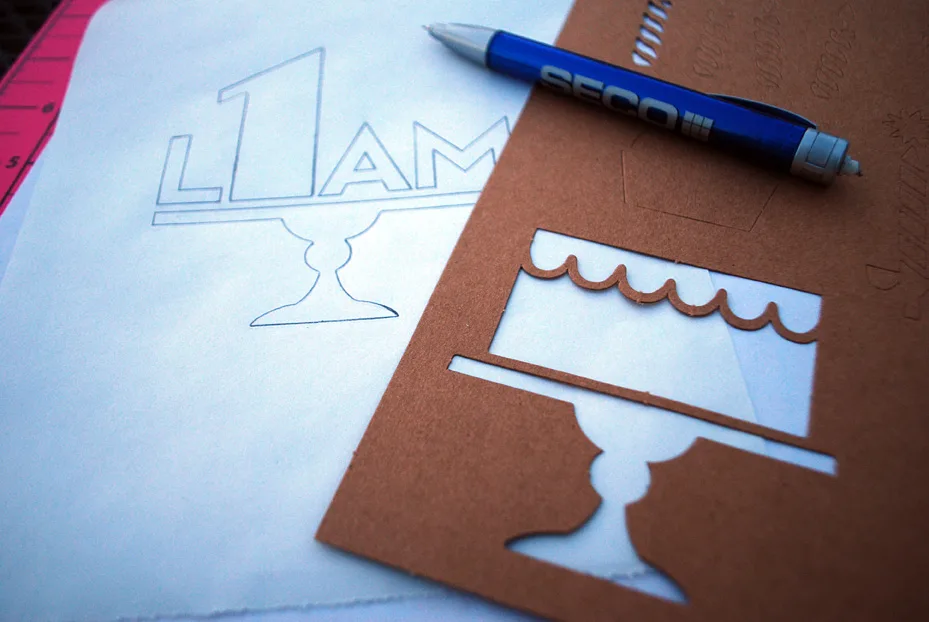
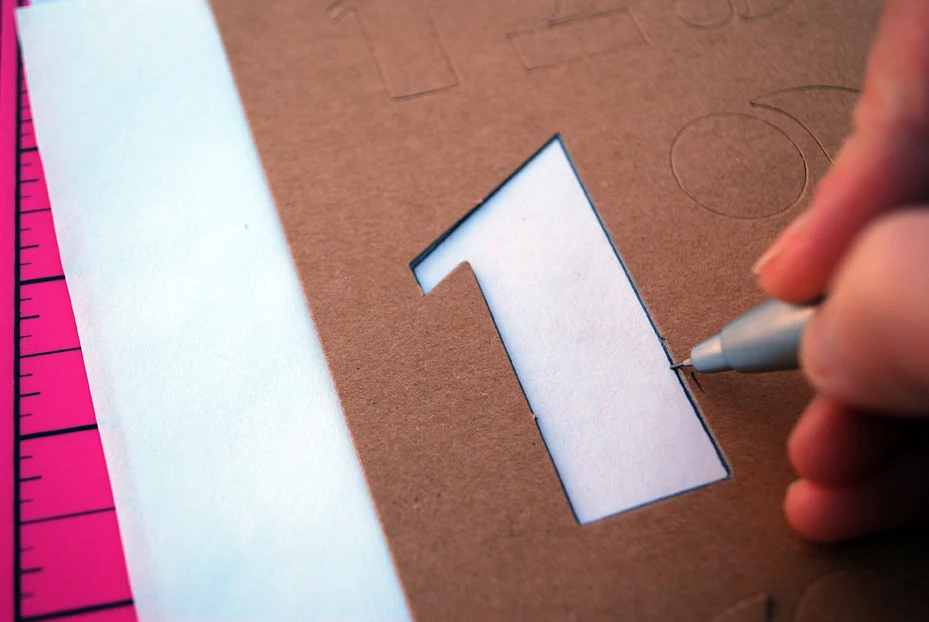
Cut out a square of freezer paper. Starting with the number 1 stencil, trace inside the stencil using a mechanical pencil.
Here’s what the Party letter stencils would have looked like, so for LIAM with this ‘A’ and ‘M’ next to each other, I decided to use the Labels letter stencils instead.
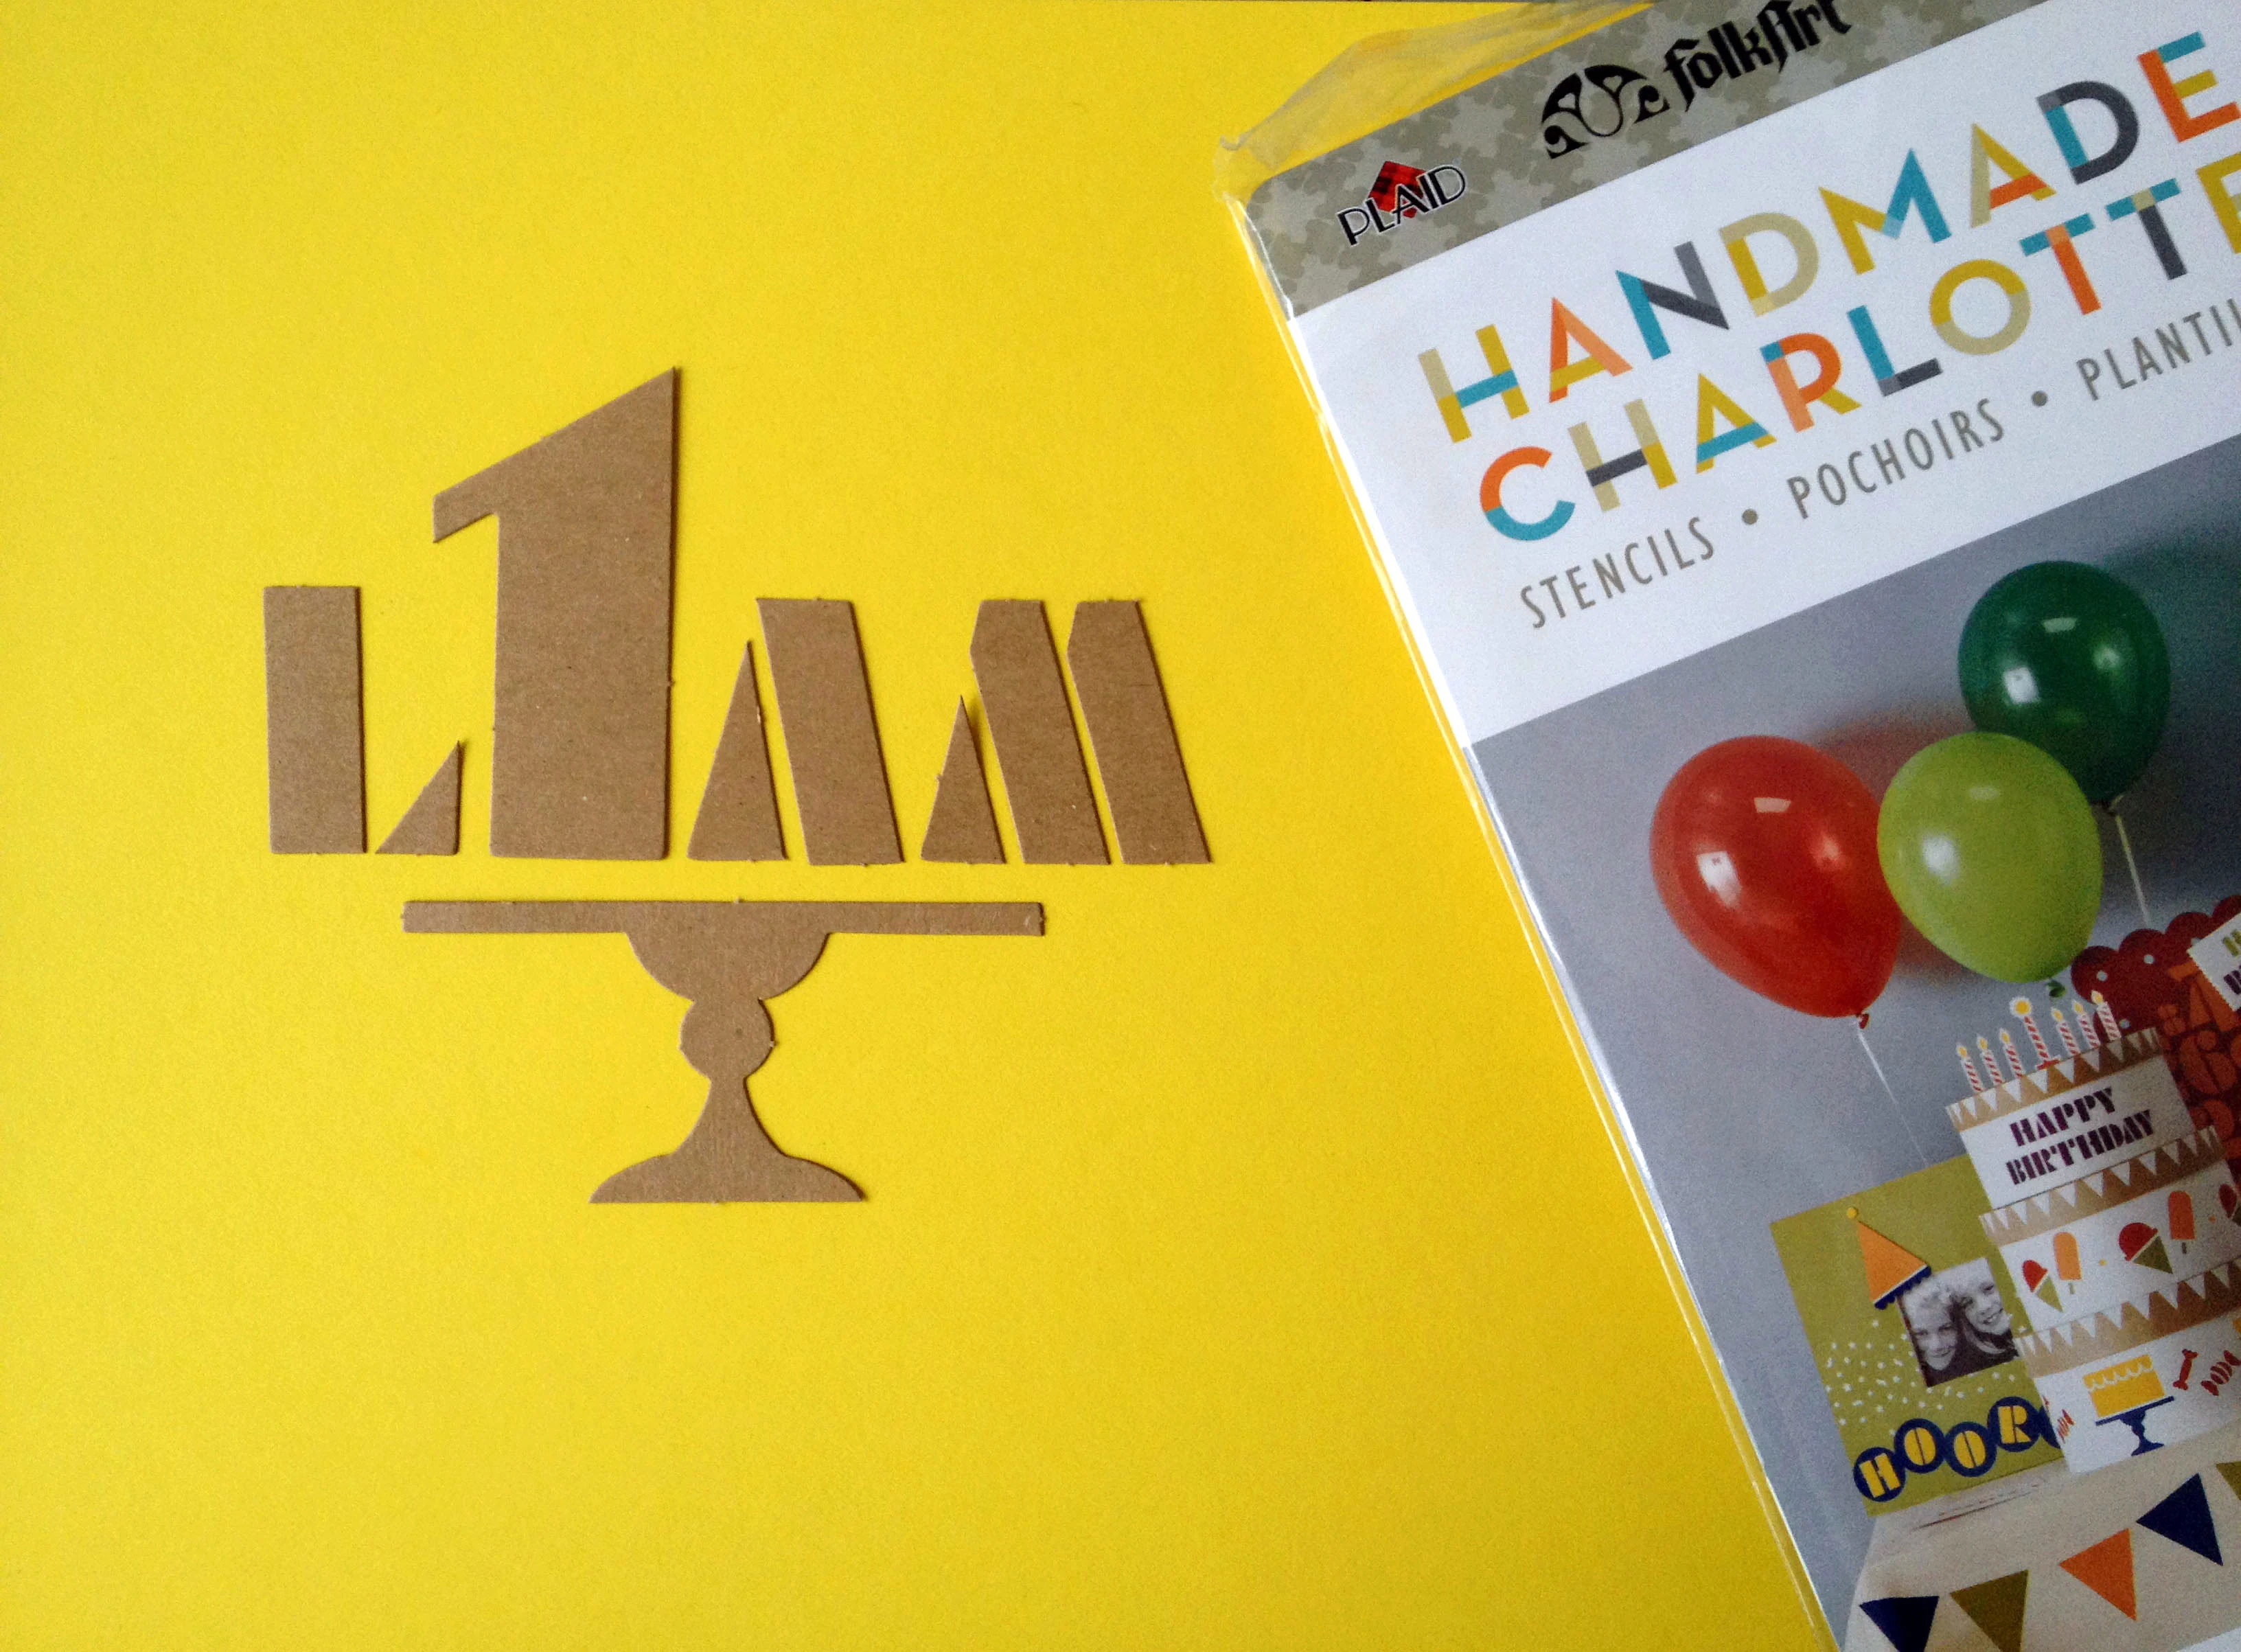
Trace the stencil letters around the “1”. I choose to fill in the stencil part of the letters to which is another nice thing about using the freezer paper.
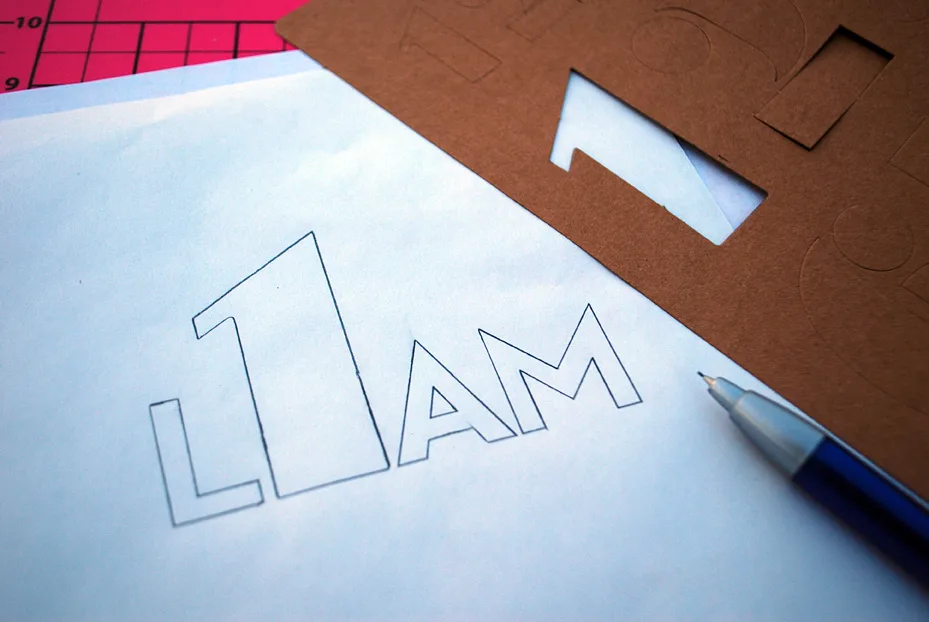
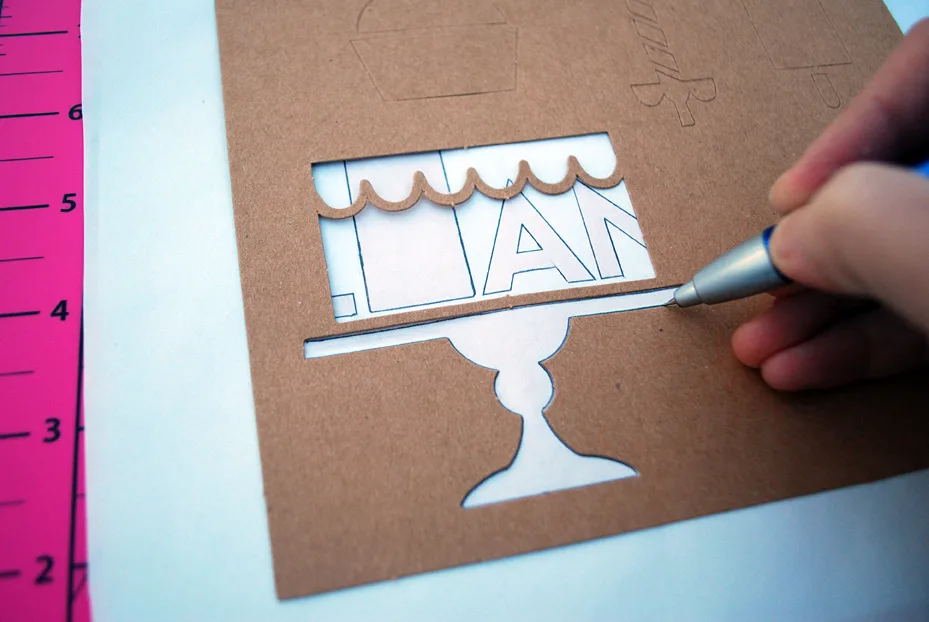
Take the cake stencil and just trace the cake stand.

Looking good so far.

I liked the candle stencil but it was too small to go onto my “1” so I just freehand drew the flame by referring to the Handmade Charlotte stencil.
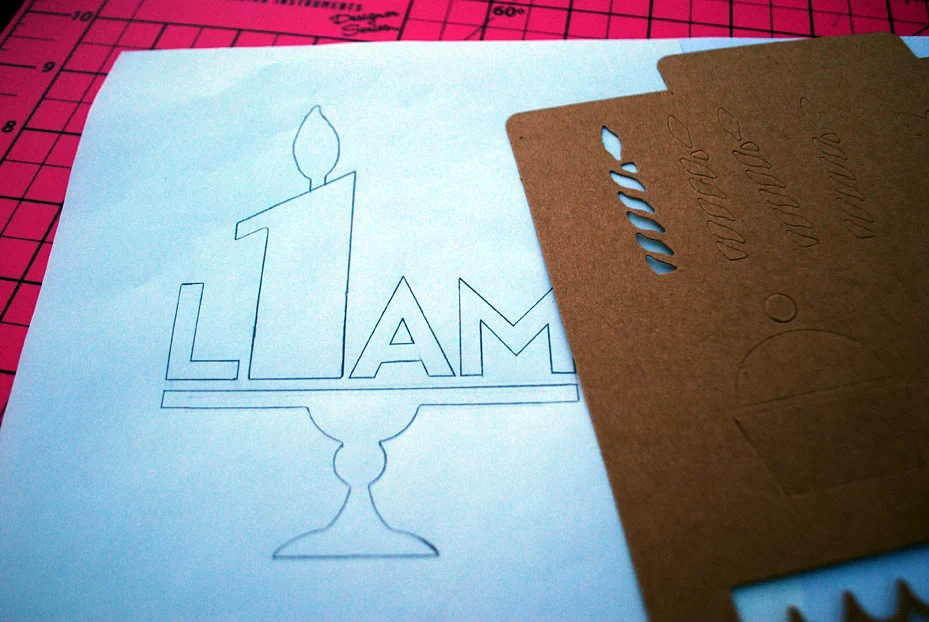
Cut out the stencil using an X-ACTO knife, saving the inside of the “A” or any other letters with an inside. Grab some cute fabric and a bib that fits your birthday boy or girl.
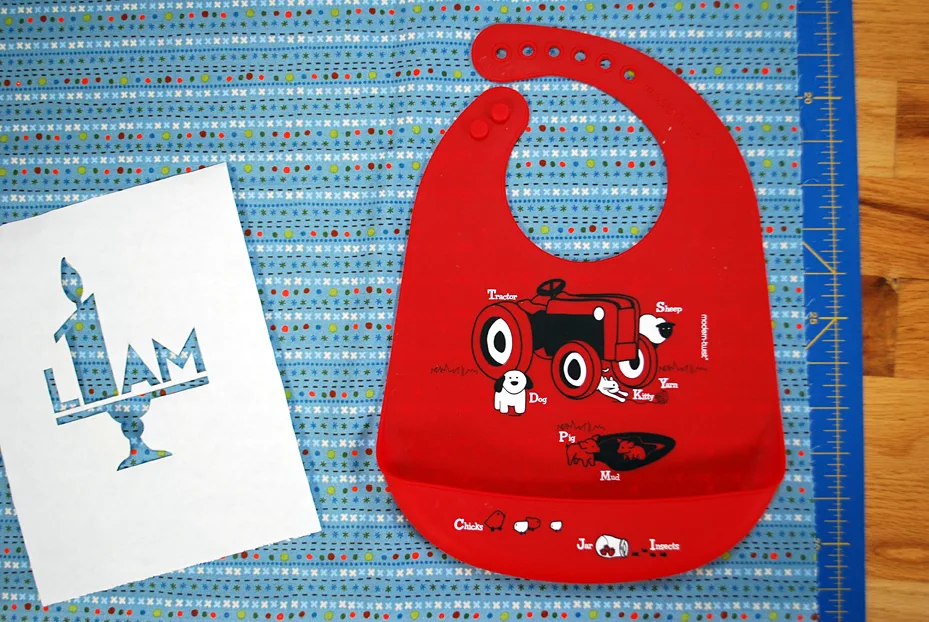
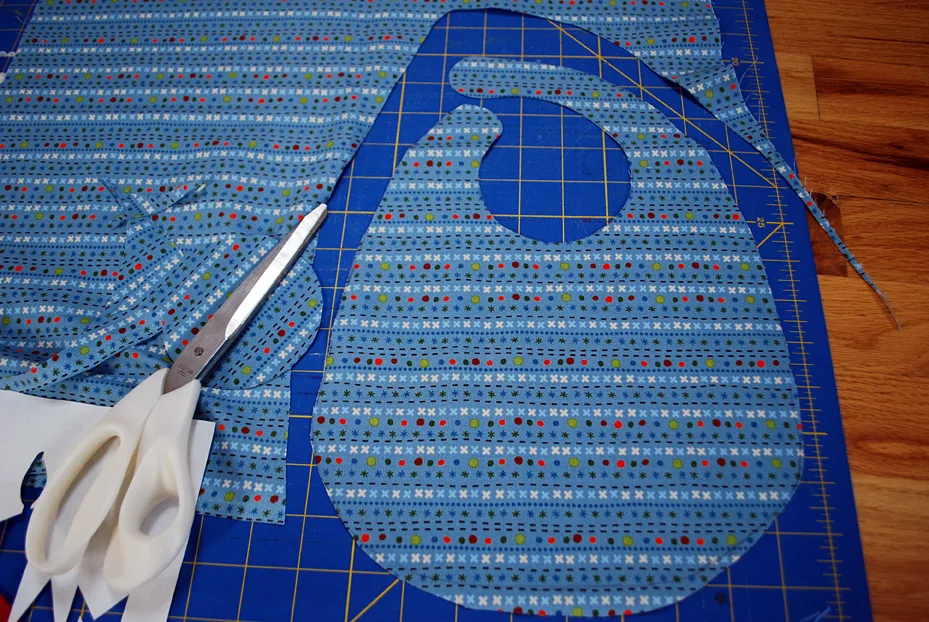
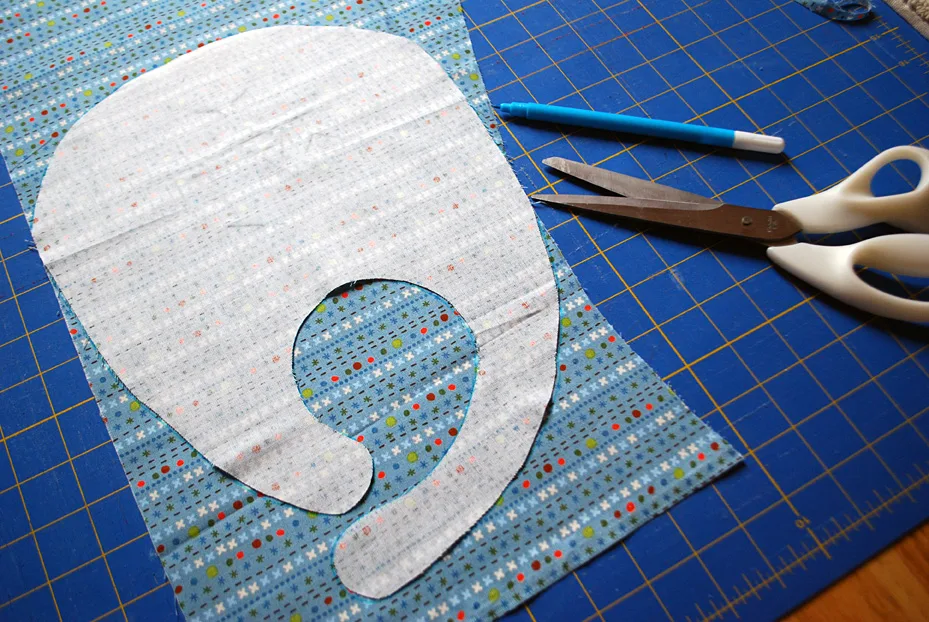
Trace the bib onto the fabric.
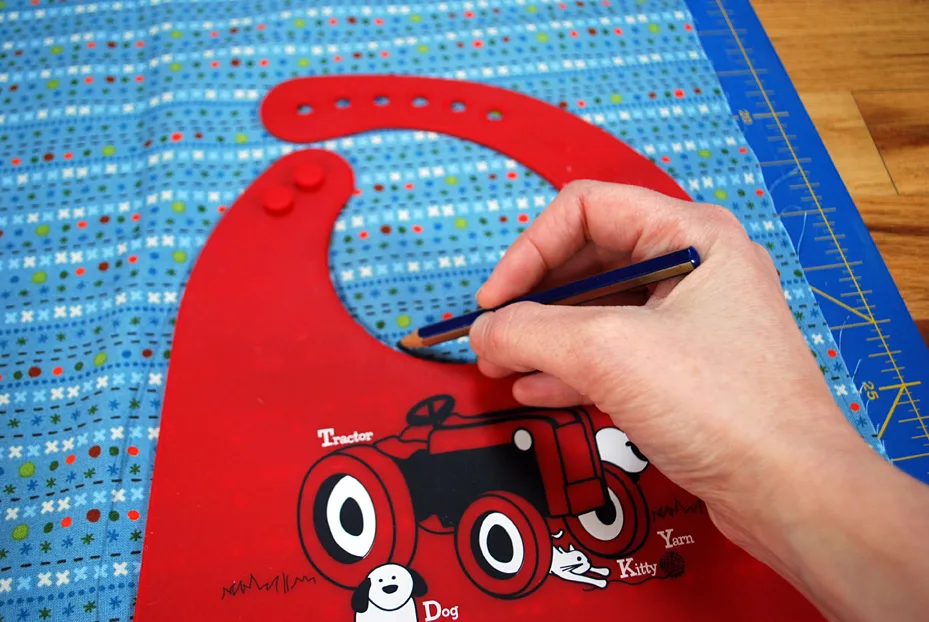
And cut it out.

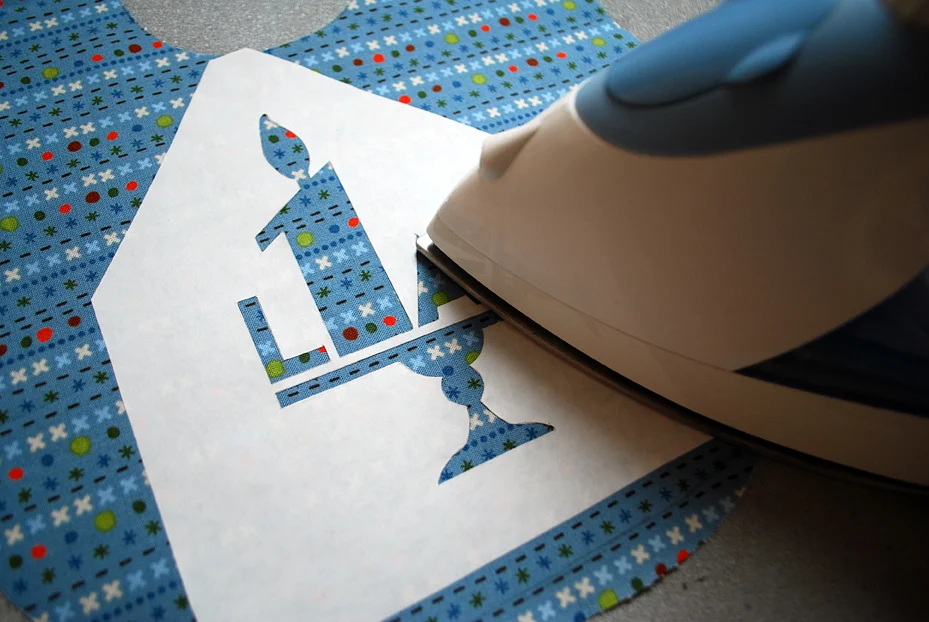
Trim around the stencil and iron the freezer paper onto the bib. Make sure your steam is not on or else it will warp the freezer paper stencil.

Make sure all edges are stuck to avoid the paint leaking underneath the stencil later. And remember to iron on the center for the “A.”
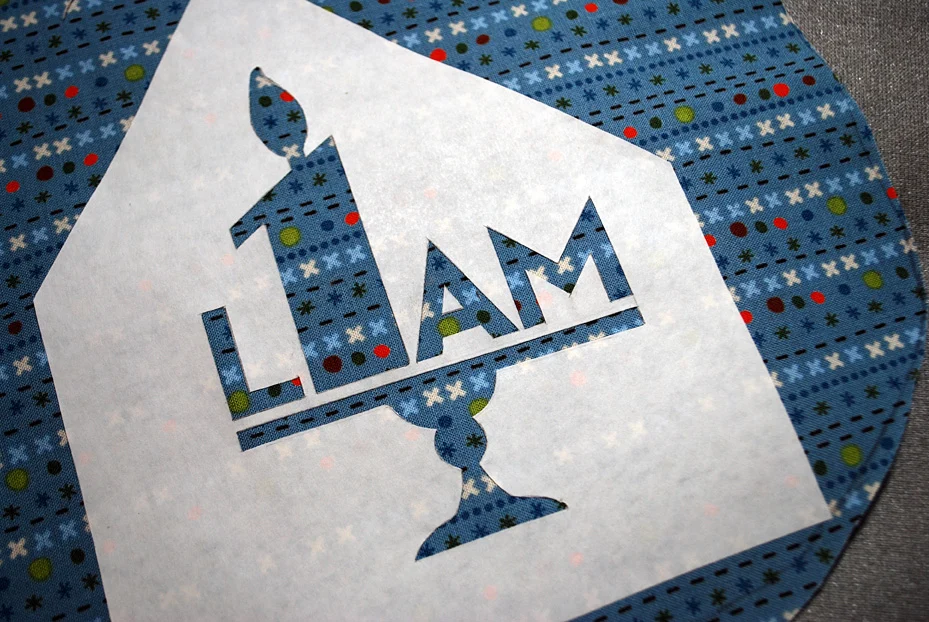
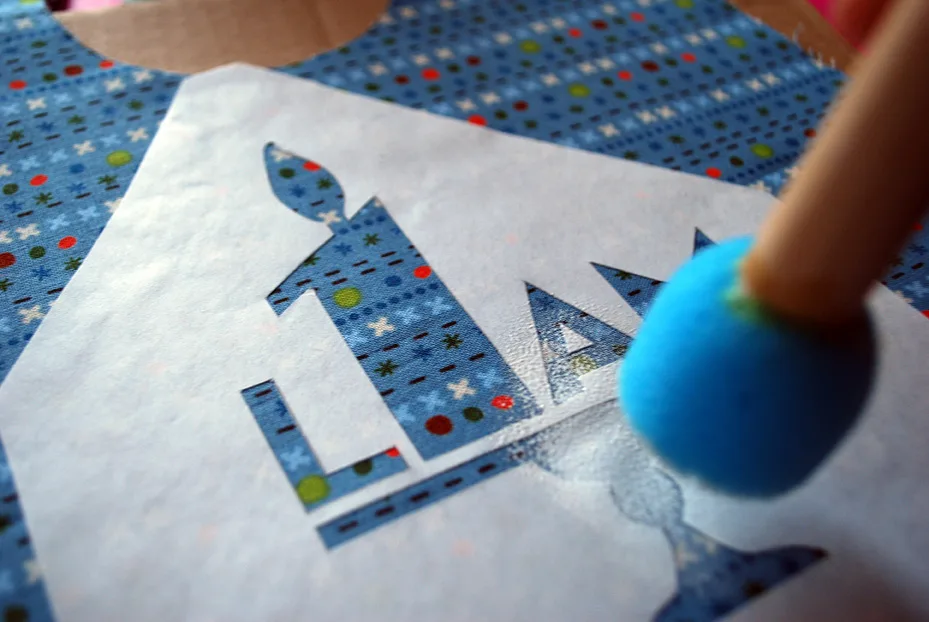
OK, so you’re ready to paint. Plaid recommends when painting on fabric to use their Folkart Textile Medium. I skipped it but read these instructions from Folkart and make your own decision. Squeeze out some white paint onto a disposable surface; I used a piece of aluminum foil.
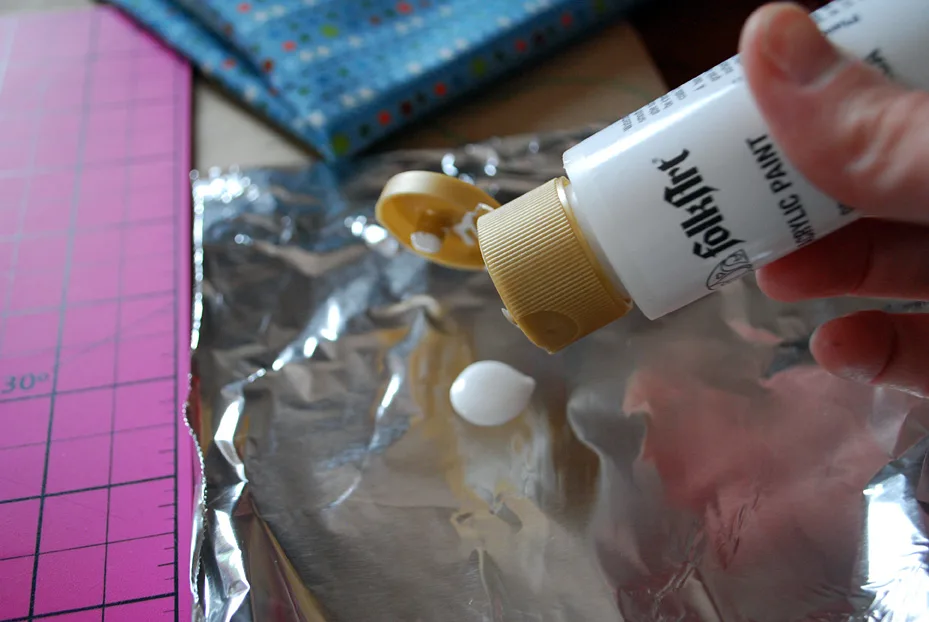
Get a little paint on your spouncer; it should be almost dry.
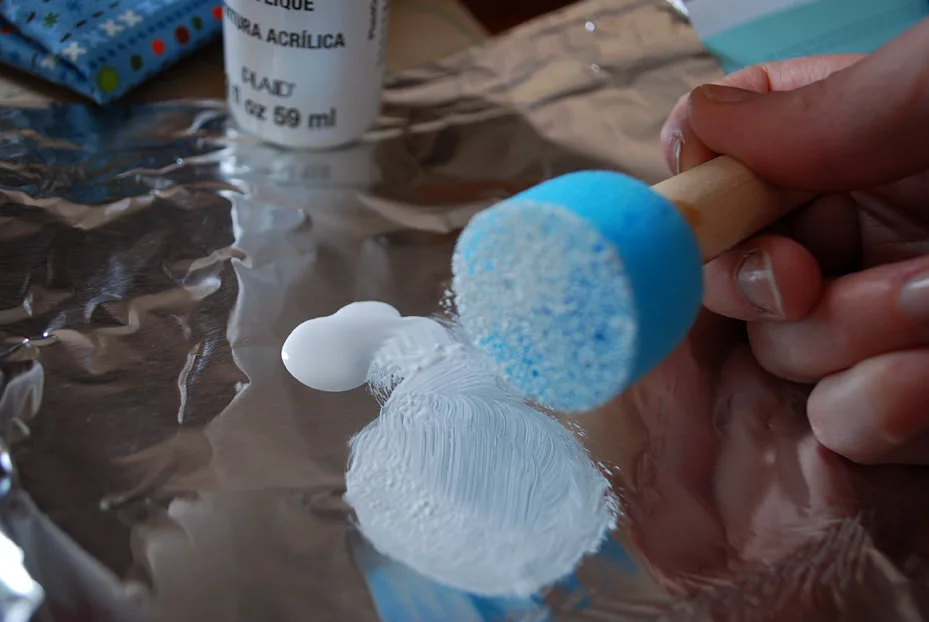
Now pounce it up and down.
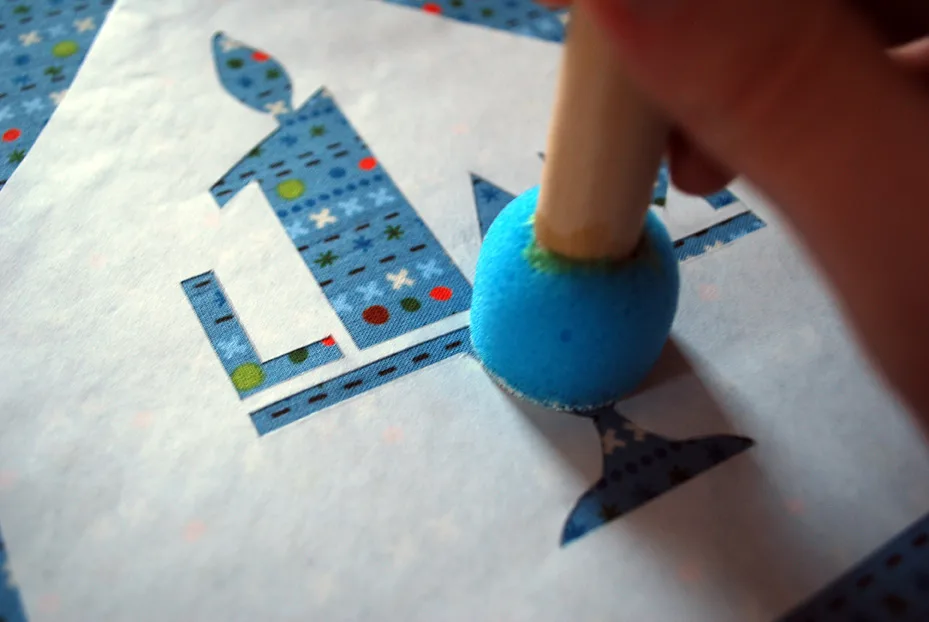
Like so…

Here’s a super quick and rough video of how I did it…
Keep painting until the whole stencil is painted.
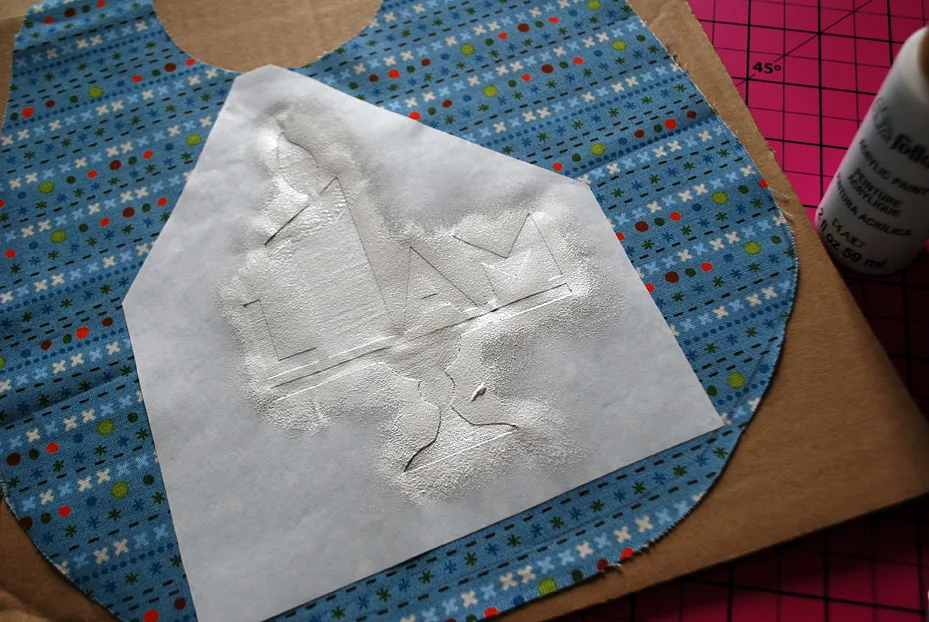
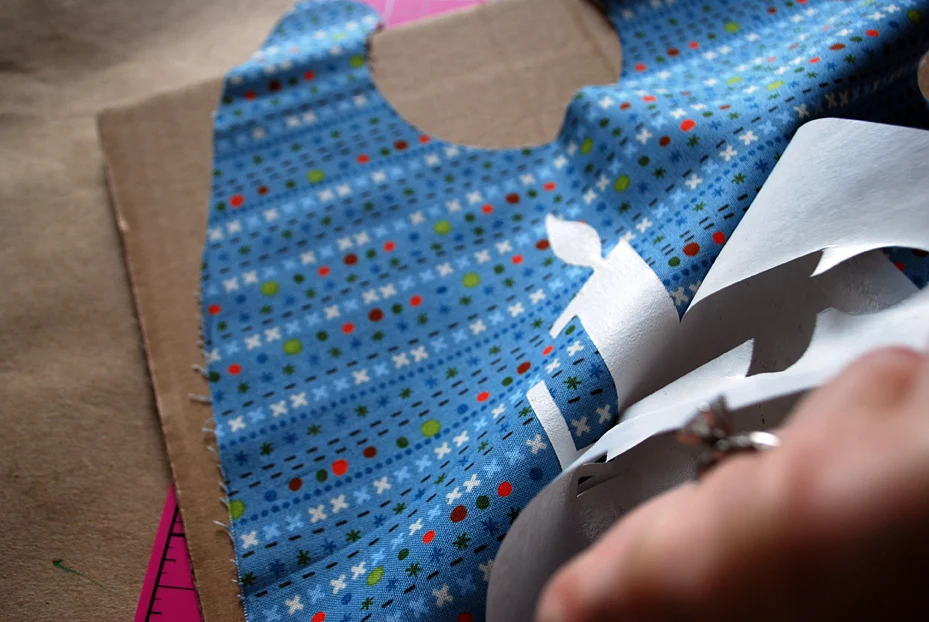
Wait about five minutes for it. Start to peel off the stencil.

Peel off the middle of the A with an X-ACTO knife, being careful not to cut through the fabric.
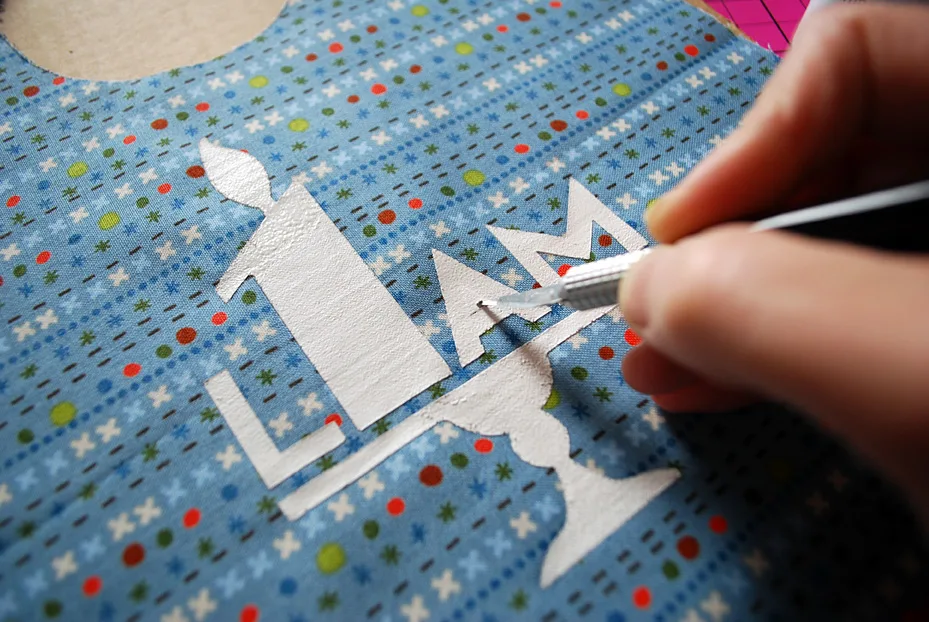
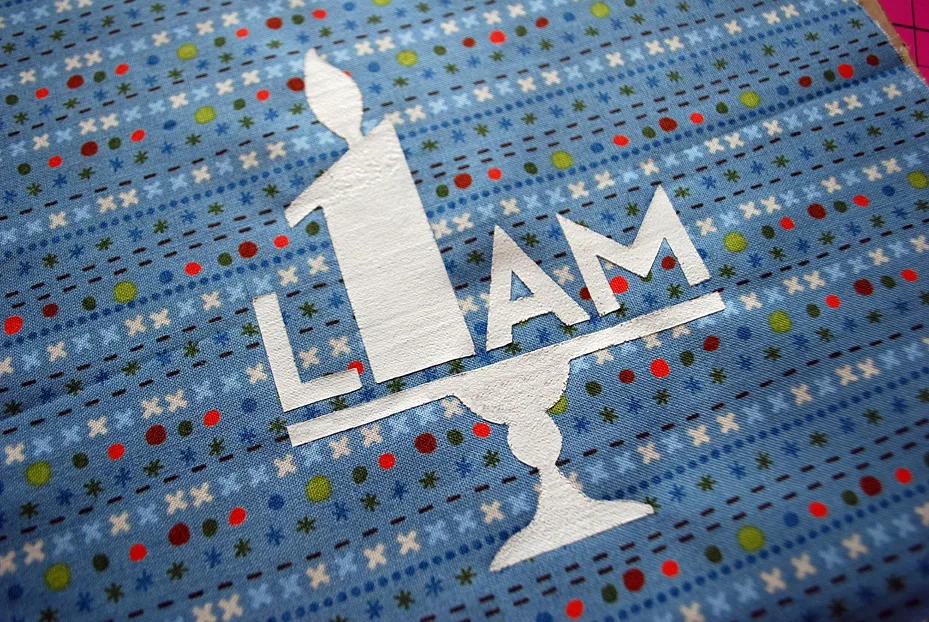
OK, so I was nervous about peeling off the stencil but it worked really well. Let it dry and then sew up the bib. Follow Folkart’s heat setting instructions to set the paint.
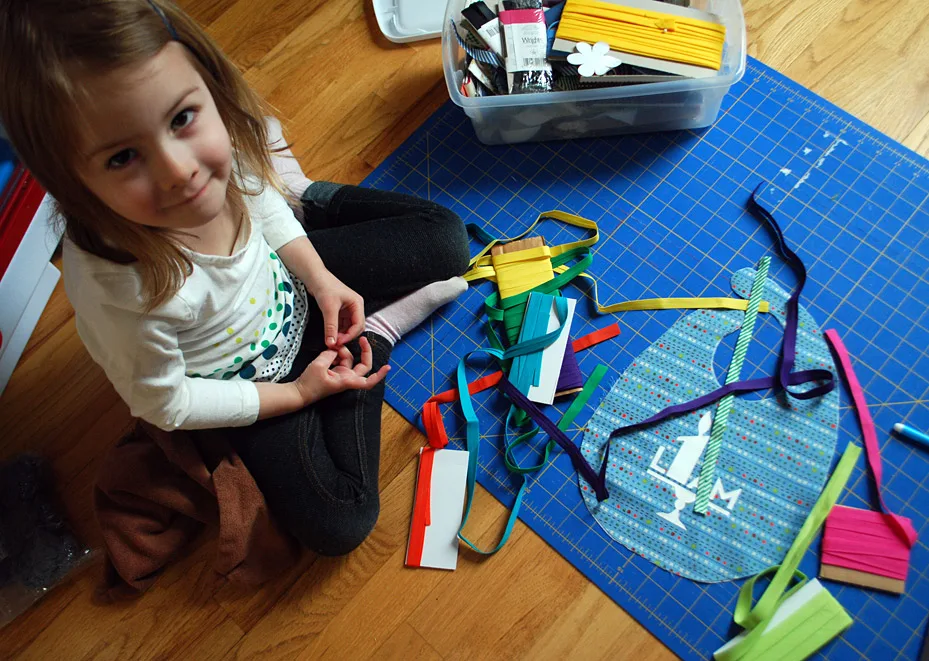
Get ready to sew bias tape. I let Elise pick out a bias tape color. I think orange was a good choice!
Cut out a bib back by putting the painted bib wrong side up. I used the same fabric as the front. Now if you’re using VELCRO Sew-On fasteners, be sure to attach them now.
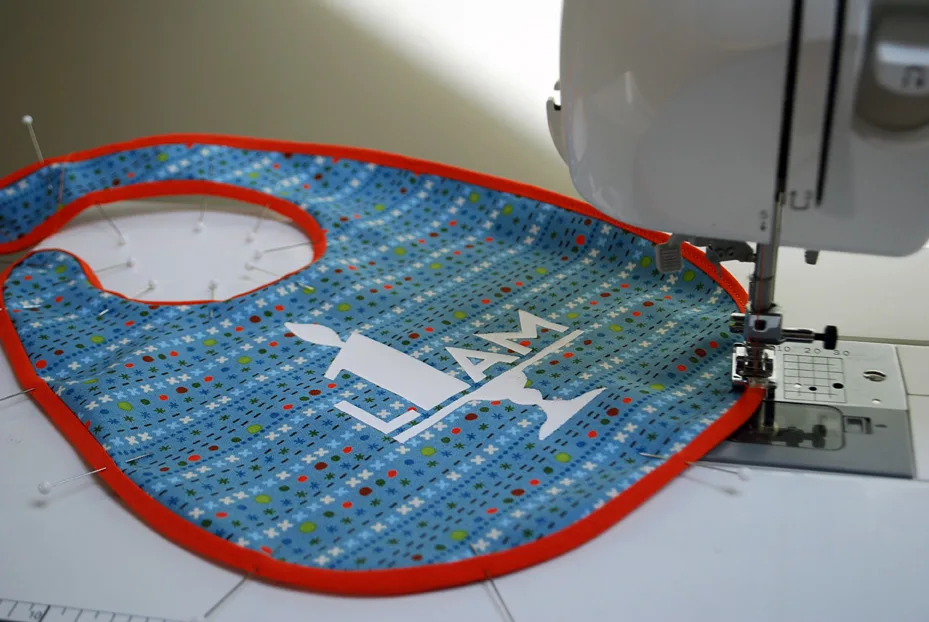
Put front and back wrong sides together. Sew bias tape around the bib by following my detailed instructions in my toddler bib tutorial. This is also a good time to check out my post how to sew bias tape around corners to make mitered corners.
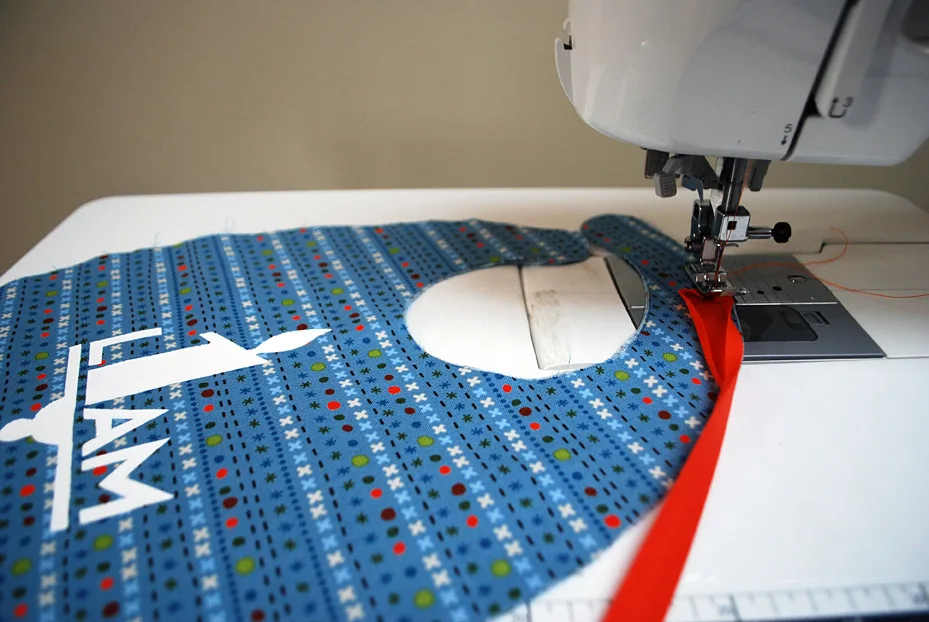
Sew it around the entire bib.

Fold it under to encase the raw edges and secure with pins or just use barrettes.
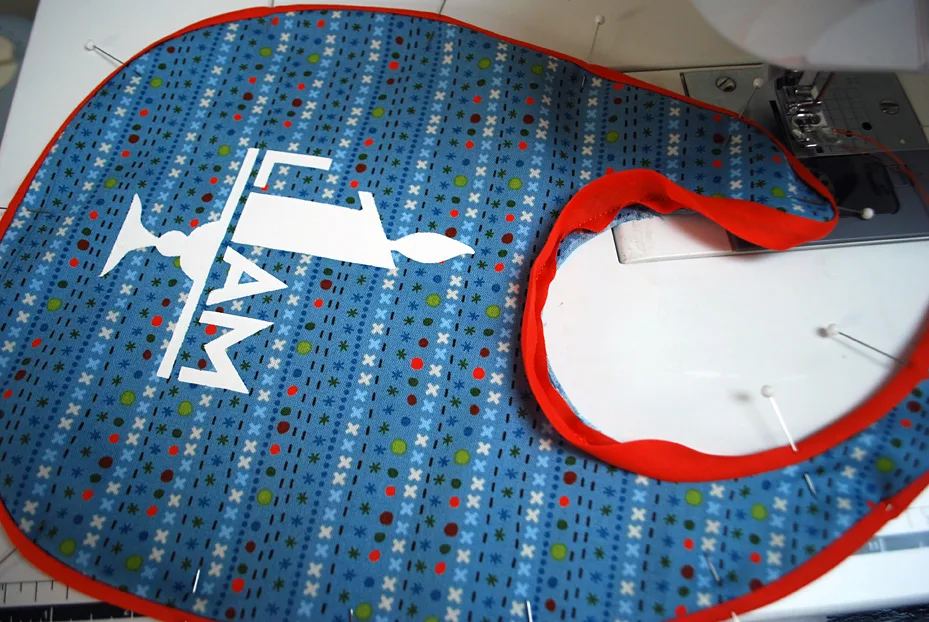
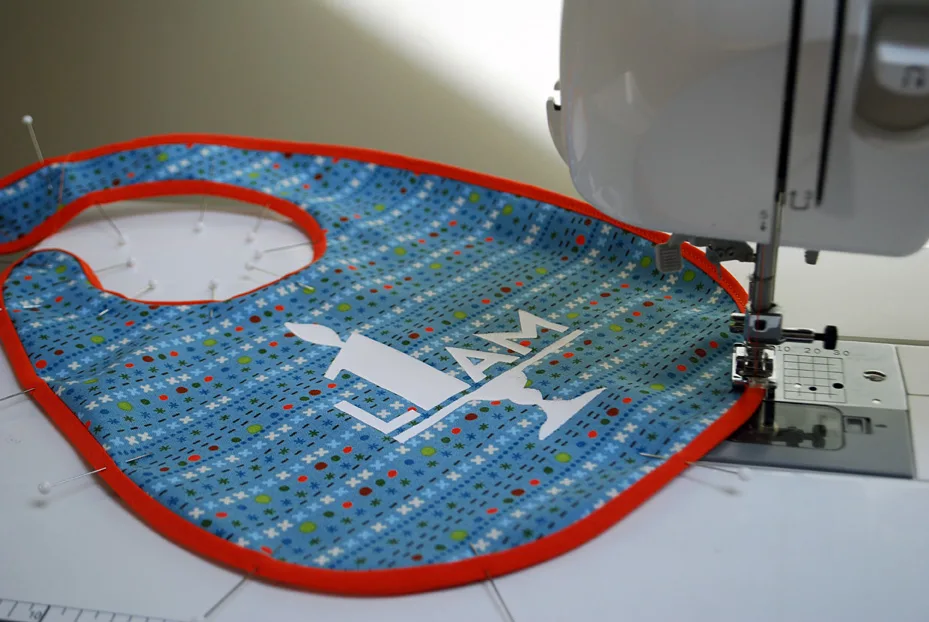
Sew around the bias tape close to the edge making sure to catch the back, removing pins along the way. Add iron-on VELCRO brand Fabric Fusion fasteners and blow out the candles!
—
See other projects made with Handmade Charlotte stencils:
—
Like it? Share it!
The nicest way to say you like it is to pin it on pinterest, post a comment, follow Merriment Design on Facebook, twitter, pinterest, Google+ or sign up for monthly emails. Enjoy! 🙂
Copyright stuff: You’re more than welcome to use this free project and tutorial for personal use. Contact me for commercial use and etsy sales.


 in Party and Labels (This 1st birthday bib design uses shapes from the Party set and letters from the Labels set)
Angela Jackson
Wednesday 26th of November 2014
I like your tutorial of the bib. I was wondering if this bib just a one time use? Just for the party?
http://ghcbibs.com
Lucas
Thursday 17th of October 2013
What a stuff of un-ambiguity and preserveness of valuable know-how concerning unpredicted emotions.
Lisa
Friday 20th of September 2013
This is amazing. I'm going to try it with some fabric left over.
Ann Martin
Saturday 18th of May 2013
Adorable baby! Adorable bib!
Dawn
Wednesday 1st of May 2013
So cute! I love that you made the "i" a number one candle-very creative! My daughter Quinn just turned one last month and had she been a boy, she would've been a Liam. Such a great name! :)
Kathy Beymer
Thursday 2nd of May 2013
Thanks, Dawn! Quinn is actually one of my favorite girl names.